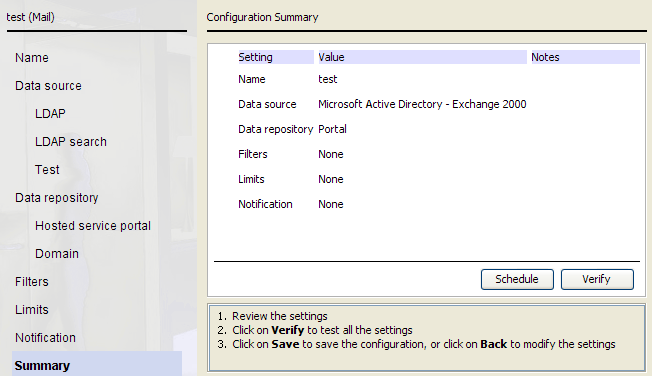
Step 9: Verifying your settings

In the Summary window:

Steps

  1. To confirm the settings you have chosen for this synchronization type, click Verify.
  2. Click Yes to confirm.
    • As each test is performed, the icon to the left of each setting changes from an hourglass to a green check mark. If any settings is marked with a red X, select the relevant option in the left panel to correct it.
    • If you have multiple sources, each source is checked in turn.
    • If your data repository is set to Portal, the Directory Synchronization Client contacts the cloud-based server during this process and, if configured, sends a test email notification.
  3. To save your configuration profile, click Save.
  4. Click Next to continue.

Next steps

After completing configuration of one synchronization type, you can optionally configure another synchronization type.

  • To set up another synchronization type, see Step 10: Setting up another synchronization type.

    If you have set up a groups configuration, you must now set up a corresponding users configuration.

  • If you are finished with your configuration, click Finish to exit the wizard.