Step 2: Selecting your data source
Before you begin
Note that your configuration profile name now appears at the top of the left panel, and is followed by your synchronization type in brackets.
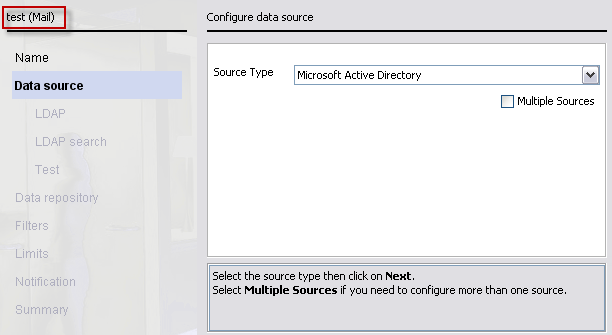
Each synchronization type can have one or more data sources.
If you use multiple directories, or want to search multiple, separate areas of a single directory, you might need to configure more than one data source. In this case, the Directory Synchronization Client consolidates your source data before sending it to the cloud service, avoiding the need for multiple synchronizations.
To configure multiple data sources:
Steps
-
Mark the Multiple Sources check box.
Next steps
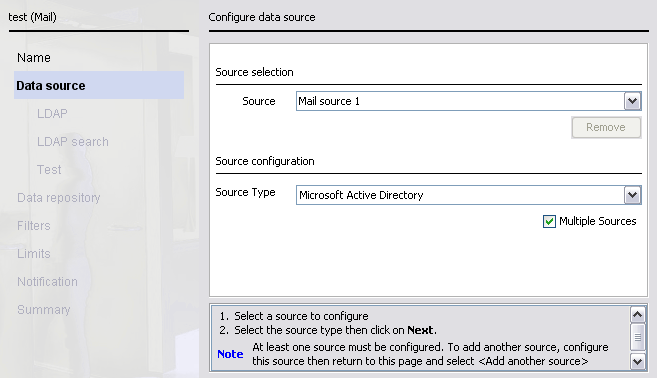
Once you have defined multiple sources, the Multiple Sources box is disabled. To switch back to the single data source definition window, you must delete all but one data source definition. To delete a data source definition, select it from the Source drop-down list and click Remove.
You cannot remove all data sources.
When you are finished, continue with Step 3: Configuring your LDAP server.