You can set up your own custom categories, for example to allow access to specific websites without allowing access to the whole category that they belong to, or to block certain sites
without blocking the whole category.
To create a custom category:
Steps
-
Go to the page.
-
Click Add.
-
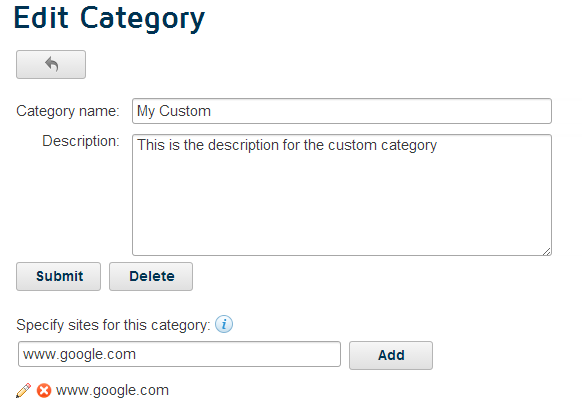
Enter a name and a description for your new category.
-
Click Submit.
-
In the Specify sites for this category field, type the address of a website (for example, www.google.com).
-
Click Add.
-
Repeat steps 5 and 6 for each site that you want to add to the category.
-
Click Submit.
-
Return to the Web Categories tab in your selected policy, and click the custom category you just created. On the page that appears, you can set the disposition for your new
category, and add any user or group exceptions.