Installing Manager
- Log into the console of the host using the following credentials:
- username: admin
- password: P!L)TP@ssw0rd
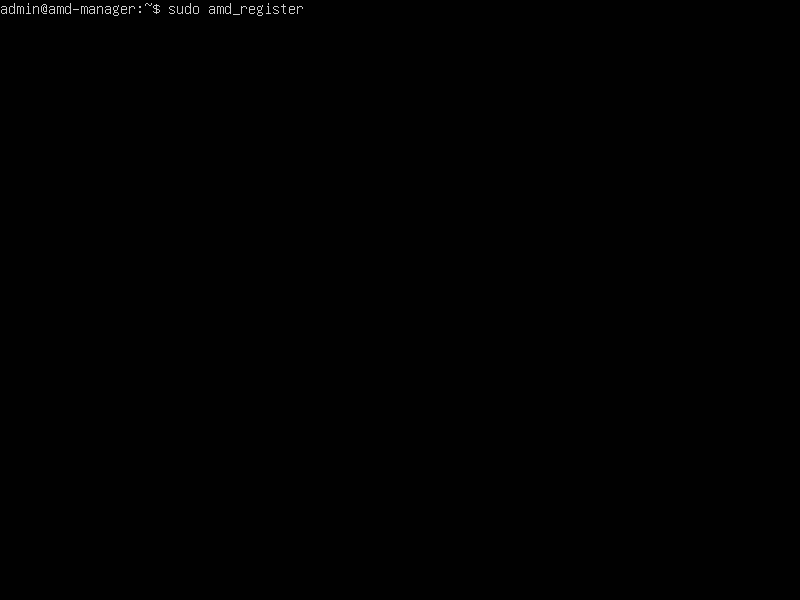
Important: This is the default admin login credentials for AMDP console. Change the default password to a password that is unique to your organization. - Run the sudo amd_register command to start the guided installation and registration process.
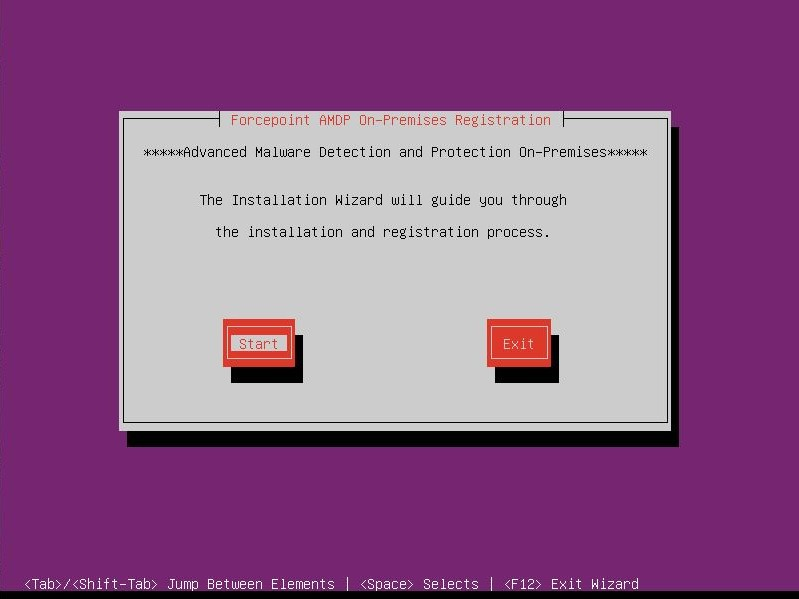
- The installation process starts at the Welcome screen. When you are ready to begin the installation process, select Start. This wizard will gather
information about the system role and install the appropriate components. The wizard provides the initial system configuration which is then further tailored with the
amd_setup utility.
- Read the Forcepoint Subscription Agreement and select Accept to proceed with the installation.

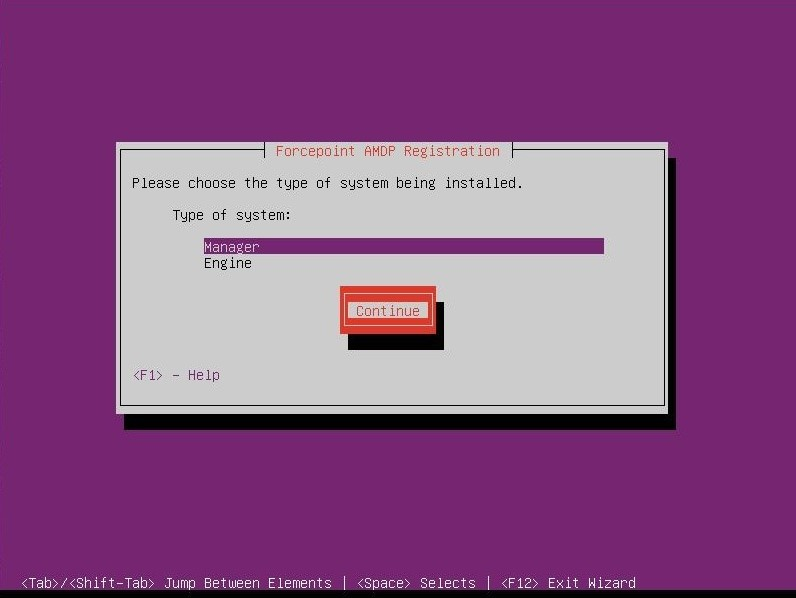
- Choose the type of system to install. Select Manager, and select Continue to install and configure the
Manager.
5(a)
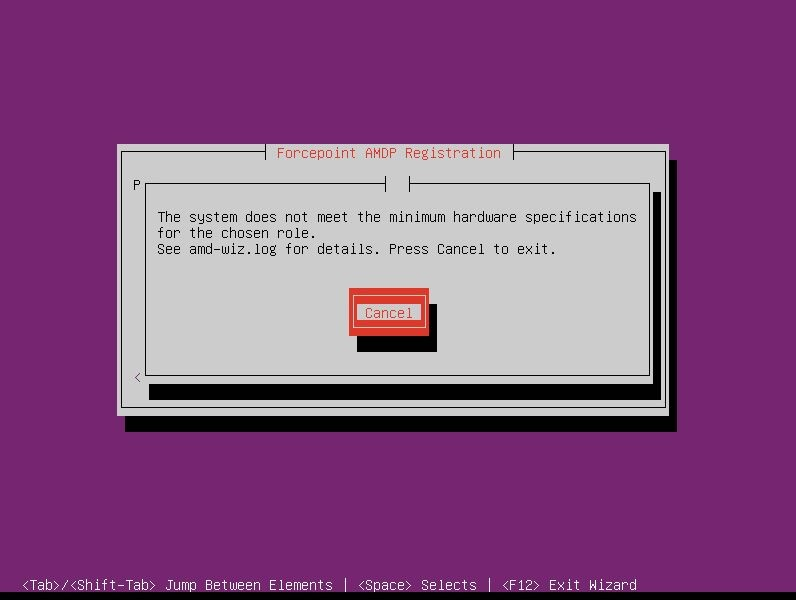
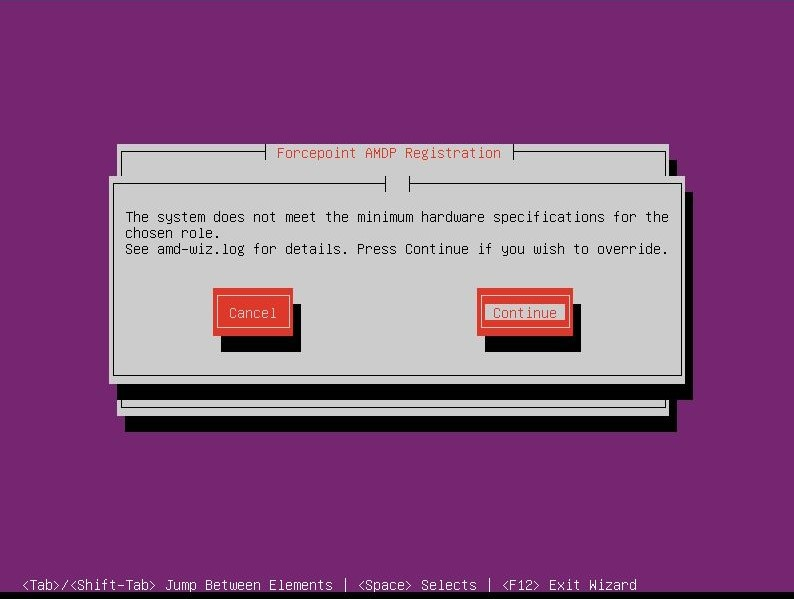
The below wizard checks the server for minimum hardware requirements. If the server does not meet the minimum requirements, either 5(b) or 5(c) will appear, depending on the severity of the requirement that is not met. 5(b) forces the user to cancel the wizard and address the issue, while 5(c) will allow the user to continue.
5(b)
5(c)
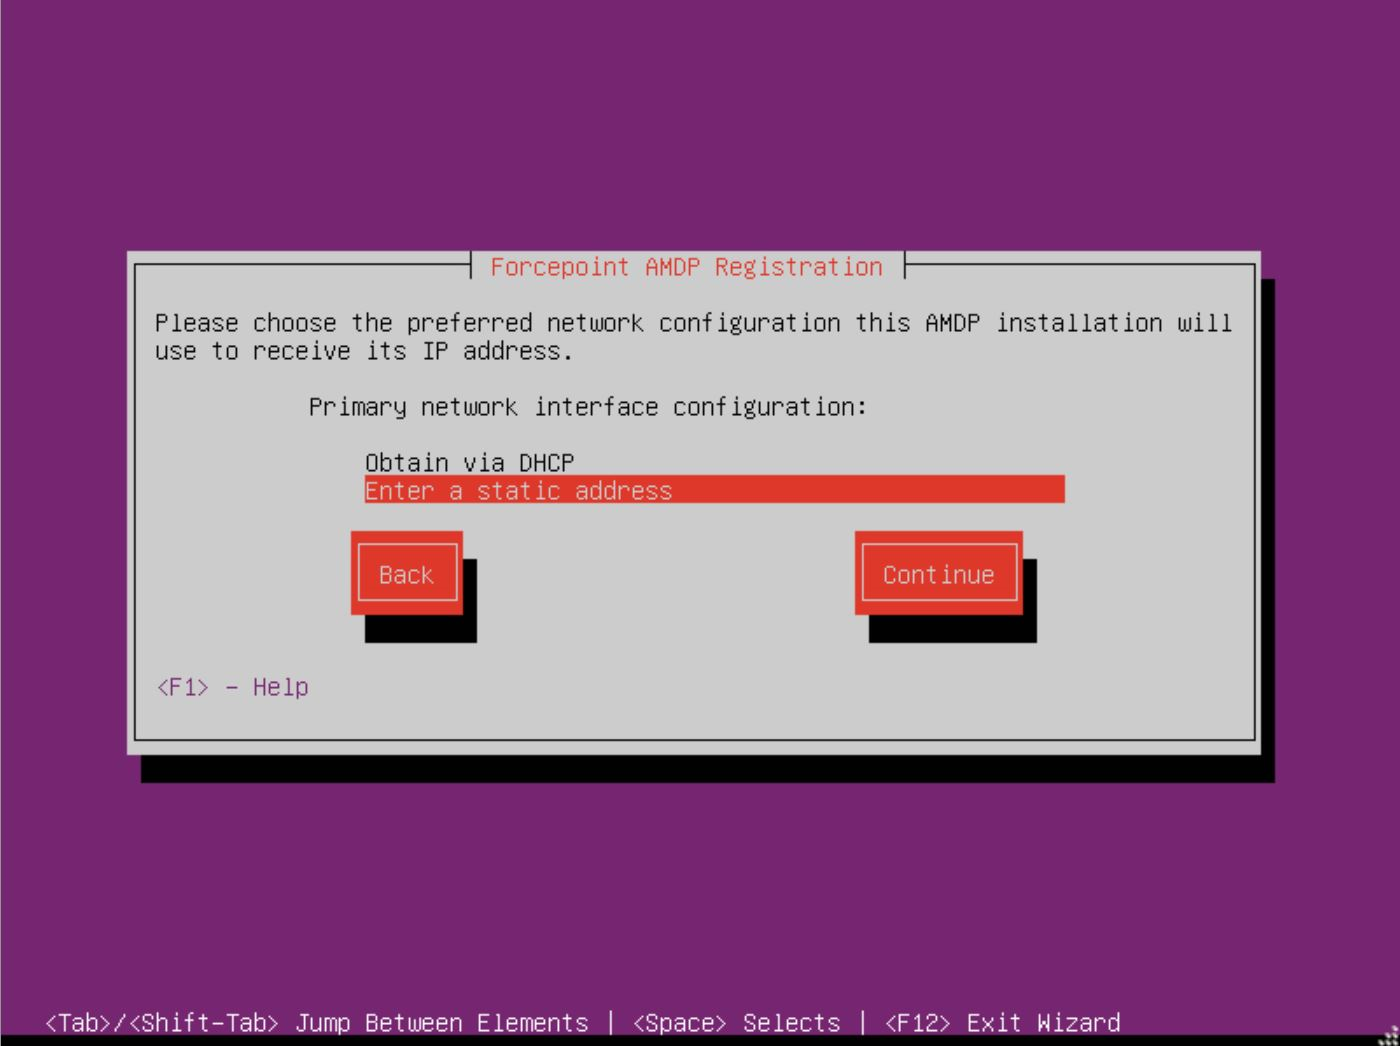
- Choose the preferred network configuration and select Continue.
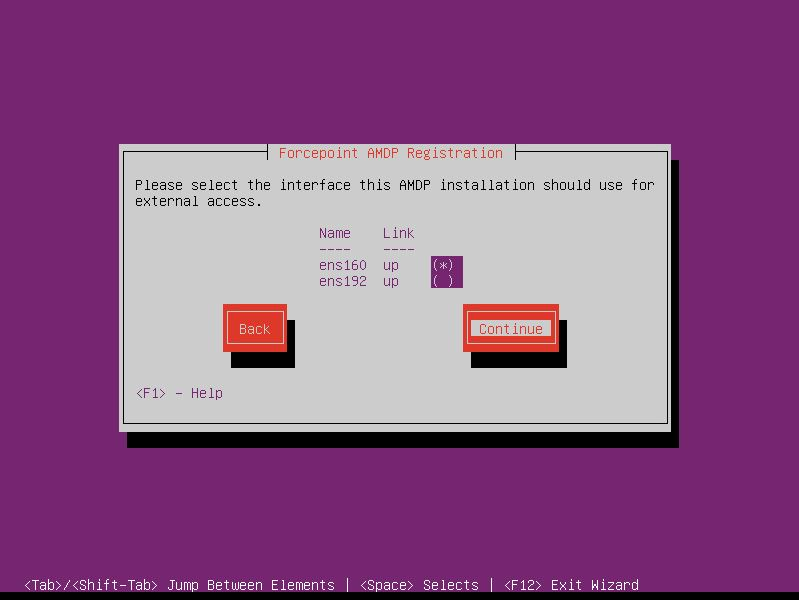
- Choose the interface for external access and select Continue.
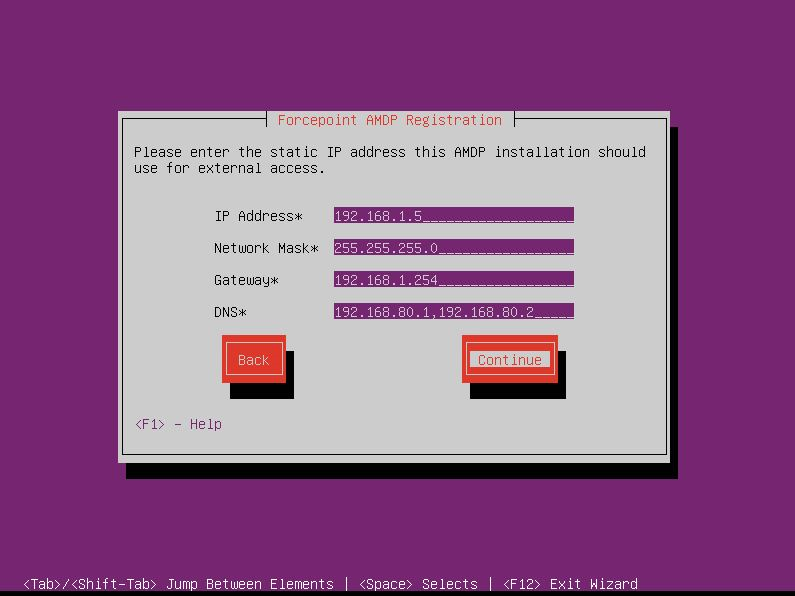
- On the Primary network interface, enter the static IP Address, Network Mask/CIDR, Gateway, and
DNS entries. Select Continue.Note: Multiple DNS servers should be comma separated.
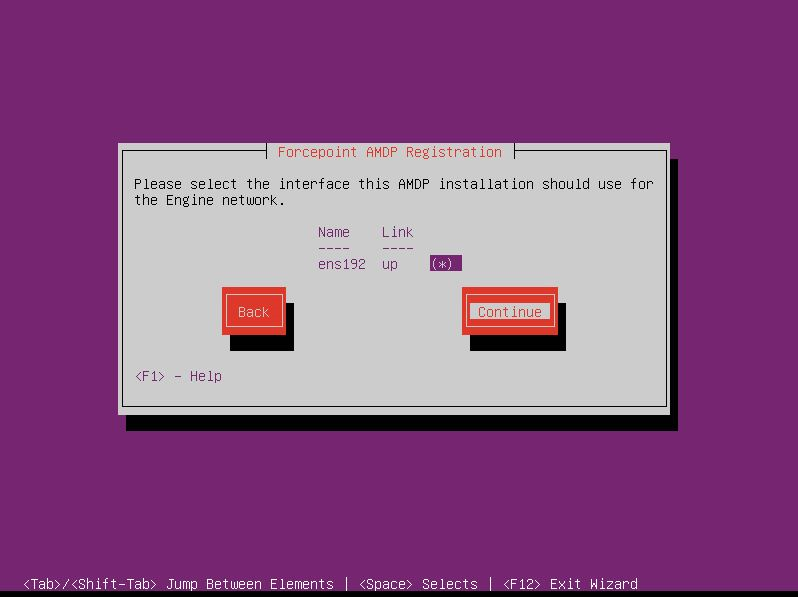
- Select the interface for the Engine network and Continue.
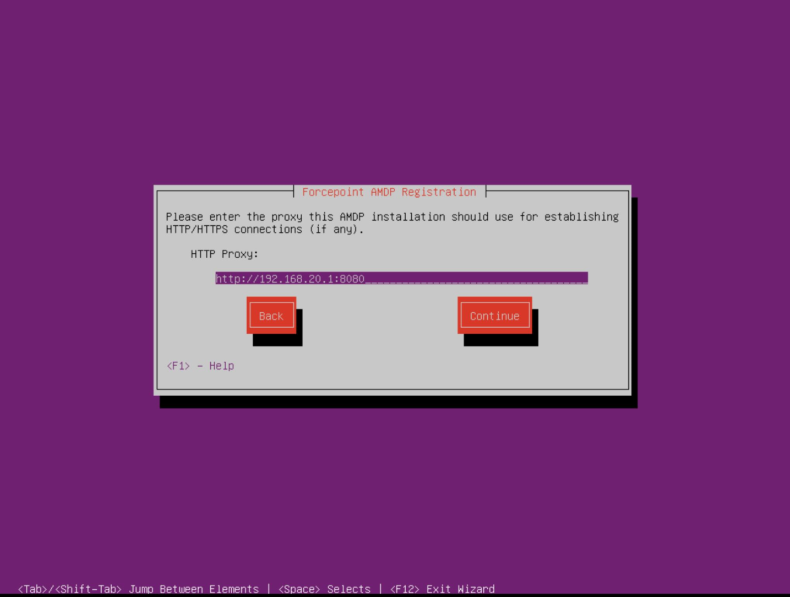
- Enter the HTTP Proxy address for establishing connection with the update servers. Select Continue.Note: Port 9091 needs to be reachable through the proxy for license verification.
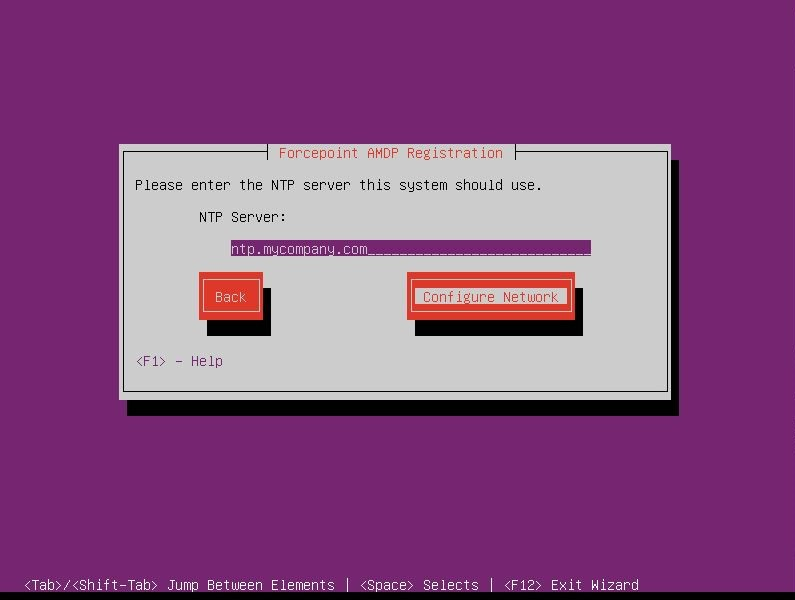
- Enter the NTP Server address and select Configure Network.
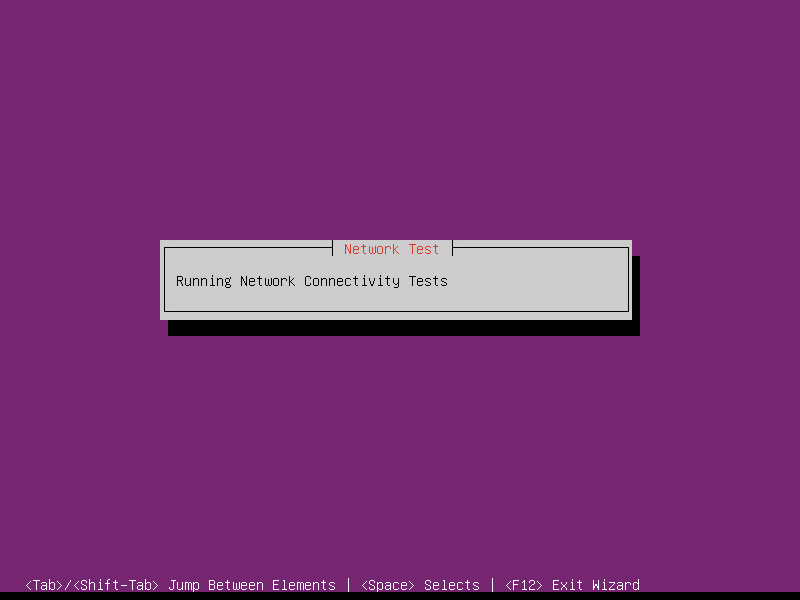
Network connectivity test runs.
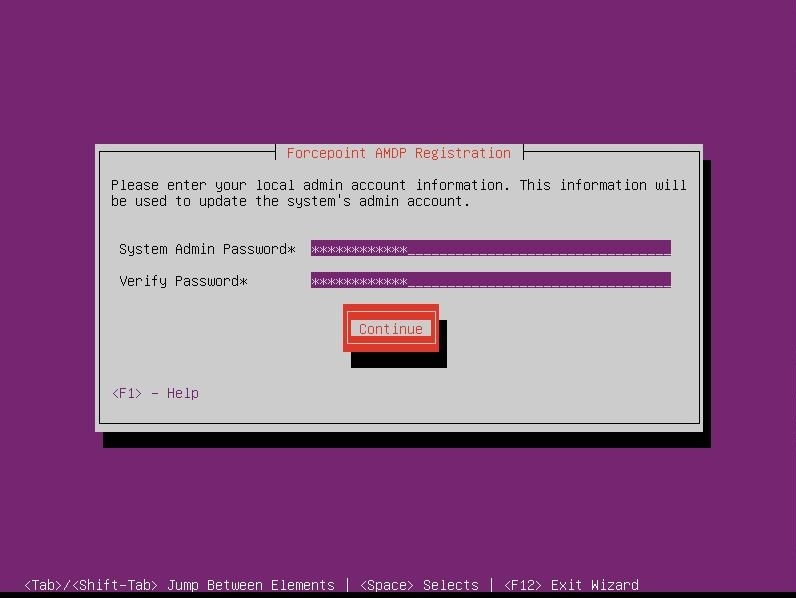
- Update the password for the local admin user to be used for console and ssh access. Select Continue.
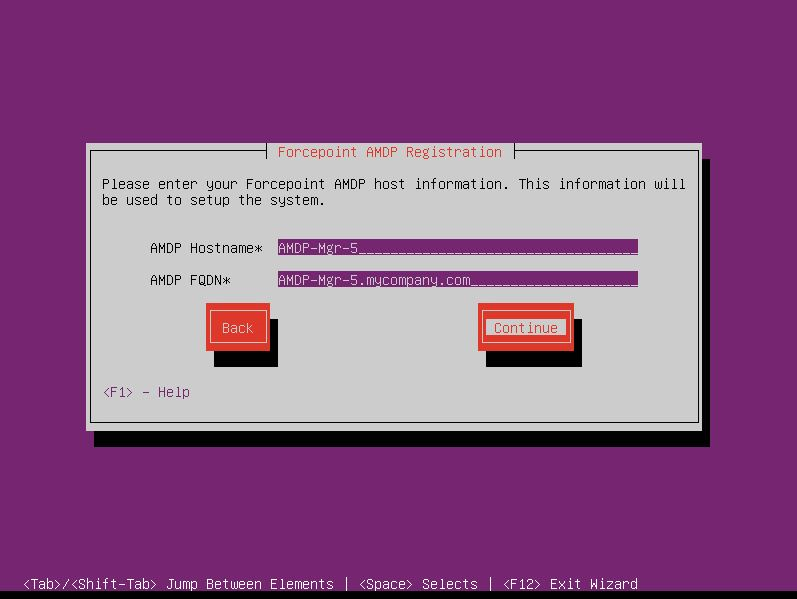
- Enter your Forcepoint Manager host information and select Continue.
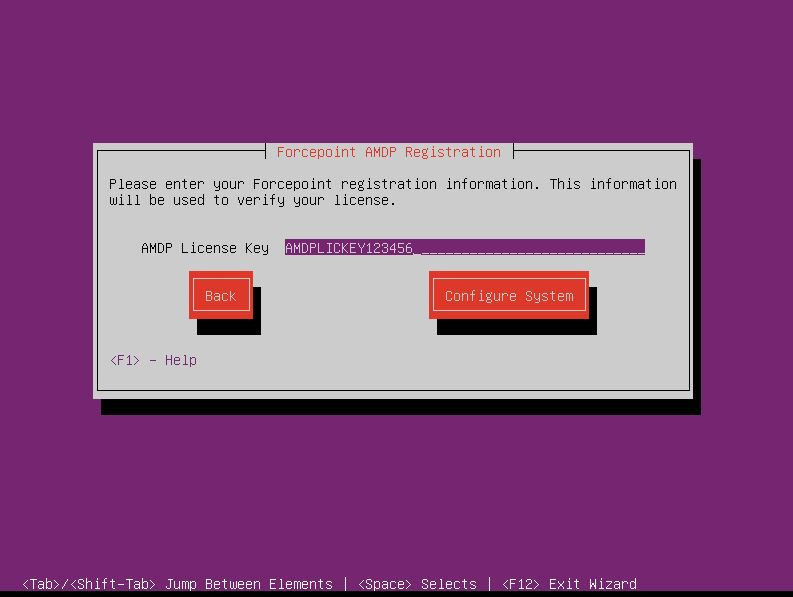
- Enter your Forcepoint Manager License Key and select Configure System.
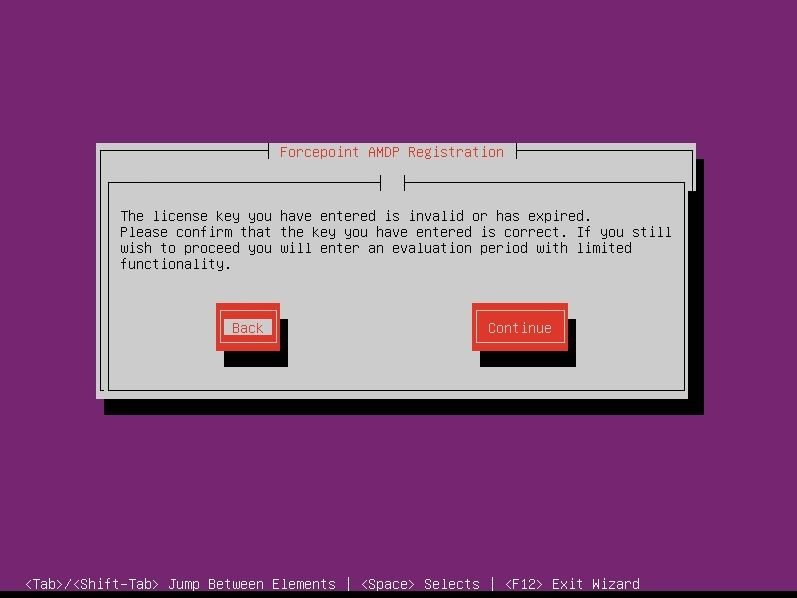
If the license key is invalid or has expired, you will enter an evaluation period with reduced functionality if you decide to Continue. Enter a valid license key to ensure the AMDP solution receives the necessary updates to function correctly.
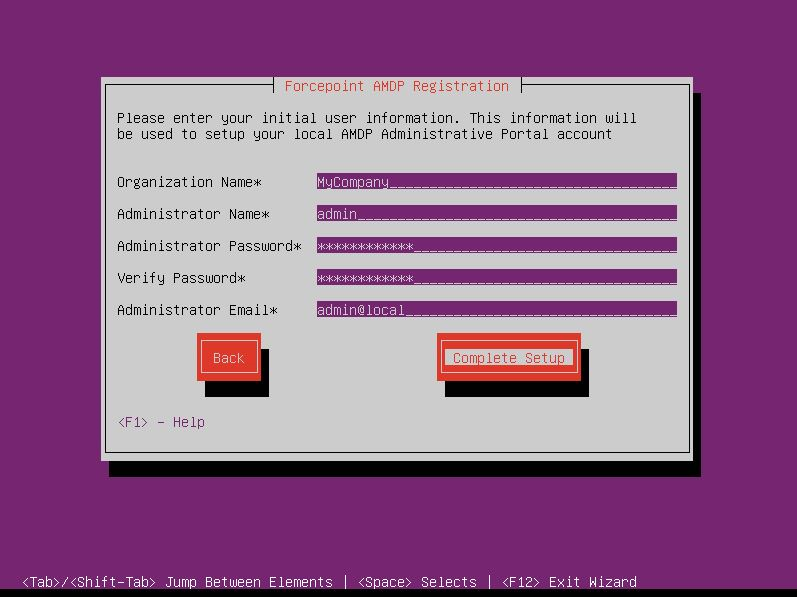
- To configure the AMDP administrative portal and login account for the portal administrator, enter Organization Name, Administrator
Name, Administrator Password, and Administrator Email. Select Complete Setup.
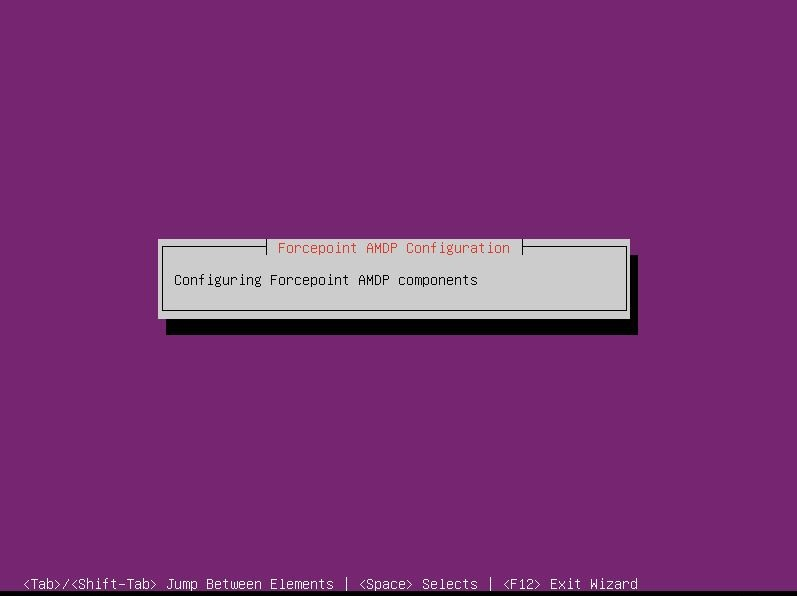
This will configure Forcepoint AMDP components. This step may take a while to complete.
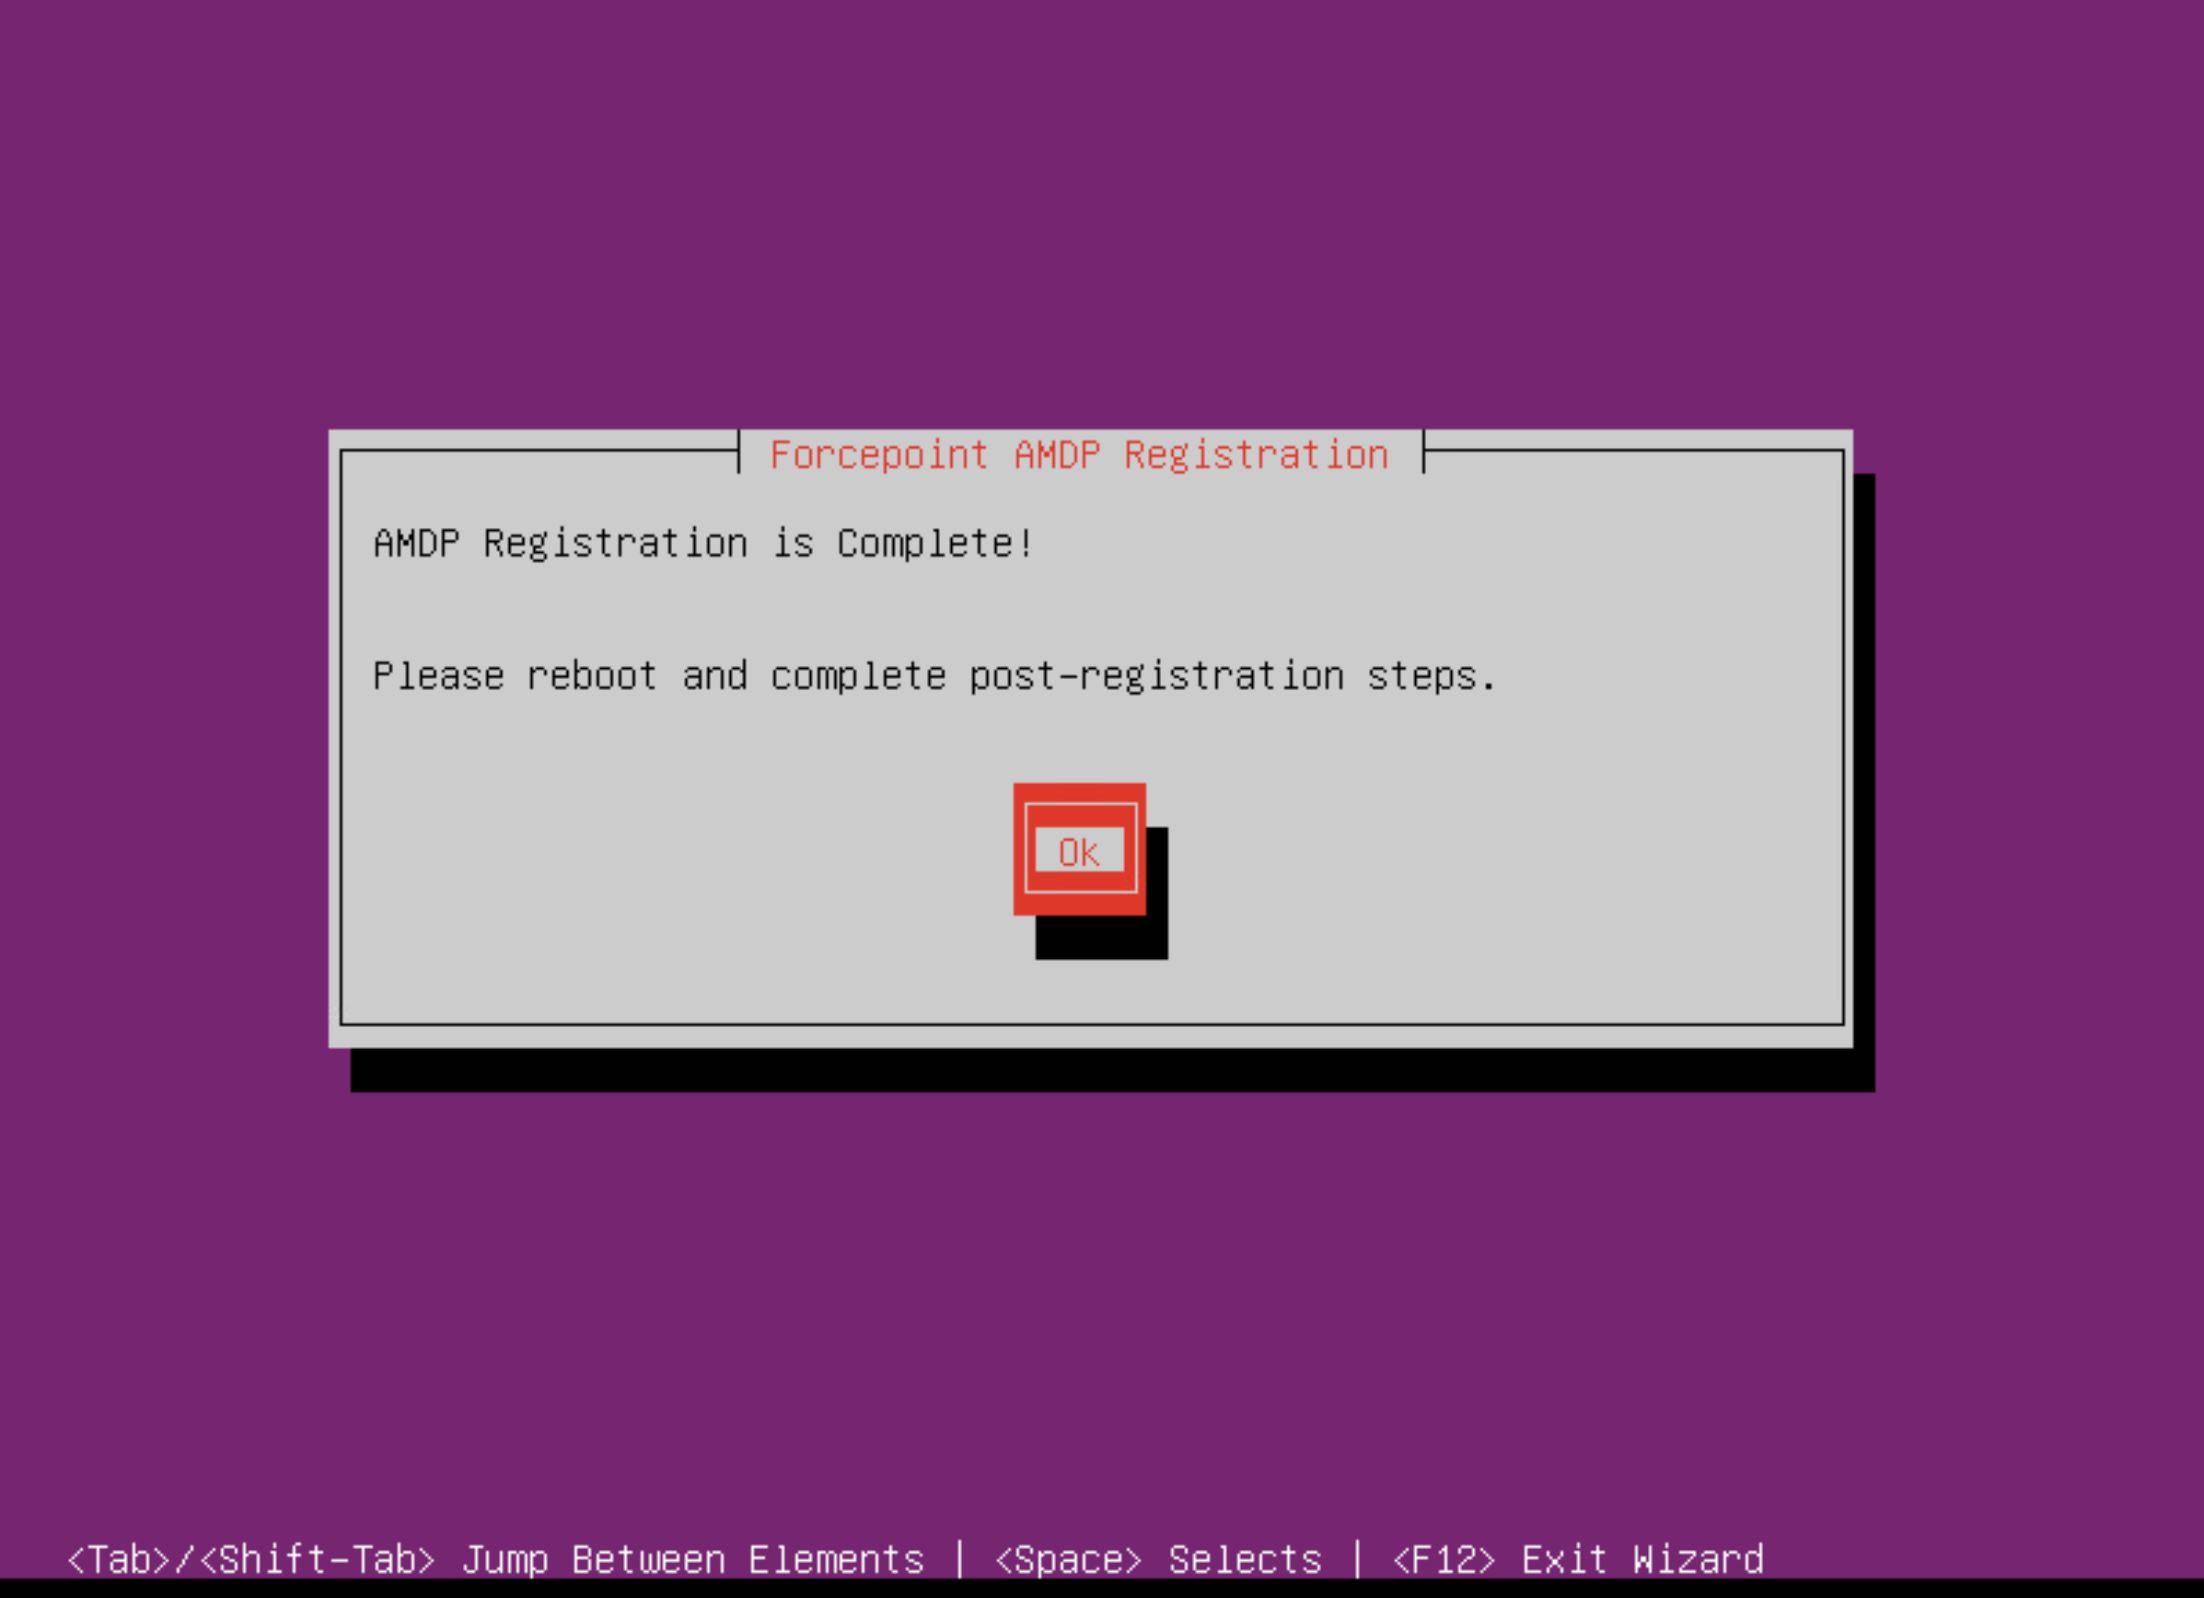
- Select Ok to exit the Manager Registration wizard. Upon exiting the Manager Registration wizard, you are taken back to the command line.
Using a Custom Certificate check for AMDP Manager:
As part of installation, a self-signed certificate is generated for the manager. If your organization is able to generate a certificate from a trusted authority, it is possible to install it manually.
- The signing Certificate Authority’s public key in PEM format.
- The signed certificate of the server in PEM format.
- The private key of the server in PEM format.
- Copy the certificates to the Manager.
In these examples, the files are uploaded to the home directory of the “admin” user, and are named:
- Server Cert: amd-manager-crt.pem
- Server PK: amd-manager-key.pem
- Signing CA: ca-cert.pem
- Copy the certificate and key files to the correct
locations.
root@amd-manager:/etc/nginx/ssl# cp ~admin/amd-manager-crt.pem tts.pem root@amd-manager:/etc/nginx/ssl# cp ~admin/amd-manager-key.pem tts.key - Add the Signing Certificate to the web server certificate chain by concatenating
files.
root@amd-manager:/etc/nginx/ssl# cat ~admin/ca-cert.pem >> tts.pem - Verify the certificate installation was
successful.
root@amd-manager:/etc/nginx/ssl# nginx –t nginx: the configuration file /etc/nginx/nginx.conf syntax is ok nginx: configuration file /etc/nginx/nginx.conf test is successful - Restart the nginx web server.
root@amd-manager:/home/admin# systemctl restart nginx