Step4: Upload DPS license JSON in Forcepoint Data Security Cloud | SSE
After the Forcepoint DLP and Forcepoint Data Security Cloud | SSE integration is configured and the DLP Cloud Application license is active, you need to upload the same DPS license JSON file provided with your Forcepoint order confirmation mail as part of the on-boarding process or requested from Forcepoint Technical Support in Forcepoint Data Security Cloud | SSE.
Steps
-
At the end of the Forcepoint DLP tile, click Save.
Once you have saved the DPS license JSON file, you can find DPS Tenant ID, an option to verify DPS connection and another option to update the DPS license JSON file.
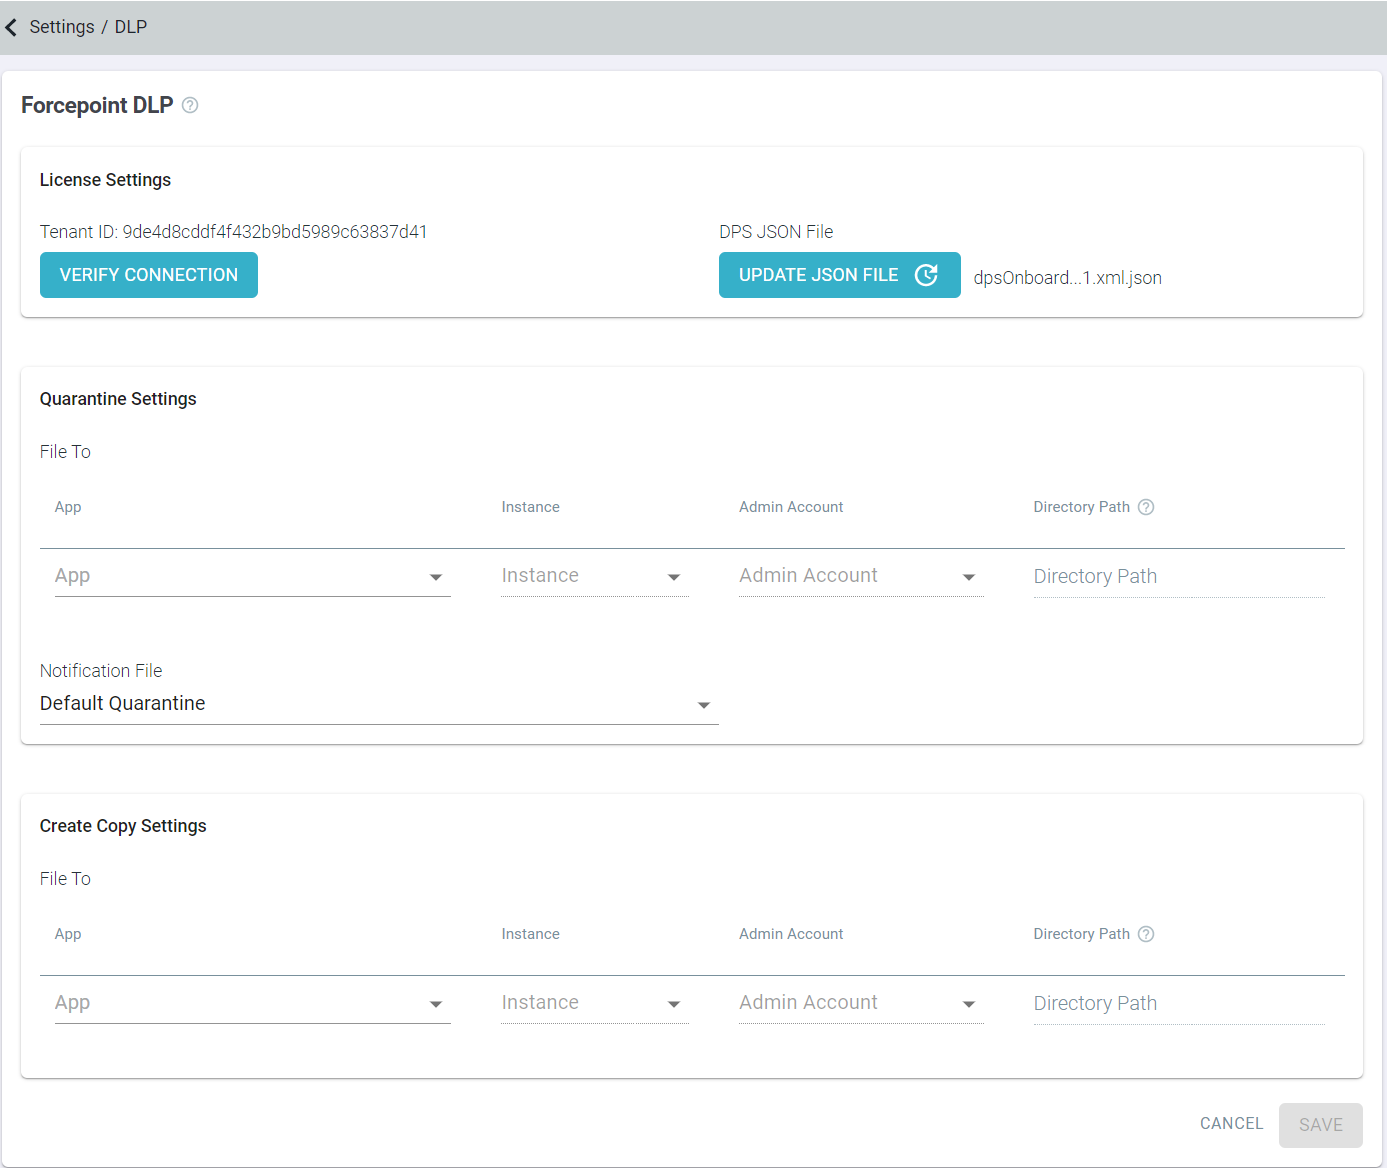 Note: You can share the DPS Tenant ID with the Forcepoint Technical Support while troubleshooting an issue.
 -
Click Very Connection to validate JSON and to check the connection to the DPS.
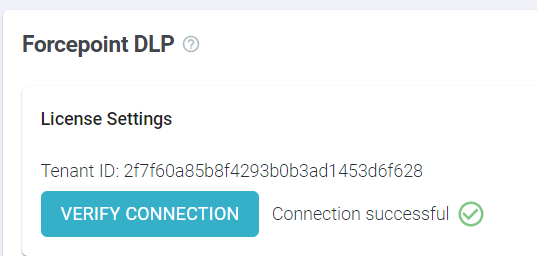
After successful validation of the license JSON file, a green checkmark appears along with the Connection Successful message.
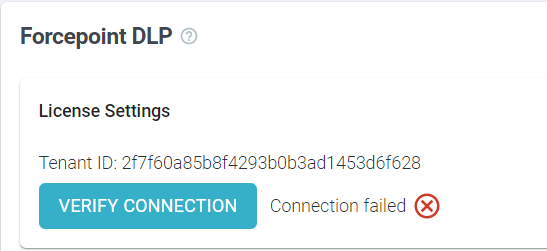
If the validation of the license JSON file failed as it was not able to make connection with DPS, then a red mark appears along with the Connection failed message.