Configuring Okta to support Forcepoint Data Security Cloud as SAML Service Provider
You can configure Okta to support Forcepoint Data Security Cloud as a SAML Service Provider. You should add Forcepoint Data Security Cloud as an application inside of Okta and then configure Okta as the external IdP inside of Forcepoint Data Security Cloud.
Creating App Integration
Note: You will need access to both the Okta admin portal as well as the Forcepoint Data Security Cloud.
- Open a new browser window/tab and login to Okta as an administrator.
- In the Admin Console, navigate to and then click Create App Integration.
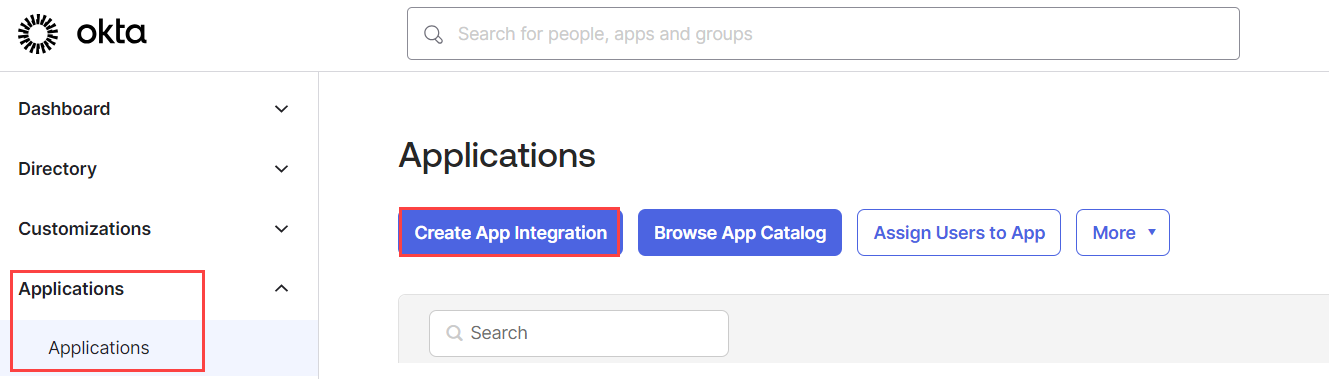
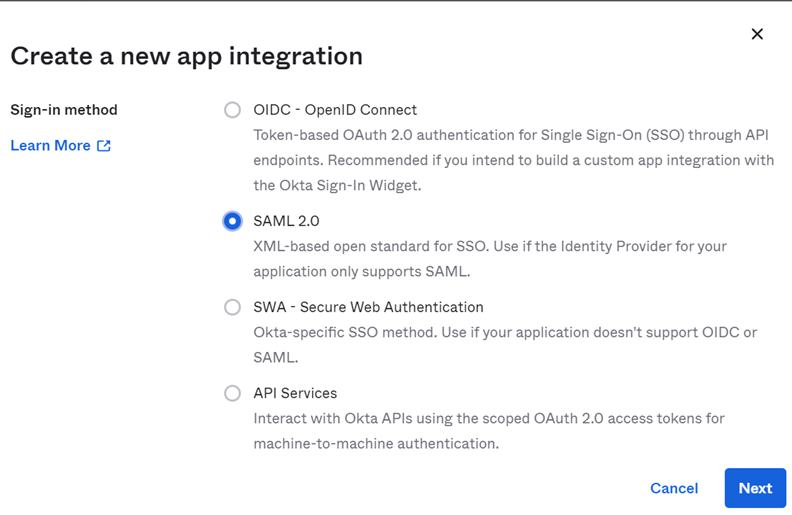
The Create a new app integration pop-up opens displaying the available sign-in methods.
- Select SAML 2.0 as the Sign-in Method for the Forcepoint Data Security Cloud and click
Next.
The Create SAML Integration page opens.
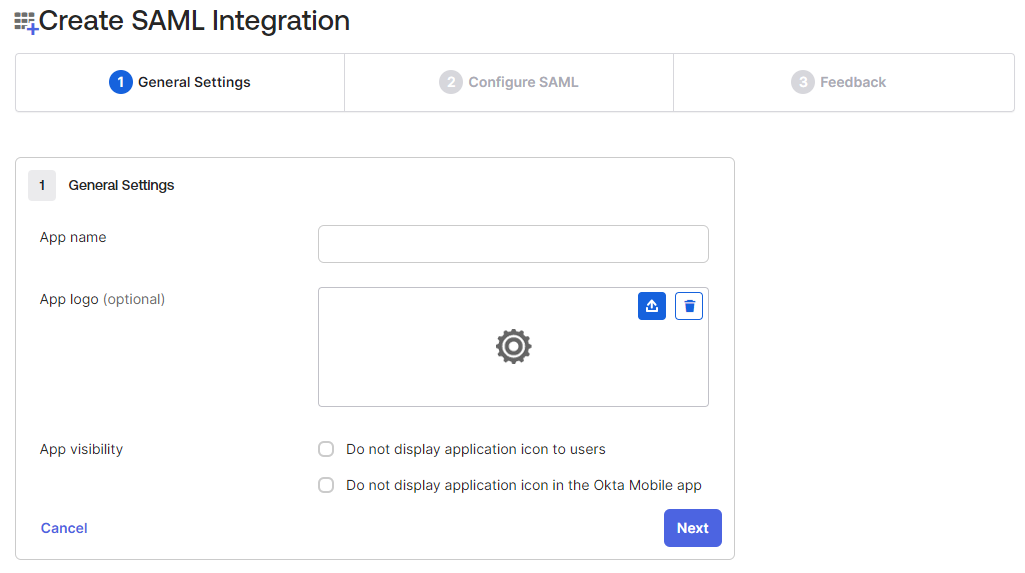
- On the General Settings tab:
- In the App name field, enter the application name to distinguish the application.
- Upload an App logo if required.
- Click Next to view Configure SAML settings.
- Under the SAML Settings section:
- In the Single sign-on URL field, enter the ACS URL copied from the SAML Profile, within the
Forcepoint Data Security Cloud.
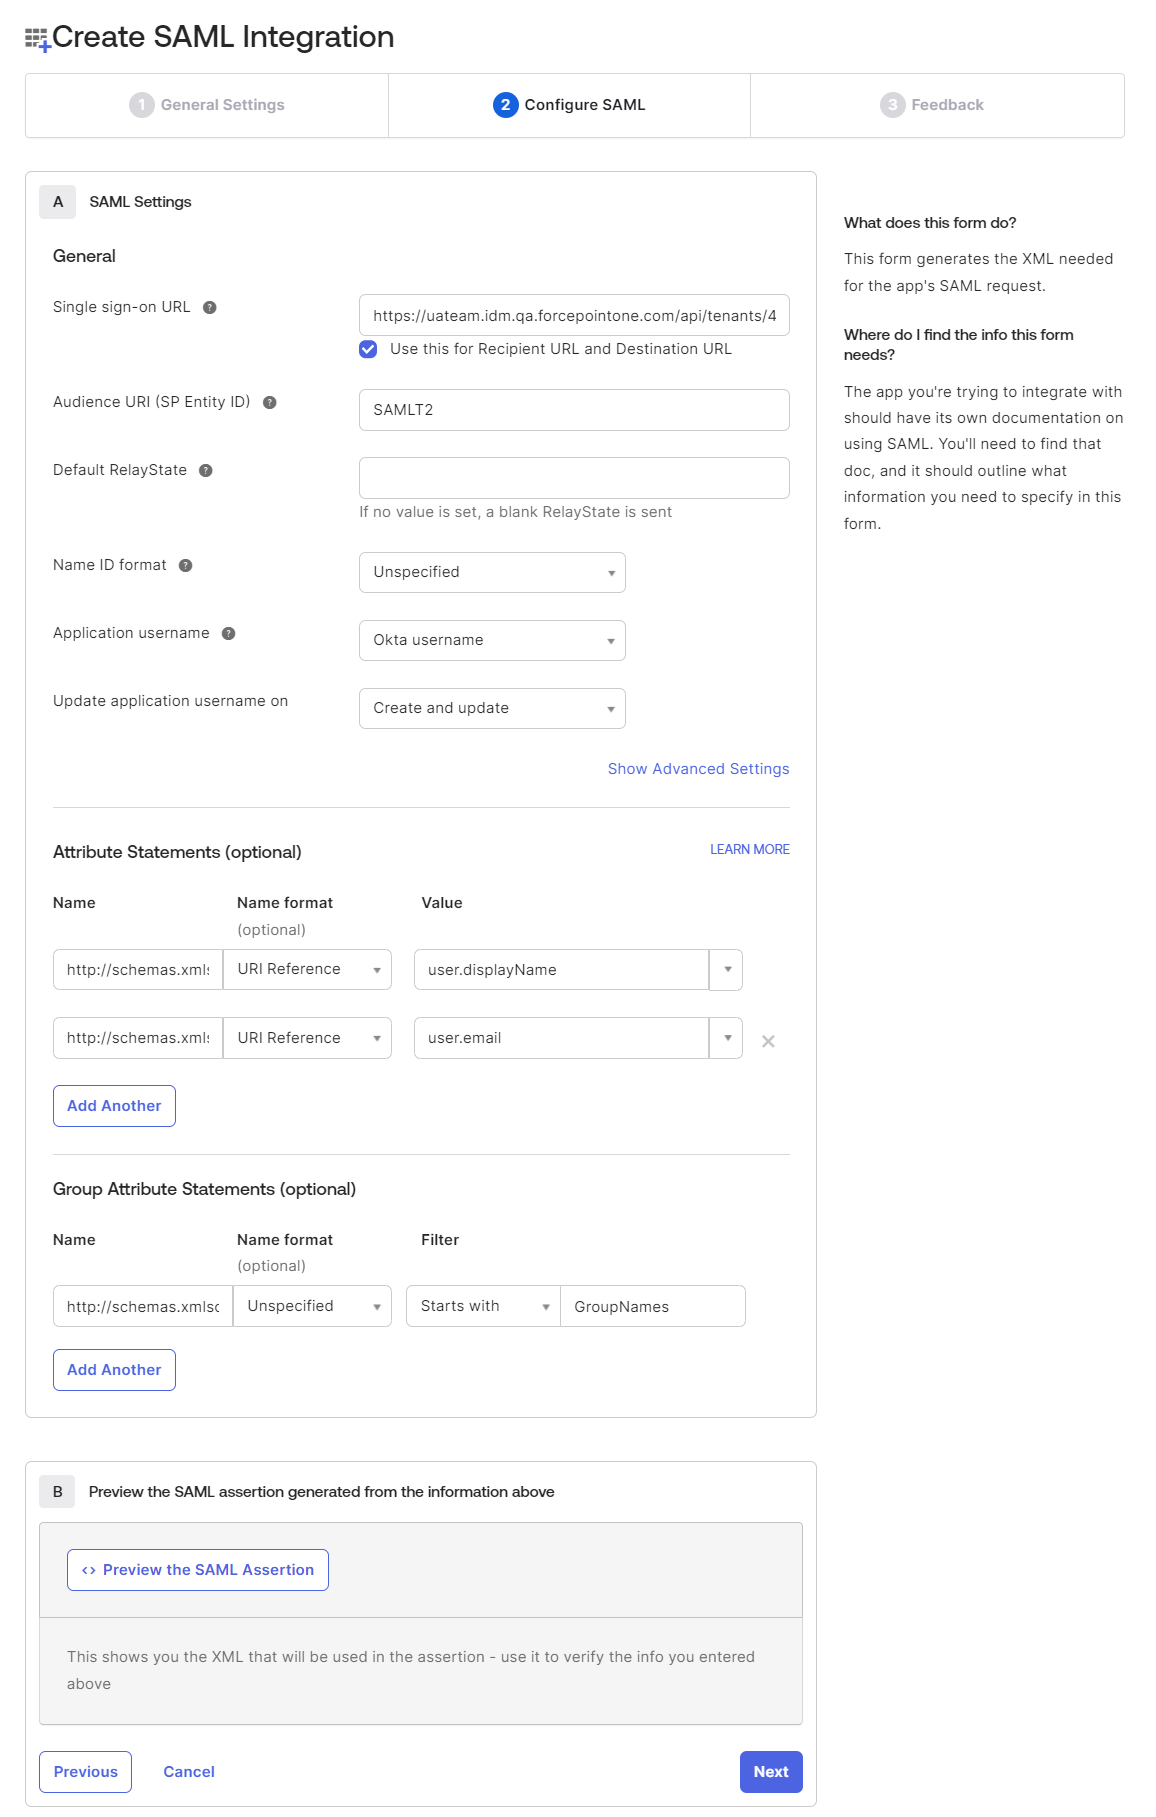
- Make sure Use this for Recipient URL and Destination URL checkbox is checked as the same URL is used as recipient URL and destination URL.
- In the Audience URI (SP Entity ID) field, enter the IDP Code copied from
- Under Attribute Statements (optional), add the following custom attribute statements for the integration.
Name Name format Value http://schemas.xmlsoap.org/ws/2005/05/identity/claims/name URI Reference user.displayName http://schemas.xmlsoap.org/ws/2005/05/identity/claims/emailaddress URI Reference user.email firstname Unspecified user.firstName lastname Unspecified user.lastName - Under Group Attribute Statements (optional), add the following group attribute statements for the integration.
Name Name format Value http://schemas.xmlsoap.org/claims/Group URI Reference Name of the group which you want to configure with the profile - Click Next to view the Feedback tab details.
- In the Single sign-on URL field, enter the ACS URL copied from the SAML Profile, within the
Forcepoint Data Security Cloud.
- On the Feedback tab, select I'm an Okta customer adding an internal app radio option and then select
This is an internal app that we have created checkbox as App Type.
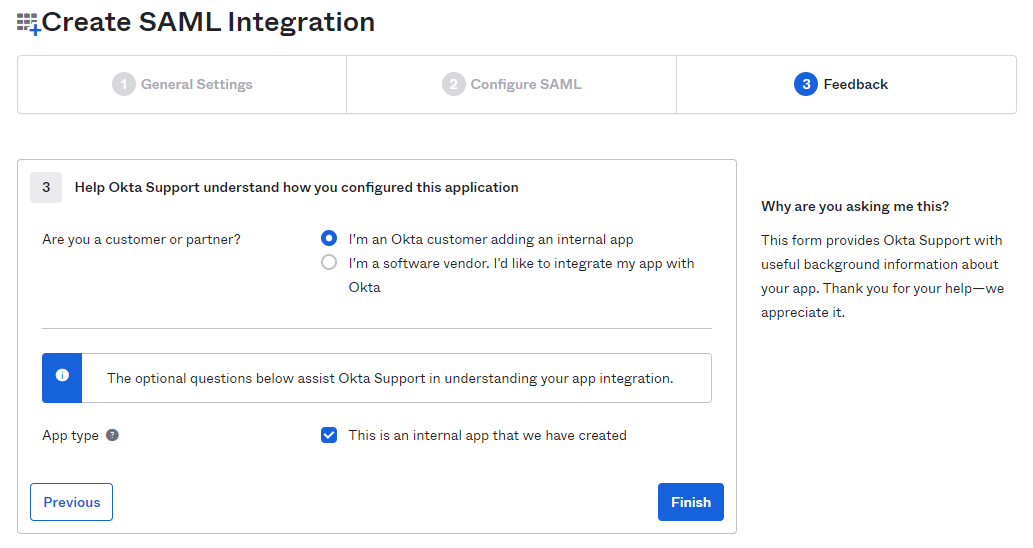
- Click Finish to create the custom application.
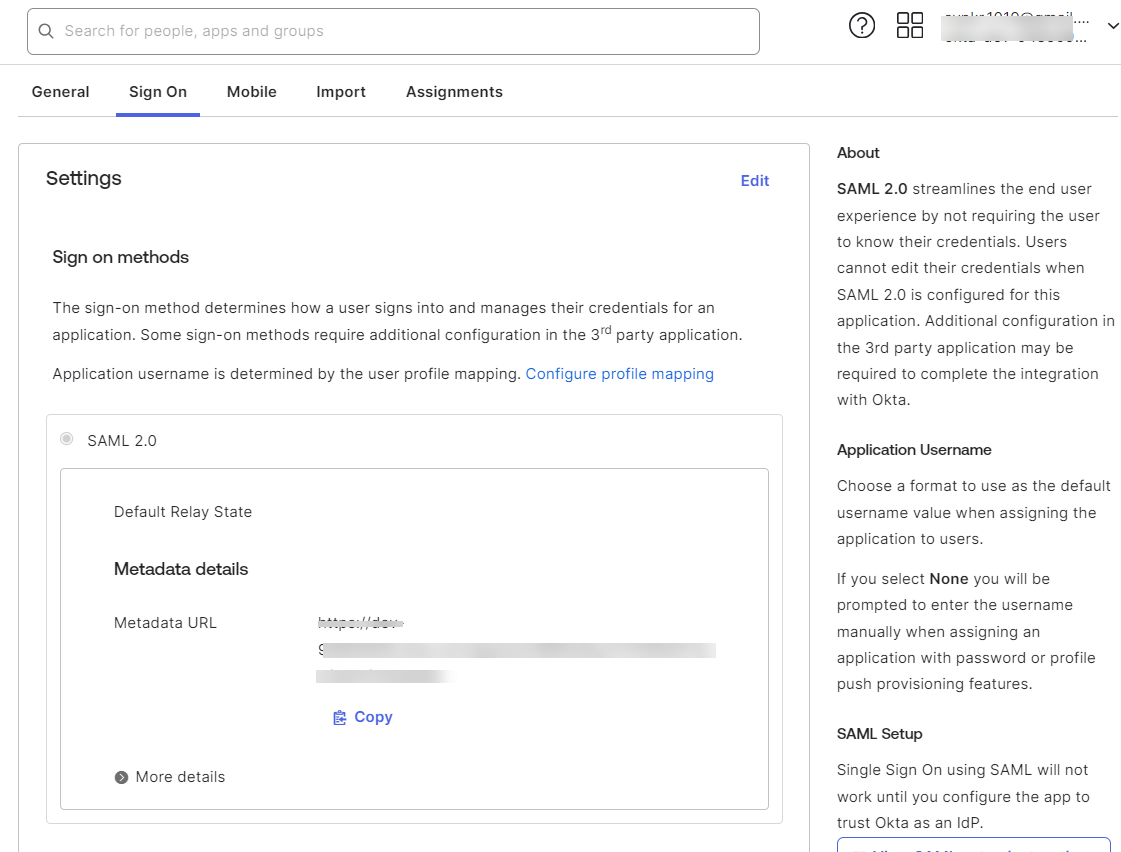
The Custom application opens displaying Sign On tab.
- On the Assignments tab, click or Assign to Groups to assign the application to the appropriate users or groups.

- Back on the Forcepoint Data Security Cloud browser window/tab, select the specific SAML profile from the list which you want to edit. This opens the editor.
- On the IdP Metadata section, select the IDP Metadata URL option from the IdP Metadata drop-down to pull
metadata details from Okta.
- Copy the Metadata URL from the SSO tab (Step 12) and paste the URL in the Metadata URL field.
- To pull the metadata based on url, click Get Metadata.
After clicking Get Metadata, other fields are auto-populated.
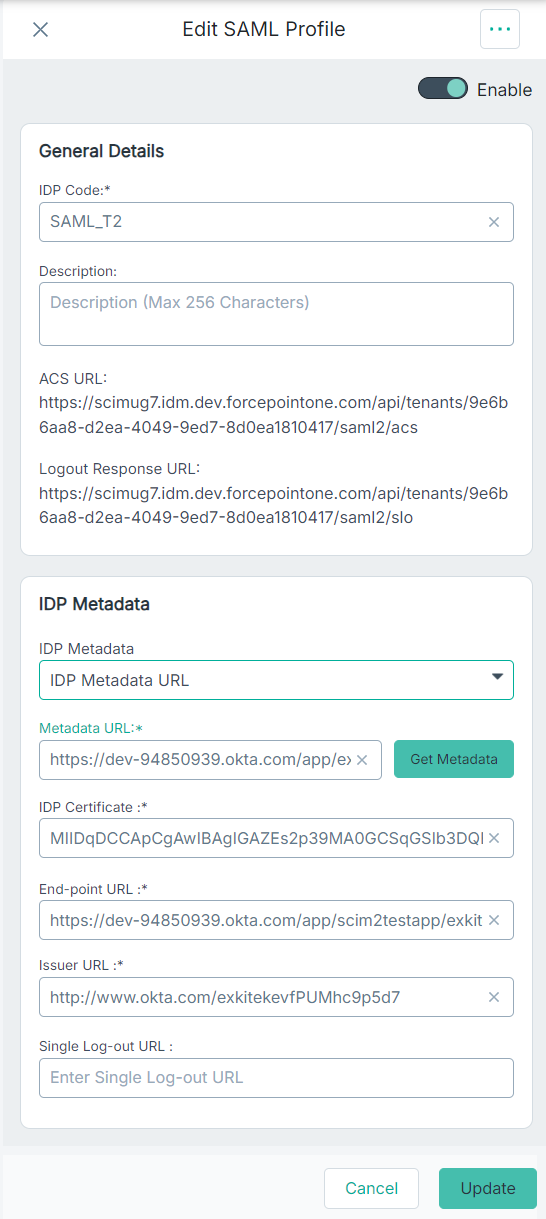
- Click Save to save the changes.
- Set Okta as default IdP, if required.
Enforce users from the specific username domain to get authenticated by the selected Okta IdP. To configure username domain, refer to Adding a new username domain.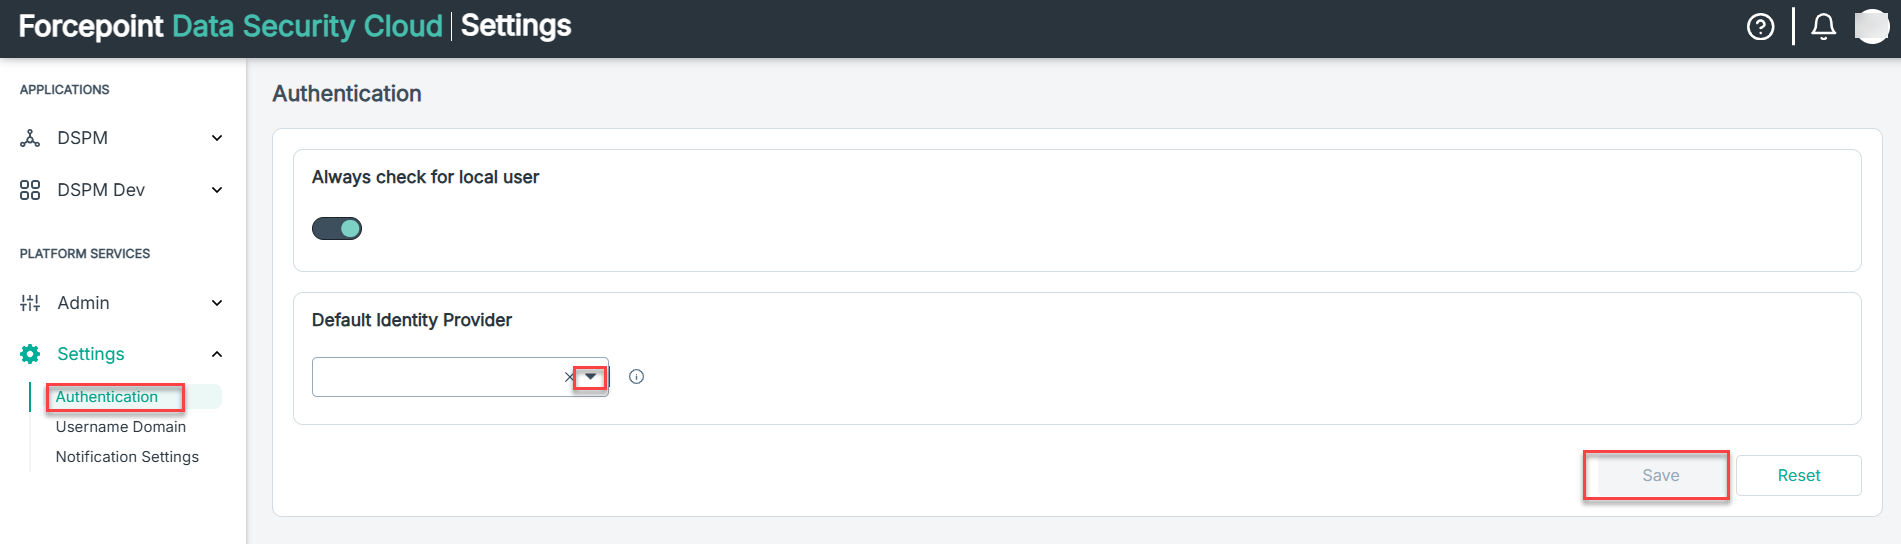
- Test the configuration by opening a new browser window (or incognito window) and attempt to login to Forcepoint Data Security Cloud
as one of the Okta assigned users.
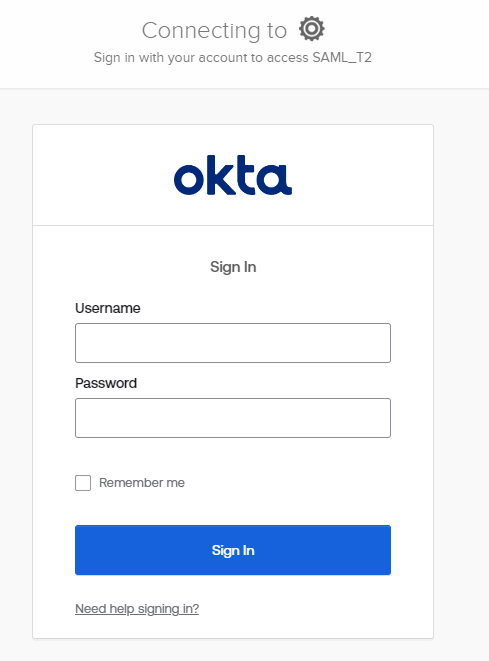
You should be redirected to the Okta login page where you need to enter credentials before being redirected back to Forcepoint Data Security Cloud.