Deploy the agent via Jamf Pro
This section explains how to deploy the Forcepoint Mobile Endpoint Agent using Jamf Pro, including configuring the trusted certificate profiles, deploying the application, configuring the virtual private network (VPN) profile, and supplying the User Principal Name (UPN) through a managed app configuration on iOS and iPadOS devices.
Steps
-
Step 1: Deploy the Mobile Endpoint Agent application.
You can distribute a mobile app in one of two ways: install it automatically (users are prompted on unsupervised devices), or make it available in the Jamf Self Service app. Both methods are available to any app on supervised devices and on Account-Driven (BYOD) unsupervised devices.
Note: The Jamf Self Service app itself must use Install Automatically/Prompt Users to Install. On an unsupervised device, nothing else exists yet to let the user open Self Service and install it manually; a supervised device installs Self Service silently during enrollment.-
Register the user(s) with the Volume Purchasing Program (VPP) invitation
Note: If the target users are already registered with Volume Purchasing, skip this step.
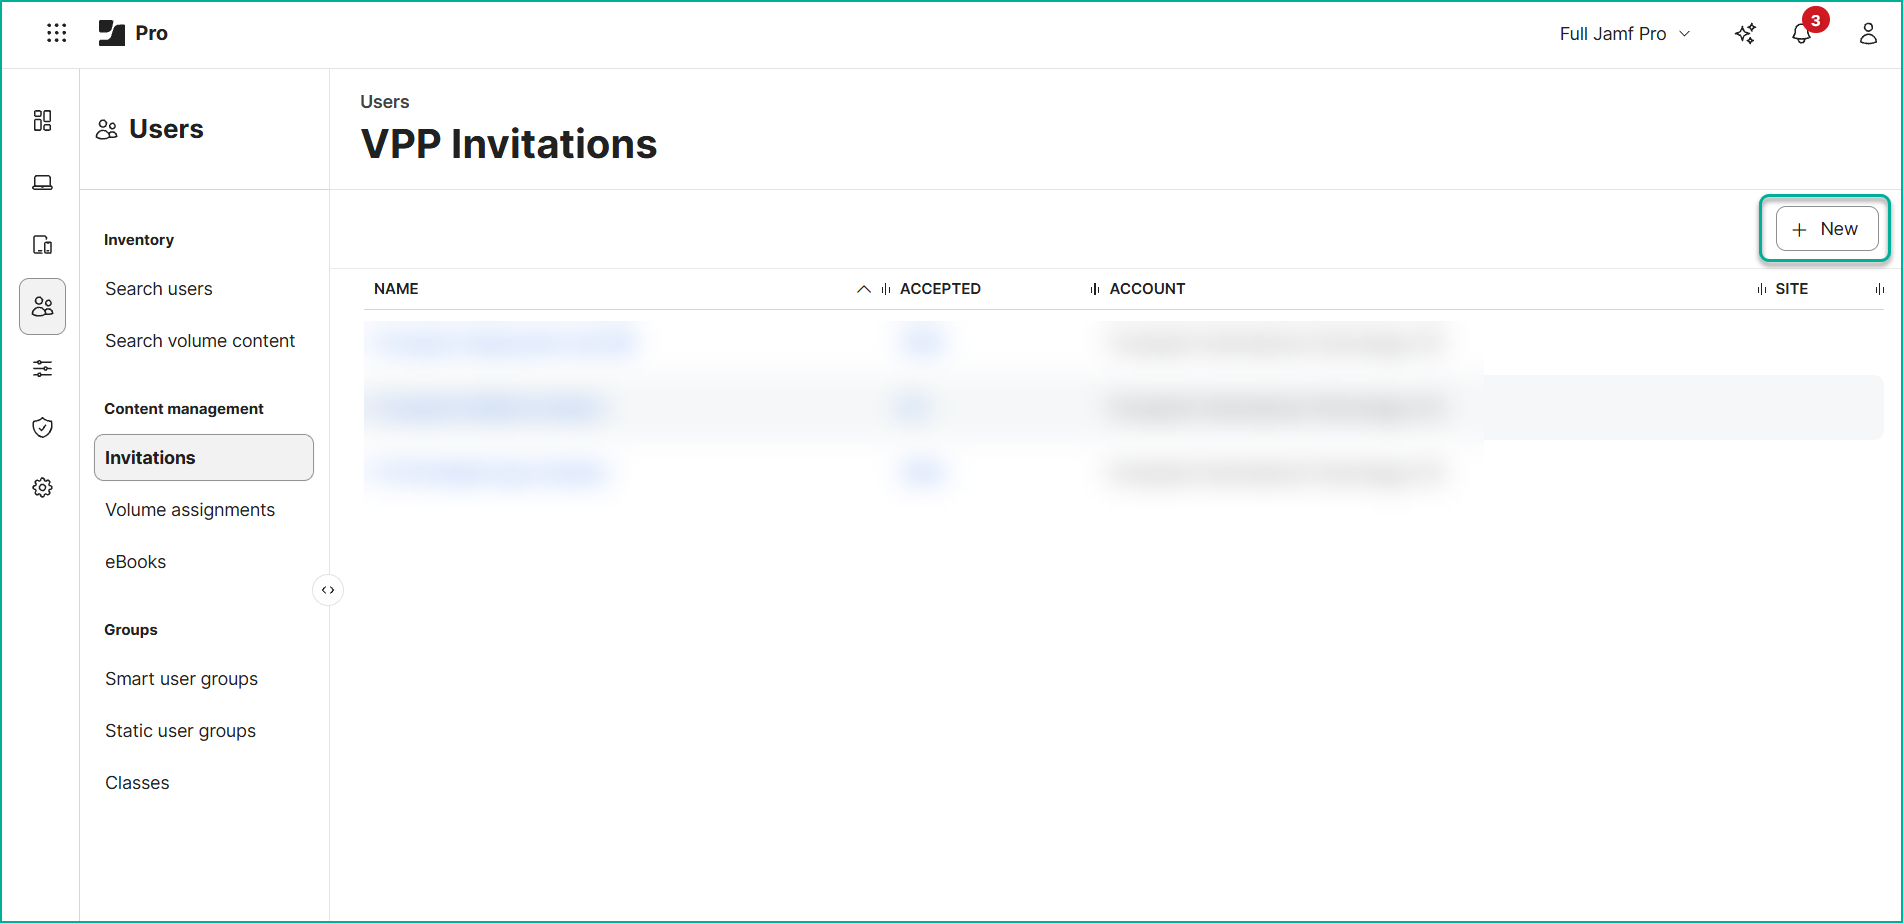
- In Jamf Pro, navigate to and click New in the upper right.
- Set the Distribution Method:
Table 1. Option Description Prompt users to accept/make available in Self Service Sends an invitation that users accept. Automatically register only users with Managed Apple IDs and skip invitation Automatically selects and disables the checkbox in the next step. 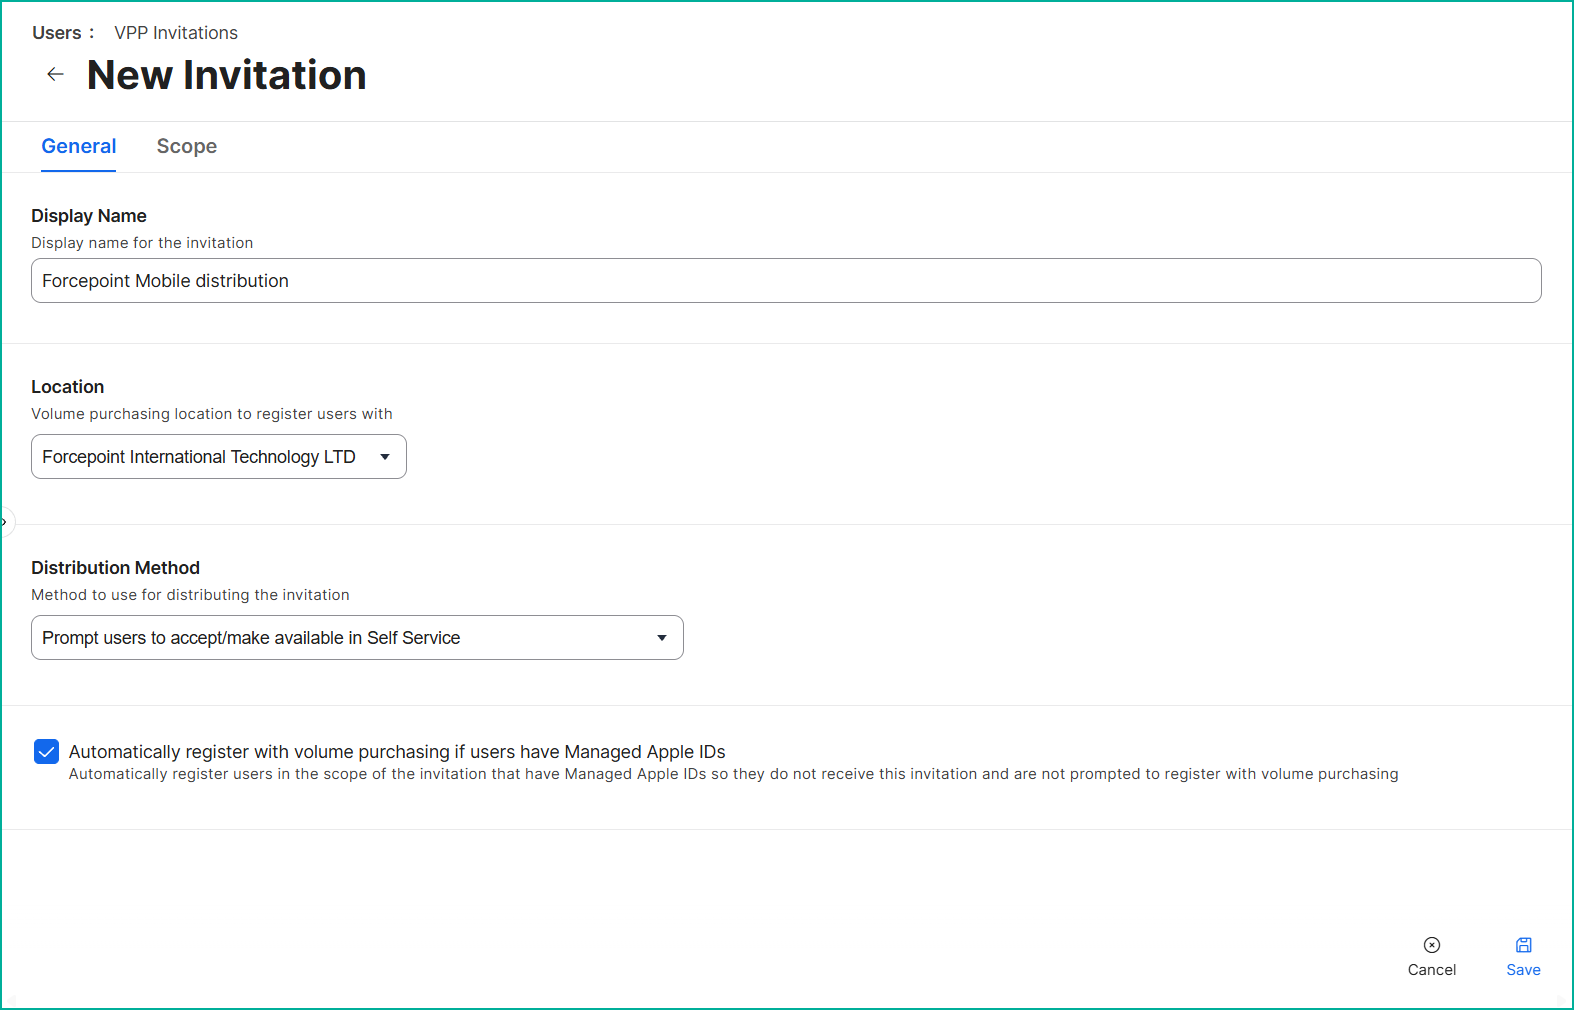
- Select Automatically register with volume purchasing if users have Managed Apple IDs.
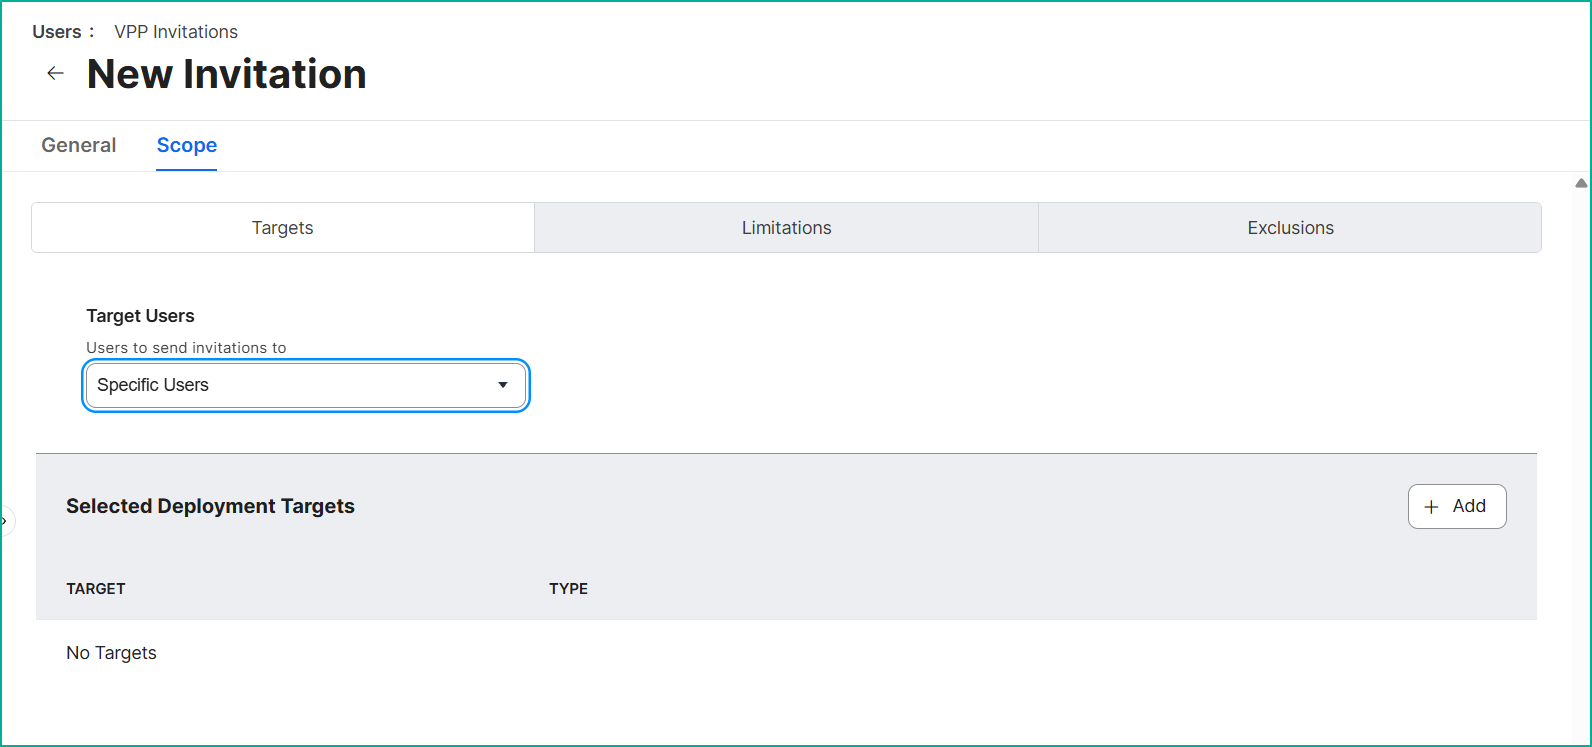
- On the Scope tab, add the target users or user groups. Use the same scope for the remaining steps in this deployment.
- Click Save.
To verify, open and click the Accepted percentage. The user's status reads VPP user is associated with an iTunes Store account.
- In Jamf Pro, navigate to and click New in the upper right.
-
Add Mobile Endpoint Agent application
- In Jamf Pro, navigate to and click New.
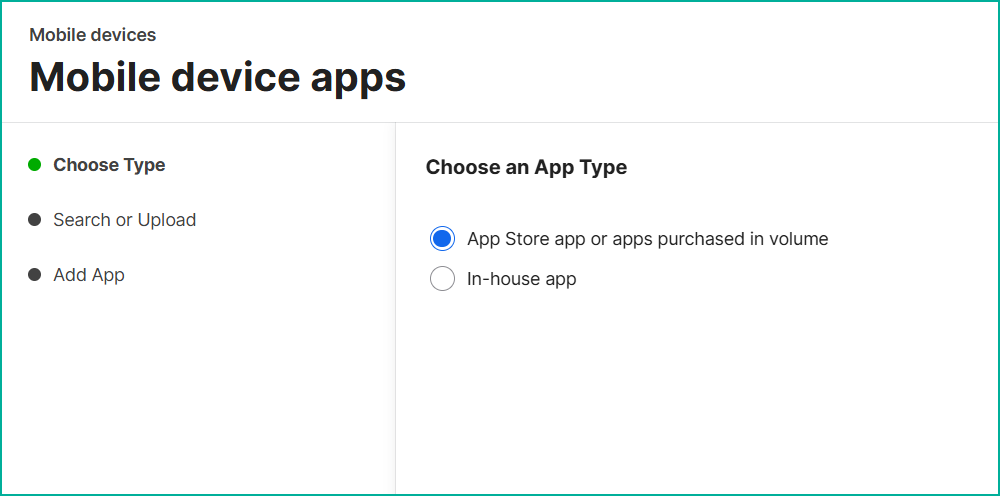
- In the Mobile Device Apps page, select App Store app or apps purchased in volume and click
Next.
- Search for Forcepoint Mobile and click Next.
- From the search results, select the Forcepoint Mobile application and click Add.
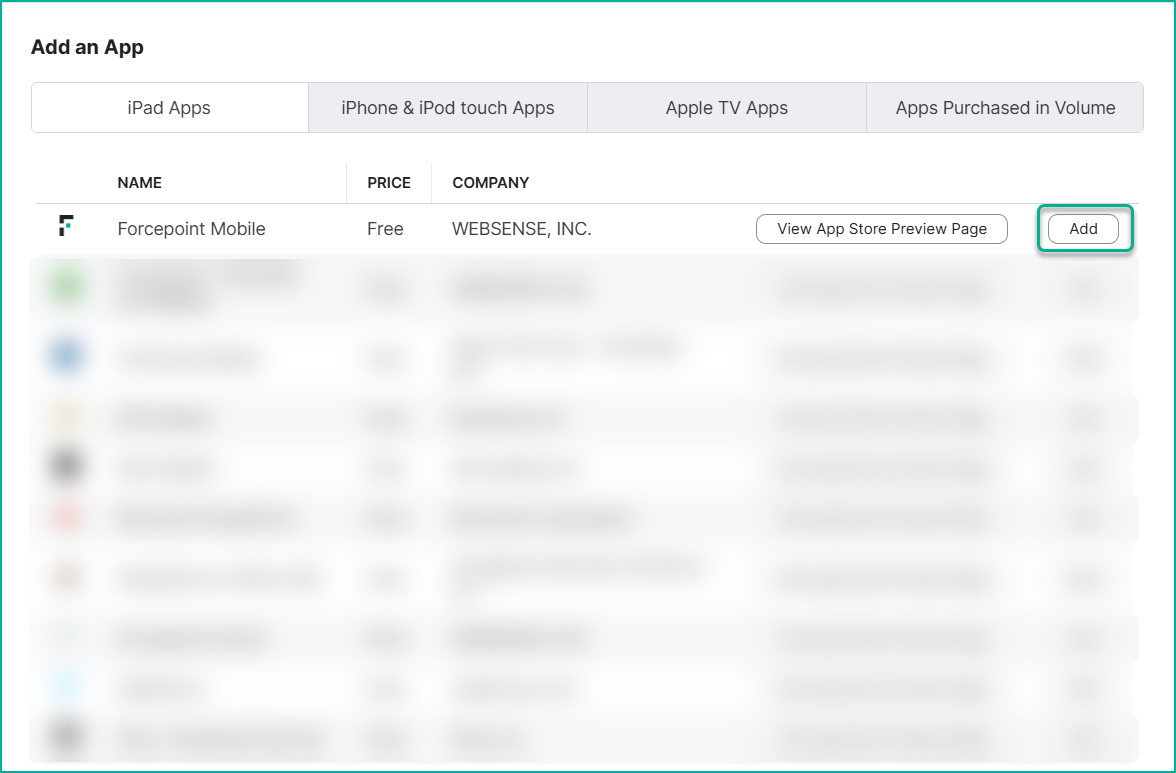
The New Mobile Device App page opens. Select the tab that matches your target platform:
- Use the iPhone & iPod touch Apps tab to add the app for iOS devices.
- Use the iPad Apps tab to add the app for iPadOS devices.
- On the General tab, set the following app metadata fields:
- Display Name: Enter a descriptive name for the app.
- Site: (Optional) Assign the app to a specific site.
- Category: (Optional) Assign a category.
- Distribution Method: Select how the app is delivered to devices in scope:
Table 2. Option Description Install Automatically/Prompt Users to Install The app installs silently on supervised devices without user interaction, and prompts the user to install on unsupervised devices. Forcepoint recommends this option so that the Forcepoint Mobile agent is deployed to all targeted devices. Make Available in Self Service The app is published to Jamf Self Service, where users install it manually when needed.
Following is an example of information that you can enter in the mandatory fields:
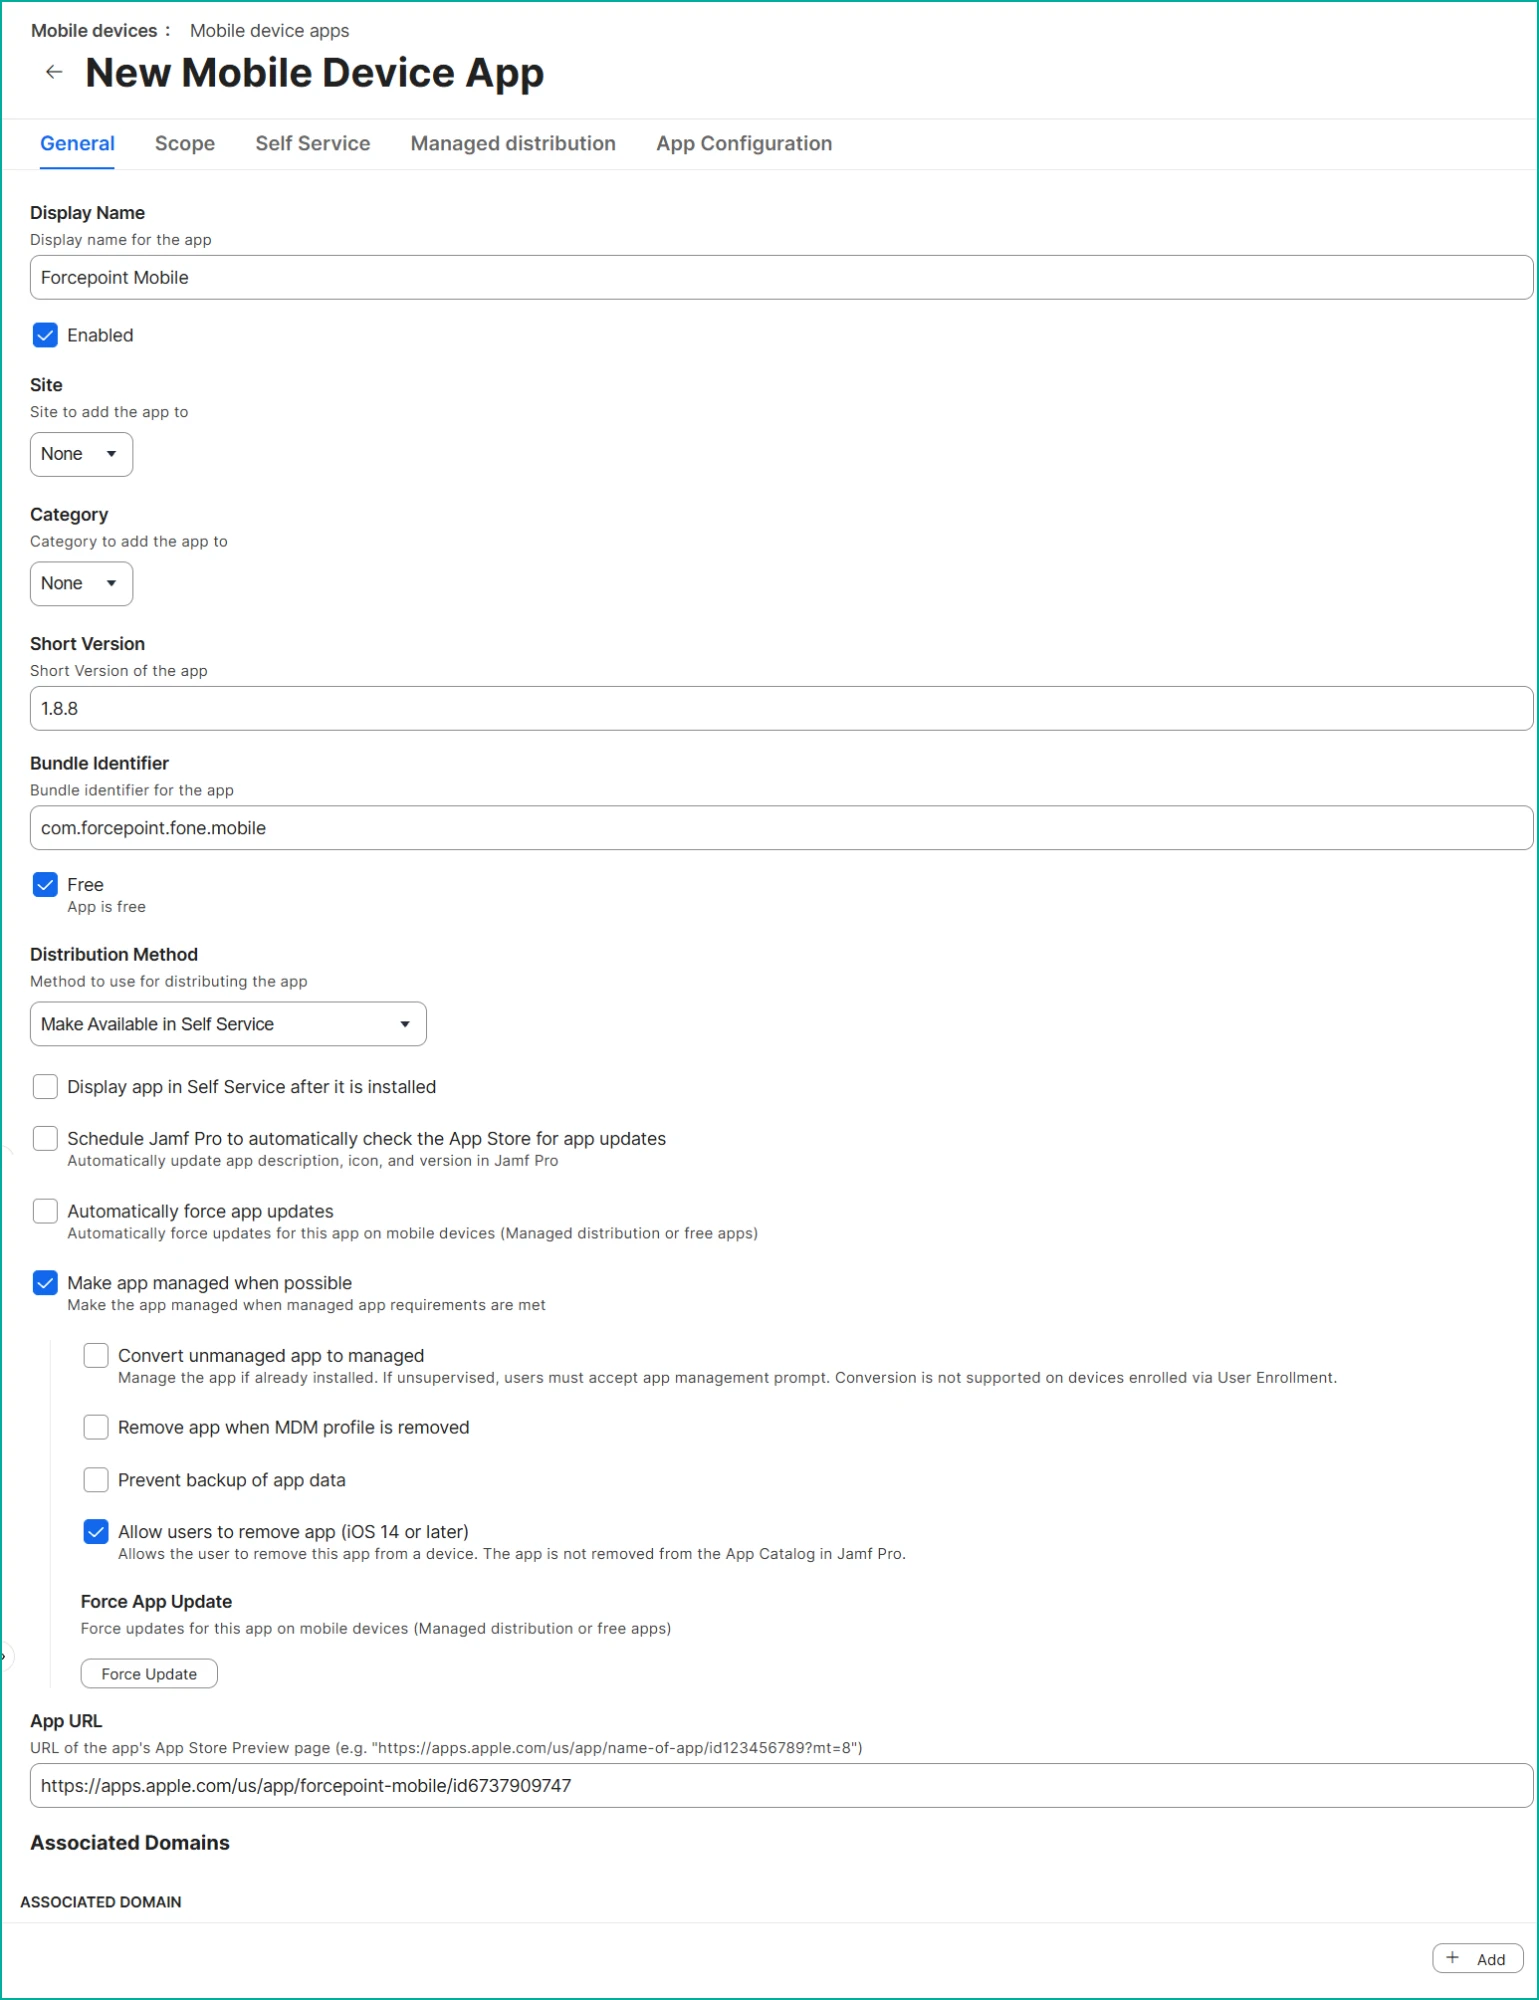 Note: The remaining fields on the General tab (such as update scheduling, forced updates, the Self Service display, and the app-management options) are standard Jamf Pro settings. Configure them according to your organization's requirements. Keep Make app managed when possible selected so that the app can receive its managed app configuration.
- On the Scope tab, assign the target devices, users, device groups, or user groups. To narrow the deployment, you can also exclude specific devices, device groups, users, or user groups. Use the same scope for the remaining steps in this deployment.
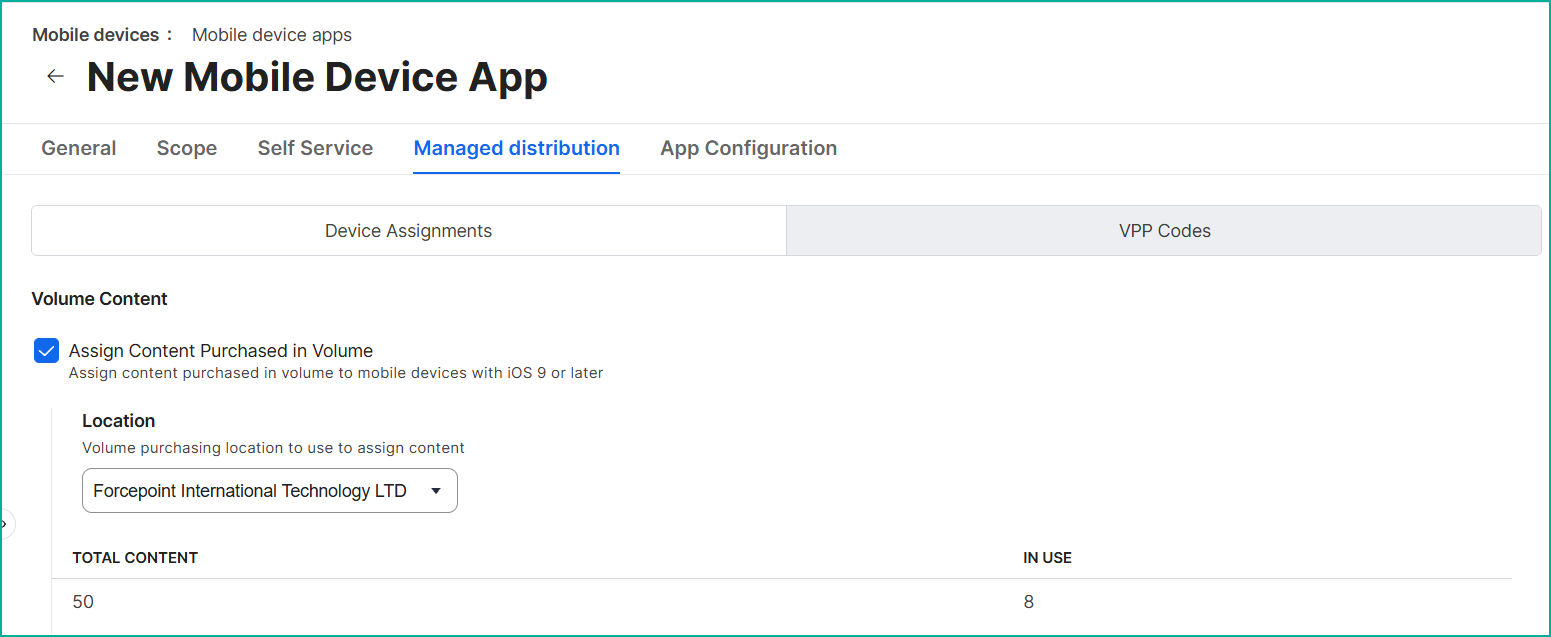
- On the Managed Distribution tab, on the Device Assignments subtab, select Assign Content Purchased in
Volume, then choose the VPP location from the Location dropdown.
- Click Save.
-
Create a Volume Assignment
A Volume Assignment hands a license to a specific user. It is mandatory for any app deployed to an unsupervised or BYOD device, because Apple's device-based license assignment does not apply to Account-Driven User Enrollment devices.
Note: A VPP invitation only registers the user with Volume Purchasing. A Volume Assignment is what actually assigns the license. Both are required for unsupervised or BYOD devices.- Navigate to .Note: Create a new assignment only if none exists for this location. If one already exists, open it, click Edit, and add the app to it instead of creating a duplicate.
- In the General pane, enter a name and select the VPP Location.
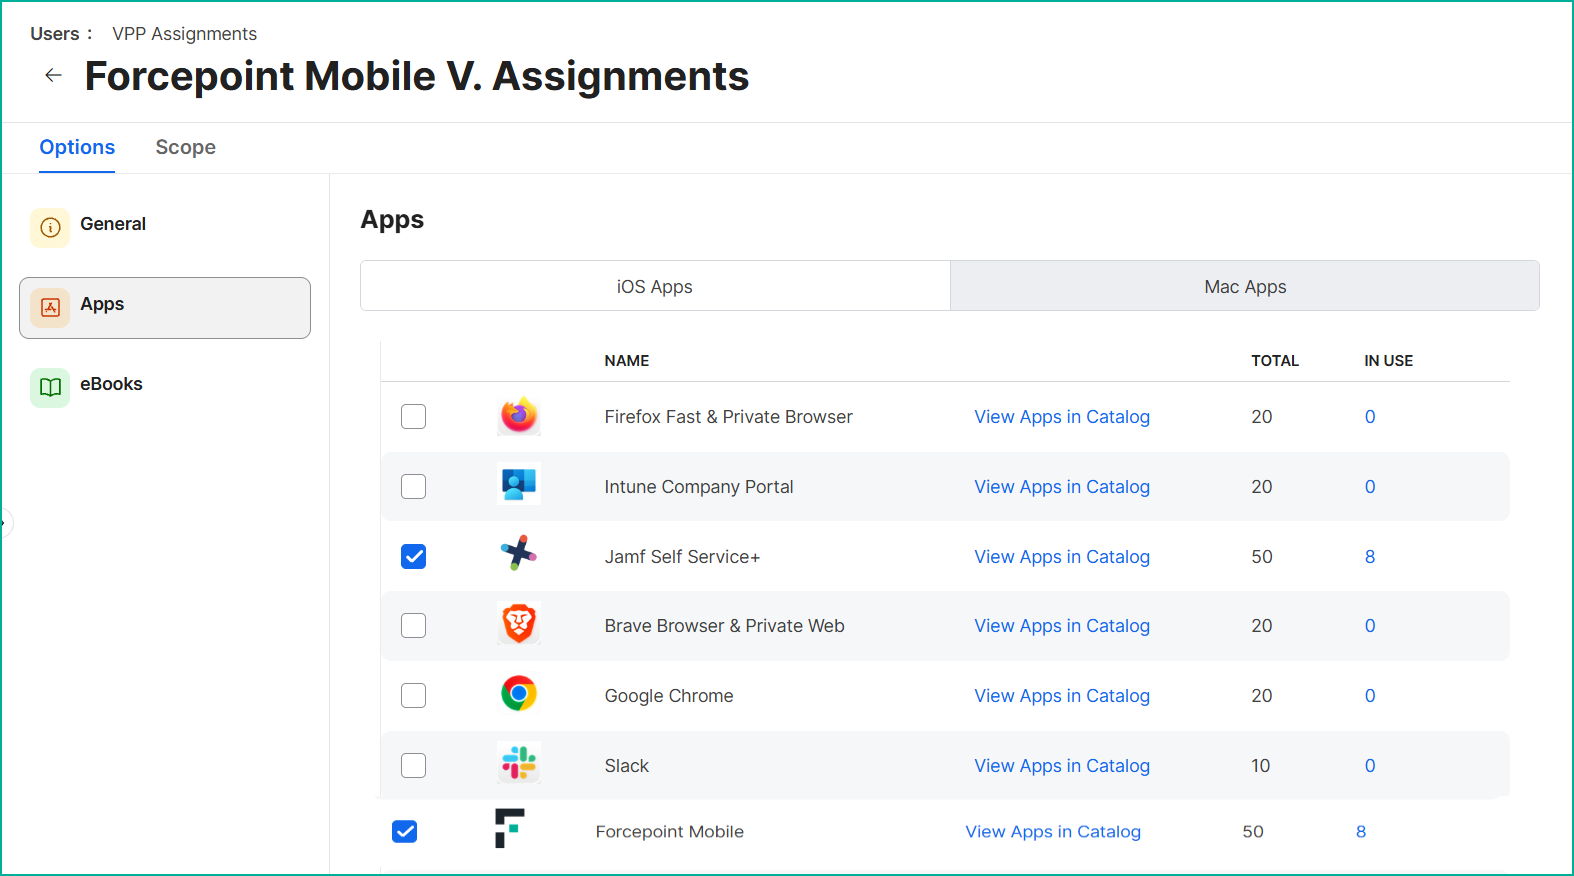
- In the Apps pane, select the app(s) to assign.
- On the Scope tab, assign the target users or user groups. To narrow the deployment, you can also exclude specific users or user groups. Use the same scope for the remaining steps in this deployment.
- Click Save.
- Navigate to .
-
Register the user(s) with the Volume Purchasing Program (VPP) invitation
-
Step 2: Configure the trusted certificate profiles for the Forcepoint certificate authority (CA).
-
In the Options tab, select the General payload and enter the following properties:
- Name: Enter a descriptive display name. Name your profiles so you can easily identify them later.
- Description: Enter a description for the profile. This setting is optional.
- Level: Select Device Level. Certificate configuration profiles only work for supervised devices.
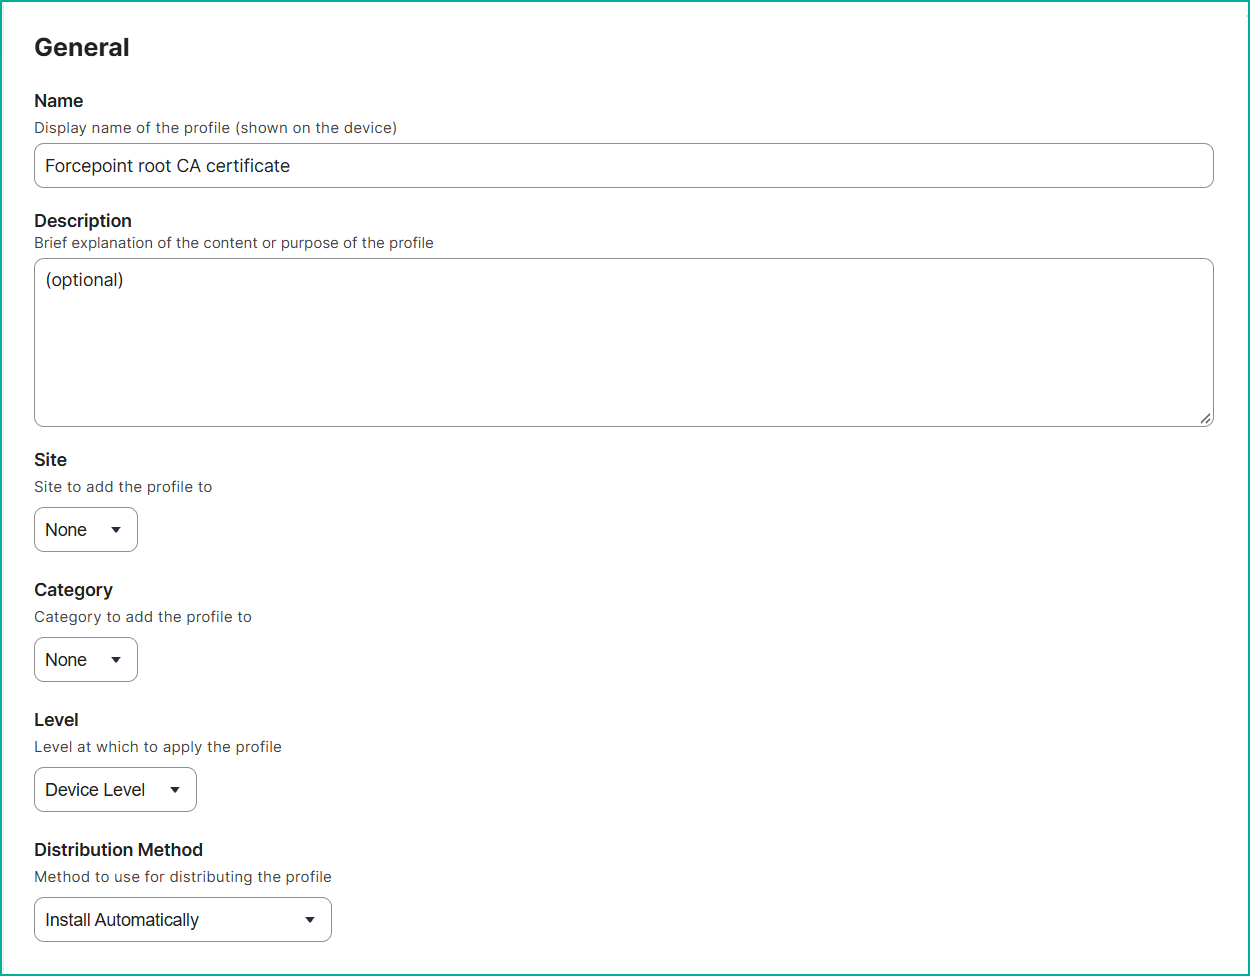
-
Select the Certificate payload, click Configure and enter the following properties:
- Certificate Name: Enter a display name for the certificate.
- Select Certificate Option: Select Upload.
- Upload Certificate: Click the button and upload the Forcepoint CA certificate that you downloaded from the Global Settings page. Provide the password if the certificate is password-protected.
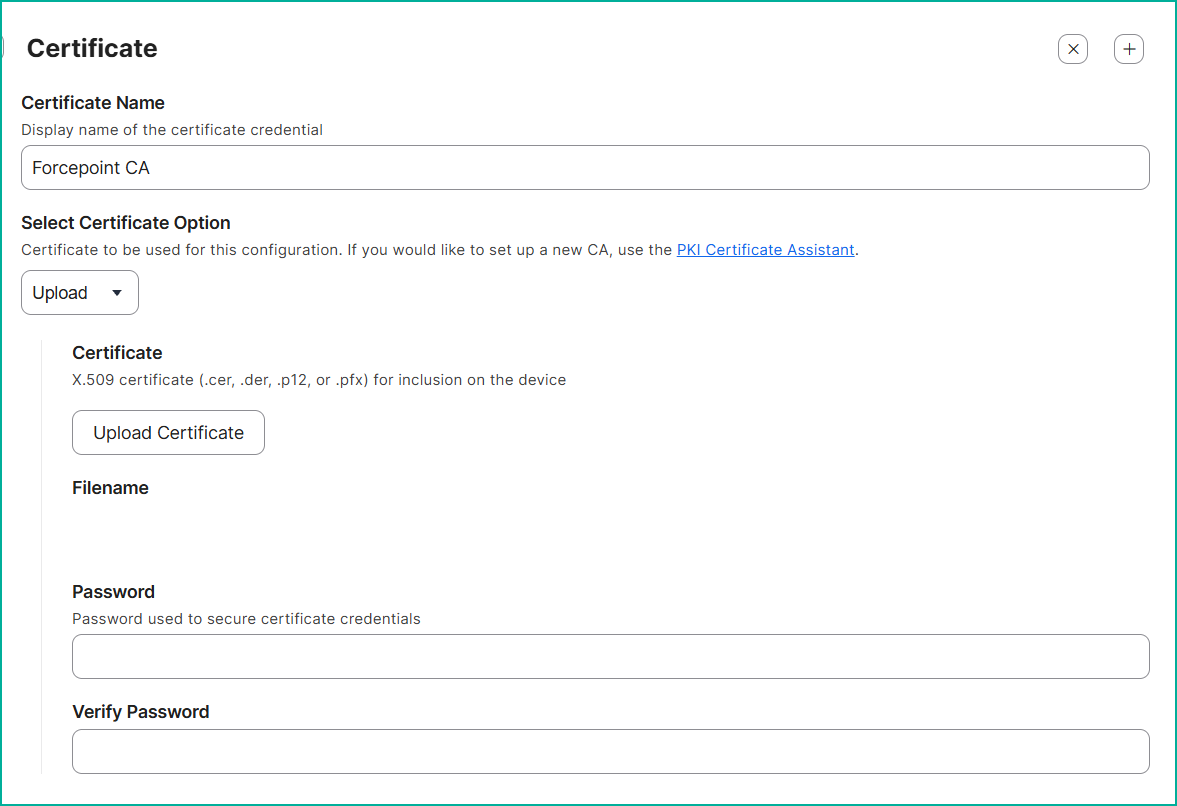
-
In the Options tab, select the General payload and enter the following properties:
-
Step 3: Configure the VPN profile.
-
In the same configuration profile, on the Options tab, scroll down the payload list and select the VPN payload, then click
Configure.
Before you begin, open the Forcepoint Data Security Cloud portal and navigate to . Copy the VPN Identifier, VPN Server Address, Registration URL, Installer Key, and Logging URL values, which you need while configuring the payload. For more details, see the Global Settings page.
Enter the following properties:
Table 3. Field Value Connection Name Enter a descriptive name for the VPN connection. VPN Type Select VPN. Connection Type Select Custom SSL. Identifier Paste the VPN Identifier value from the Global Settings page. Server Paste the VPN Server Address value from the Global Settings page. Account If User Authentication is Password, enter $Username. If User Authentication is Certificate, enter{{UserPrincipalName}}.Provider Bundle Identifier Enter com.forcepoint.fone.mobile.tunnelprovider.Provider Type Select Packet-tunnel. User Authentication Select the authentication method: - Certificate: Authenticate with a user certificate. The certificate must be delivered through a Certificate payload in the same configuration profile.
- Password: Authenticate without a certificate. You do not need to provide a password; the app does not read the VPN payload credentials. Instead, supply the user's UPN through the managed app configuration described in Step 4.
Identity Certificate This field appears when you select Certificate authentication. Select the user certificate from the dropdown. Note: When a client certificate is configured on the VPN profile, it takes priority and the FP_UPN app configuration is ignored.In the Custom Data section, use the Add button to add the following key and value pairs. Keys must match exactly. The app does not fuzzy-match, and it silently skips the profile if a required key is misspelled.
Table 4. Key Value FP_BACKEND Registration URL from the Global Settings page. FP_INSTALLER_KEY Installer Key from the Global Settings page. FP_DS_TENANT_ID Open the Forcepoint Data Security Cloud portal and navigate to . Copy the DS ID from this page and enter it here. FP_LOG_URL Logging URL from the Global Settings page. FP_SKIP_STARTUP_SCREEN Enter false to display the login page so that users log in manually with their credentials. Following is an example of information that you can enter in the mandatory fields:
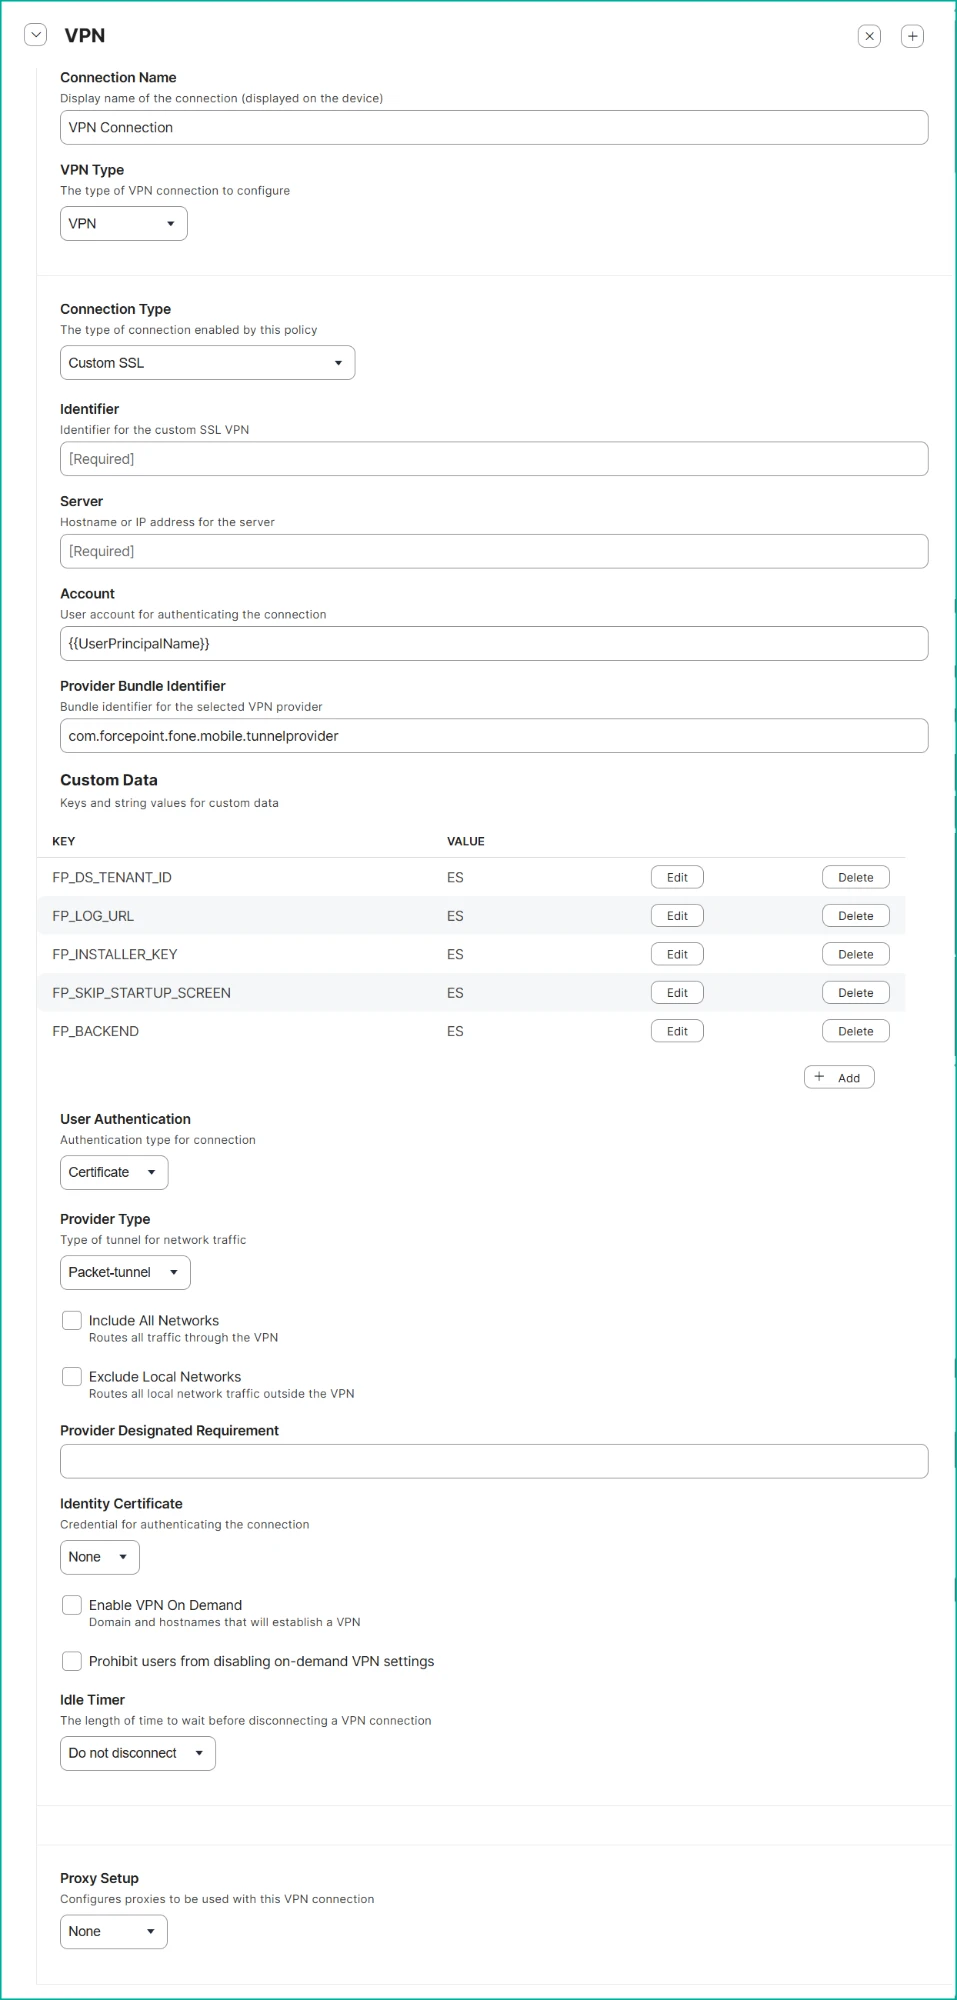
-
In the same configuration profile, on the Options tab, scroll down the payload list and select the VPN payload, then click
Configure.
-
Step 4: Supply the UPN with a managed app configuration.
When the VPN profile is configured without a client certificate, the application receives the user identity through a managed app configuration. This configuration supplies the UPN to the Mobile Endpoint Agent at runtime so the app can identify the user without manual input. Skip this step if you configured certificate-based authentication in Step 3.
-
On the App Configuration tab, click the edit button and enter the following in the preferences field:
<dict>
 <key>FP_UPN</key>
 <string>$EMAIL</string>
</dict>
Note: The$EMAILvariable only resolves if the assigned user has that value populated in Jamf Pro under . If the device record has no assigned user, the variable renders empty and the device fails to register with the backend.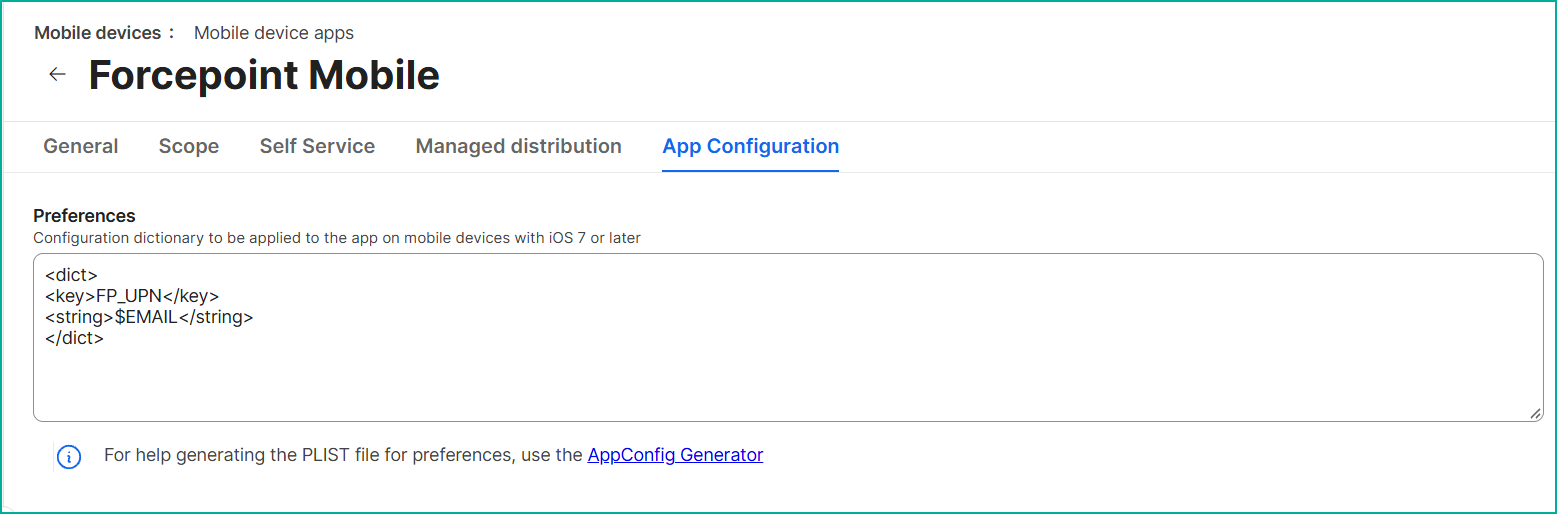
-
On the App Configuration tab, click the edit button and enter the following in the preferences field: