Creating a new group
Add new user group through the Groups page.
Steps
-
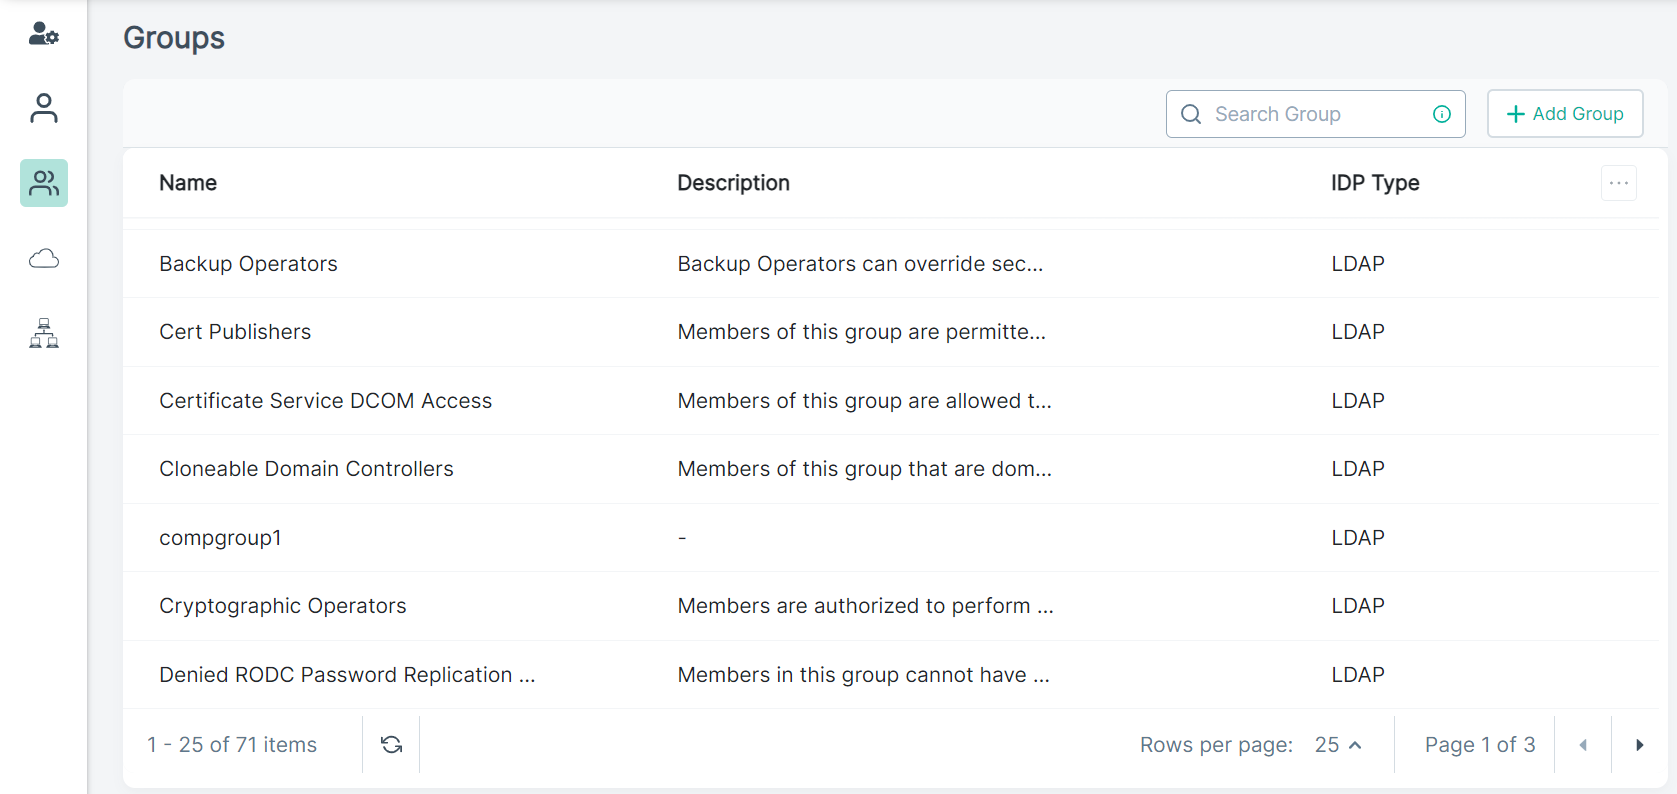
From the left Navigation Pane, click the Groups
 icon.
icon.
The following page opens displaying existing groups.
-
On the Add Group pane, enter:
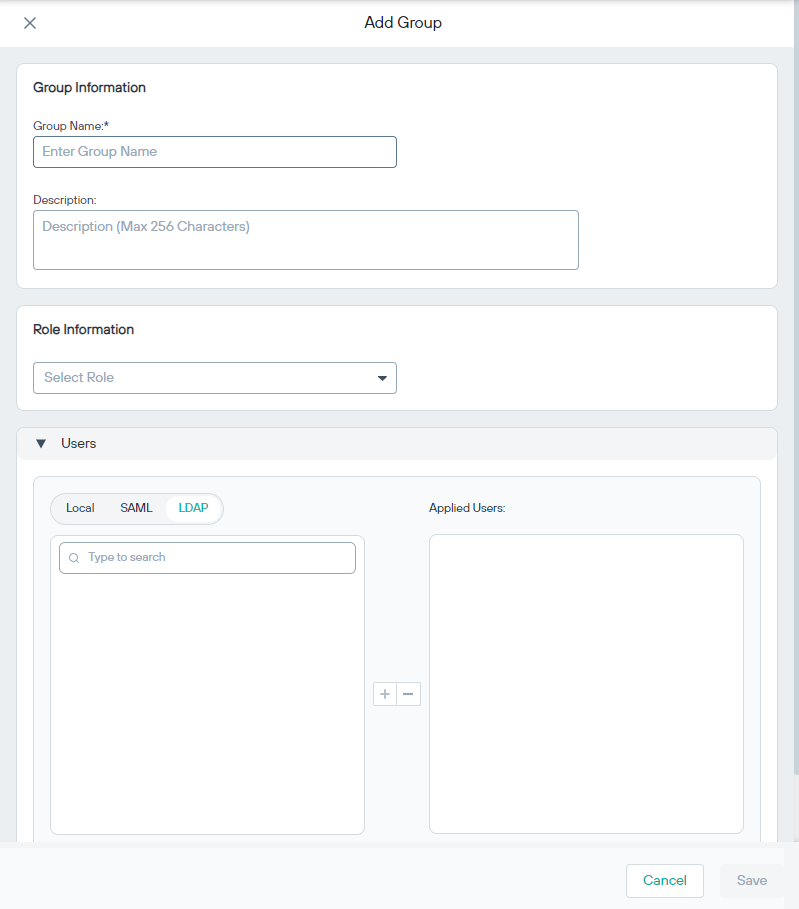
- Group Name: Enter unique name of the group.
- Description: In max characters 256, provide a description for the group.
- Role Information: Select from one of the listed roles in the drop-down.
- Users: By default, Forcepoint Data Security Cloud displays the Local users. If you have configured an LDAP or SAML directory and want to add users from those directories, select the relevant tab from either SAML or LDAP and click the plus icon to add them to the Applied Users column. You can also click the Remove All option to remove any added users.