Configuring API access for ServiceNow
Instructions to enable and to authorize API access for ServiceNow.
Steps
-
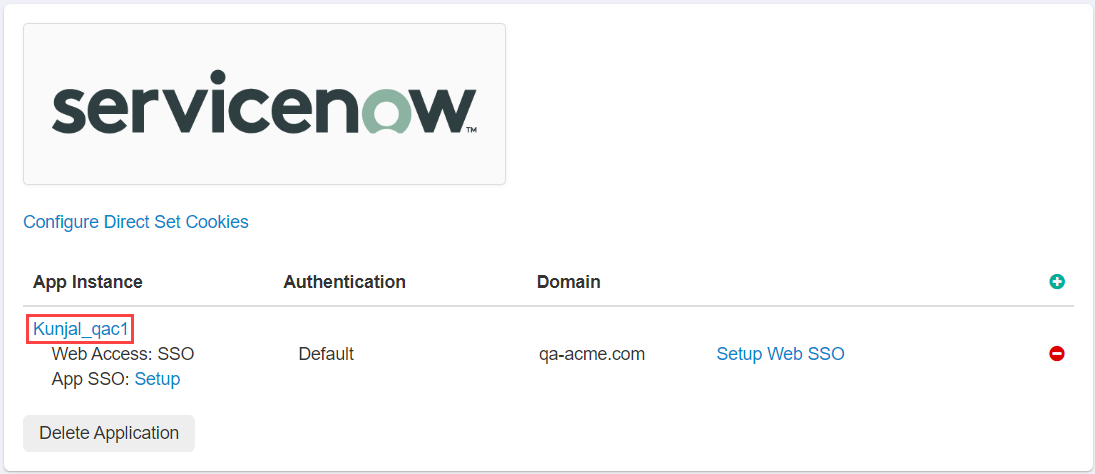
Begin by logging into the Forcepoint Data Security Cloud | SSE admin portal and select
the ServiceNow application to get to the application settings page. Click on the app instance you wish to enable API scanning for.
-
Select the Enable DLP Scanning of Objects option at the bottom and click Ok then click save back on the application
settings page.

-
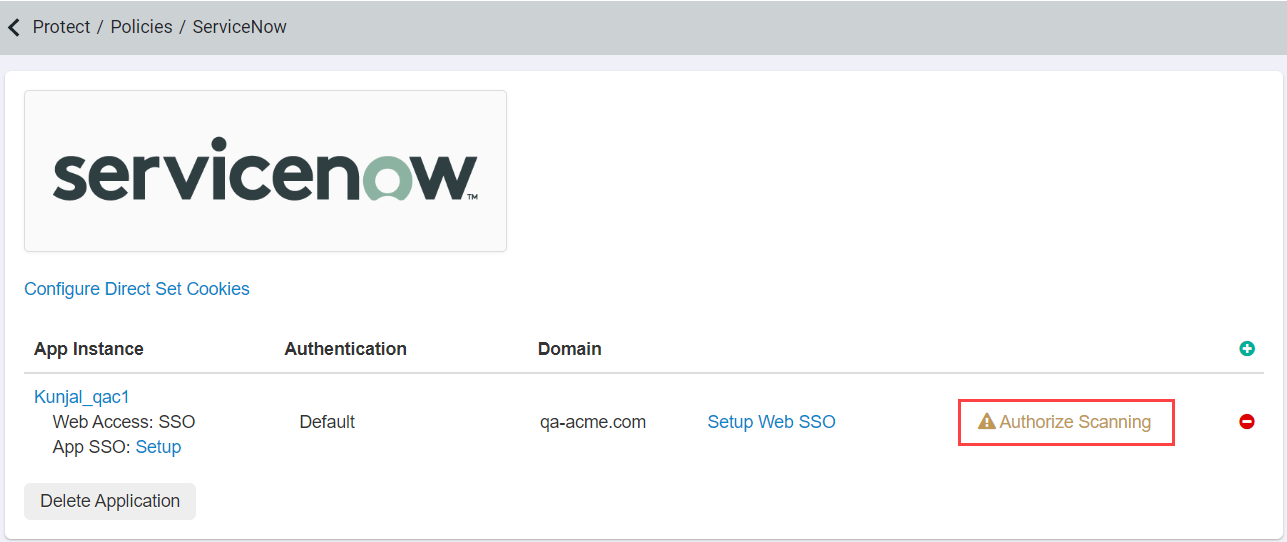
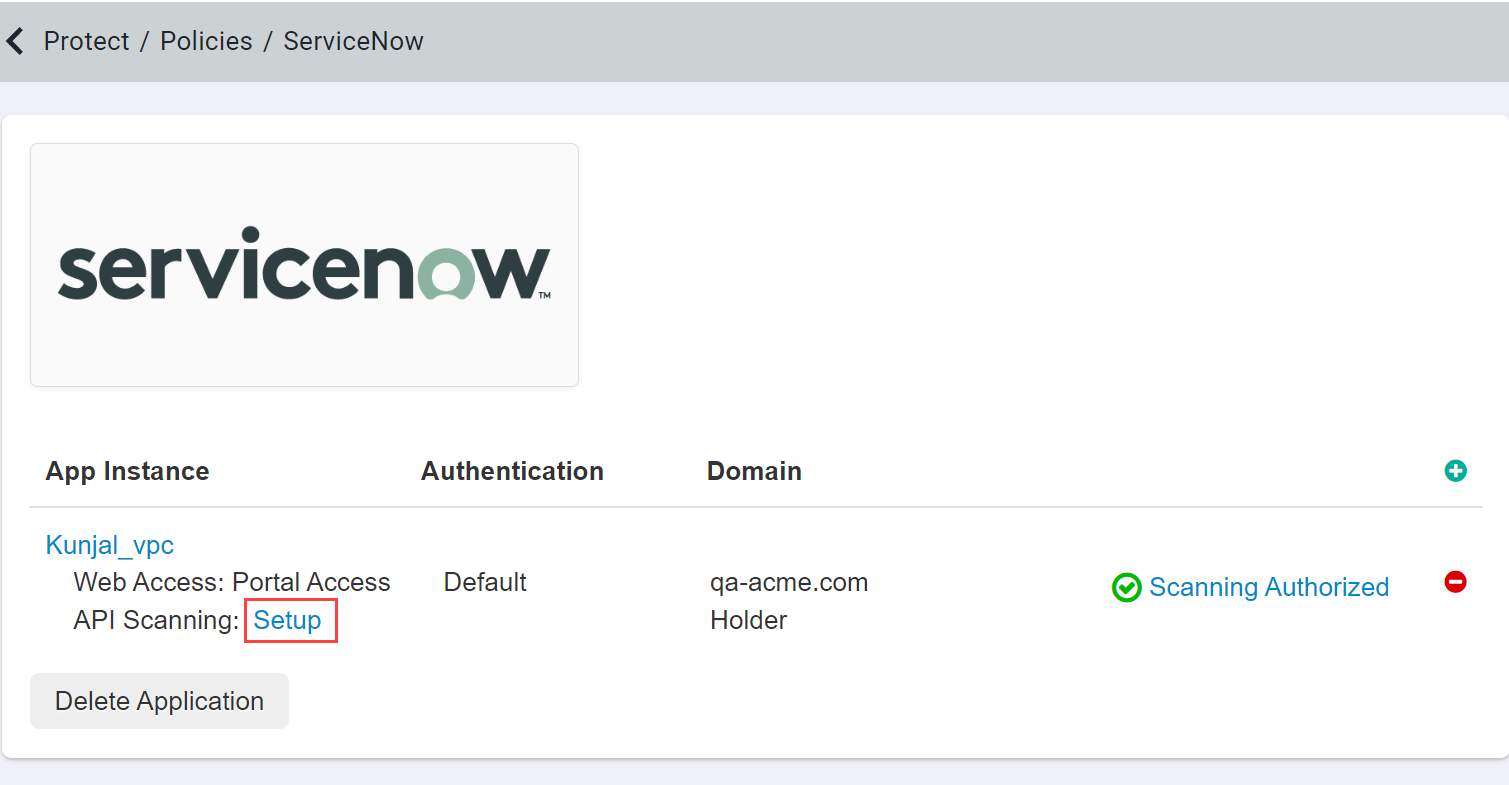
Now you should see an additional line for API Scanning option under the app instance as well as a link to Authorize Scanning on the
far right side. Click Authorize Scanning and keep this new page up as we will need to add information that we get from ServiceNow.
-
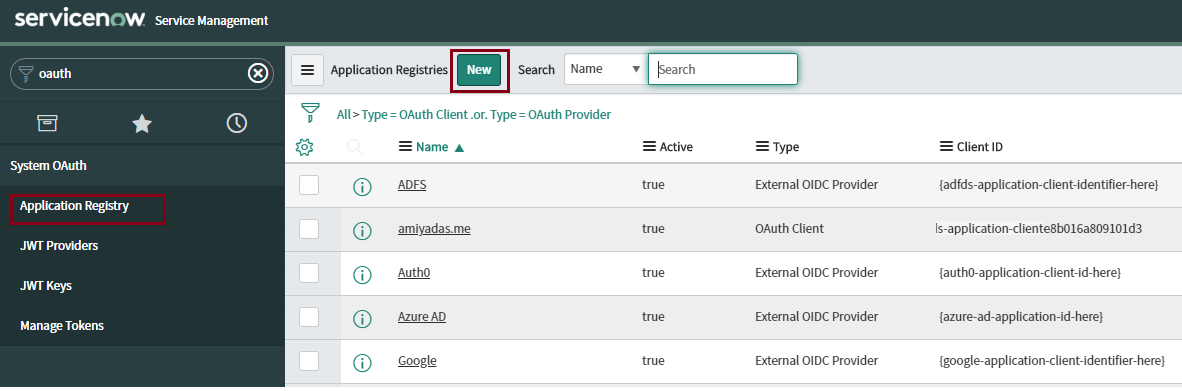
In the ServiceNow admin portal we need to create a new Application Registry. In the search bar type in OAuth and select
Application Registry from the column on the left. Then select New at the top to create a new application registry. Select
Create an OAuth API endpoint for external clients.
 Note: As mentioned in the Role setup section above, the account that is creating this application needs to either be a primary admin or needs the oauth_admin role.
 -
On the new page creating a new application provide a recognizable name. You will notice that the Client ID field is automatically generated. For the
Consumer Secret field you can enter whatever you want to use (like a password for authorizing). Copy the Client ID and Consumer Secret and save your new
application.
 Note: The Redirect URL will be according to your Forcepoint Data Security Cloud | SSE environment:
https://portal.bitglass.com/api/servicenow/authz_result/ -
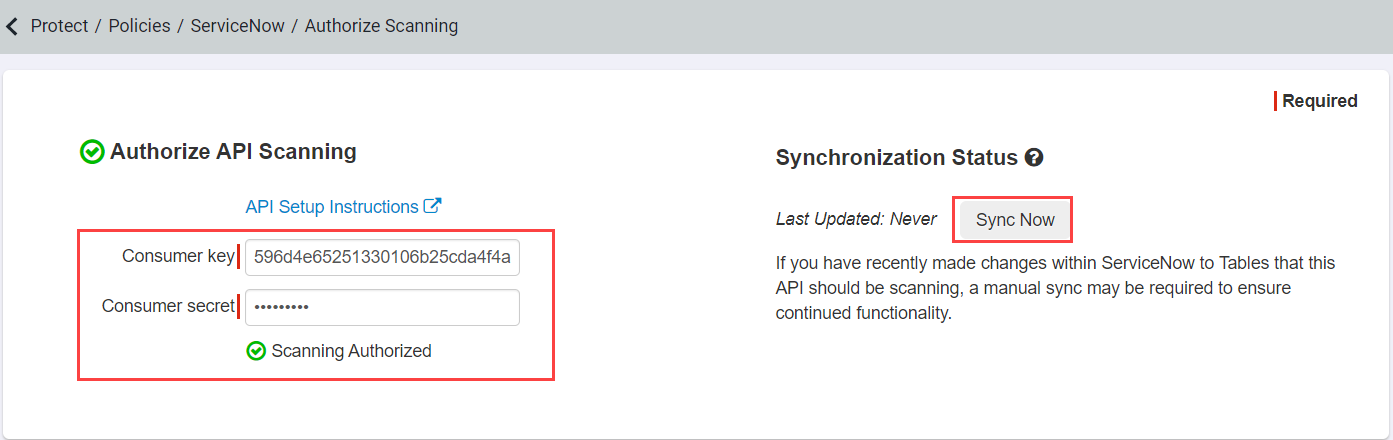
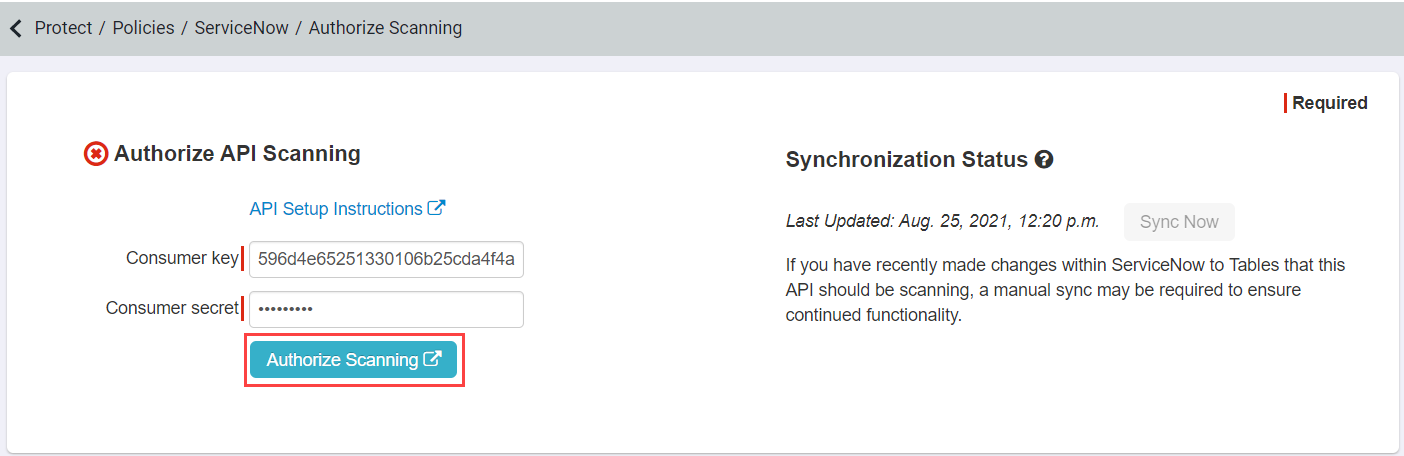
Back on the Forcepoint Data Security Cloud | SSE portal authorization page you opened
in Step 3 above copy over the Client ID to the Consumer Key field and the Client Secret into the Consumer Secret field. Click
Save at the top and then Sync Now to initiate the connection to ServiceNow.
-
After syncing you will need to click Authorize Scanning at the bottom, this will prompt you to login with a ServiceNow account with the proper permissions
listed above (read access to sys_dictionary, sys_dictionary.*, sys_db_object, and sys_db_object*).
-
Once you have successfully authorized the API, back on the application settings page you can now click Setup under the API Settings section to configure
what you will be scanning for. Under the DLP Patterns section add the DLP patterns you wish to scan for while on the Fields to Scan
enter the tables and specific fields you wish to be scanned inside of ServiceNow. To learn about DLP patterns for API scanning, refer to Configuring API
policies.

Forcepoint Data Security Cloud | SSE currently supports the following actions for ServiceNow API: Allow (track/log), quarantine, and create copy.
Note: To configure API policies with the Forcepoint DLP data pattern, refer to Configuring FSM controlled policies for CASB and SWG channels.