Configuring a Cloud SWG Authentication Policy
Admins can enforce the end user authentication by redirecting the user's session to the domain's identity provider. Once a user is authenticated, they are directed back to the proxy and appropriate policy is applied.
In this scenario, the client IP address is associated with a user when the session is authenticated. Requests made from that client IP address are considered to be made by the user until the session timeout expires. In cookie-cutter branch office deployments, this IP is unique only within the site, however, note that the Site and client IP combination is globally unique.
Cloud SWG Authentication Policies are applied to the traffic received over Transparent Proxy (GRE or IPsec tunnels) and Explicit Proxy.
If no authentication policy is configured, then the implicit Authentication is Do Not Authenticate for all users.
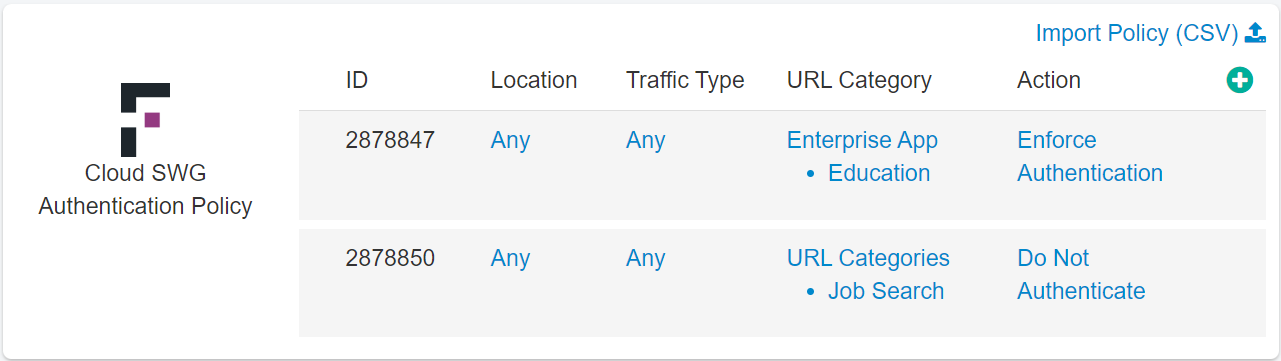
You need to configure following variables to properly configure Cloud SWG Authentication Policy:
- Location: Can specify which locations the policy line will apply to. For example you can enforce stricter policies when users are off the corporate network.
- Traffic Type: Select the traffic type on which policy should be applied.
- URL Category: The URL Category column allows admins to provide controls over entire categories of applications.
- Action: The Action column allows you to configure if the end user connecting to the cloud proxy should be redirected to the domain's identity provider for authentication or not.
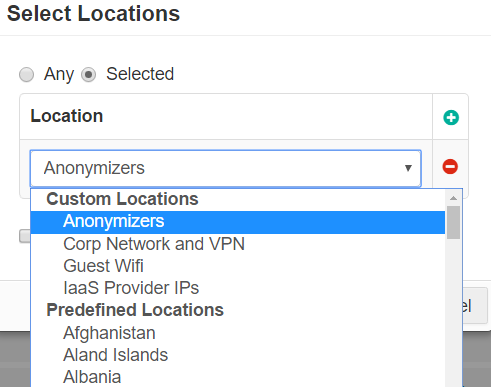
Location
The Location column allows you to restrict or control where a user is accessing the cloud application from (either geographic location or IP).
To use a location based policy for managed applications, the location object must contain the IP address of the Cloud-SWG datacenter. When the device is in the office, since traffic is tunneled to the Cloud-SWG, the Reverse Proxy sees the Cloud-SWG IP address and uses it to match the location configured in the managed app policy. Additionally, the location object should also contain other remote office locations that are also permitted.
- Custom Locations can be configured under . Custom locations also include predefined locations that are not based on countries (for example, Anonymizers and IaaS Provider IPs). These locations are managed and updated by Forcepoint Data Security Cloud | SSE.
- Predefined locations include a list of countries. Country match is done using a geo-IP lookup to match source IP address to country.
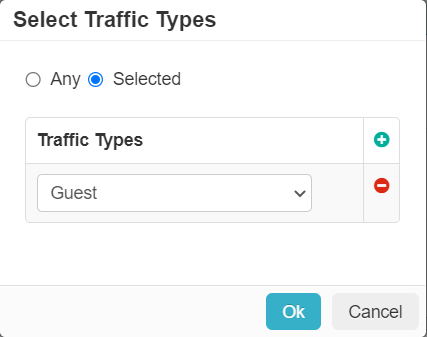
Traffic Type
The Traffic Type (Cloud SWG only) column allows you to select the traffic type so that policy can be applied to the group. You can select from the options in the drop-down or you can go to the page to create a custom traffic type.
URL Category
The URL Category column allows admins to provide controls over entire categories of applications. This allows you to configure if the end user connecting to specific category over the cloud proxy should be redirected to the domain's identity provider for authentication or not.
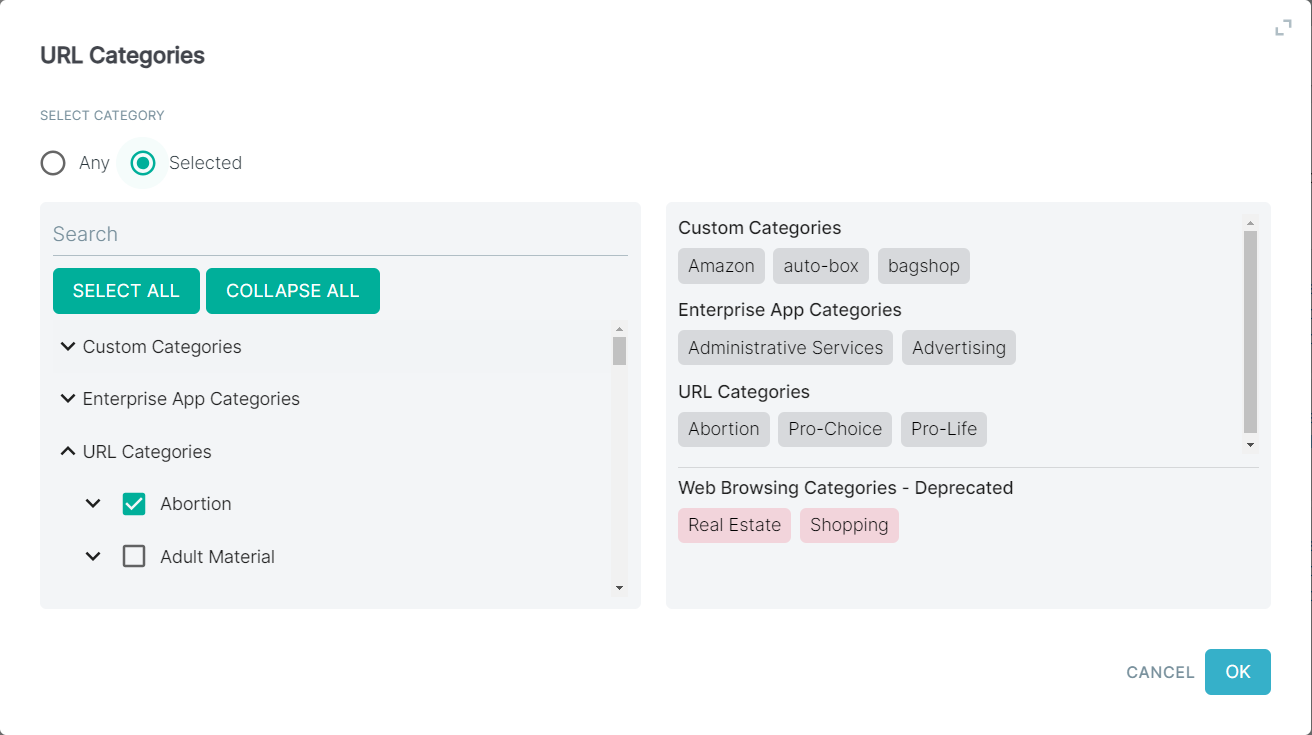
- For the Webroot URL Categories, you should see UI similar to the following:
Refer to Webroot URL Categories.
- For the ThreatSeeker URL Categories, you should see UI similar to the following:
Refer to ThreatSeeker URL Categories.
You can use the inbuilt URL Lookup page to know the ThreatSeeker URL Categories, Enterprise App Categories, Web Browsing Categories along with their respective reputation scores for the entered URL or IP. Refer to Understanding URL Lookup page to know in detail.
Webroot URL Categories
You can select Webroot URL category from the options in the dropdown or you can go to the Common Objects page and create your own.
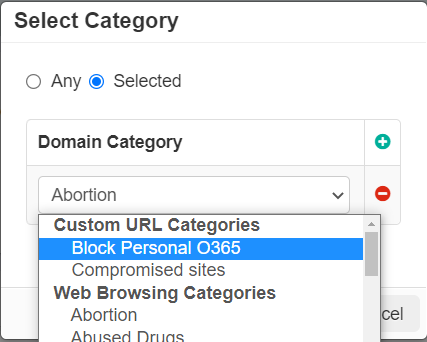
- Click into the URL Category column link to open the dialog options for choosing which categories you will be controlling.
- In the Select Category dialog window, you will have two options: Any (which will apply the policy line to all categories)
and Selected where you can add the categories to the policy line. Click on Selected:
- You will notice 3 different Sections for Categories.
-
Custom URL Categories: These can be defined on the page where you can create a custom domain category to use in policies (that is creating a allow list or a custom list of domains to block).
On clicking Save on the page, the save action will fail and will display an error message if the number of unique custom URLs is more than 3000 across all or any of the SWG policies.
- Web Browsing Categories: This list of categories is sourced from Webroot and can be reviewed on their site.
- Enterprise App Categories: This is the list of categories that Forcepoint Data Security Cloud | SSE tracks and identifies and can be seen when looking through our cloud app repository.
-
- Click the green plus icon and select the desired category from the dropdown. You should select maximum of 50 categories per a policy rule.
- To save the policy, click Save on the Policies page.
When you click Save after adding more than 50 categories per a policy rule, then the Error saving, status: error - Please check the following policies with IDs xxxx to ensure the amount of URL Categories per policy are 50 or under. error is displayed. You can avoid this error by creating two or more policy rules within SWG policy, with each policy rule having a URL category limit set to 50 or fewer.
ThreatSeeker URL Categories
You can select ThreatSeeker URL category from the options in the drop-down or you can go to the Common Objects page and create your own.
You can select all the ThreatSeeker URL Categories by selecting the All option or select desired category or categories by selecting the Selected option.
- Click the categories from the policy. This opens the URL Categories dialog.
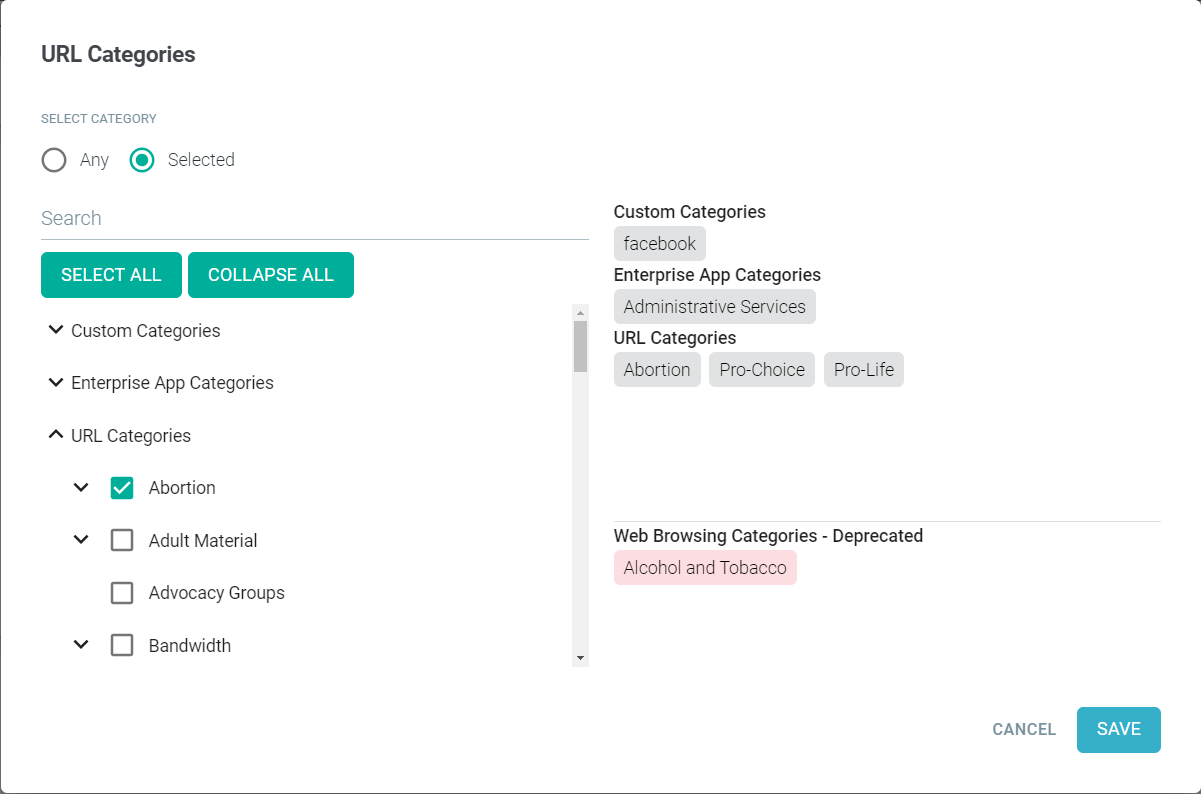
When ThreatSeeker URL Categories feature is enabled and when you modify an existing policy containing Webroot URL categories, then the URL Categories dialog displays the selected Webroot URL categories in red chips under the Web Browsing Categories - Deprecated section.
You should replace the Webroot URL Categories with the equivalent ThreatSeeker URL Categories. To know the mapping of Webroot to ThreatSeeker URL categories, refer to Mapping between Webroot URL Categories and ThreatSeeker URL Categories.
To submit uncategorized or incorrectly categorized sites, refer to How to submit uncategorized or incorrectly categorized sites.
- You will notice 3 different Sections for Categories.
-
Custom Categories: These can be defined on the page where you can create a custom domain category to use in policies (that is creating a allow list or a custom list of domains to block).
On clicking Save on the page, the save action will fail and will display an error message if the number of unique custom URLs is more than 3000 across all or any of the SWG policies.
- Enterprise App Categories: This is the list of categories that Forcepoint Data Security Cloud | SSE tracks and identifies and can be seen when looking through our cloud app repository.
- URL Categories: The list of ThreatSeeker URL categories.
-
- Expand the desired section and scroll down until you identify the desired category.
You can also filter categories by entering the text in the Search field.
- Expand the category if the category is associated with sub-categories.
- Select the check box next to the category or sub-categories. You should select maximum of 50 categories per a policy rule.
When you select Custom categories, Enterprise Categories or ThreatSeeker URL Categories, the selected categories are displayed as chips under their own section on the right of the dialog.
- To save the selected categories, click OK.
When you click OK after adding more than 50 categories per a policy rule, then the Please limit your entry to 50 URL categories or fewer to proceed successfully. error is displayed. You can avoid this error by creating two or more policy rules within SWG policy, with each policy rule having a URL category limit set to 50 or fewer.
- To save the policy, click Save.
When ThreatSeeker URL Categories feature is enabled and when you save the existing policy containing Webroot URL categories after modifying the policy, then the Following categories cannot be saved and need to be replaced or removed: error will be displayed.
For example:

Action
In the Actions Dialog, you can configure if the end user connecting to the cloud proxy should be redirected to the domain's identity provider for authentication or not.
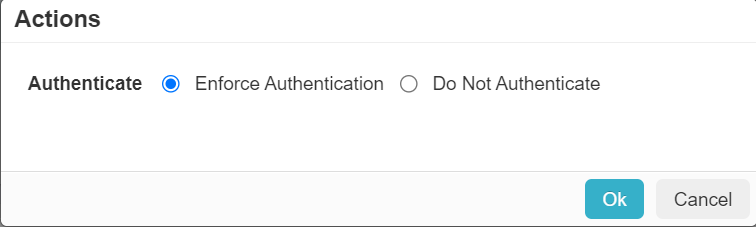
Select one of the following options as an action when a policy rule is met:
- Do Not Authenticate - When you select this option, the end user can access the websites or applications without authentication and appropriate policy is applied. The end
user will be mapped to ___anonymous user in the tenant.Note: To enforce group based CASB policies on thick client traffic, you cannot use Anonymous user authentication on the SmartEdge agent.
- Enforce Authentication - When you select this option, the end users connecting to the cloud proxy are redirected to the identity provider for the domain. Once a user is
authenticated, they are directed back to the proxy and appropriate policy is applied.Note: You may get an error Software is Preventing Firefox from safely connecting to site while accessing websites on Mozilla Firefox if the user is enforced to authenticate using the domain's identity provider. To access the website without an error, install the Root Certificate.