Inbound connector setup in Microsoft Office 365
The inbound connector is a configuration that allows you to route email flow from the Forcepoint DLP for Cloud Email to your organization Microsoft Office 365.
Steps
-
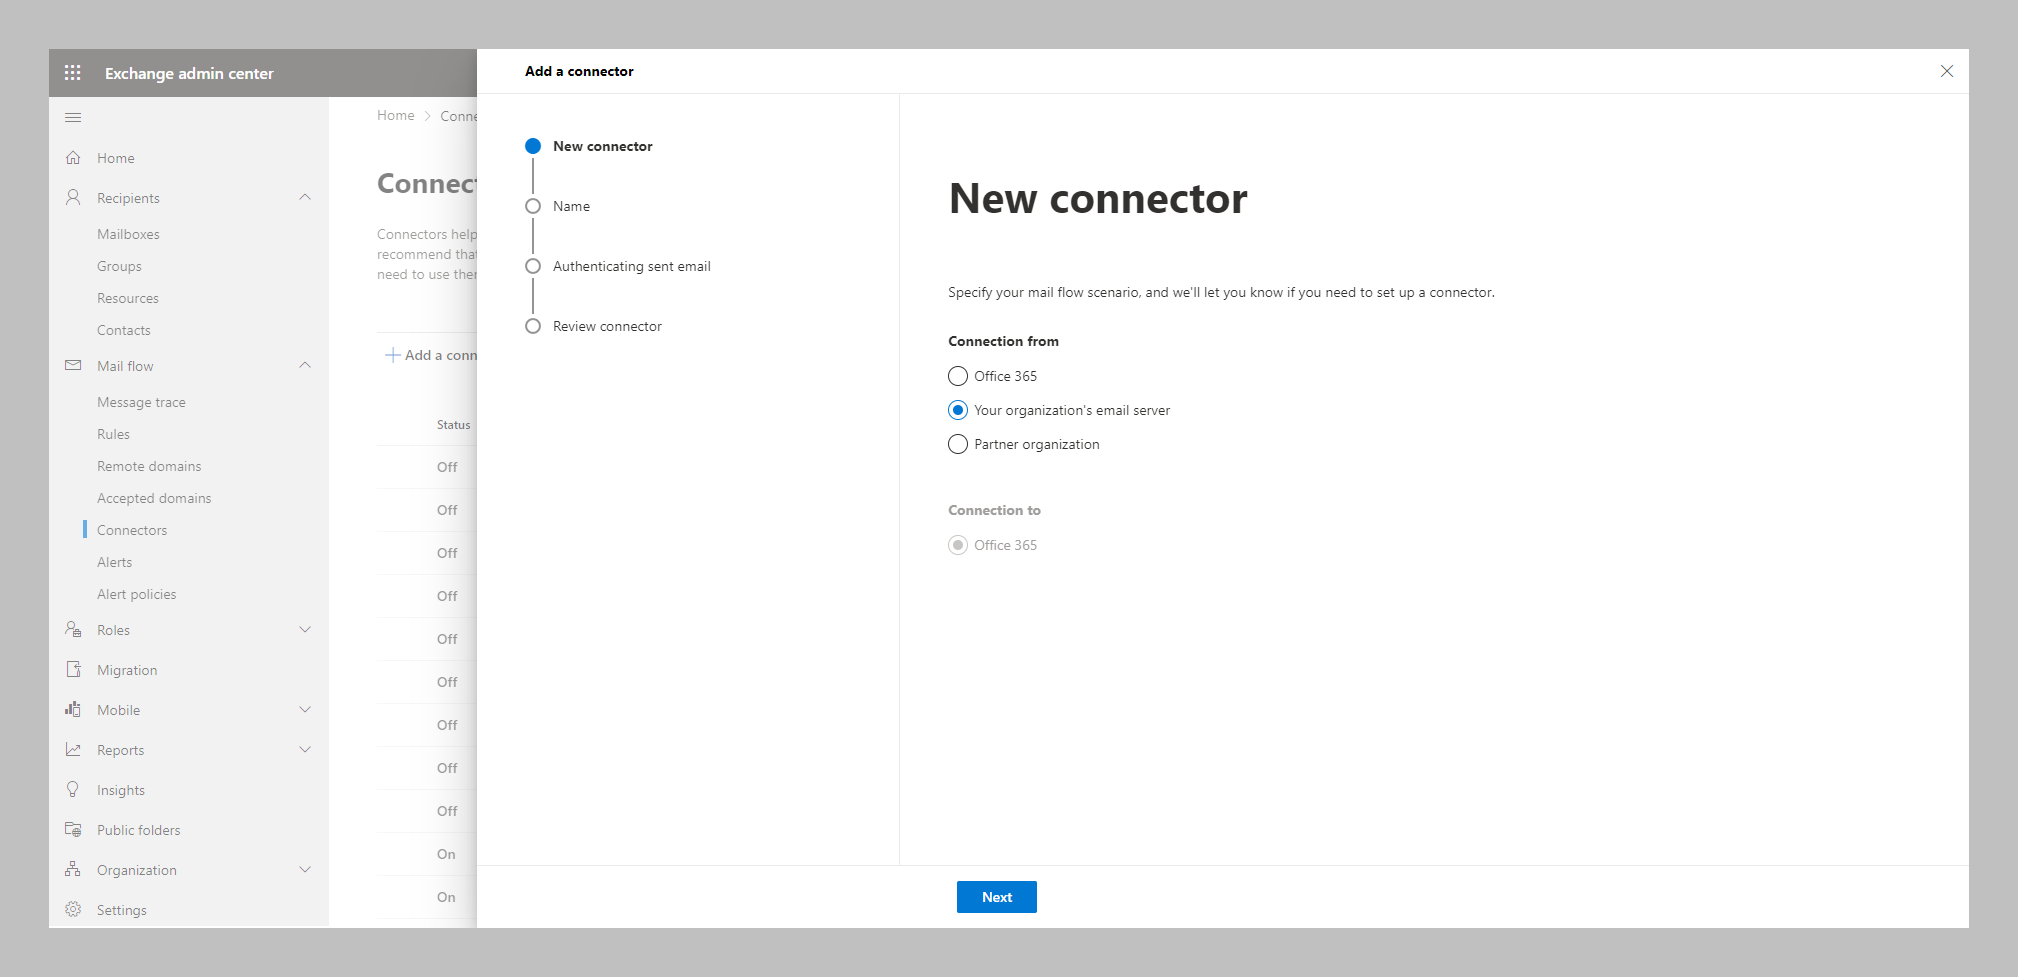
Click +Add a connector. The New connector screen appears.
- Under Connection from, choose Your organization's email server.
- Under Connection to, choose Office 365.
-
Click Next. The Authenticating sent email screen appears.
-
If you want to identify emails with IP addresses:
- Select the option By verifying that the IP addresses of the sending server....
- Enter the applicable IP Addresses and click +.The trusted IP addresses are:
S.No Region DNS (IP Address) 1 EMEA 52.28.37.203 2 AMERICA 18.214.163.252 3 APAC - SOUTH 13.200.165.104 4 APAC - SOUTH EAST 18.142.12.158 5 EMEA - MIDDLE EAST 3.29.68.45 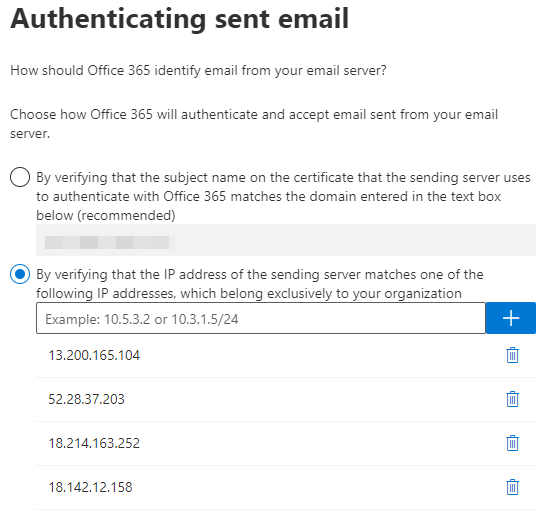
Note: The email sent from these added IP addresses will be trusted as coming from your domains.
-
If you want to identify emails with domain name:
- Select the option By verifying that the subject name on the certificate....
- Enter the applicable Domain Name.
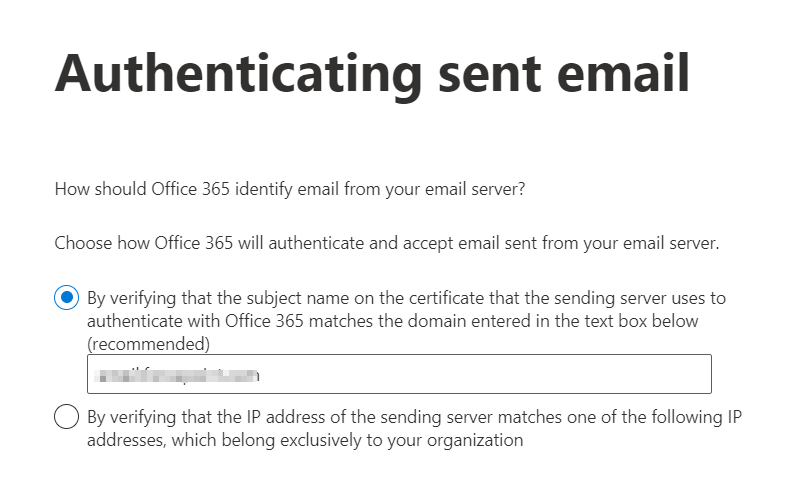 Note: The domain name entered should match with the common name in the public certificate configured in the email settings section of Forcepoint Data Security Cloud | DLP portal.Important: The certificate subject becomes mandatory for customers who are already utilizing certificates from a different vendor within their O365 tenant. This requirement arises because O365 prioritizes certificates over IP addresses. If an inbound connector uses a certificate, any other inbound connector relying on an IP address will become obsolete.
For more information about Certificate, refer to Configuring email settings in Forcepoint Data Security Cloud | DLP portal.
-
If you want to identify emails with IP addresses: