The outbound connector is a configuration that allows you to route email flow from your organization's Microsoft Office 365 to Forcepoint DLP for Cloud Email.
Steps
-
Navigate to Microsoft Exchange admin center and login with Microsoft Office 365 credential.
-
In Microsoft Exchange admin center page, navigate to . The Connectors screen appears.
-
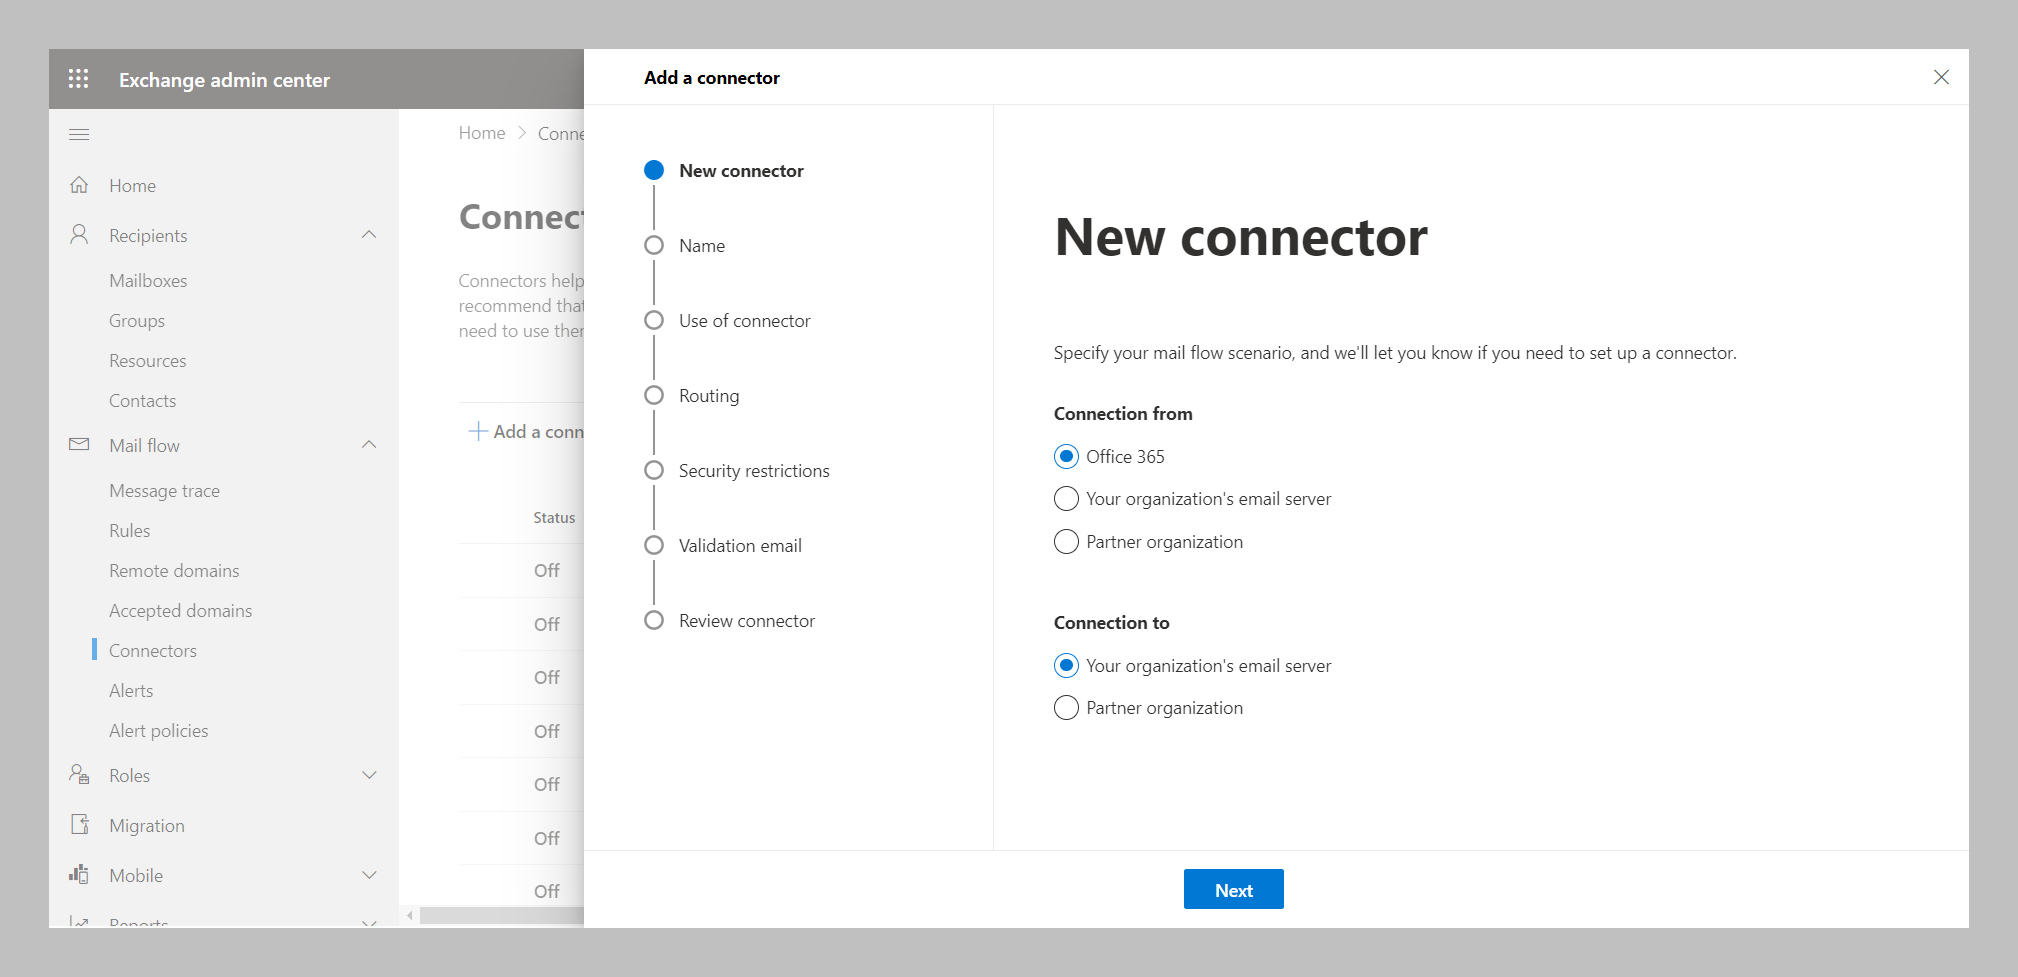
Click +Add a connector. The New connector screen appears.
-
Under Connection from, choose Office 365.
-
Under Connection to, choose Your organization's email server.
-
Click Next. The Connector name screen appears.
-
Enter a name and description (if required) for the outbound connector.
-
Select the option that determines what you want to do after the connector is saved.
-
Click Next. The Use of connector screen appears.
-
Choose the options Only when I have a transport rule set up that redirects messages to this connector.
-
Click Next. The Routing screen appears.
-
Enter the DNS (Host or IP Address) provided by the Forcepoint and Click +.
For routing in the connecter, the DNS address will be provided by Forcepoint to connect the DLP connecter.
| S.No |
Region |
DNS (Hostname or IP Address) |
| 1 |
EMEA |
emea.euc1.foneemail.com |
| 2 |
AMERICA |
amer.use1.foneemail.com |
| 3 |
APAC - SOUTH |
apac.aps1.foneemail.com |
| 4 |
APAC - SOUTH EAST |
sing.apse1.foneemail.com |
| 5 |
EMEA - MIDDLE EAST |
uae.mec1.foneemail.com |
-
Click Next. The Security restrictions screen appears.
-
Tick the check box for Always use Transport Layer Security (TLS) to secure the connection (recommended).
-
Click Next. The Validation email screen appears.
-
Enter an email address that is part of the mailbox in your organization's email server.
-
Click + and then Validate. The validation process starts.
-
Once the validation process is completed, click Next. The Review connector screen appears.
-
Review the settings you have configured and click Create connector.
-
The Connector created message appears. Then Click Done.
The outbound mail flow connector is created.
For more information on setting up Outbound Connectors in Microsoft Office 365, refer to the Microsoft Learn page.