Deploying the package in Jamf
This section outlines the instructions to deploy the installer package using Jamf.
Steps
-
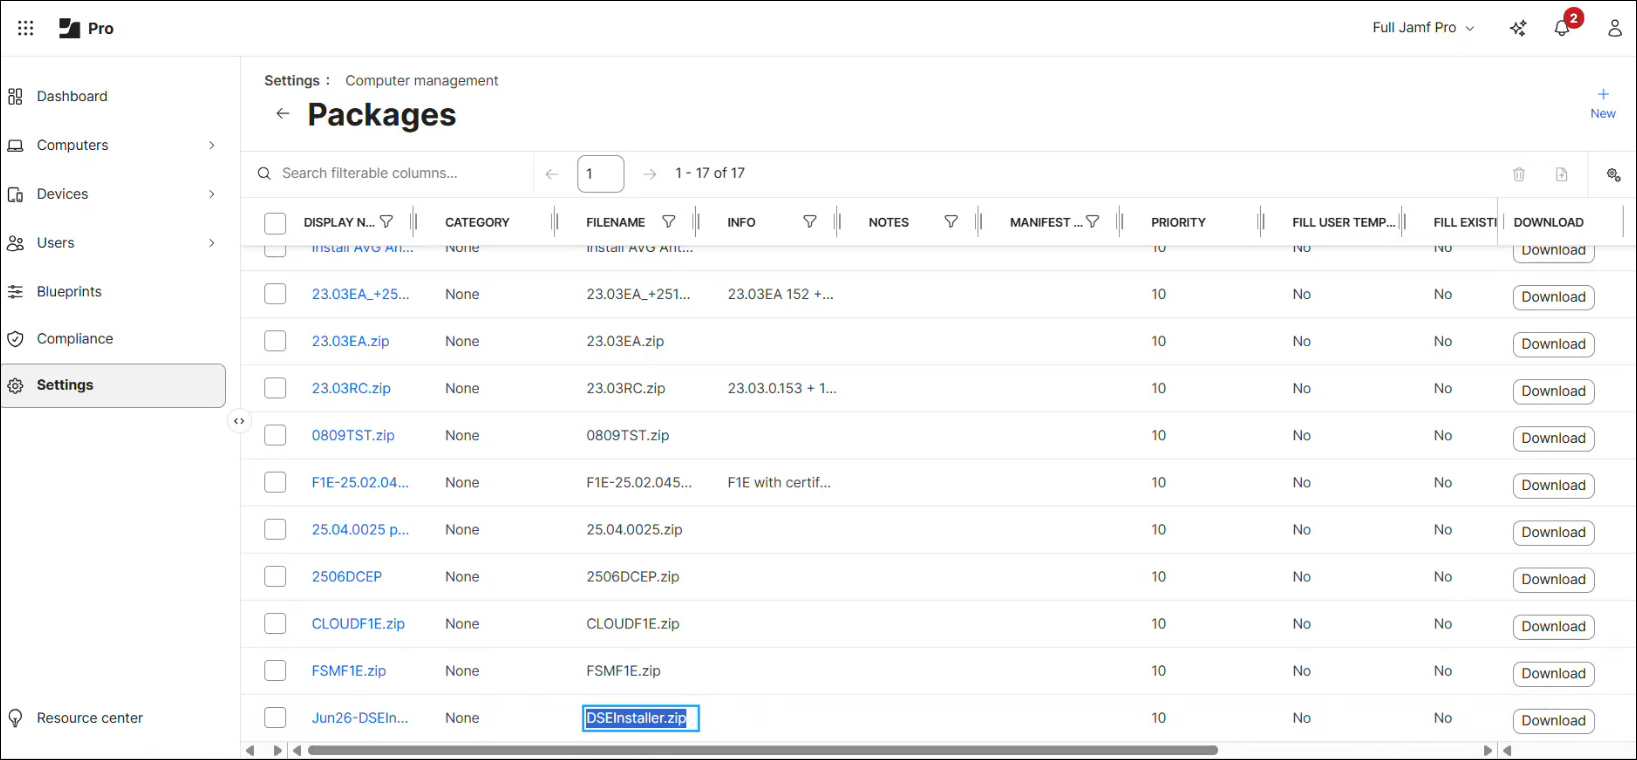
Create the package:
-
Go to .
-
Click the
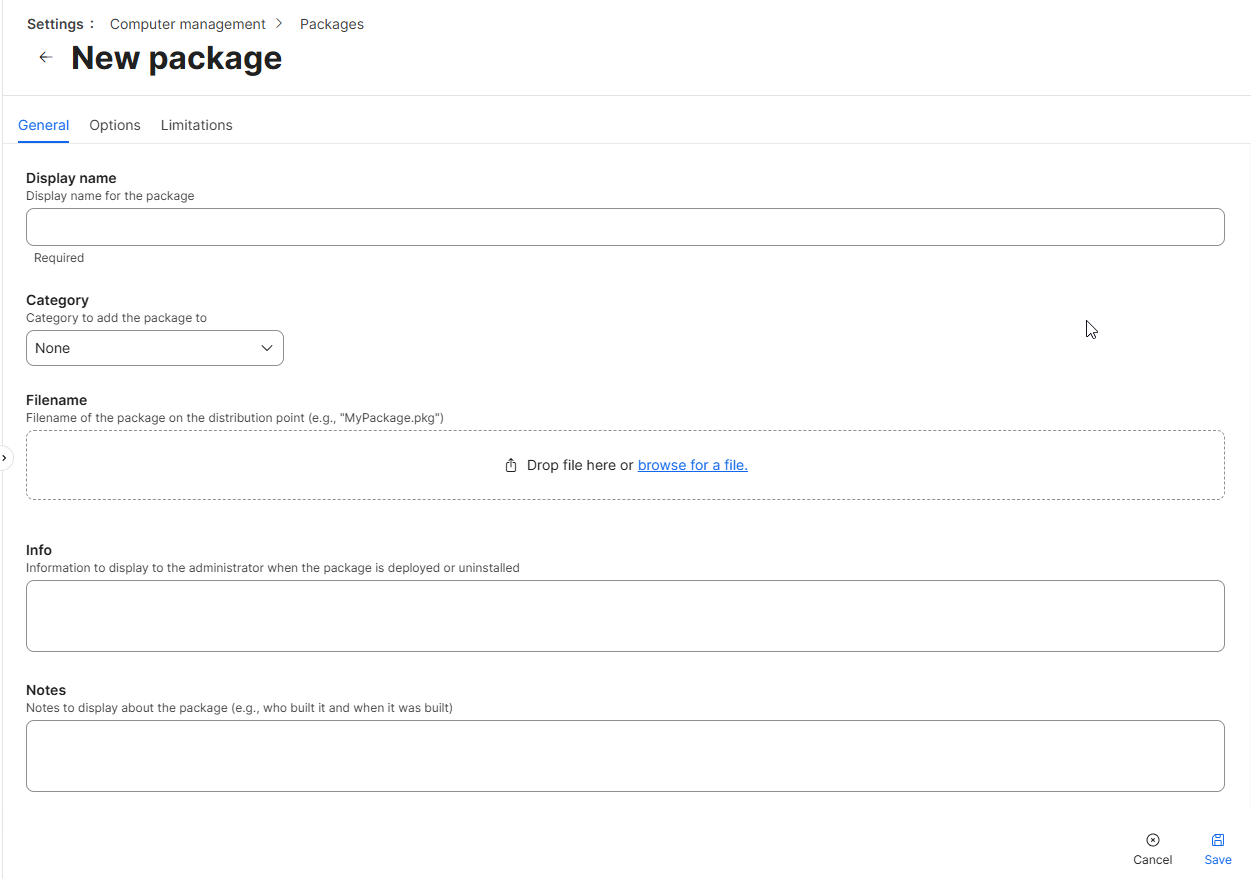
 New icon to open the New package
dialog.
New icon to open the New package
dialog.
-
Go to .
-
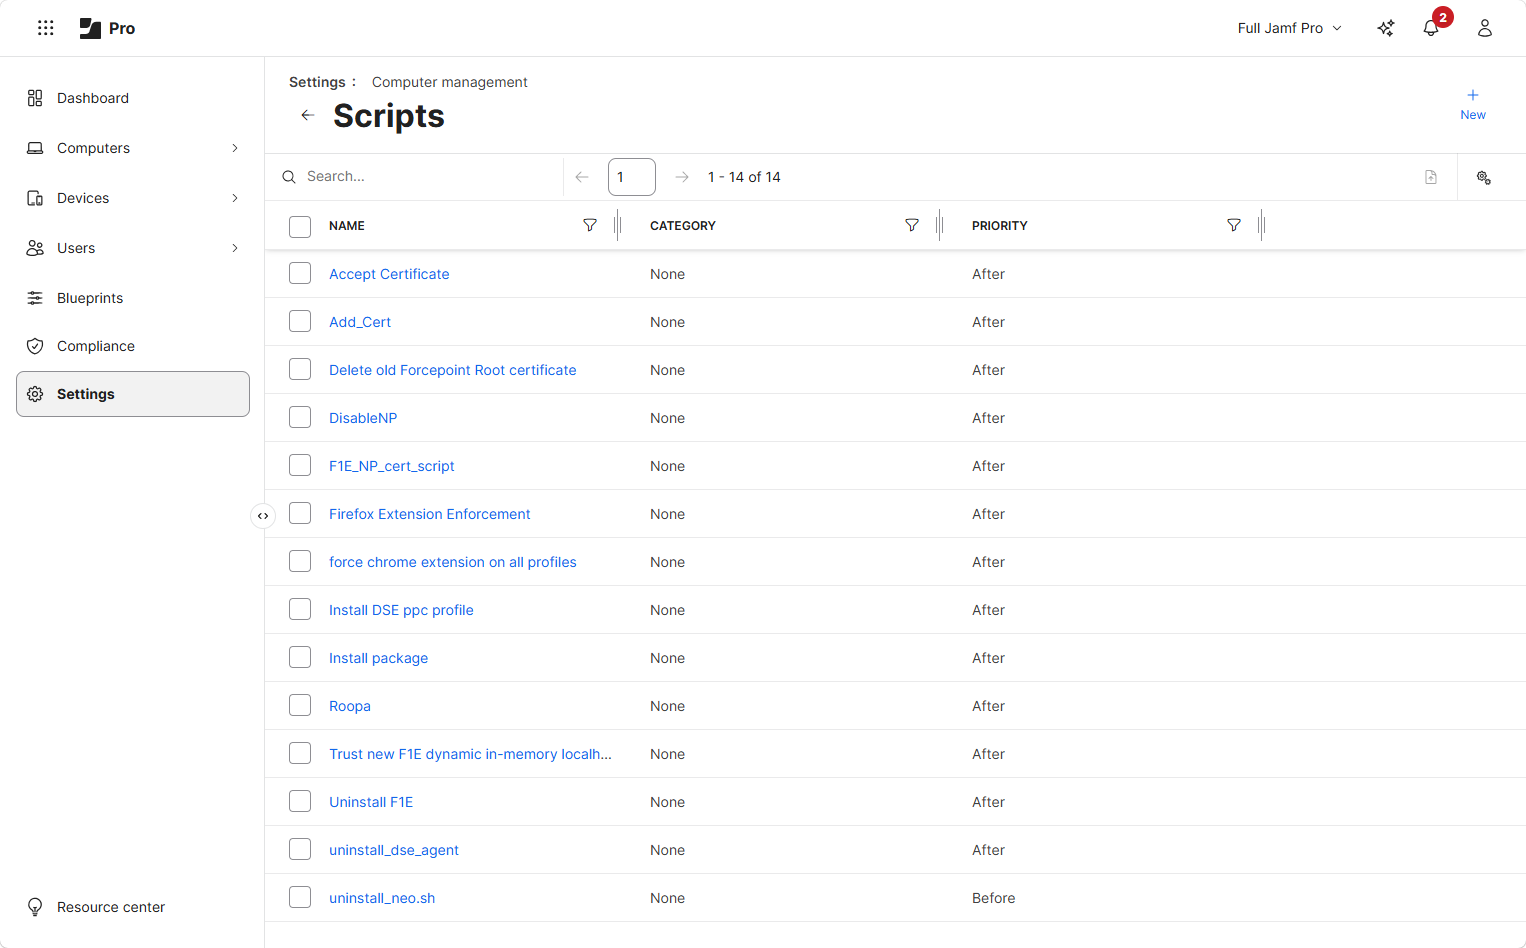
Create the script:
-
Go to .
-
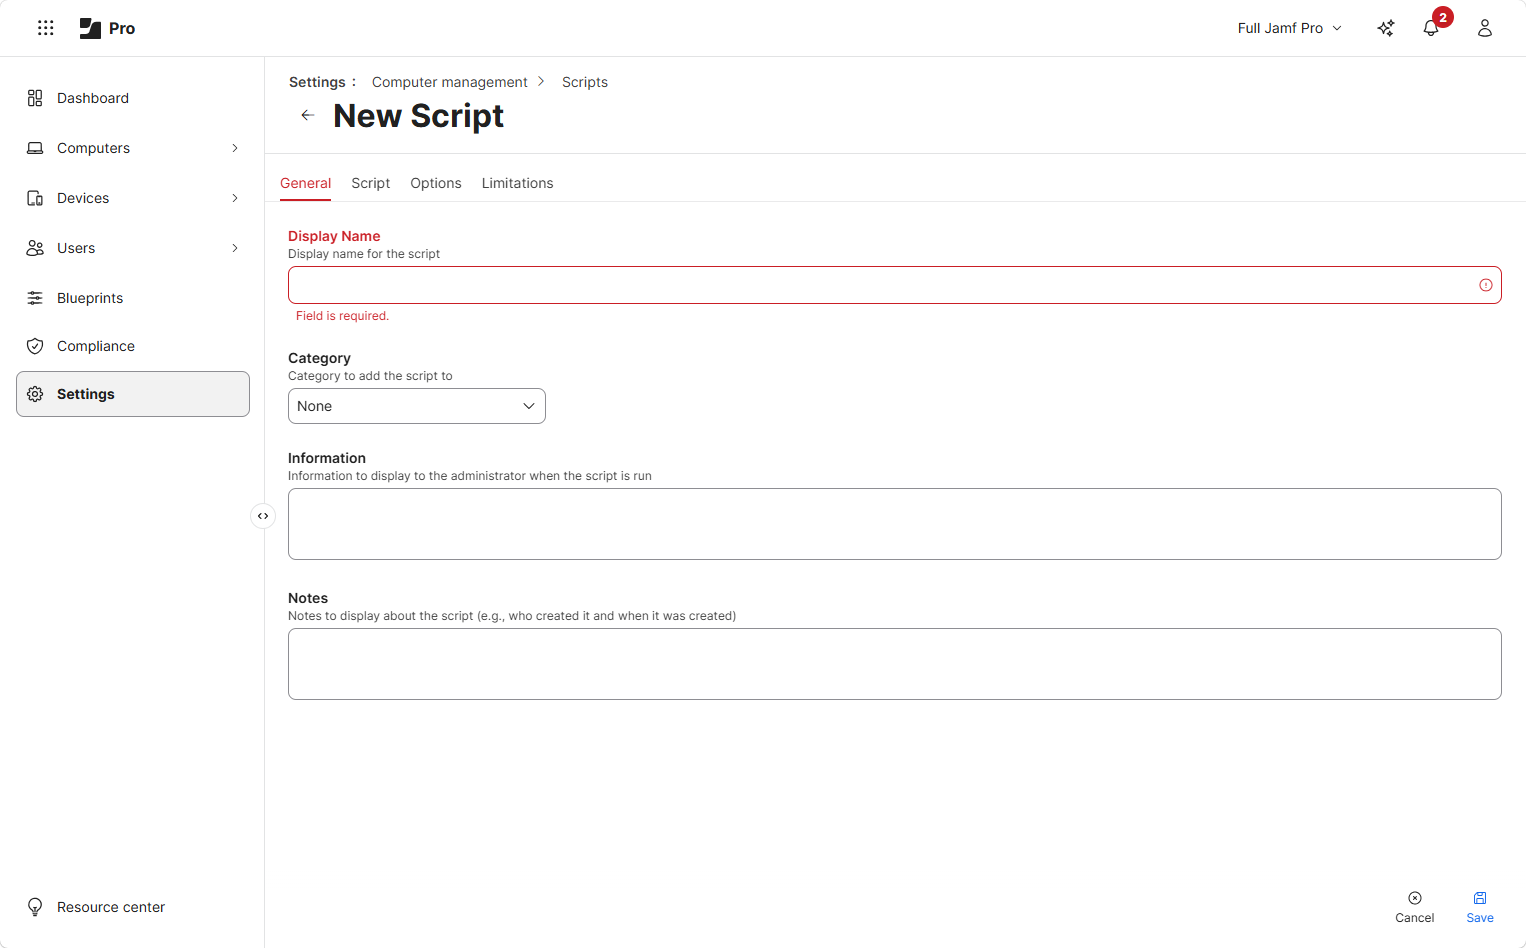
Click the New icon to open the New Script
dialog.
-
On the Script tab, enter the following script:
#!/bin/bash

echo "Starting installation now"


# Changes directory to '/library/Application\ Support/JAMF/Waiting\ Room/' this is where JSS storred cached files.

cd /library/Application\ Support/JAMF/Waiting\ Room/


rm -f /tmp/WebsenseEndpoint.pkg

rm -f /tmp/ca.cer

rm -f /tmp/localConfig.xml

rm -f /tmp/WebsenseEPClassifier.pkg


#unzip zip file to tmp folder

unzip -o $4 -d /tmp


#Calls the installer and installs it to the root of the dirve which is the default

installer -pkg /tmp/WebsenseEndpoint.pkg -target /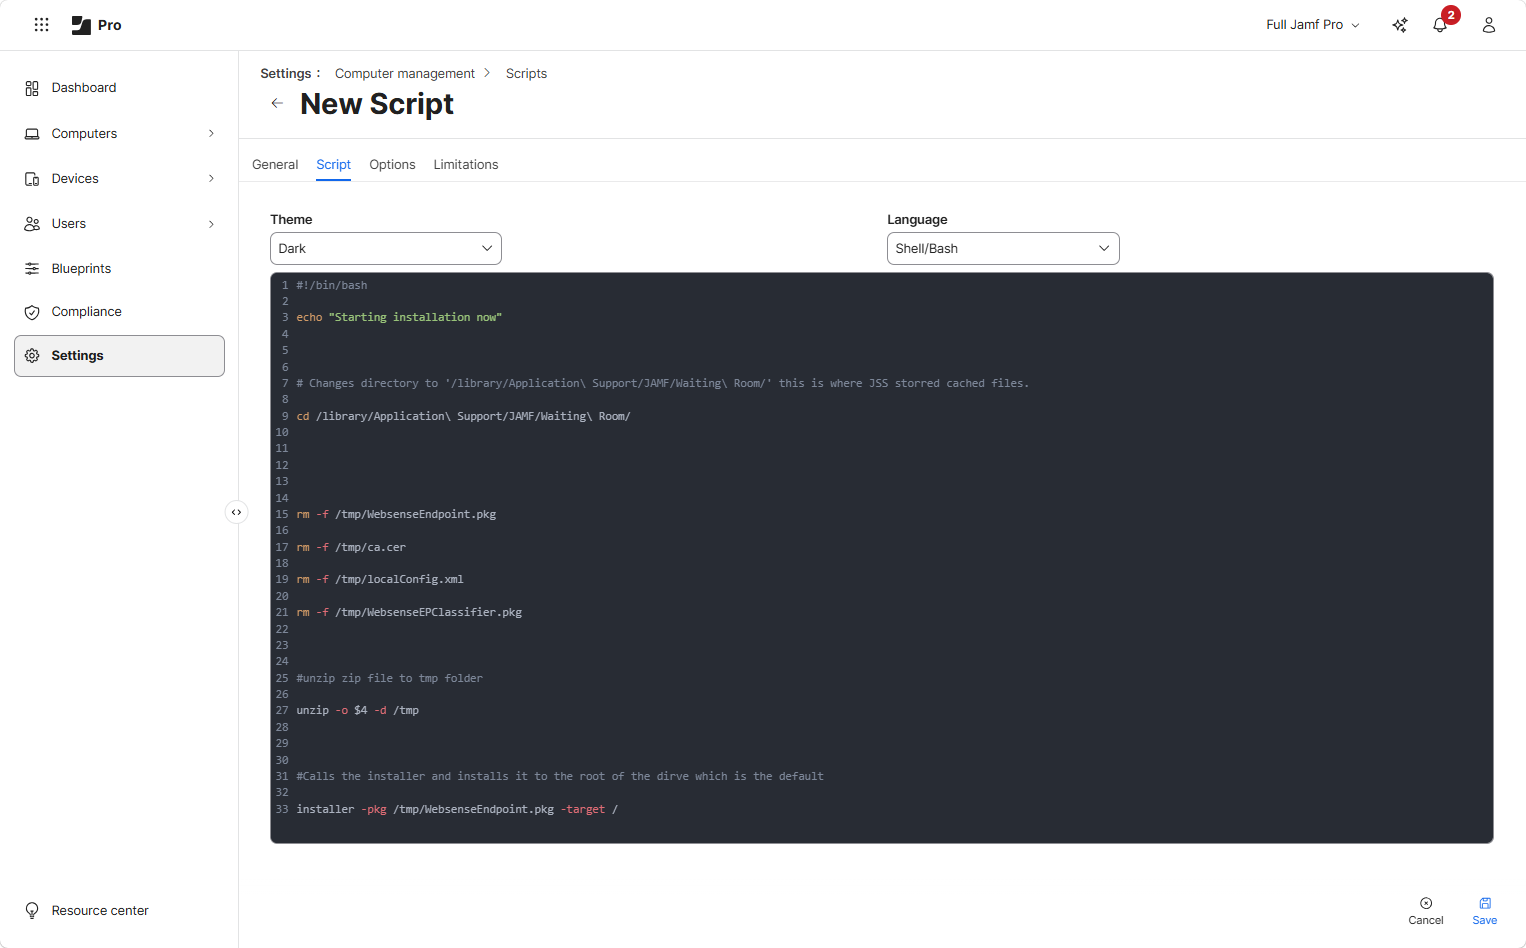
-
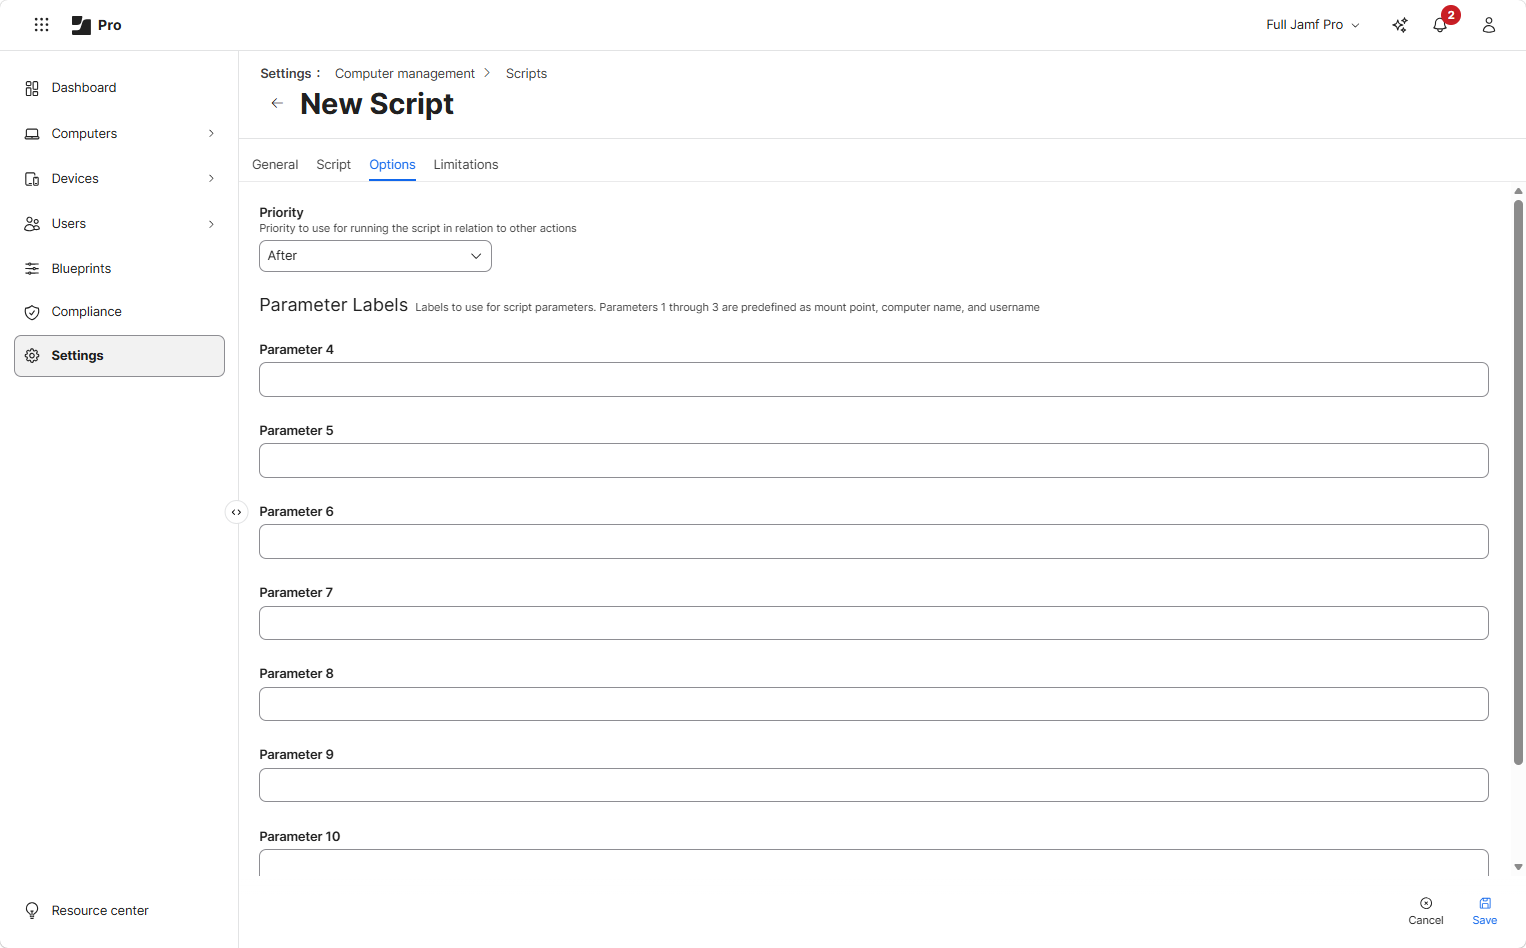
In the Options tab, enter the following:
- In Priority, select After.
- In Parameter 4, enter the installer package name; DSEInstaller.zip.
-
Go to .
-
Create the policy and add the package and script:
-
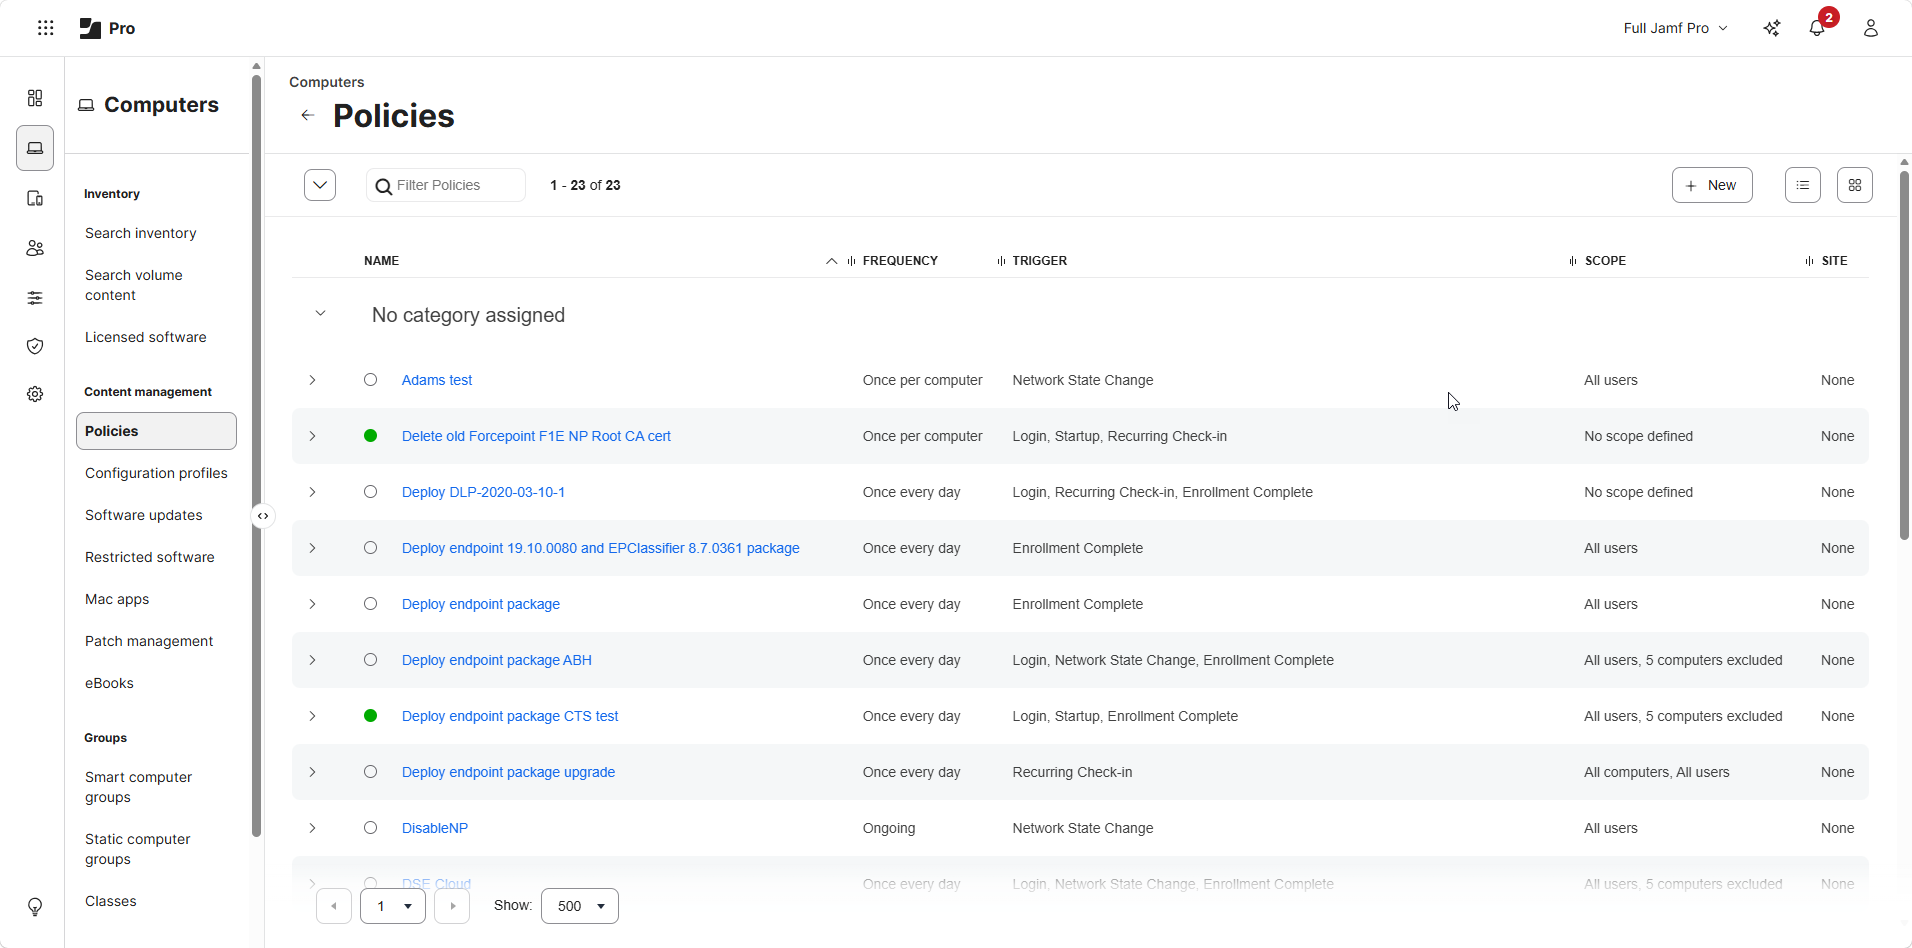
Go to .
-
Click the
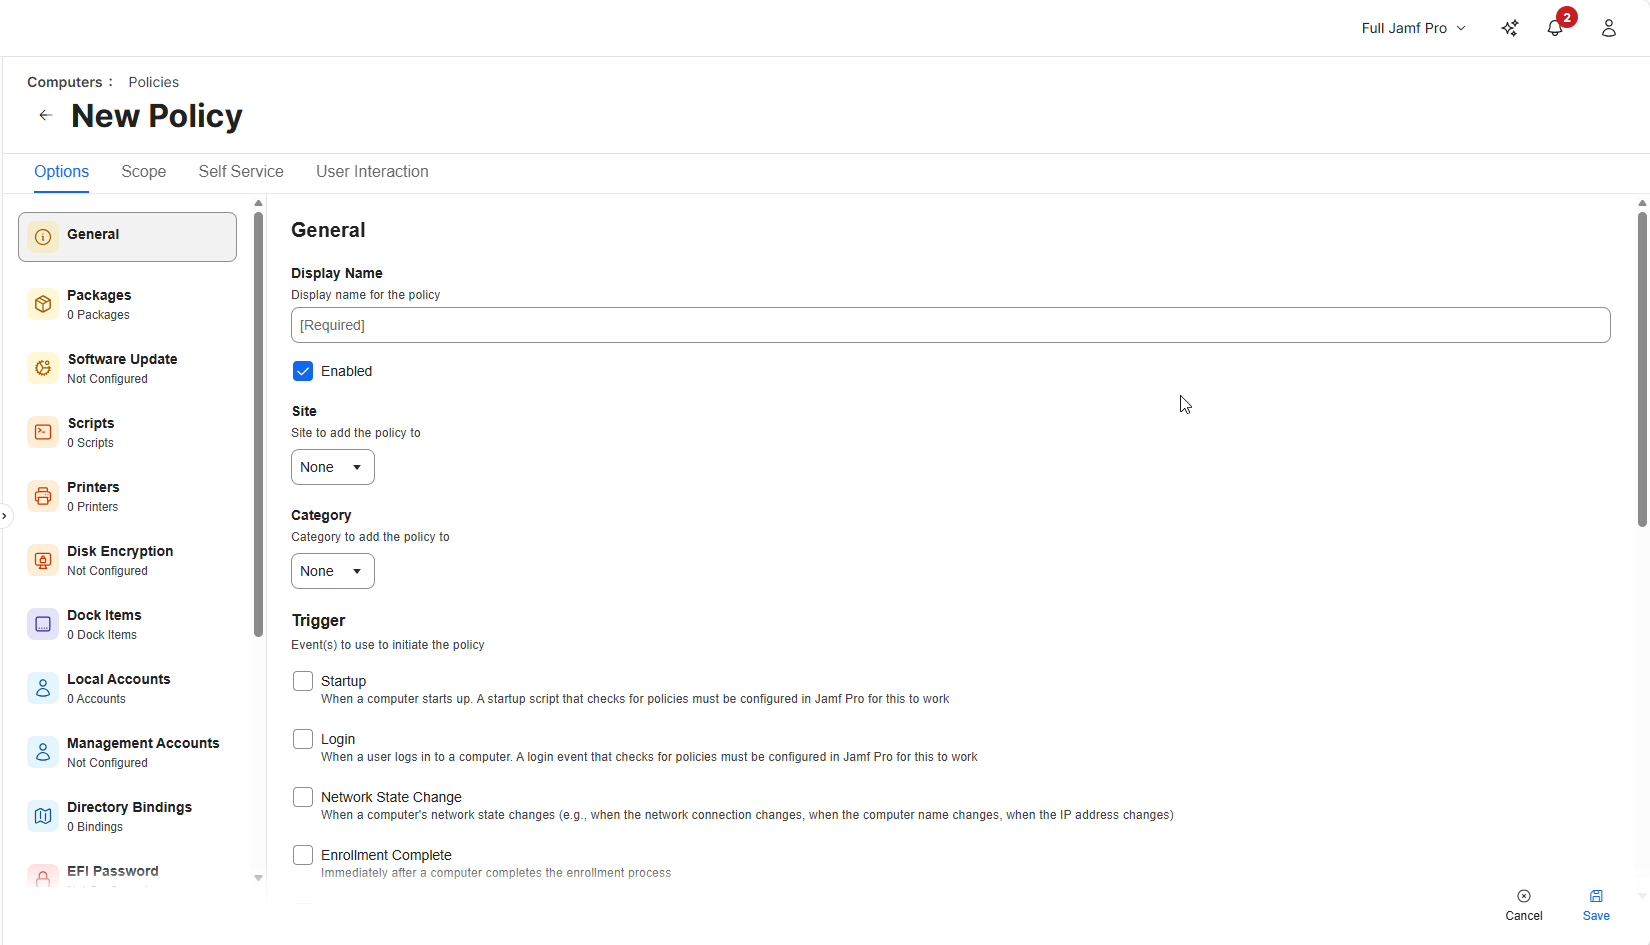
 New icon to open the New Policy dialog.
-
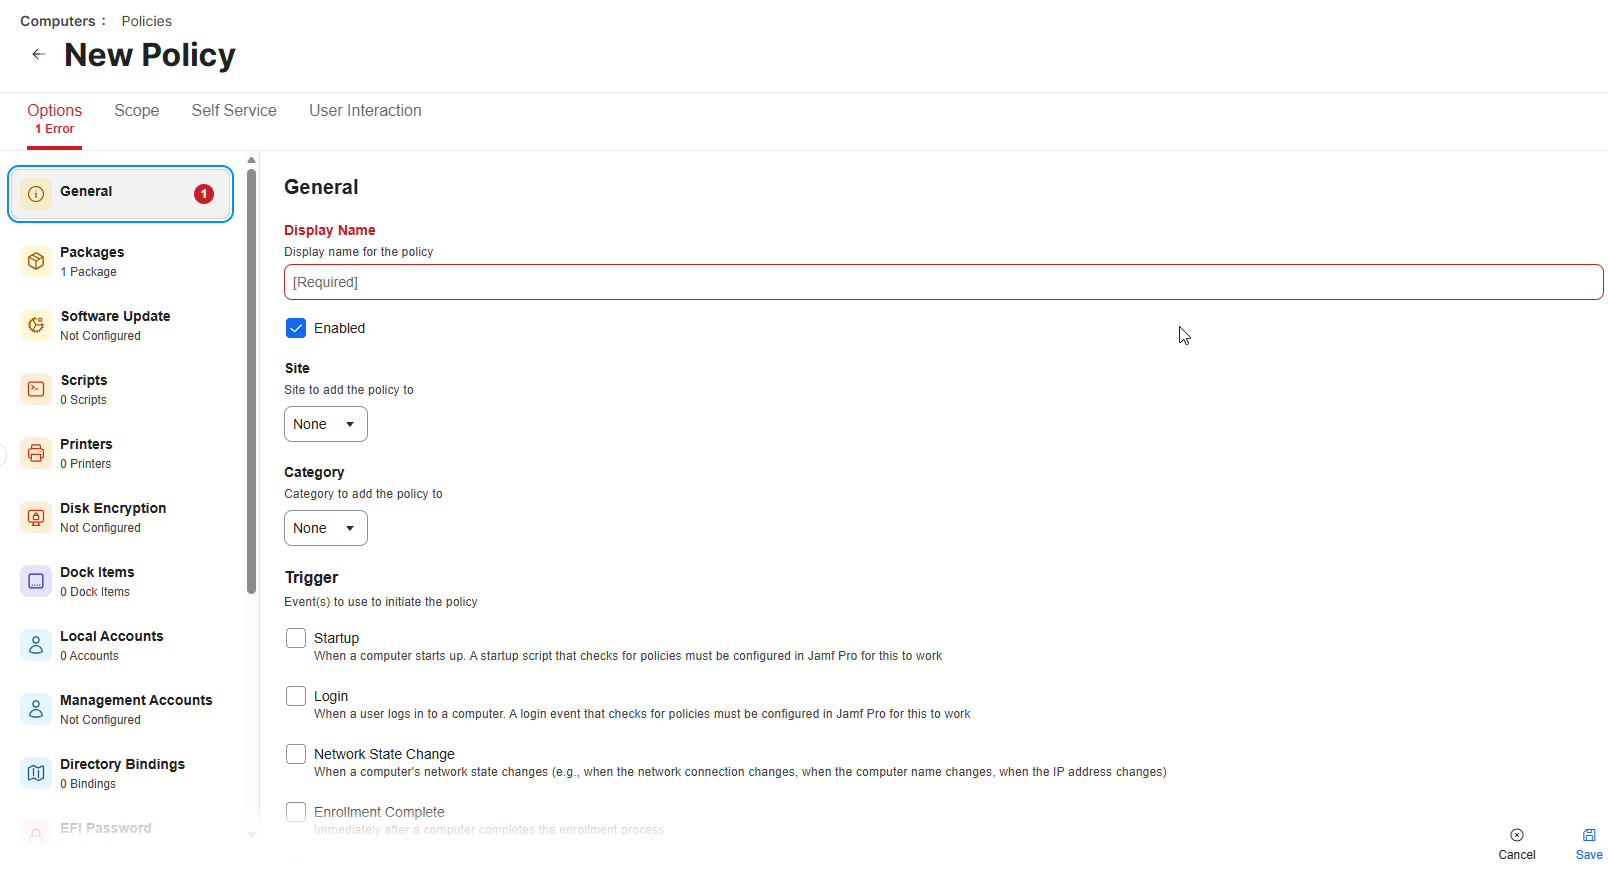
On the General tab, in Display Name, enter a name for your policy.
-
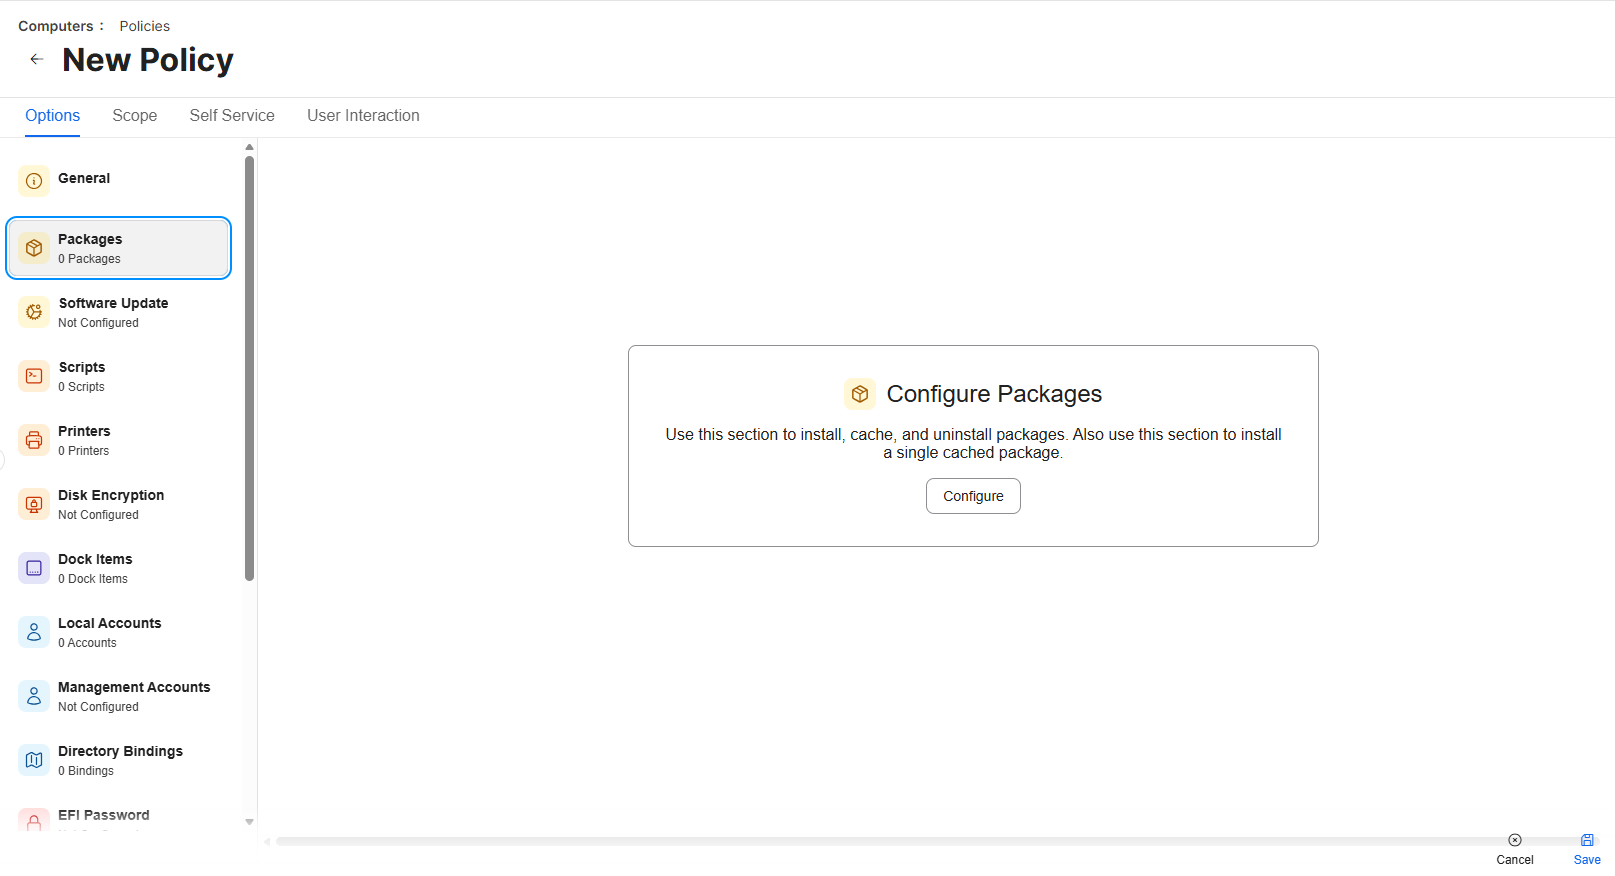
To add the packages to the policy, click the Packages option, and then click Configure under Configure
Packages.
-
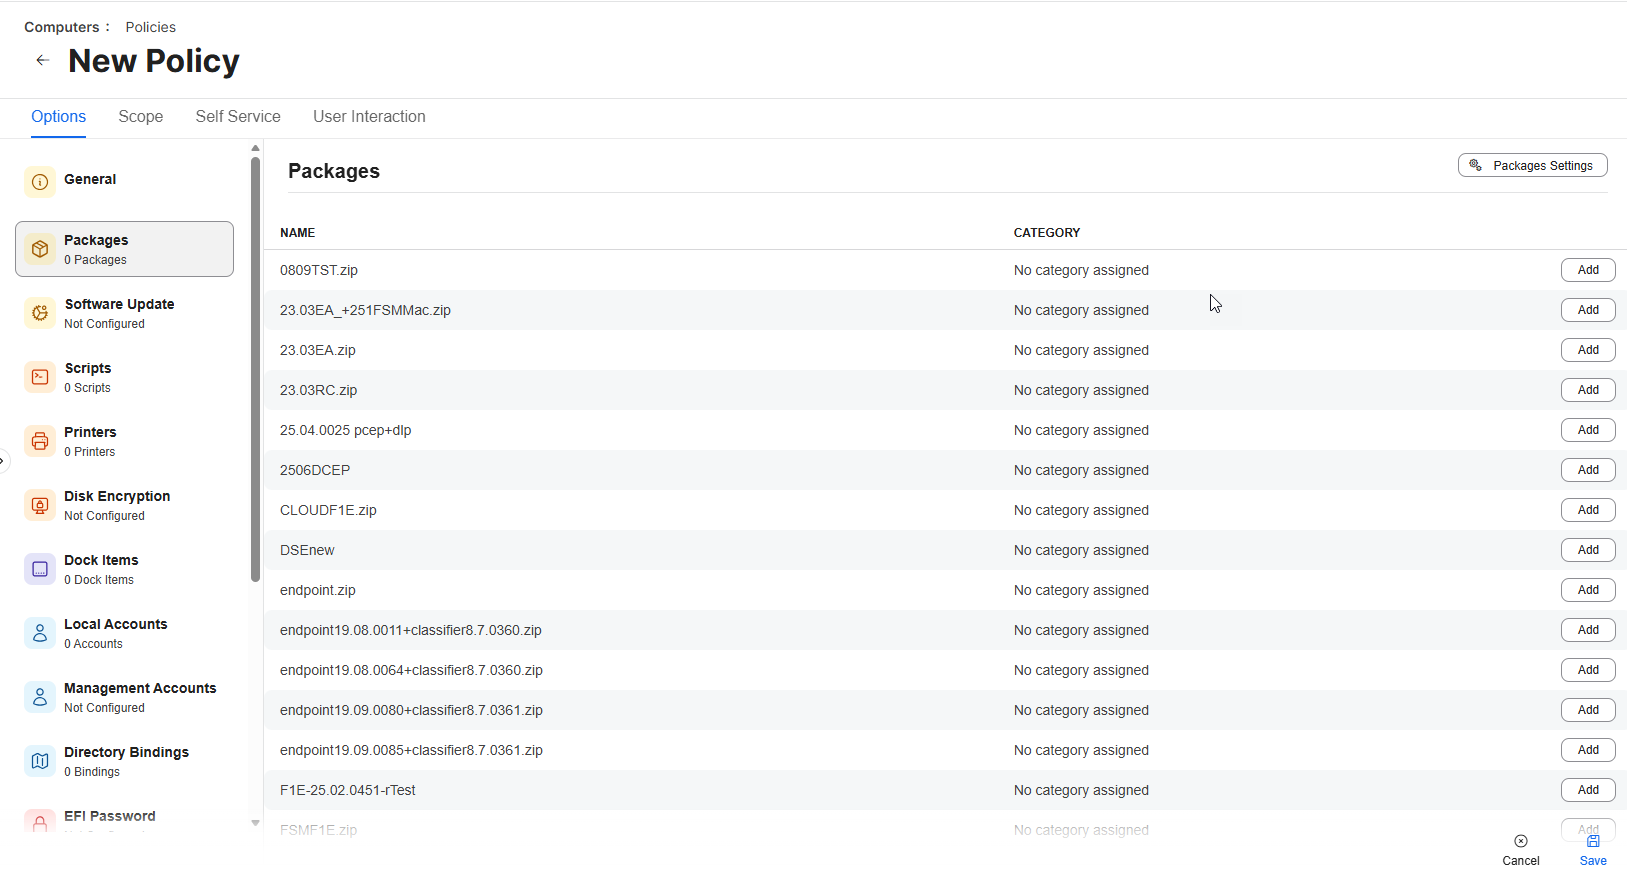
Search for the DSEInstaller package and click Add.
-
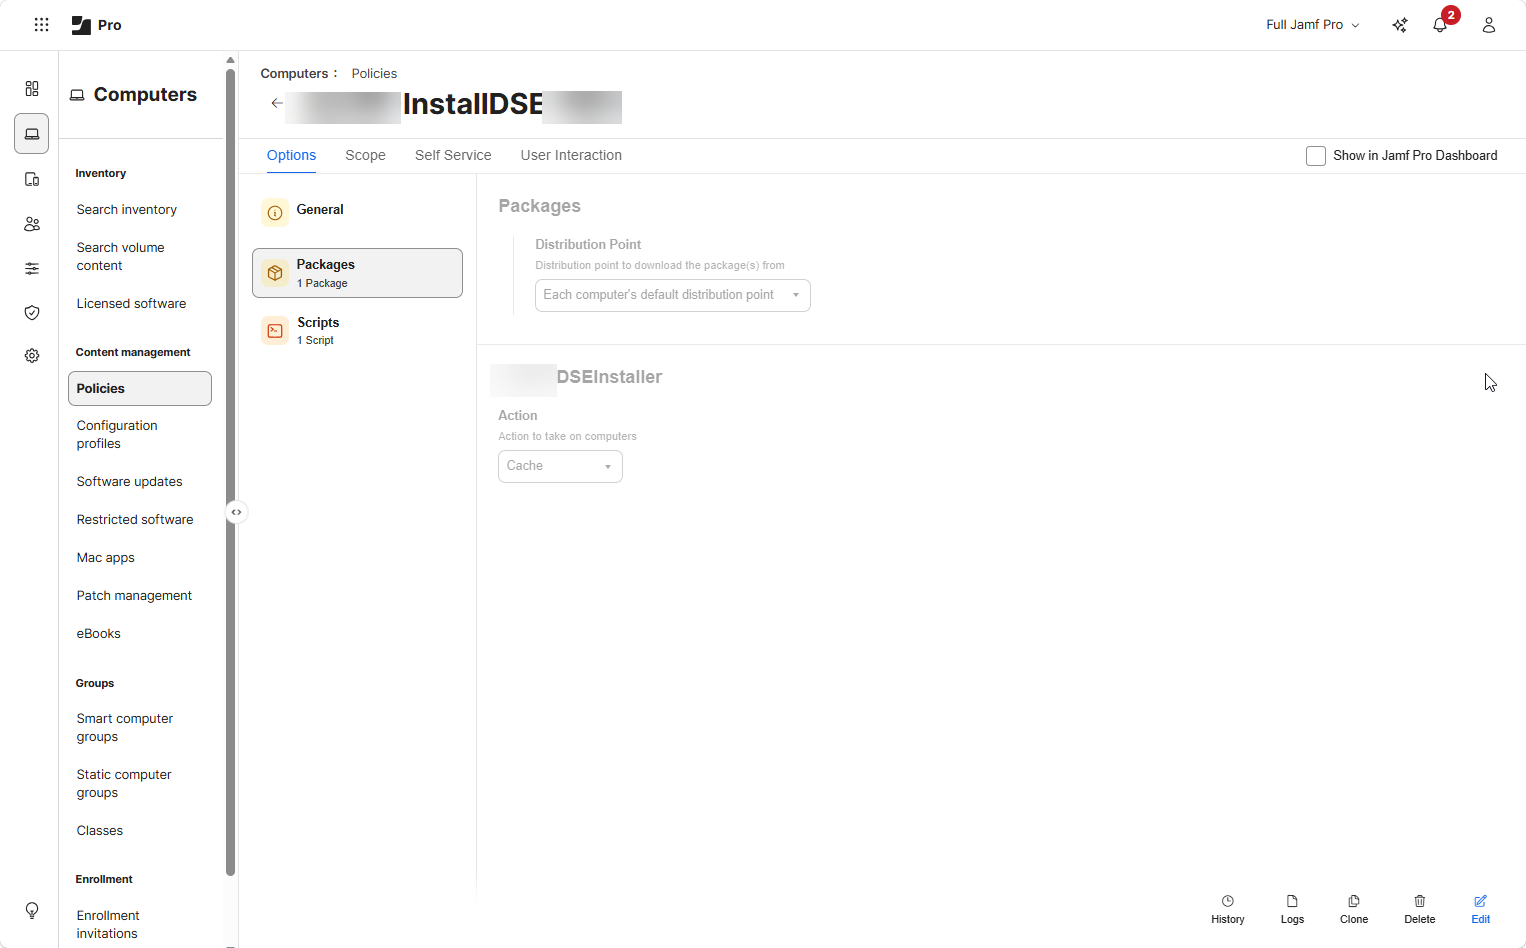
In Action, select Cache.
-
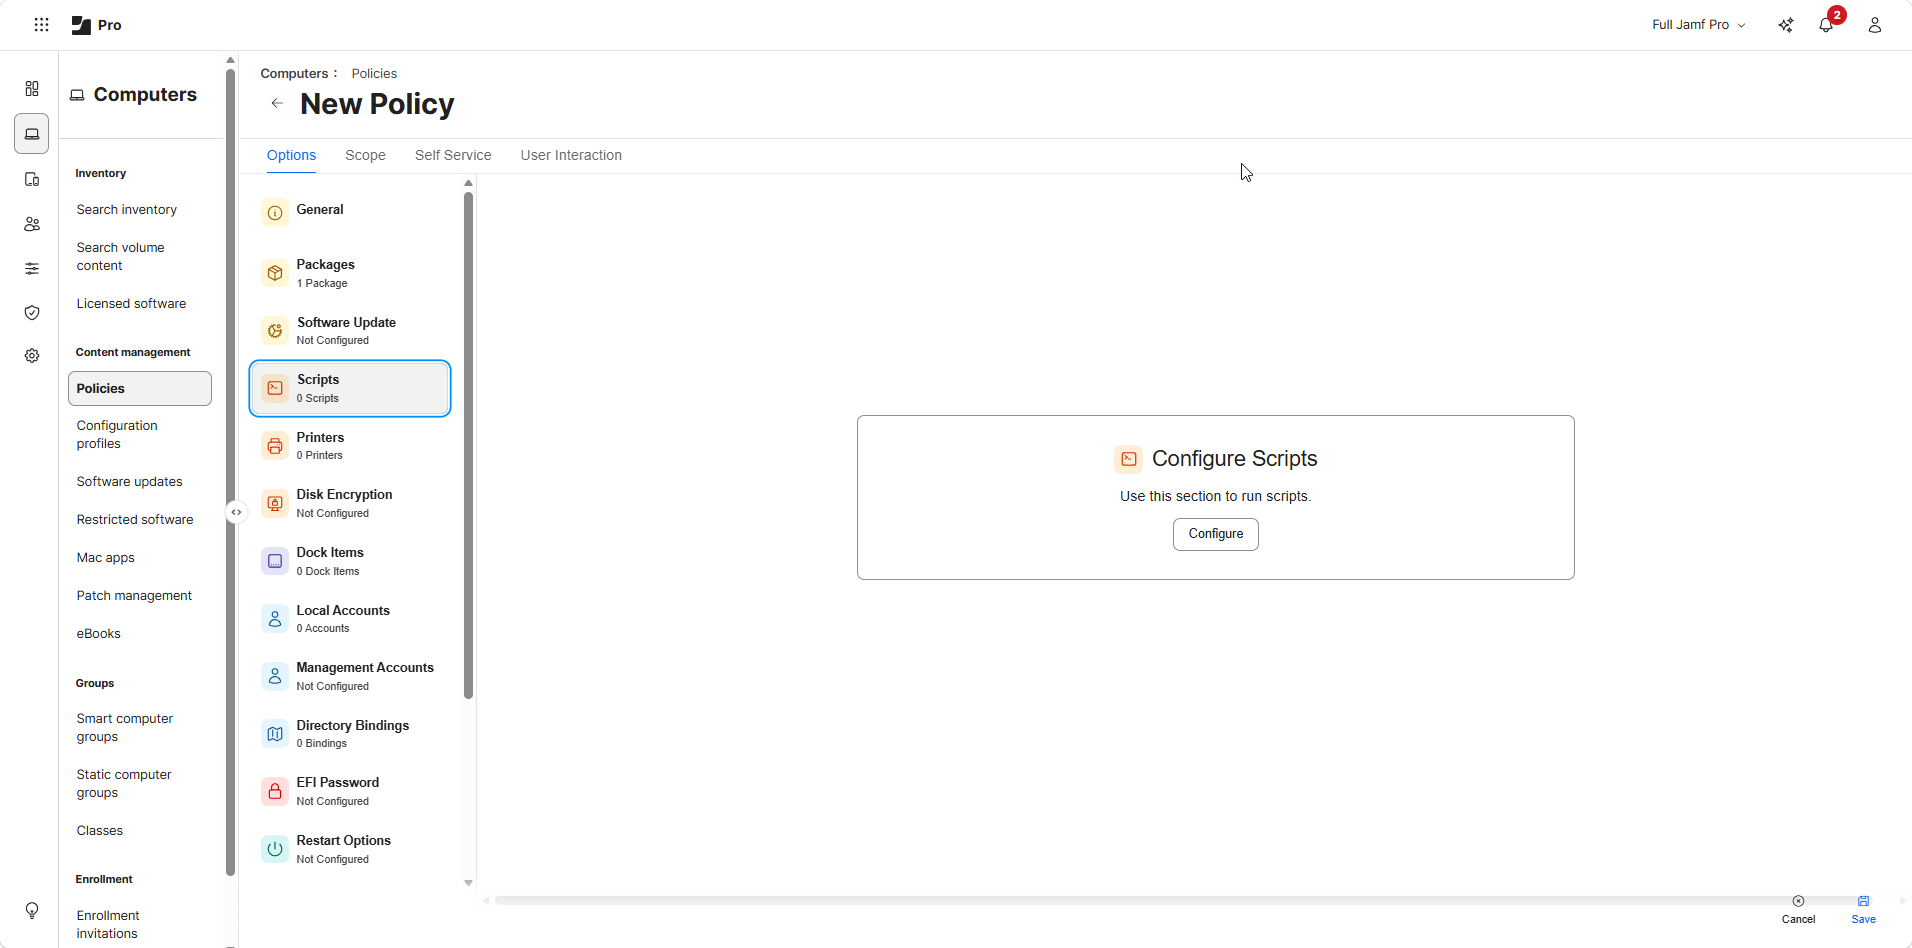
To add the script to the policy, click the Scripts option, and then click Configure under Configure
Scripts.
-
Go to .
-
Add the scope to the policy:
-
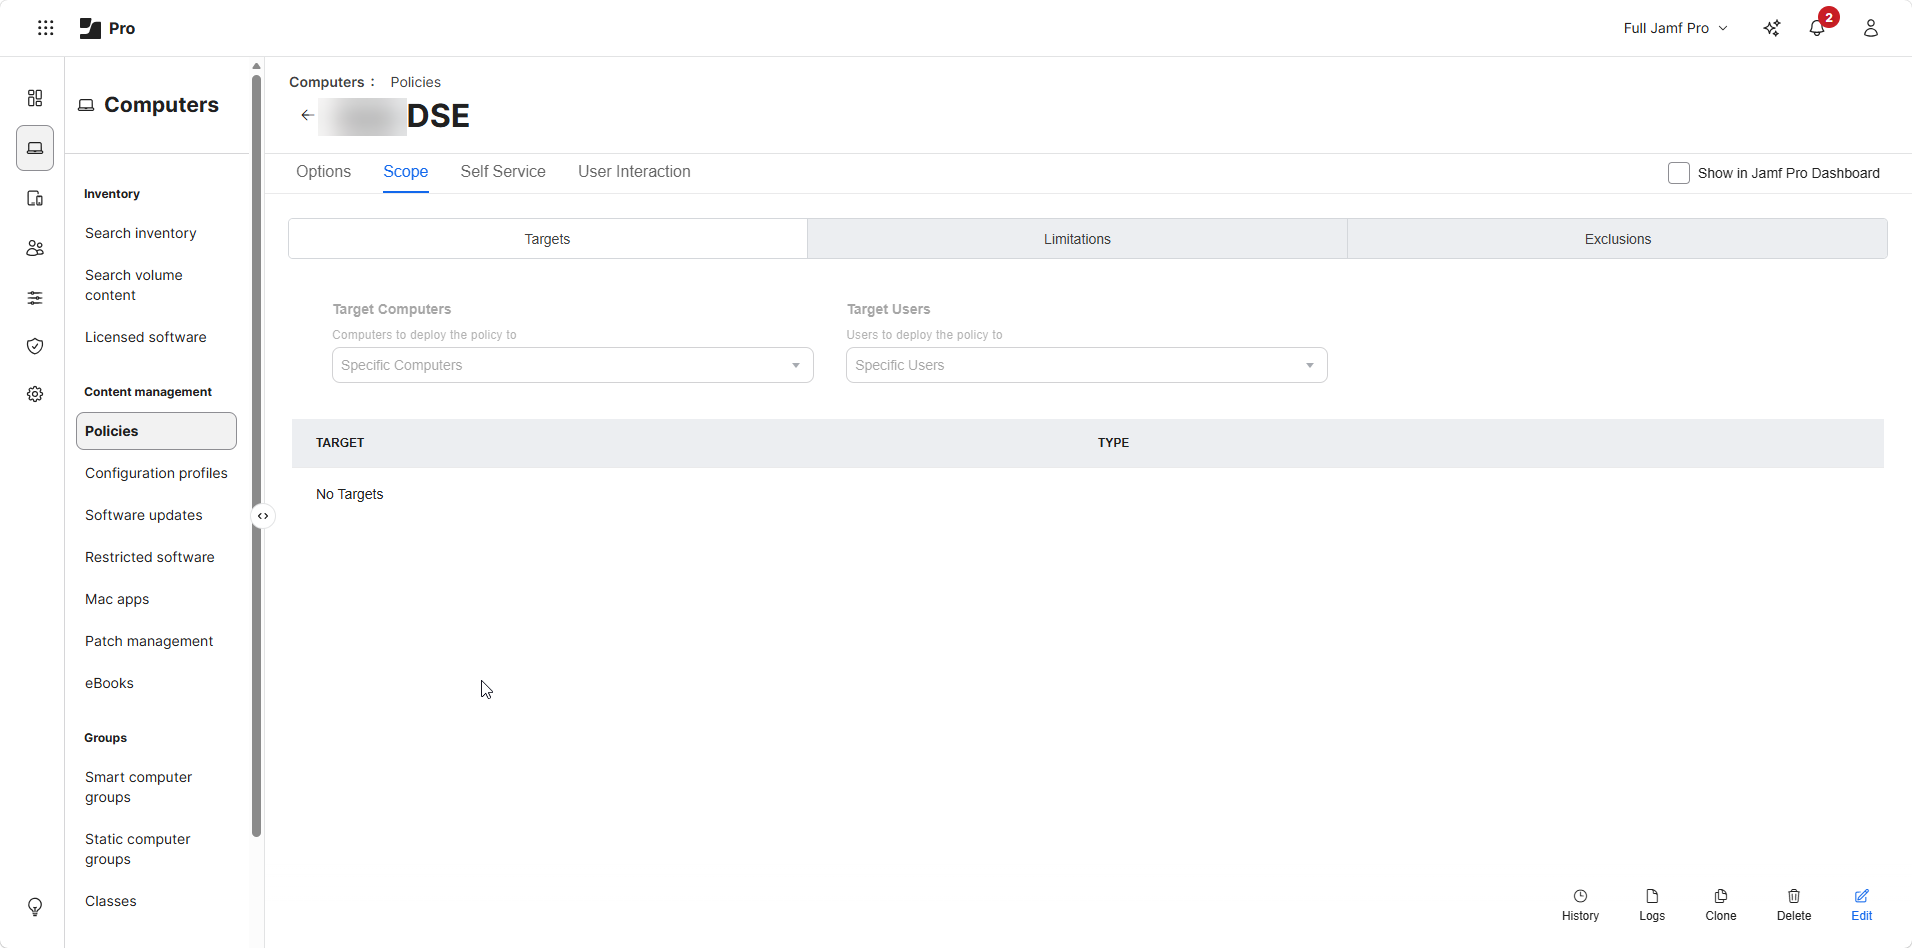
Go to the Scope tab.
-
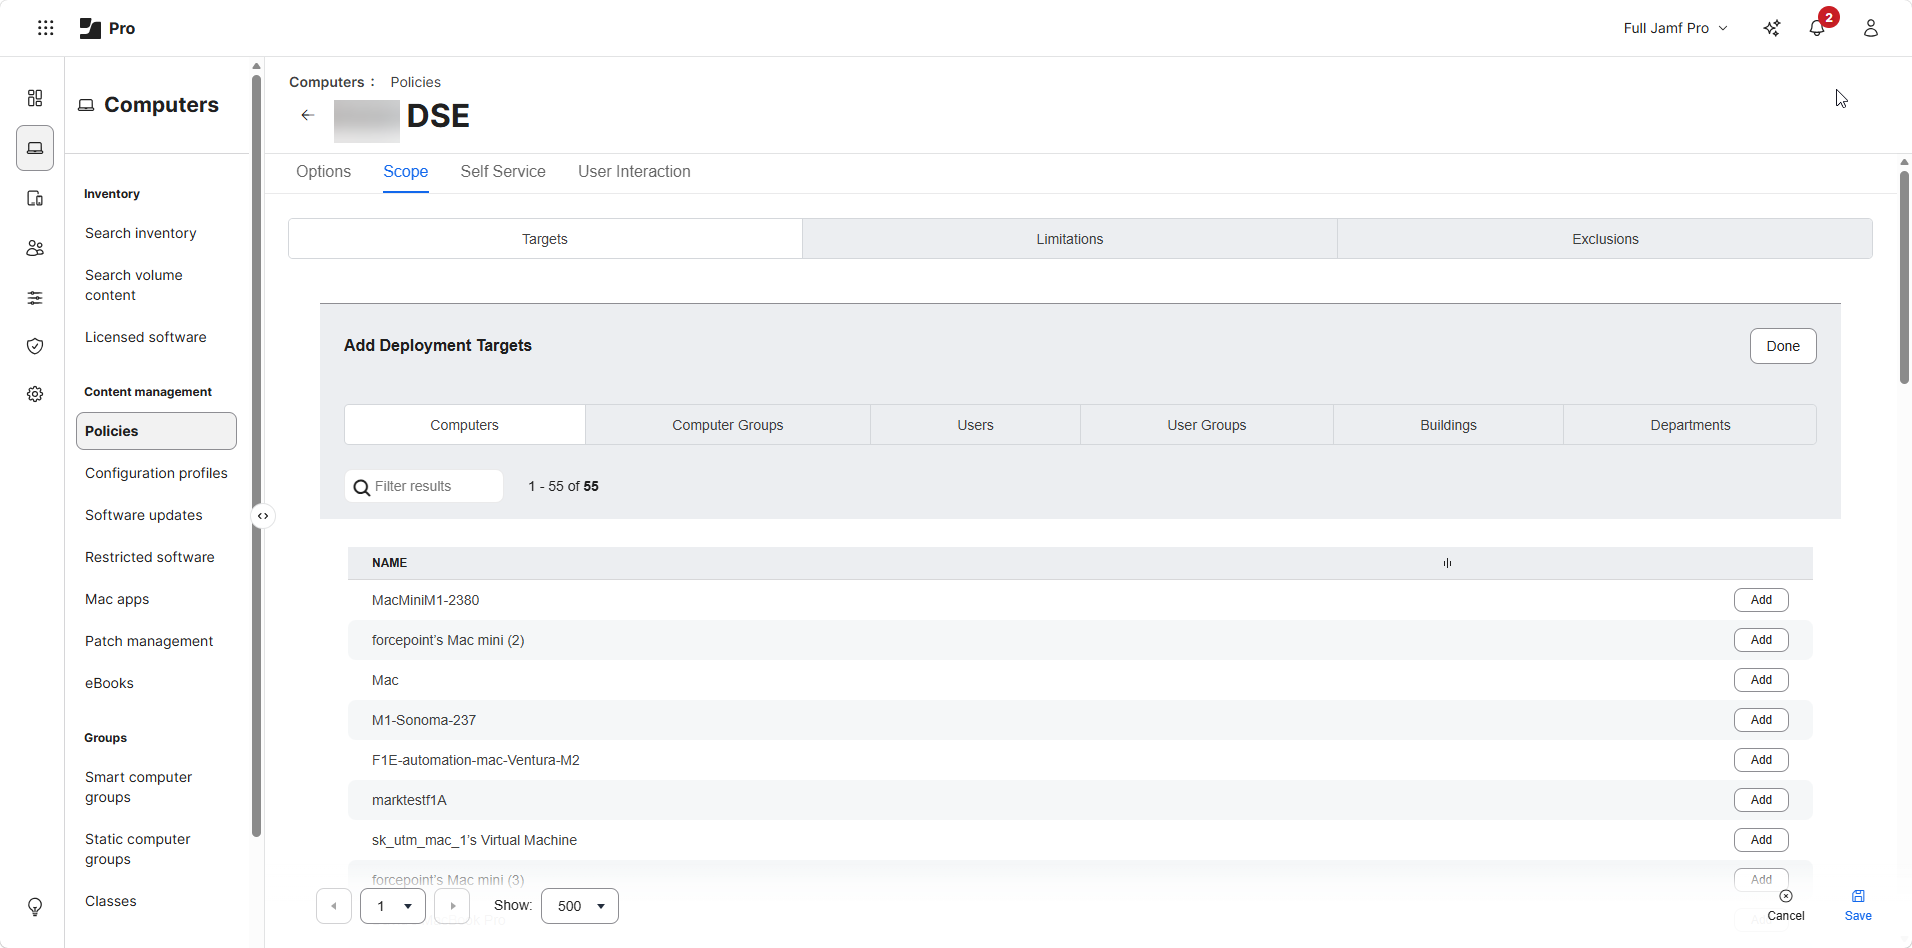
Under Targets, click Add next to your target machine.
-
Go to the Scope tab.
-
Complete the deployment:
-
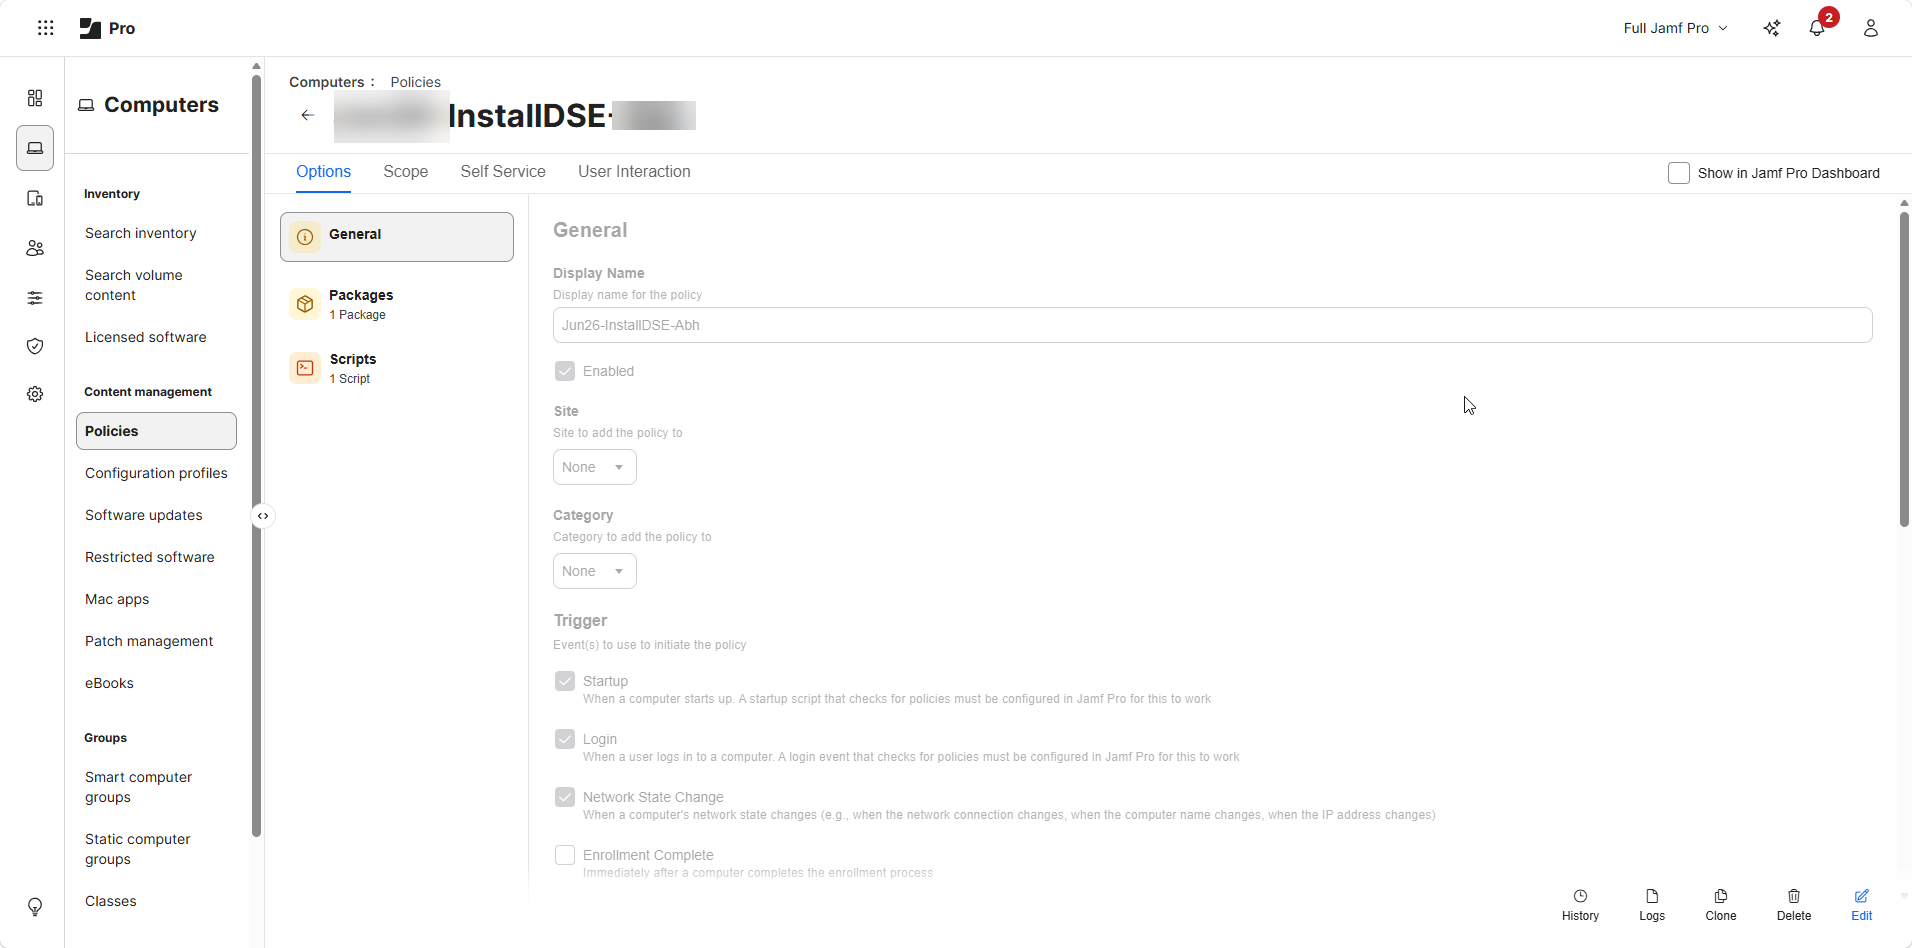
Go to , and then select your policy.
-
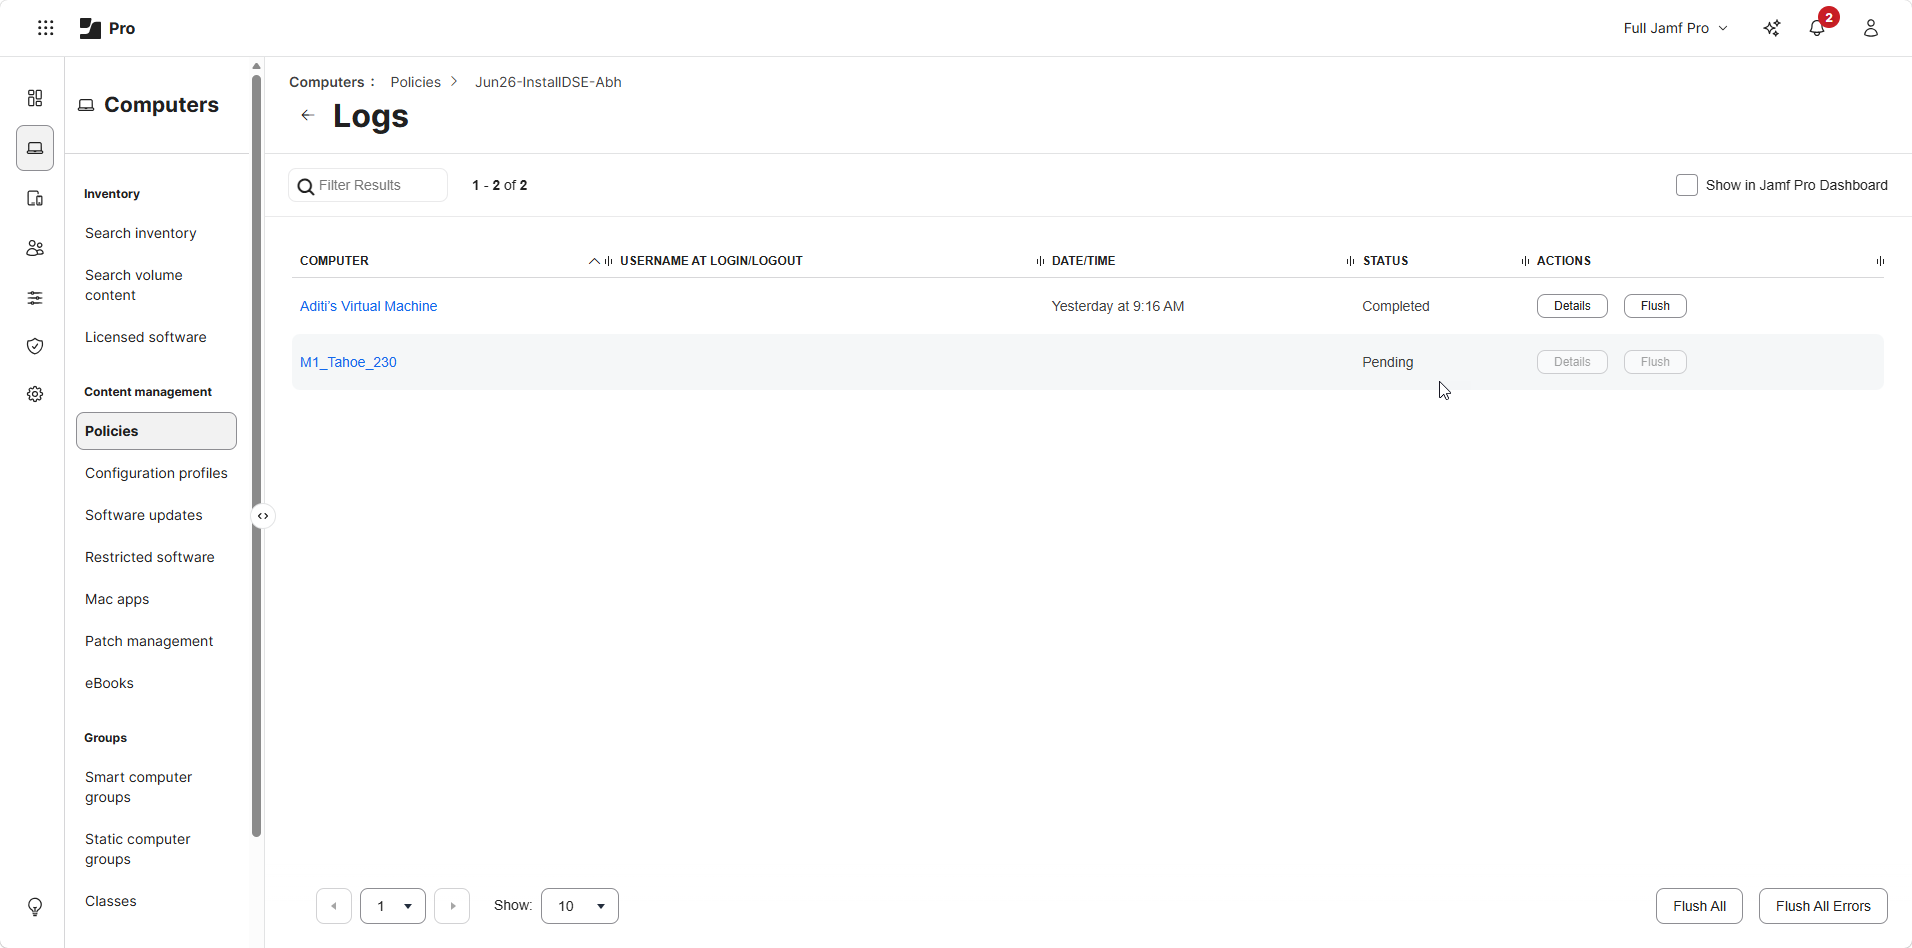
Click Logs, and then click Flush.
-
To complete the agent installation, the endpoint machine needs to be logged off and logged back in again.
The Forcepoint Agent installation will begin in a few seconds and will take a couple of minutes to complete.
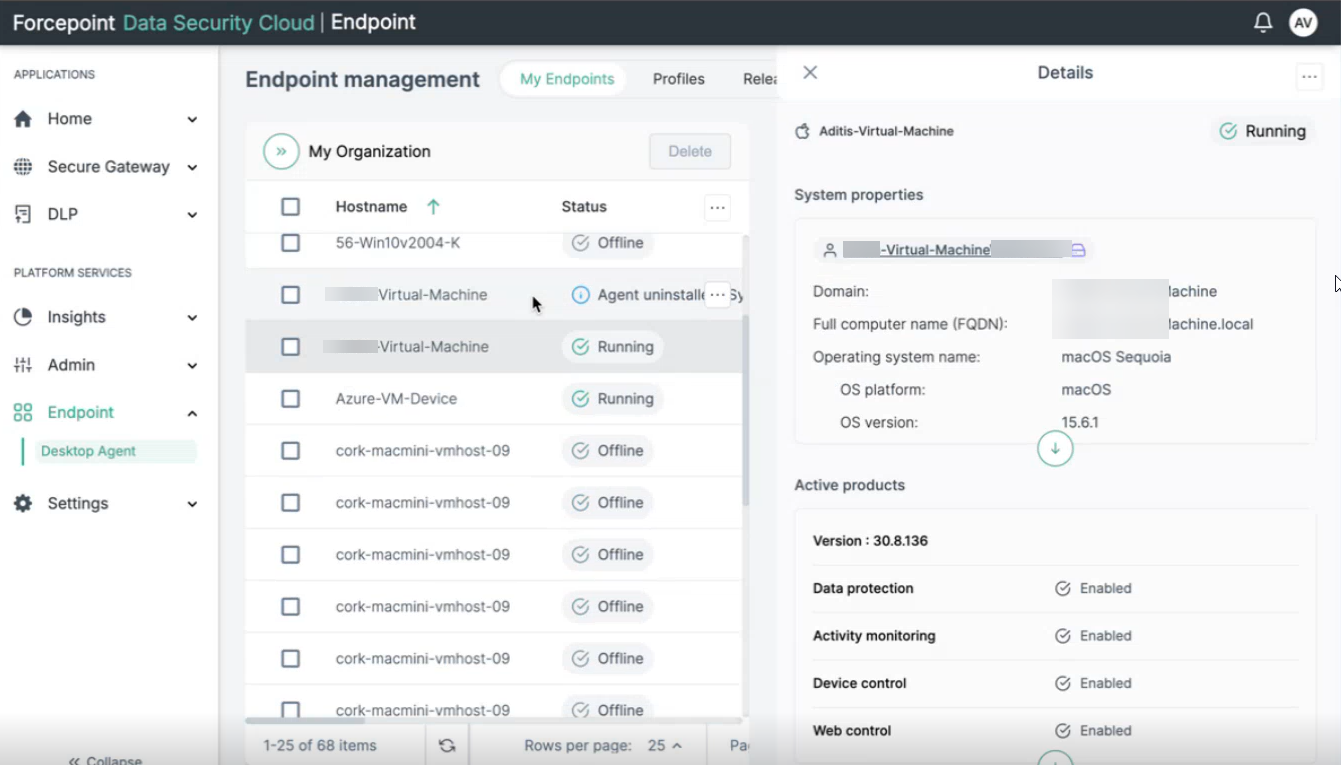
To validate, log in to Forcepoint Data Security Cloud and observe that your machine is running and view the endpoint details in the Details pane.
-
Go to , and then select your policy.