After configuring LDAP profile, you need to install the agent on the machine of AD server.
Steps
-
Sign in to Forcepoint Data Security Cloud.
-
From the application waffle, select Admin.
-
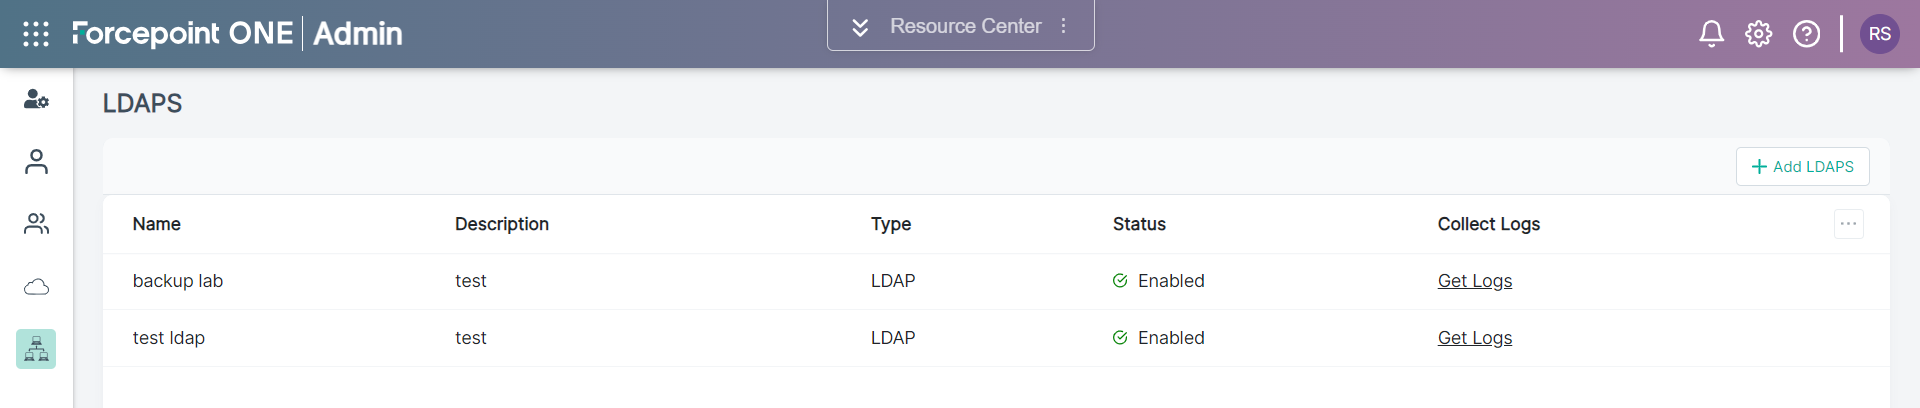
From the left Navigation Pane, click the LDAP
 icon.
icon.
The following page opens displaying existing LDAPs.
-
Select the specific LDAP/LDAPS profile from the list which you want to configure.
-
On the Edit LDAPS pane, scroll down to the Agent List section.
-
Click + Add Agent.
-
Enter a unique Agent Name.
-
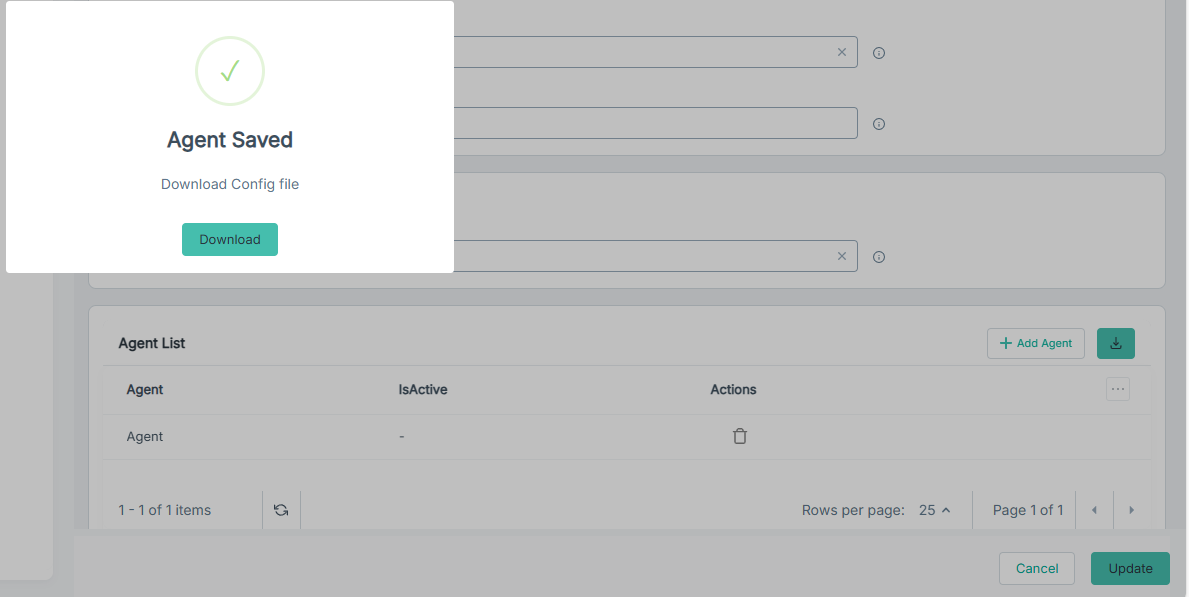
To save the entered agent name, click Save.
Once saved, the agent gets created and a dialog opens with an option to download the agent configuration file.
For the AD agent, the IsActive column is set to null.
-
To download the agent configuration file, click Download.
A config.json file gets downloaded, which will contain a secret key and a connection URL of Forcepoint Data Security Cloud with which
agent will securely connect via a websocket connection.
-
To save the changes, click Update.
-
To download the AD agent setup file, click the
 icon.
icon.
-
Unzip the AD agent setup and move the config.json file to same unzipped AD agent setup folder.
-
Copy the unzipped AD agent setup folder to the machine where AD is installed.
-
In the machine, double-click the cmd.exe file in unzipped AD agent setup folder.
Wait until you see the "Successfully made websocket connection to Platform" message.
-
On Forcepoint Data Security Cloud, refresh the agent list.
For the AD agent, the IsActive column is set to green check.