Checking account permissions
Before starting, make sure the Azure account you are using for the configuration setup is a full Azure admin/owner account.
Steps
-
On the Cost Management + Billing page, select your subscription that you are using. For this example we are using
Pay-As-You-Go.
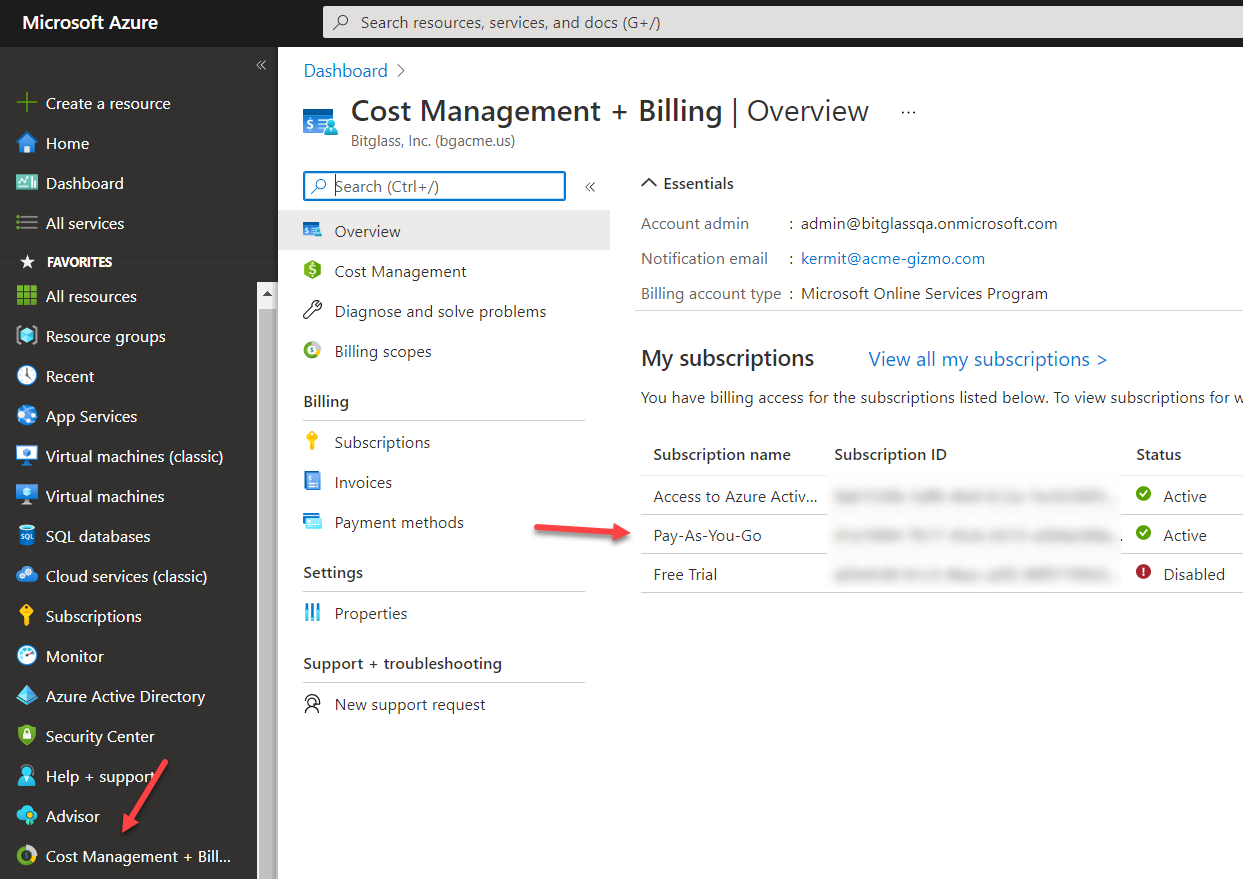
-
At the top you can see what role is assinged. Since we are logged in as the main administrator, it shows as Account Admin which has full admin access. Your
role may differ so you will need to check the permissions that role has. To do so, click on Access Control (IAM) on the left side.

-
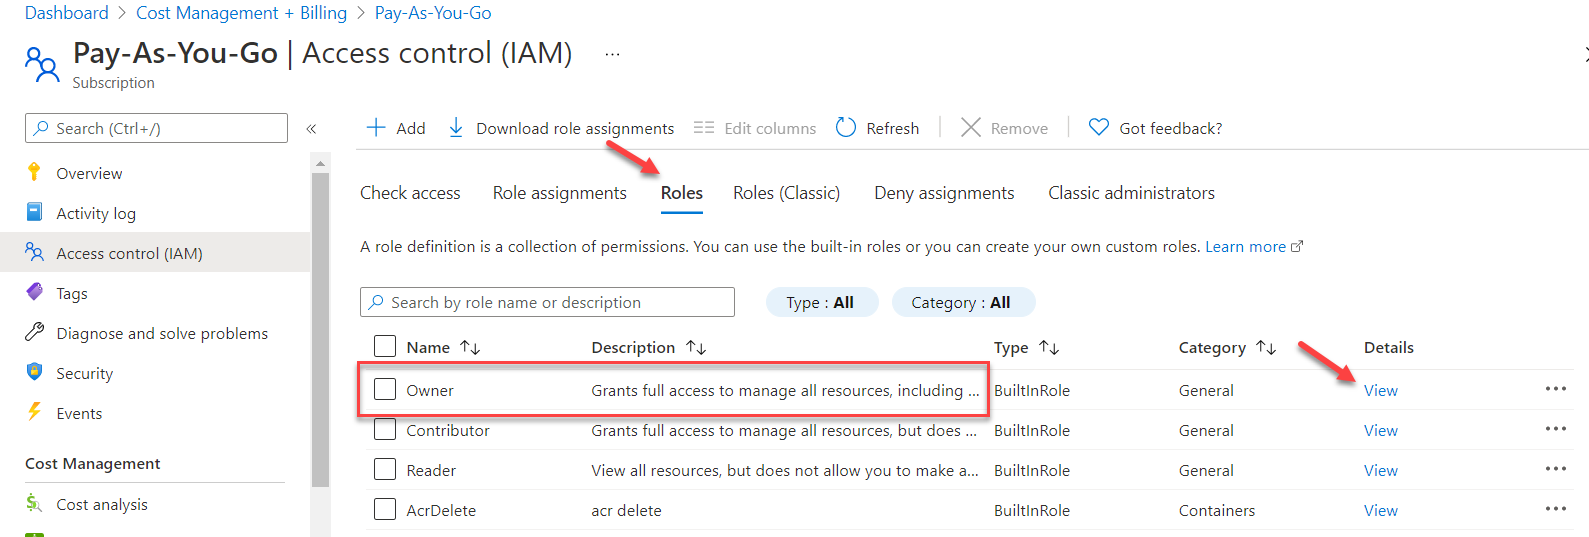
Click on the Roles tab at the top and then find which role was assigned to your account to check it's permission. Conversely you can assign a different role
to that account that has the proper permissions instead of adjusting a role. Let's click on View Details of the Owner Role for
now.
-
In the new Permissions window that pops up, search for Create Role Assignment in the search bar at the top. Verify that the
permissions (under the Microsoft Authorization section) is set to Write. You can also manually collapse and scroll to the
Microsoft Authorization section to look for that particular permission (or review other permissions).

Once you have verified you account has been given the right role you can now move onto the next steps for setup.