Configuring SQS in AWS S3
If you wish to do incremental scanning, you will need to setup SQS. In order to scan for changes such as permission changes to the object/file scroll down to setup CloudTrail.
Steps
-
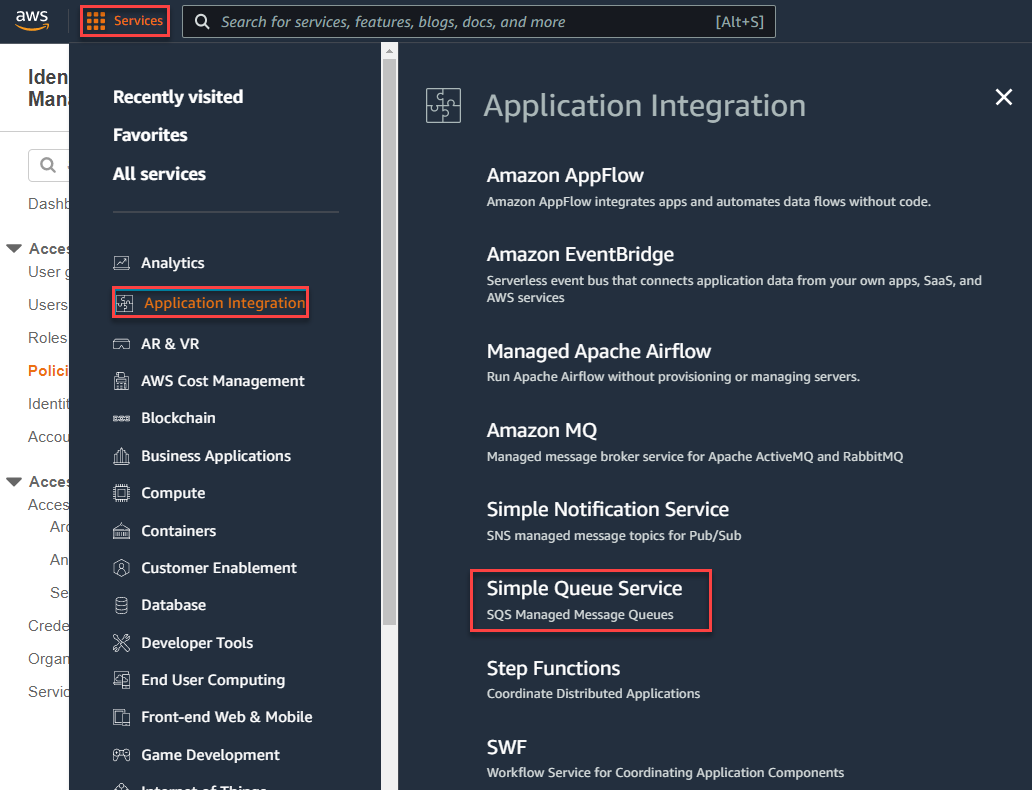
Login to the AWS console and navigate to and then click Create Queue in the top right.

-
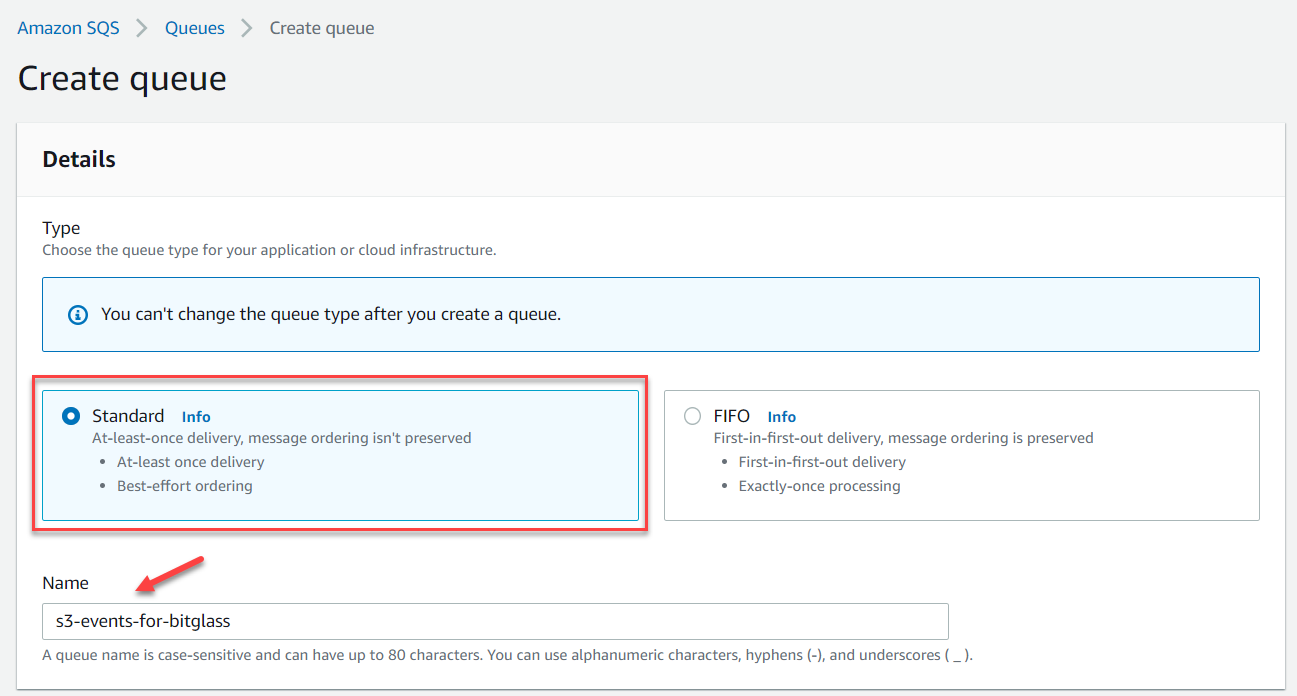
Select Standard for the option and then enter the name of the queue as s3-events-for-bitglass.
-
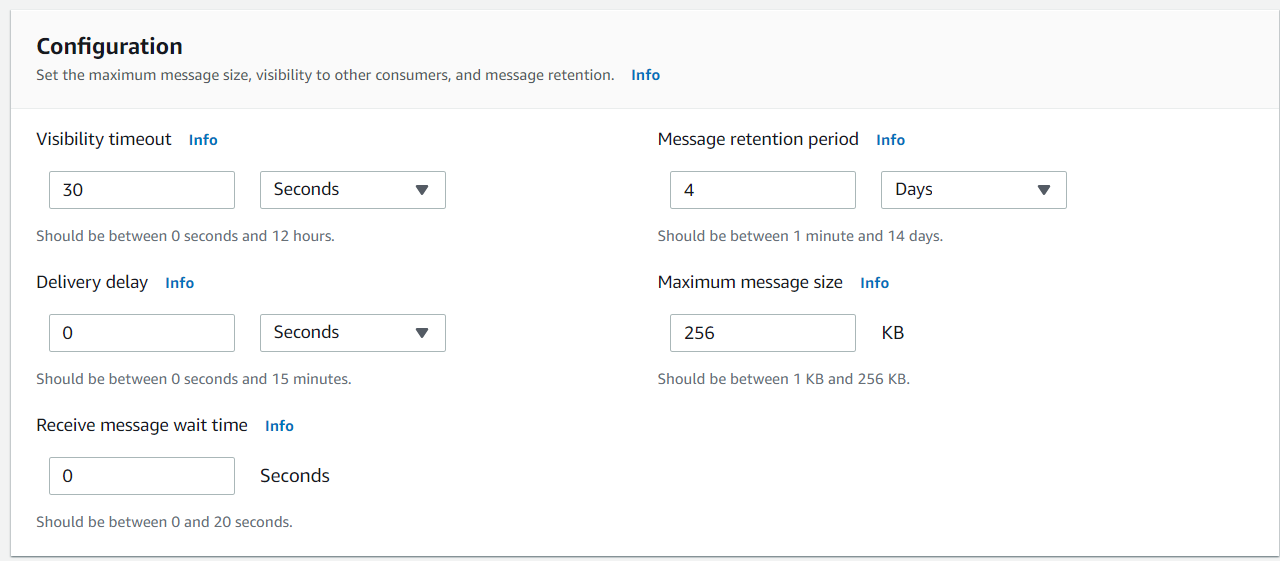
Scroll down and you can leave the Configurationsection as default.
-
Scroll to the Access Policy section and select the Advanced option to use JSON object. Add the following policy and including your
own 12 digit AWS account ID where it says to do so in brackets (do not include the brackets).
{
  "Id": "s3-events-for-bitglass",
  "Statement": [
    {
      "Sid": "Sid1522444971987",
      "Effect": "Allow",
      "Principal": {
        "Service": "s3.amazonaws.com",
        "AWS": "arn:aws:iam::<your AWS account ID>:root"
      },
      "Action": "SQS:SendMessage"
    }
  ]
}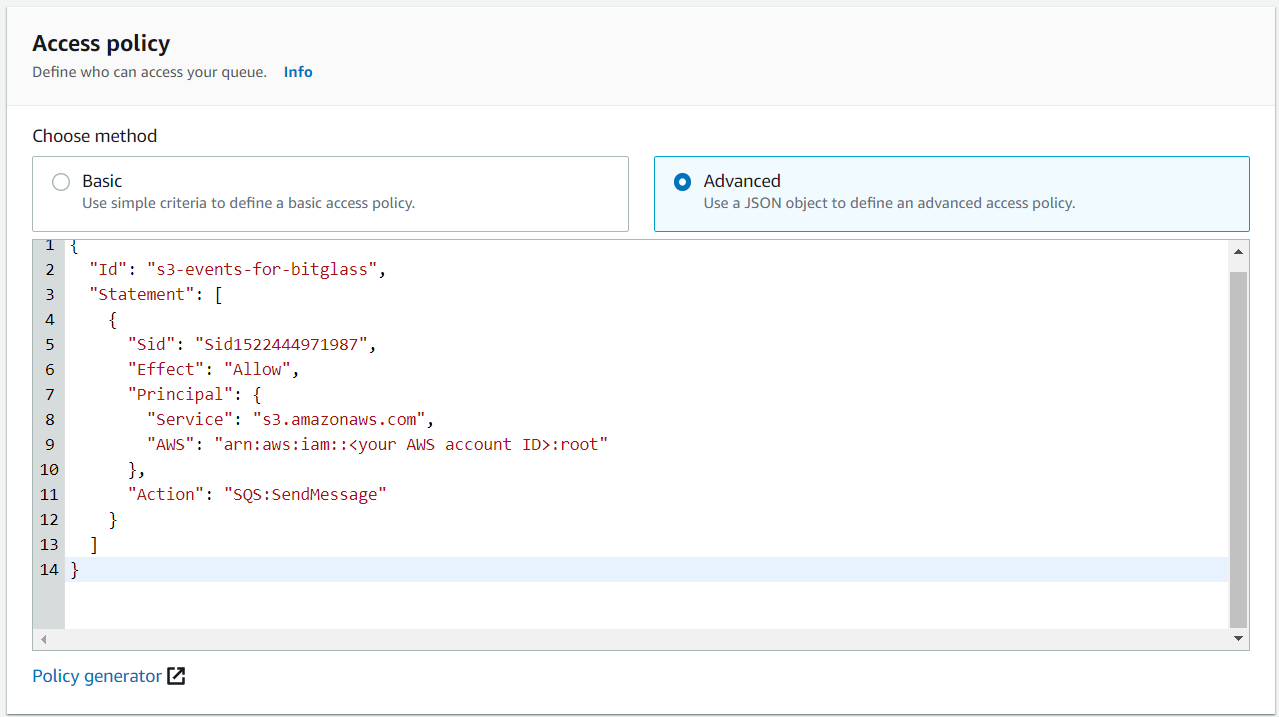
-
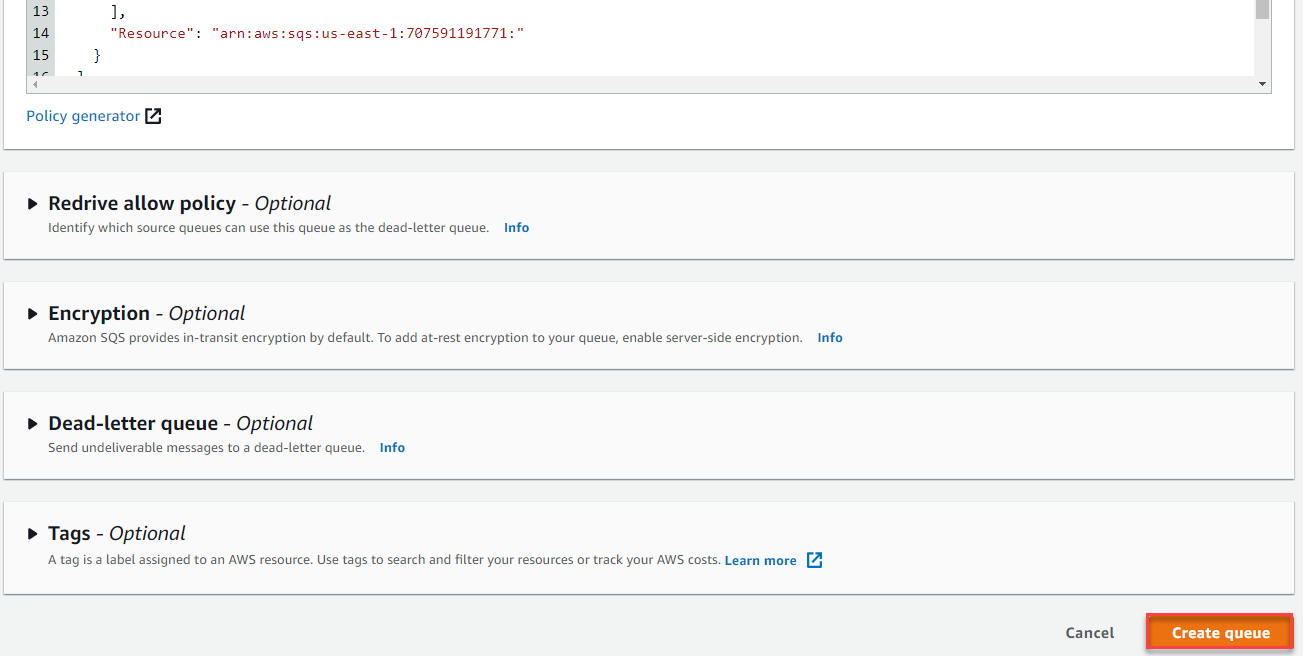
Finally, scroll past the optional sections and then click Create Queue at the bottom right.
-
Next you will need to either create a new IAM policy and import that policy on the same admin account being used for scanning (as we did above in the Policy Scan Setup section) or
add the below policy script to your existing role policy. Navigate back to and either edit your prior policy or create a new policy.
-
Create a new policy and import or add it to your role. You will need to create the policy with the following:
{
    "Version": "2012-10-17",
    "Statement": [
        {
            "Sid": "VisualEditor0",
            "Effect": "Allow",
            "Action": [
                "sqs:DeleteMessage",
                "sqs:GetQueueUrl",
                "sqs:DeleteMessageBatch",
                "sqs:ReceiveMessage",
                "sqs:GetQueueAttributes"
            ],
            "Resource": "arn:aws:sqs:*:*:s3-events-for-bitglass"
        }
    ]
}
-
If you choose to edit your prior policy, you can add the following at the bottom before the final 2 brackets that you see
] }{ "Sid": "VisualEditor0", "Effect": "Allow", "Action": [ "sqs:DeleteMessage", "sqs:GetQueueUrl", "sqs:DeleteMessageBatch", "sqs:ReceiveMessage", "sqs:GetQueueAttributes" ], "Resource": "arn:aws:sqs:*:*:s3-events-for-bitglass" }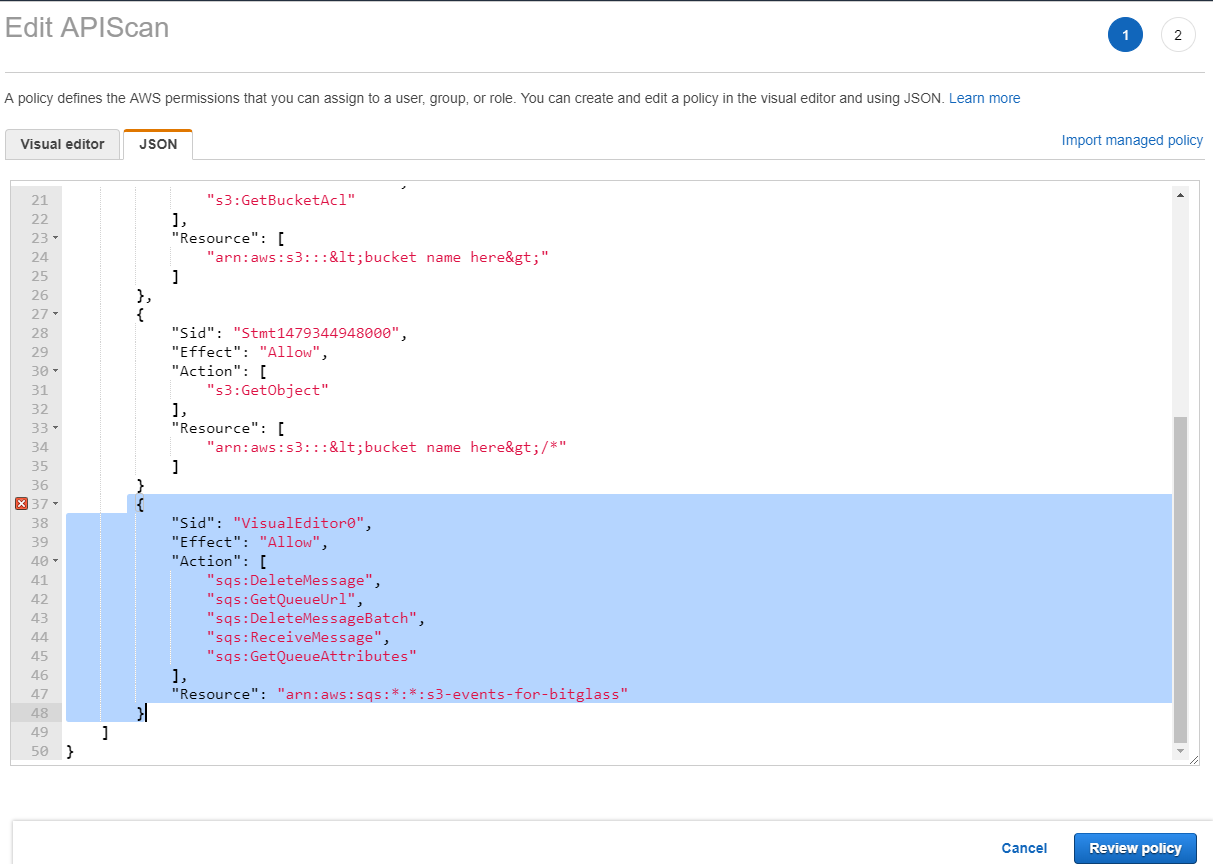
-
Create a new policy and import or add it to your role. You will need to create the policy with the following: