(Manual) Installing or upgrading the agent on systems that have F1E DLP

F1E DLP to F1A is currently the only supported upgrade option. For all other scenarios F1E must first be uninstalled using the regular F1E un-install process before attempting to install F1A.

F1A installer will uninstall F1E before installing F1A on a macOS system. Use the steps below to install F1A or upgrade on an macOS endpoint system that already has F1E installed.
Note:
  1. The provided manual scenario works ONLY in cases where the endpoint (running macOS) is not enrolled into any MDM provisioning. If the machine is enrolled the uninstall of F1E will not happen.
  2. The upgrade will work successfully in cases where the endpoints are enrolled into a MDM solution like Jamf with all the necessary profiles configured and the package is also deployed via Jamf.
Steps

  1. Sign into the Forcepoint ONE Data Security portal and download the macOS agent installation packageFP_Neo_installer_macOS_XX.XX.XX.XXX.zip.
  2. Unzip the installation package.

    The zip file contains:

    • Manifest.json
    • neo_installer.pkg
    • profilecheckerapp
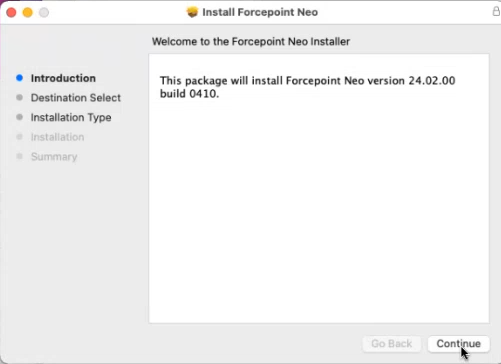
  3. Double-click neo_installer.pkg, then click Continue.
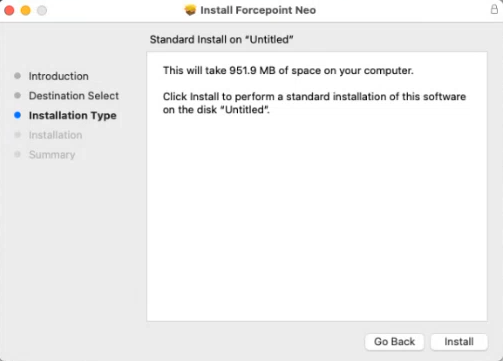
  4. On the next screen, click Install.
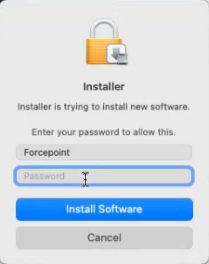
  5. When prompted, enter the admin password:
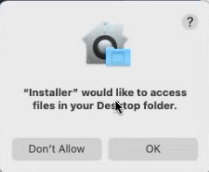
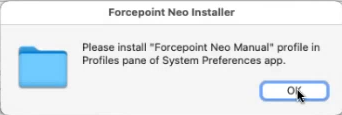
  6. Click OK, on the following screen:
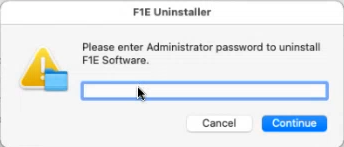
  7. Since the endpoint machine had F1E installed previously, you will prompted to enter the Forcepoint Security Manager (FSM) administrator password, so that the installer can uninstall the F1E:
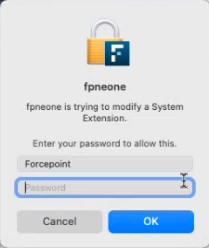
  8. In the following step, you will be prompted to enter the macOS machine password to allow the F1A installer to modify system extension:
  9. Next, you will be prompted to install the profile:
  10. For completing the installation of F1A, see section Initial Agent Install.