Initial Agent Install
Instructions to install the agent manually.
Steps
- Sign into the Forcepoint Data Security Cloud | DLP portal and download the macOS agent installation packageFP_Neo_installer_macOS_XX.XX.XX.XXX.zip.
-
Unzip the installation package.
The zip file contains:
- Manifest.json
- neo_installer.pkg
- profilecheckerapp
-
(Optional) Copy the key.pem and server.pem which were created section Creating the Endpoint SSL Identity into the
unzipped folder.
Note: Step 3 is required only If you intend to monitor email on the endpoint and if your email client is Microsoft Outlook.
-
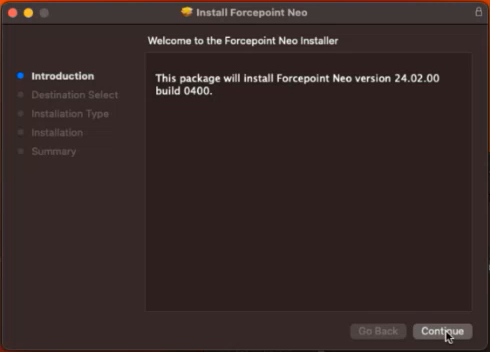
Double-click neo_installer.pkg, then click Continue.
-
Click Install.
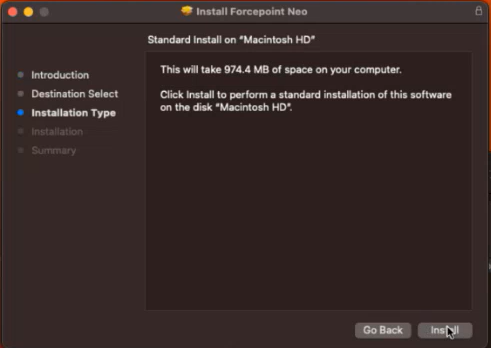 If you are prompted, enter your credentials and click Install Software.
 -
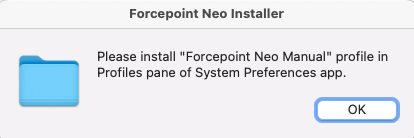
When prompted to install the Profile, please first install the profile as shown in step 7 and after the installation is successful click OK.
-
On the following screen, double-click Forcepoint Neo Manual option.
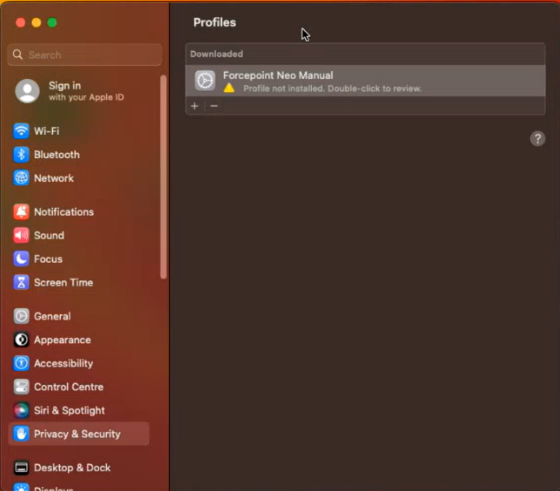 Click Install on the following screen that is displayed.
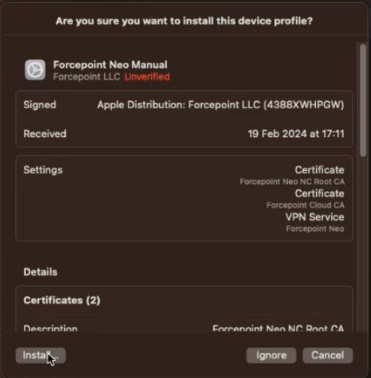
-
Once Step 6 and 7 completes, the following message will be displayed:
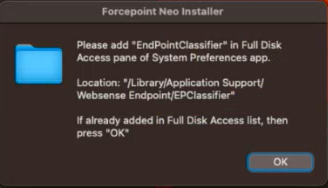
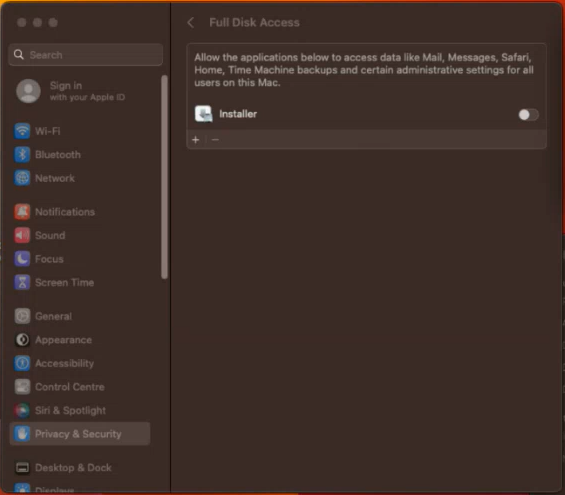
The Full Disk Access screen will also open automatically.
-
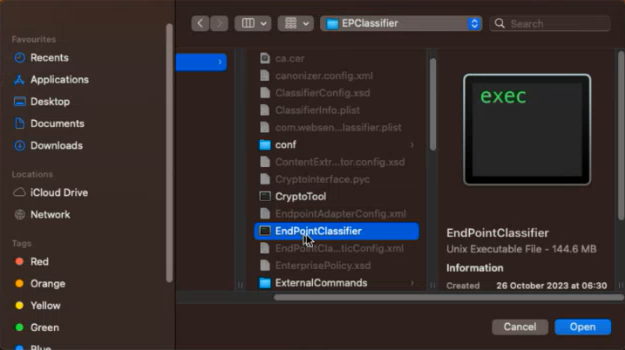
Next, click the + icon to add the EndpointClassifier from the path provided. Next, click Open.
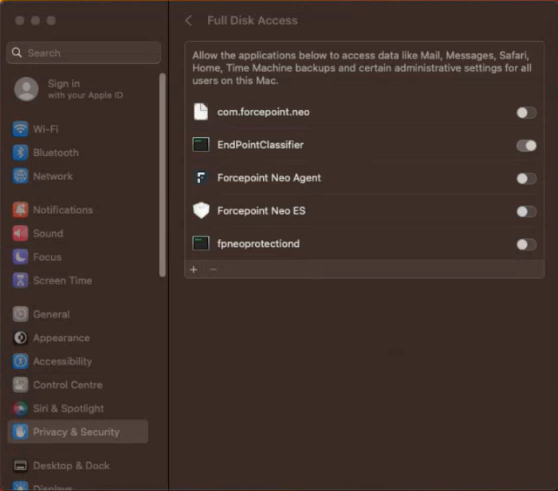
 The Full Disk Access tab will automatically update as shown below:
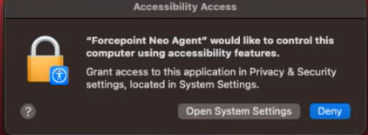
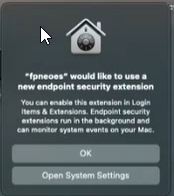
The following 2 dialogs are also displayed simultaneously. Please currently ignore the dialogues and proceed with the following steps.
-
On the Full Disk Access tab enable all the applications as shown below:
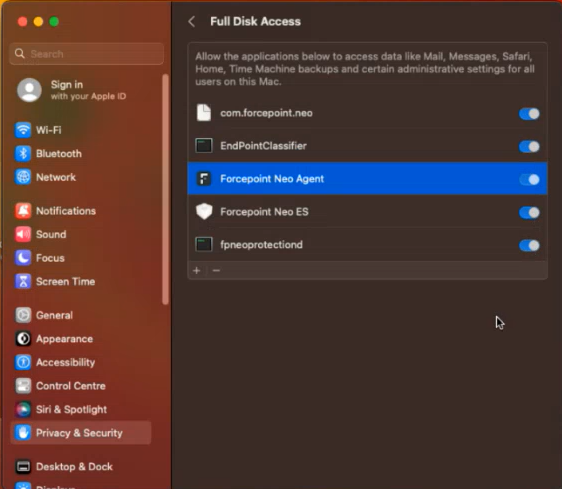
-
Next, on the Accessibility Access dialog, click Open System Settings.
Following screen will be displayed. You need to enable the Forcepoint Neo Agent option here.
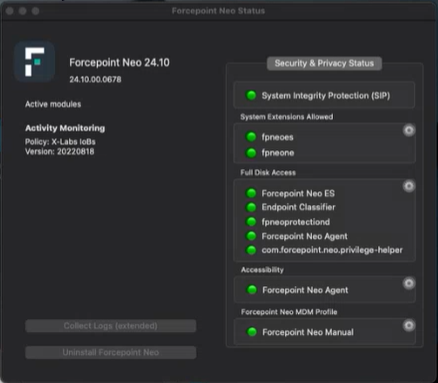
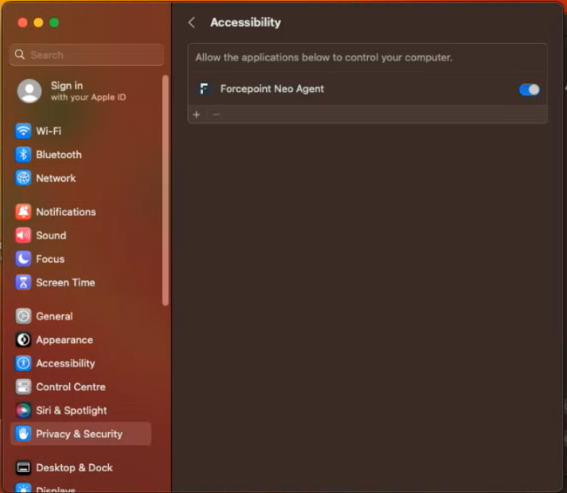 Note: At this stage of the installation process, you will observe on the installation status window, that all of the following options have turned GREEN: System Integrity Protection, All options under Full Disk Access, Accessibility, Forcepoint Neo MDM Profile.
 -
(Applies only to users using macOS Sequoia. If macOS 14 or older is used skip to step 14.) When you click Open System Settings on the following
dialog:
 It opens the following window. Click Endpoint Security Extensions and enter the credentials to enable it when prompted.
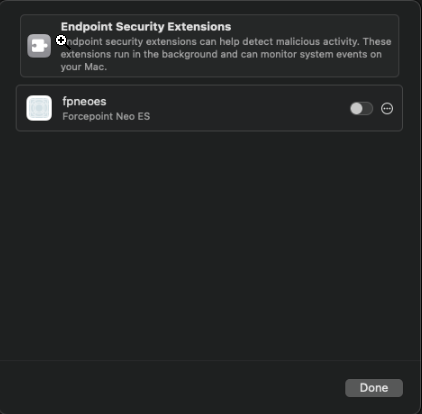
-
(Applies only to users using macOS 15 (Sequoia)) Next, again click Open System Settings on the following window which opens the windows to enable the
Network Extensions:

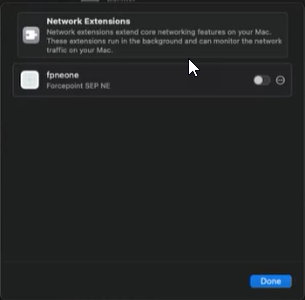 Click Network Extensions and enter the credentials to enable it when prompted.
 -
(For all versions of macOS) On completion of Step11, go to the System Extension Blocked dialog (that was displayed in step9 and was dragged to one
side), and now click the Open System Settings option. If the dialog, is displayed again, click once more the option Open System
Settings.
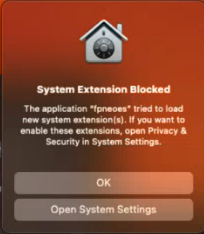 This will open the Privacy & Security tab as shown in next step.
 -
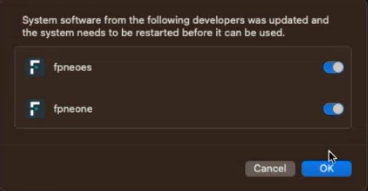
On the Privacy & Security tab, click Details...
 Next enable the options fpneoes and fpneone on the following dialog and click OK.
-
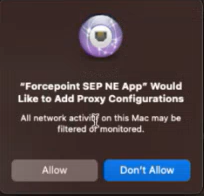
On the following dialog click Allow.
 All of the options under the installation status window turns green at this stage as follows:
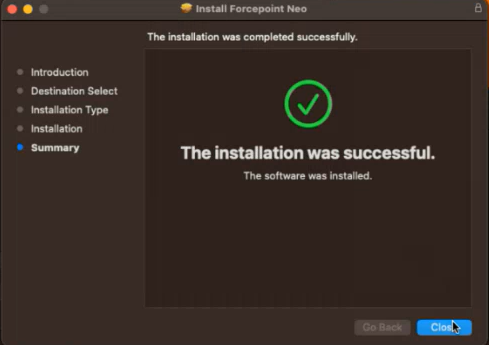
The successful installation completion message is displayed:
