Adding SCIM application in Okta
After generating a SCIM access token, you should create the SCIM application in Okta so that admins can provision/deprovision users directly in Okta and have those users automatically created, attributes edited, or disabled within Forcepoint Data Security Cloud.
Steps
-
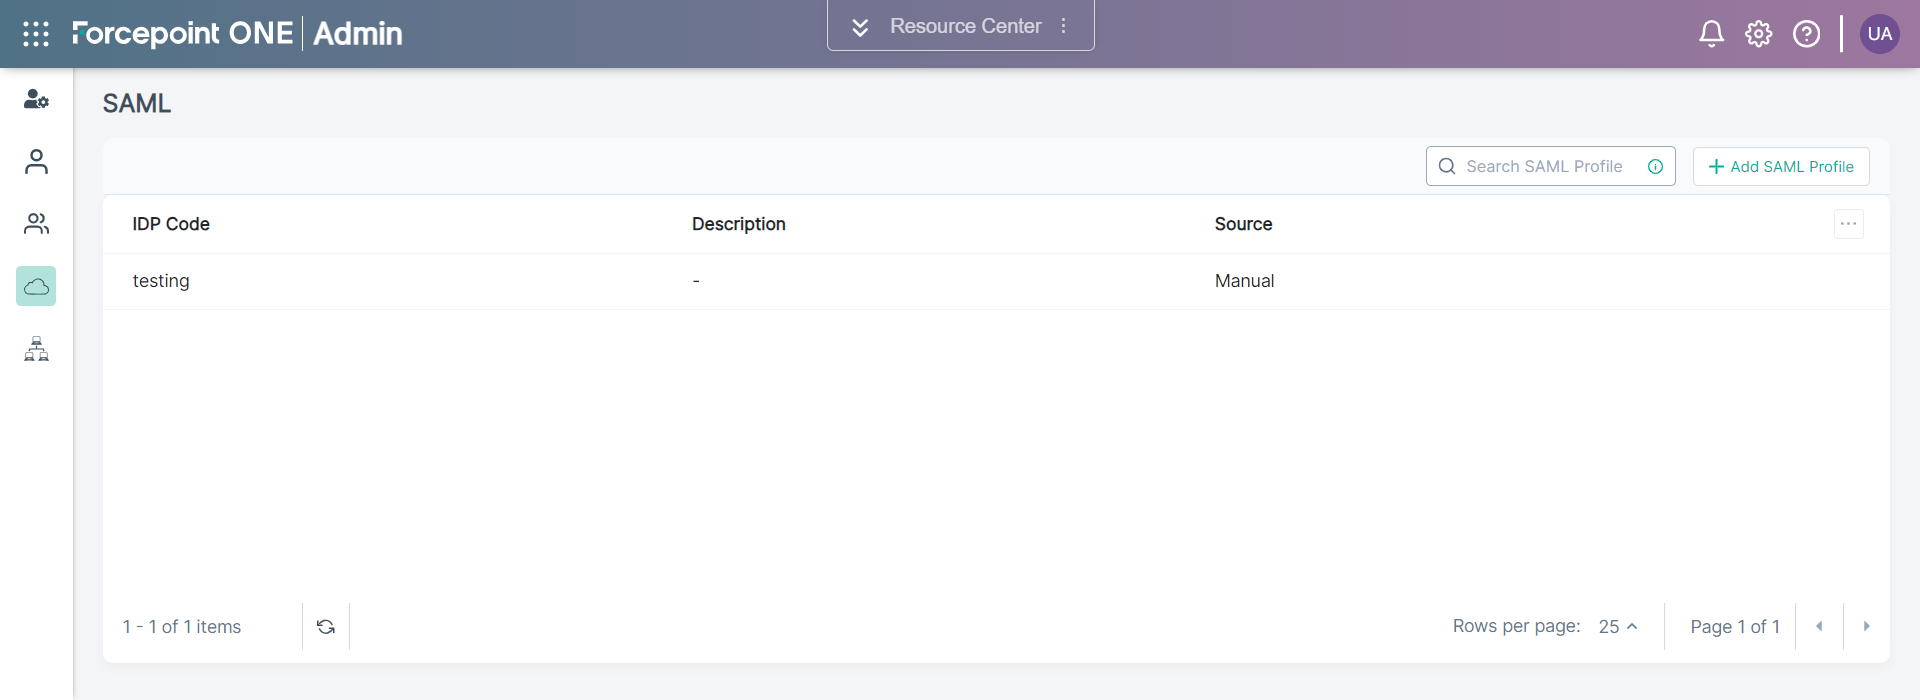
From the left Navigation Pane, click the SAML
 icon.
icon.
The following page opens displaying existing SAML Profiles.
-
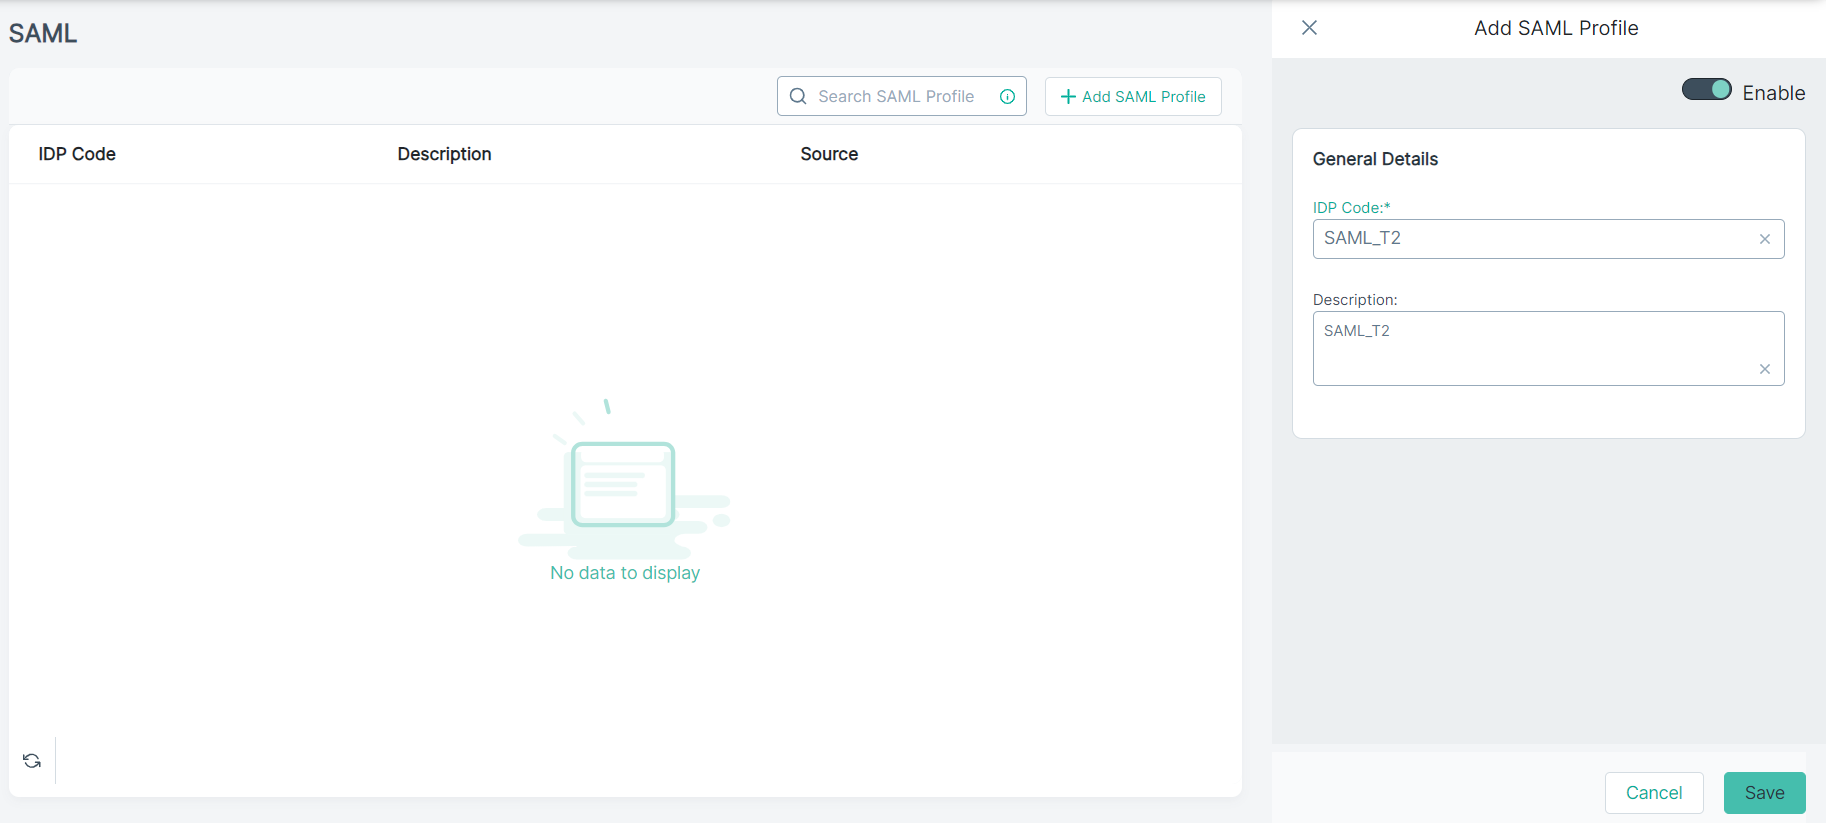
To add a new SAML Profile, click +Add SAML Profile.
The Add SAML Profile opens on the right pane.
-
Under the General Details section:
-
To save the SAML Profile, click Save.
The SAML profile gets created.
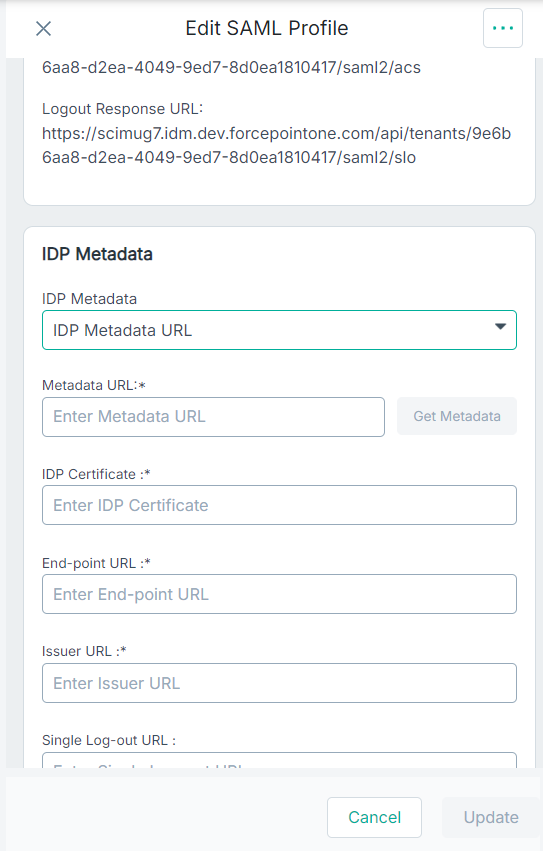
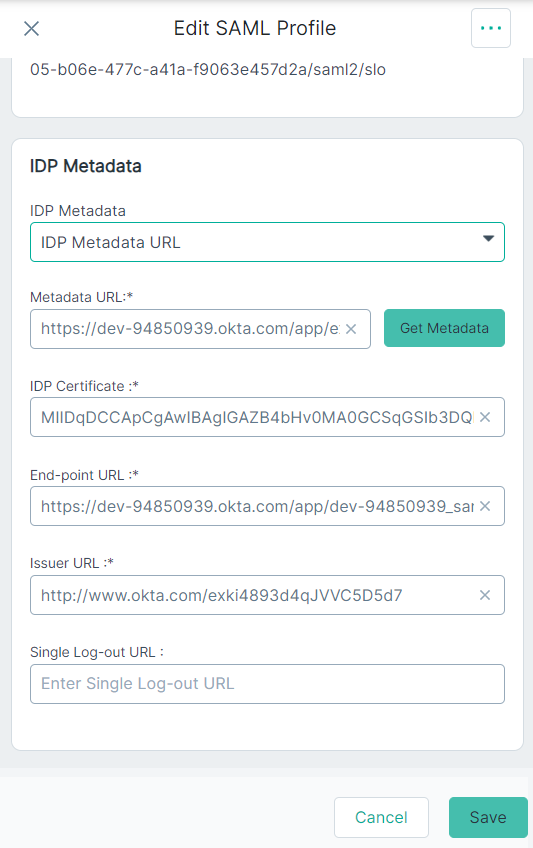
The Add SAML Profile pane also displays ACS URL, and Logout Response URL read-only fields under the General Details section along with an additional section, IDP Metadata.
- ACS URL - The URL location where the SAML assertion is sent with an HTTP POST.
- Logout Response URL - The URL location on the service provider where the identity provider sends its sign out response.
-
To save the SAML Profile, click Save.
-
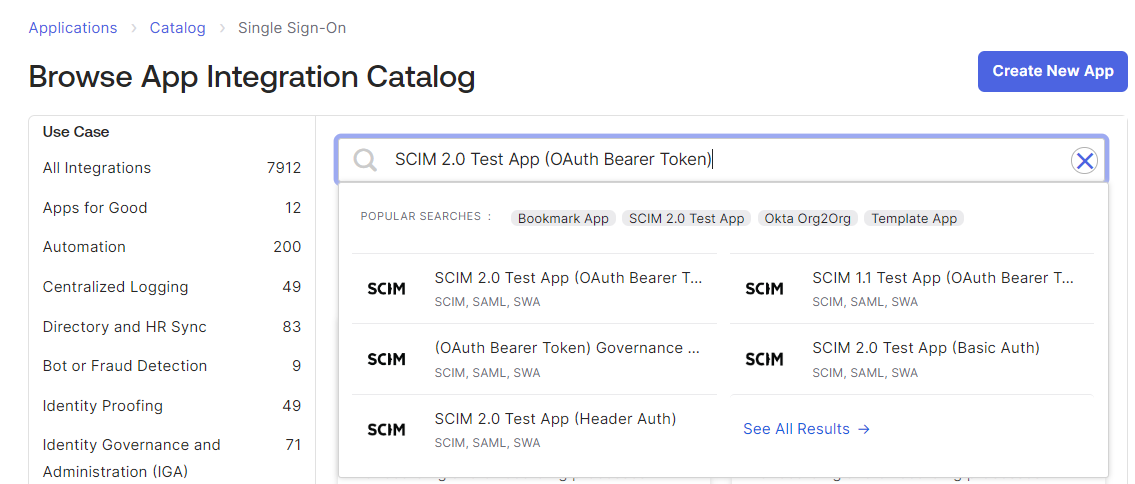
Navigate to and then search for SCIM 2.0 Test App (OAuth Bearer Token).
-
Click the SCIM 2.0 Test App (OAuth Bearer Token) instance and then click Add Integration.
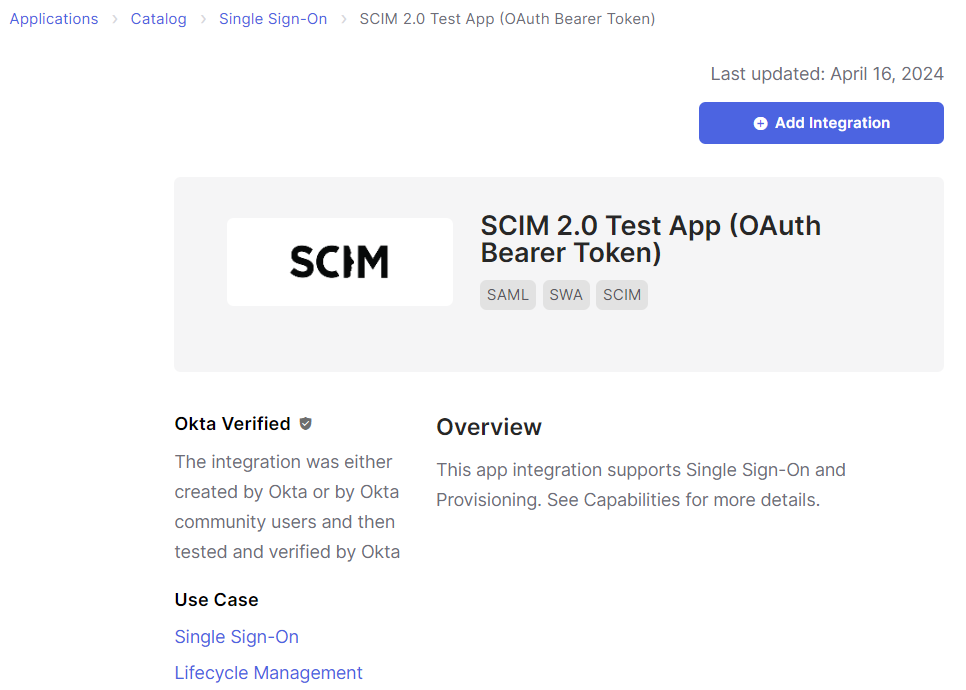
The Add SCIM 2.0 Test App (OAuth Bearer Token) page opens.
-
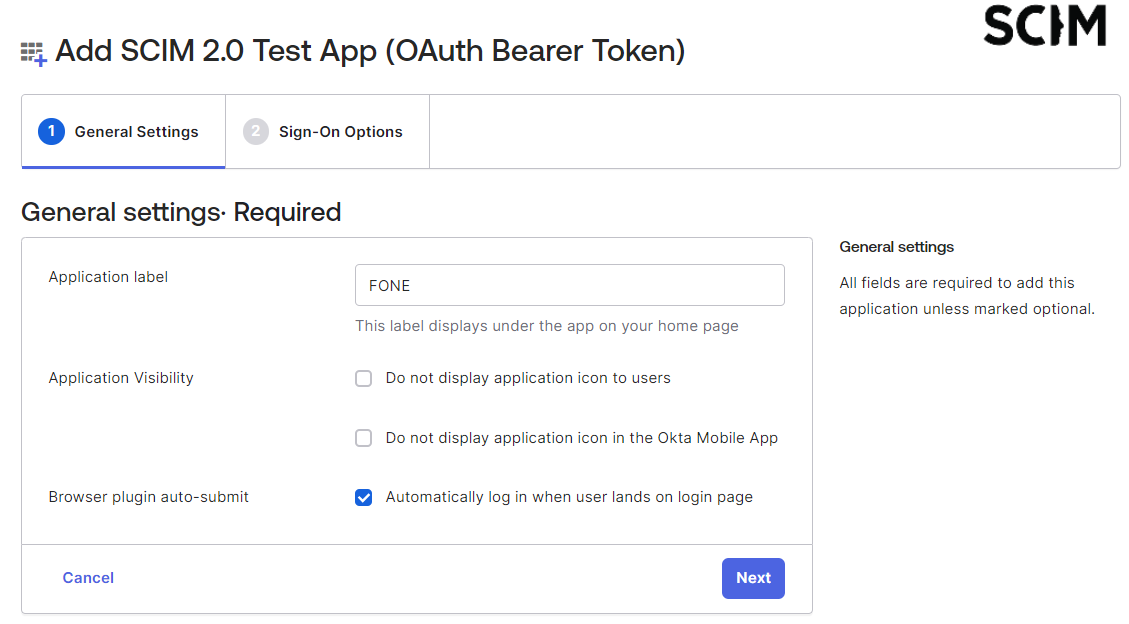
On the General Settings tab:
-
Rename the Application Label so it is recognizable.
-
Rename the Application Label so it is recognizable.
-
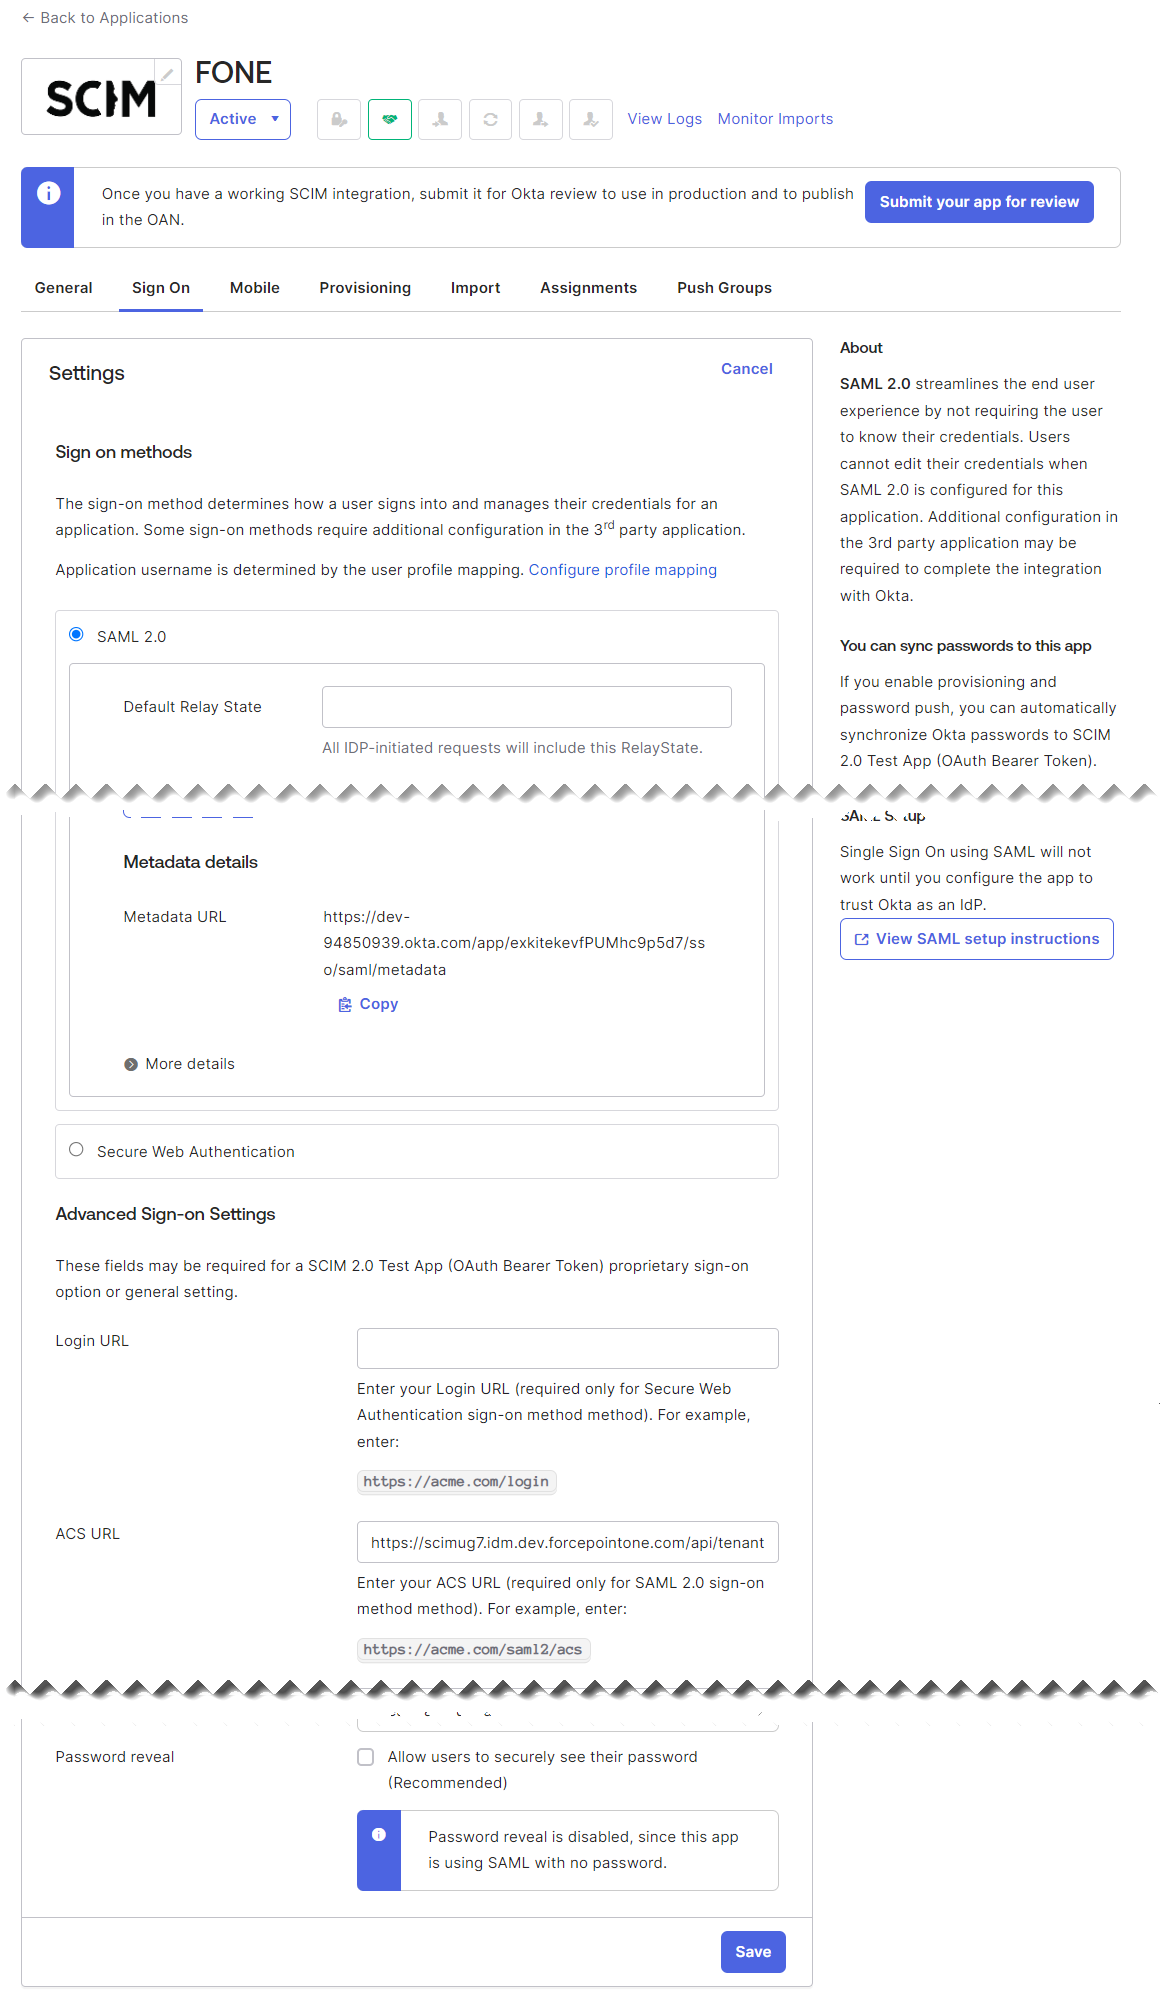
On the Sign-On Options tab, follow the steps below after copying the Metadata URL from the Metadata details
section of Okta:
-
To pull the metadata based on url, click Get Metadata.
After clicking Get Metadata, other fields are auto-populated.
-
Copy the ACS URL from Forcepoint Data Security Cloud browser window/tab and paste it in the ACS URL
field of the Sign-On Options tab on Okta browser window/tab.
-
To pull the metadata based on url, click Get Metadata.
-
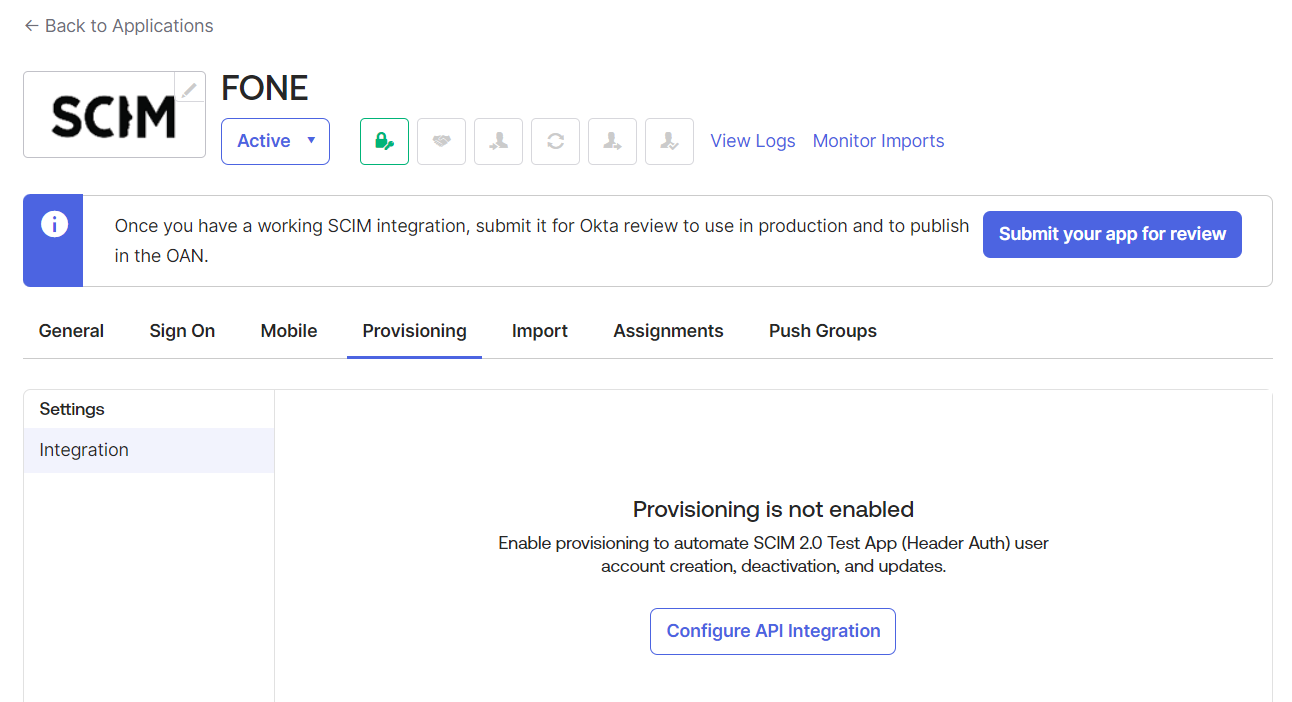
On the Provisioning tab, click Configure API Integration.
-
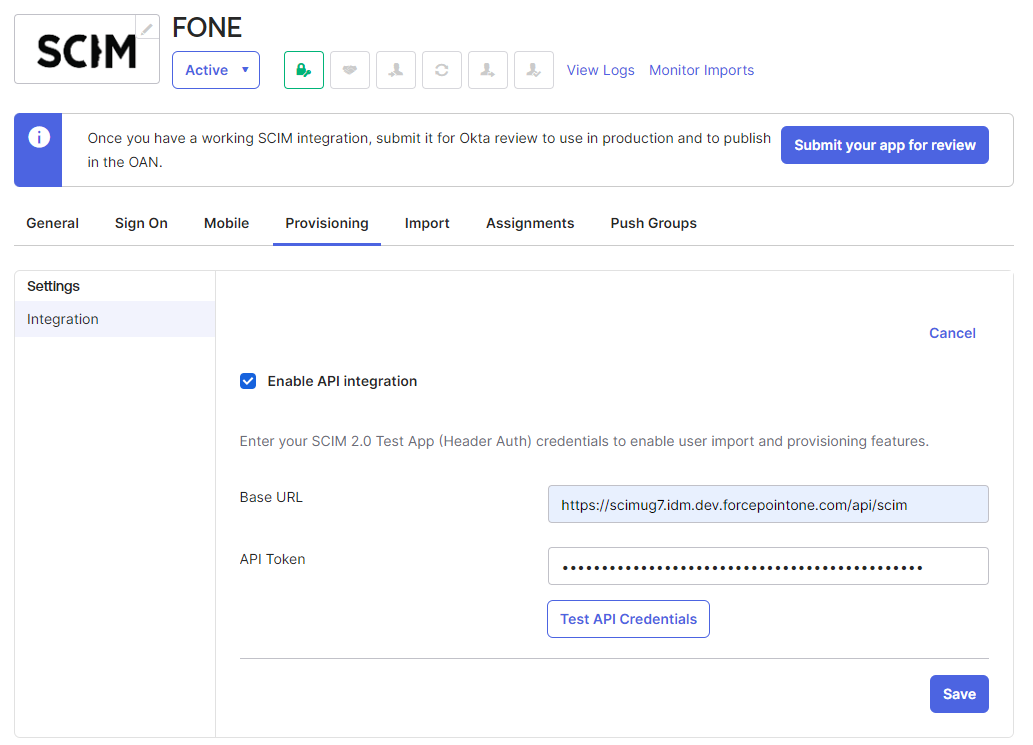
Select the Enable API integration checkbox to display additional options.

-
Copy the Base URL from the page in Forcepoint Data Security Cloud and paste it in the Base URL field.
-
Copy the Base URL from the page in Forcepoint Data Security Cloud and paste it in the Base URL field.
-
On the To App tab of the Settings column on the left:
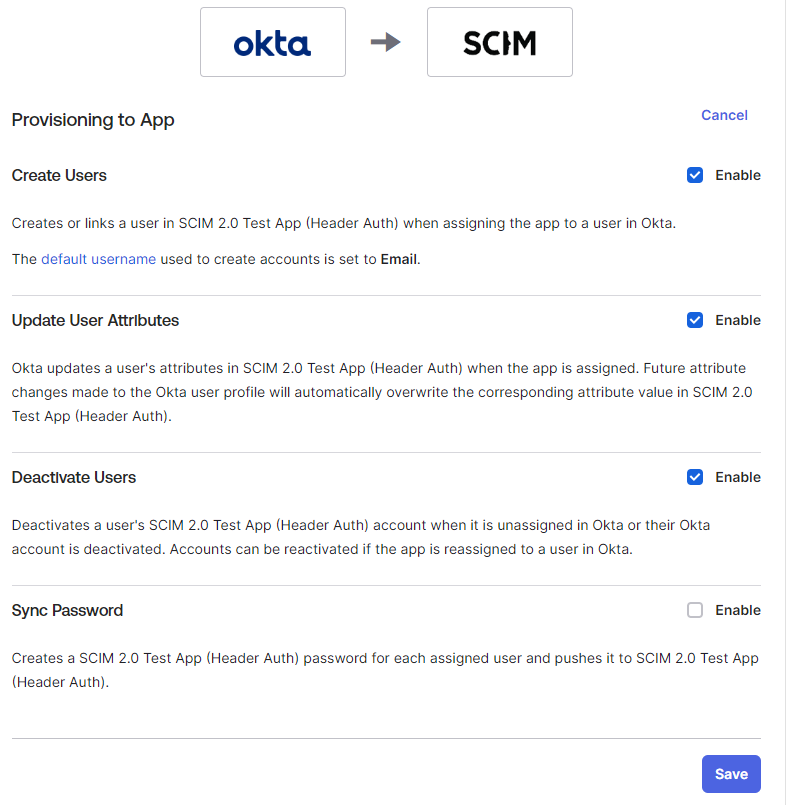
Note: Forcepoint Data Security Cloud currently does not support Sync Password.-
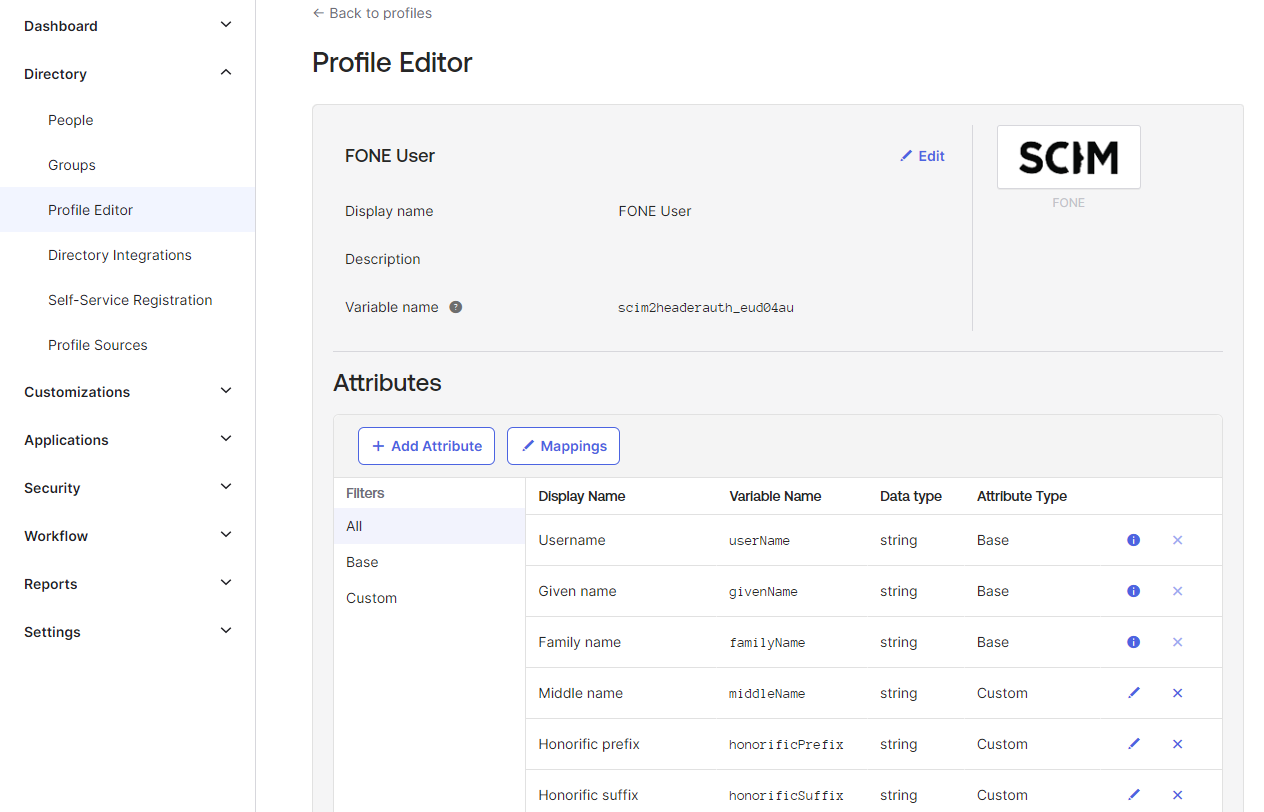
Under the Attribute Mappings section, click Go to Profile Editor.
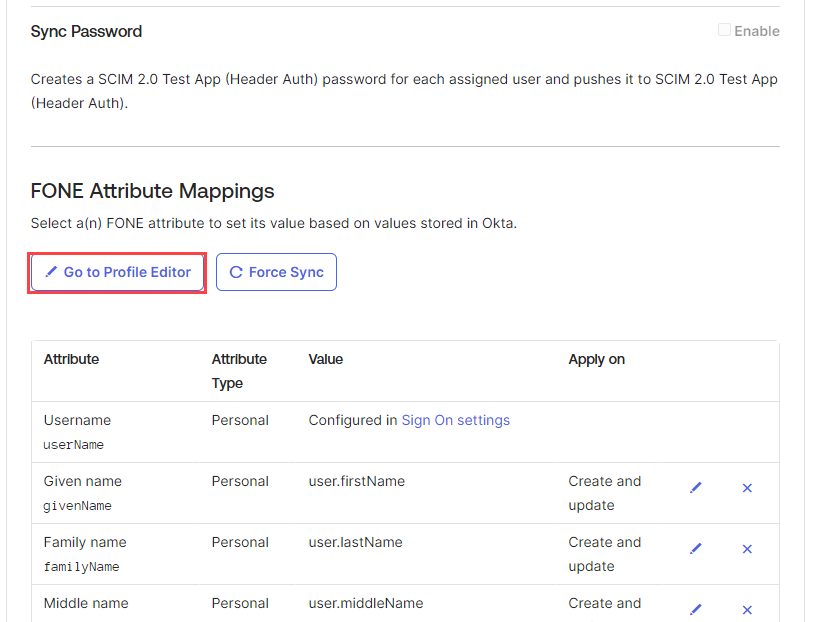
You will be redirected to the Profile Editor page under Directory.
-
Under the Attribute Mappings section, click Go to Profile Editor.
-
On the Profile Editor page:
-
Add the attributes to the list. Click Add Attribute and then fill out the new dialog window with the information below for each of the attributes
you wish to add.
-
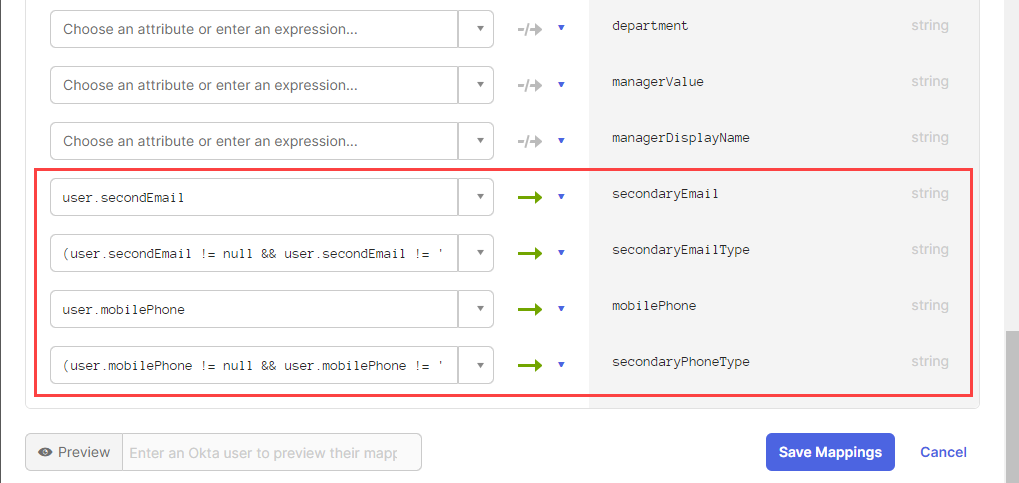
Scroll to the bottom and you should see blank fields representing the number of attributes you added but have not been mapped yet.
Select each attribute from the drop-down.
- Enter user.secondEmail against secondaryEmail.
- Enter (user.secondEmail != null && user.secondEmail != '') ? 'home' : '' against secondaryEmailType.
- Enter user.mobilePhone against mobilePhone.
- Enter (user.mobilePhone != null && user.mobilePhone != '') ? 'home' : '' against secondaryPhoneType.
-
Add the attributes to the list. Click Add Attribute and then fill out the new dialog window with the information below for each of the attributes
you wish to add.
-
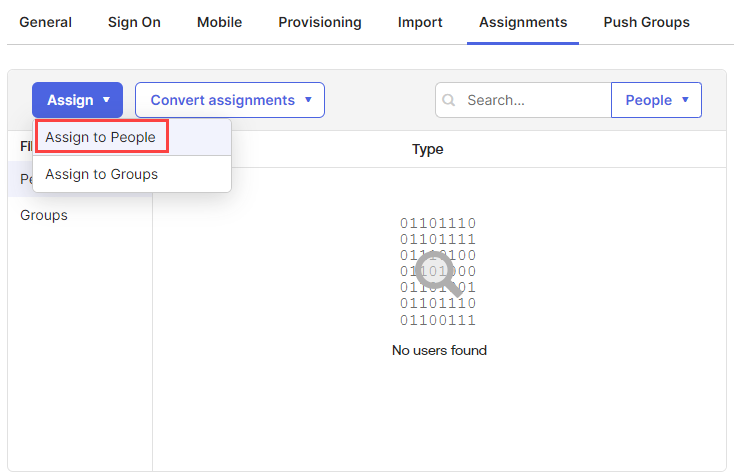
To push/provision users individually through the Assignments tab of the SCIM application:
-
Click the Assign drop-down and select Assign to People.
-
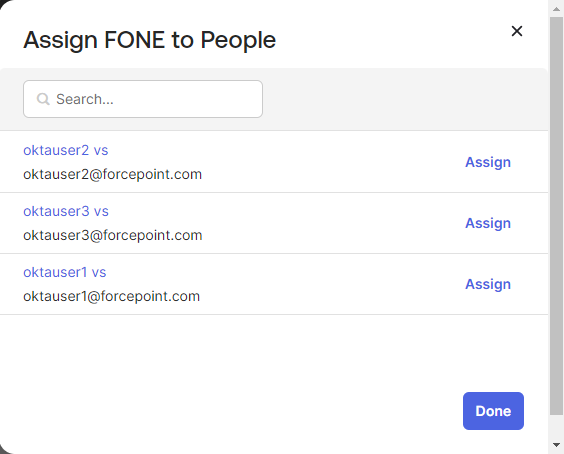
In the dialog, search for and assign the users you want to be provisioned over to your application and click the Assign button.
-
Verify the user details in the dialog. If required, modify the user details.
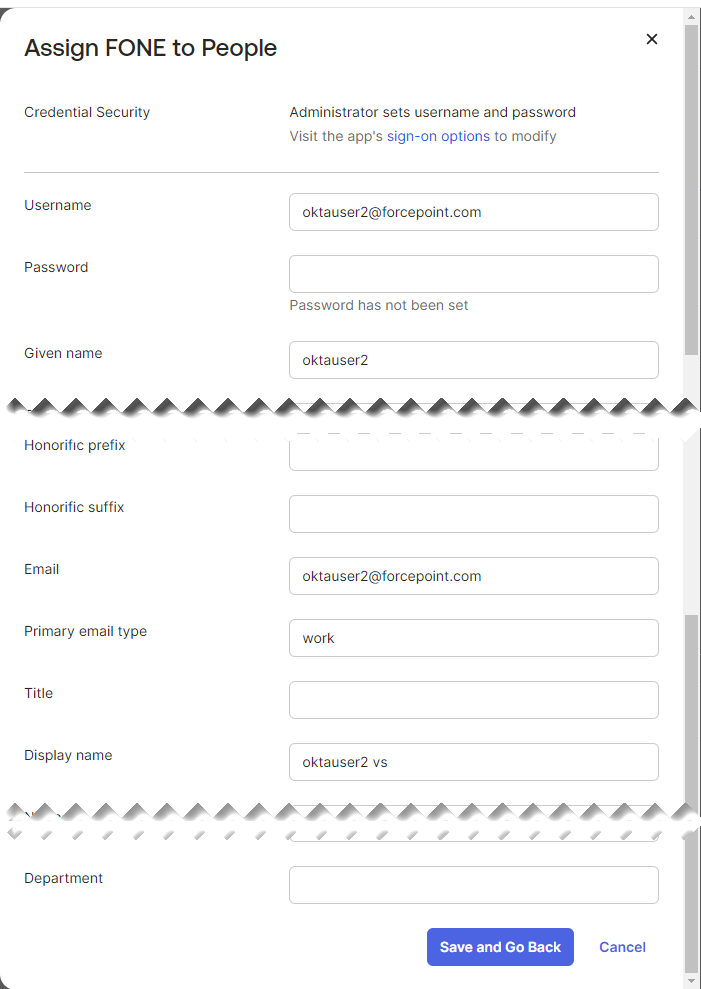
You can also assign users to the application from their user profile under the Applications tab of the page.
-
Click the Assign drop-down and select Assign to People.
-
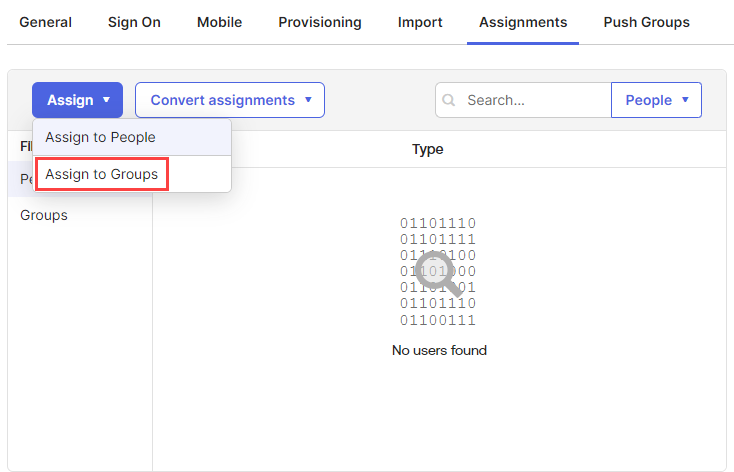
To push/provision a group of users together through the Assignments tab of the SCIM application:
-
Click the Assign drop-down and select Assign to Groups.
-
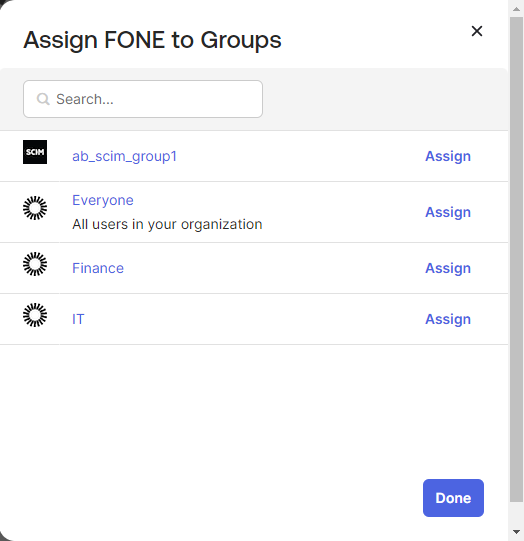
In the dialog, search for and assign the groups you want to be provisioned over to your application and click the Assign button.
-
Verify the user details in the dialog. If required, modify the user details.

You can also assign groups to the application from the group profile under the Applications tab of the page.
Note: Adding groups the application or from group profile will only sync the users over but not the group object itself. If you want the group information synced in addition to the users, follow the steps in Step 12 in addition. -
Click the Assign drop-down and select Assign to Groups.
-
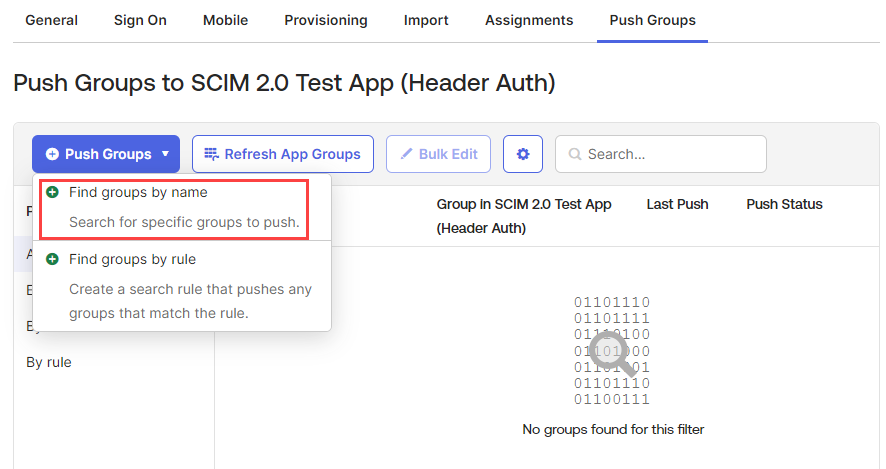
To sync over the group object information, add those groups to the Push Groups tab in the SCIM application in addition to assigning the groups to the
application.
-
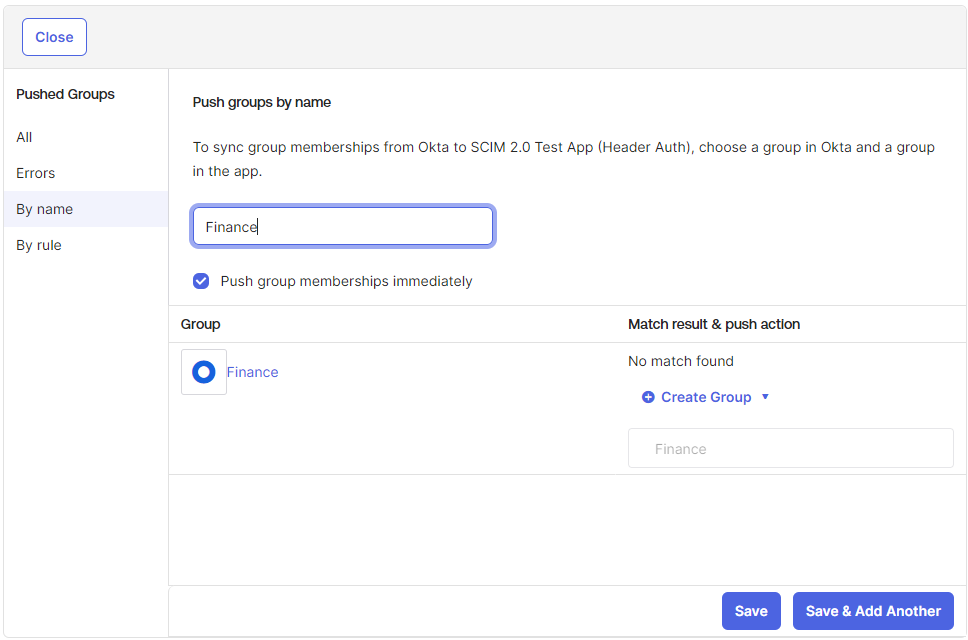
Click the Push Groups drop-down, select the Find groups by name.
-
Search for the group(s) you wish to add by name and select it.
-
Leave the Match result and push action section as is and then click either Save or Save & Add
Another if you intend to add more groups.
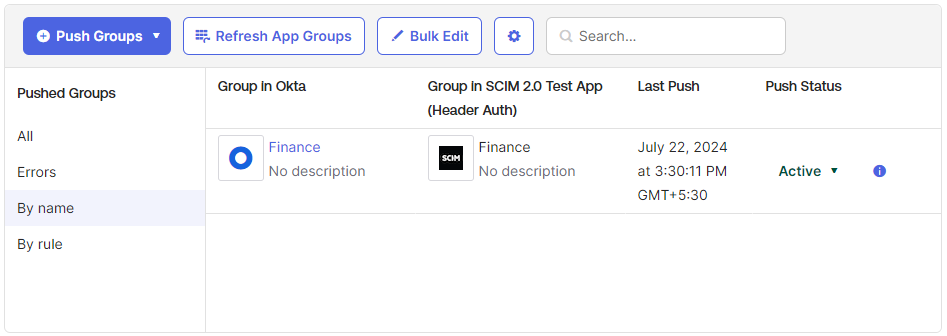
Once the group is added, the group object will be provisioned into Forcepoint Data Security Cloud. Admins can choose to manually push these to Forcepoint Data Security Cloud, but the push should happen automatically.
-
Click the Push Groups drop-down, select the Find groups by name.
Result
- Users in page
- Groups in page
Next steps
- Now you are set to use Okta as the IdP to login to Forcepoint Data Security Cloud.
- Now you can enforce users from the specific username domain to get authenticated by the selected Okta IdP. To configure username domain, refer to Adding a new username domain.