Creating Google service account
You will need to create your own Google Service Account to use for API scanning. This will ensure that Forcepoint Data Security Cloud | SSE APIs do not hit rate limits since you will be using your own API account.
Steps
-
Create a new project by selecting the drop-down at the top left and then clicking New Project in the new dialog window. On the New
Project page, fill the necessary details and click Create.


-
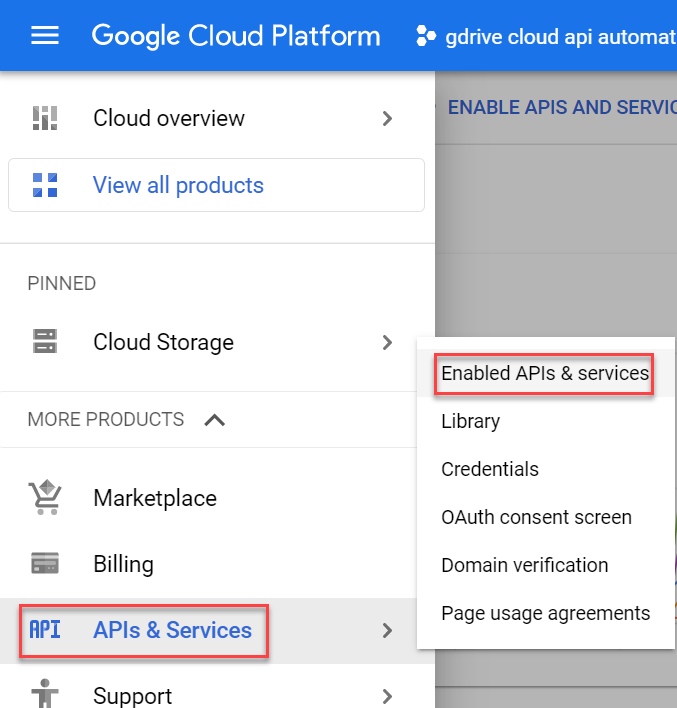
Navigate to to open APIs & Services page. On the APIs & Services page, click on Enable APIs and Services
to open API Library page and to enable APIs.

-
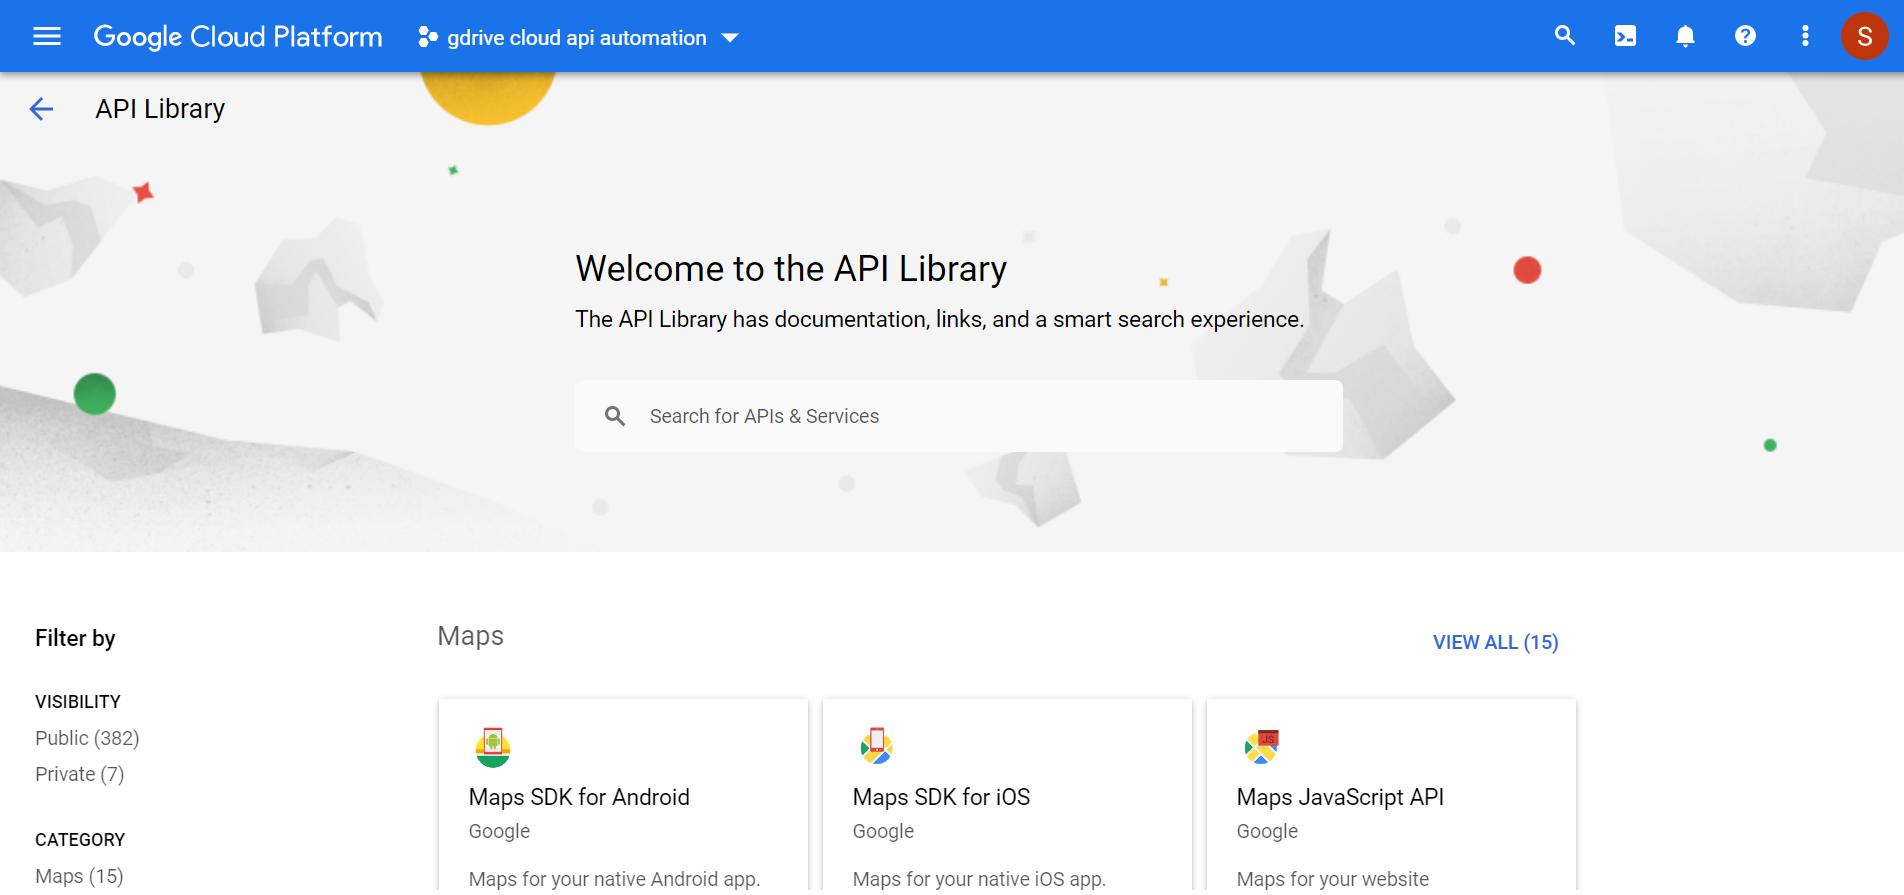
On theAPI Library page, scroll down to the Google Workspace section and enable each one of the following APIs by clicking on it and
then by clicking Enable on the API details page.
- Admin SDK API
- Gmail API
- Google Calendar API
- Google Drive API

-
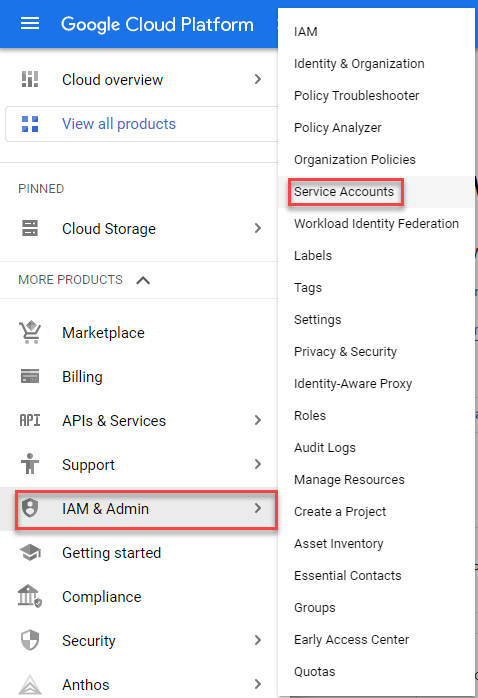
Once you have the APIs enabled, you now need to create a service account. Navigate to to get to page where you can view or create your service accounts.
-
On the Service Accounts page, click Create Service Account to create a new account can be used for the API authorization. You will be
taken to the Create service account page where you can enter a name for the account (it will generate an account ID based on this name) and provide a
description. Click Create and Continue at the bottom to move to the next step where you can assign a role.

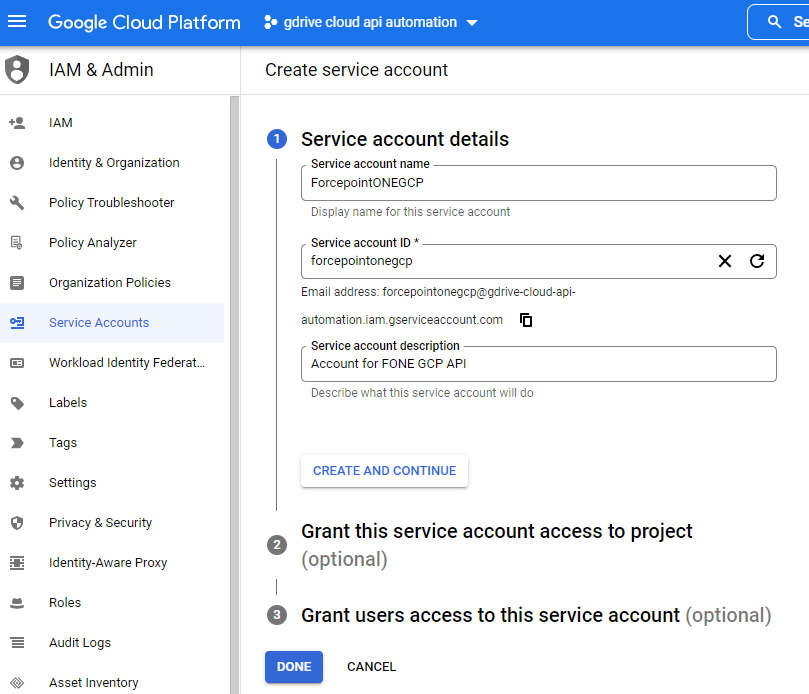
You do not need to assign a role or grant users access to this service account. Click Done to create it and move on to the next step.
-
Click into the service account you just created. On the Details tab, expand Advanced settings and copy the Client ID from Domain-wide Delegation section.
Keep this screen open.

-
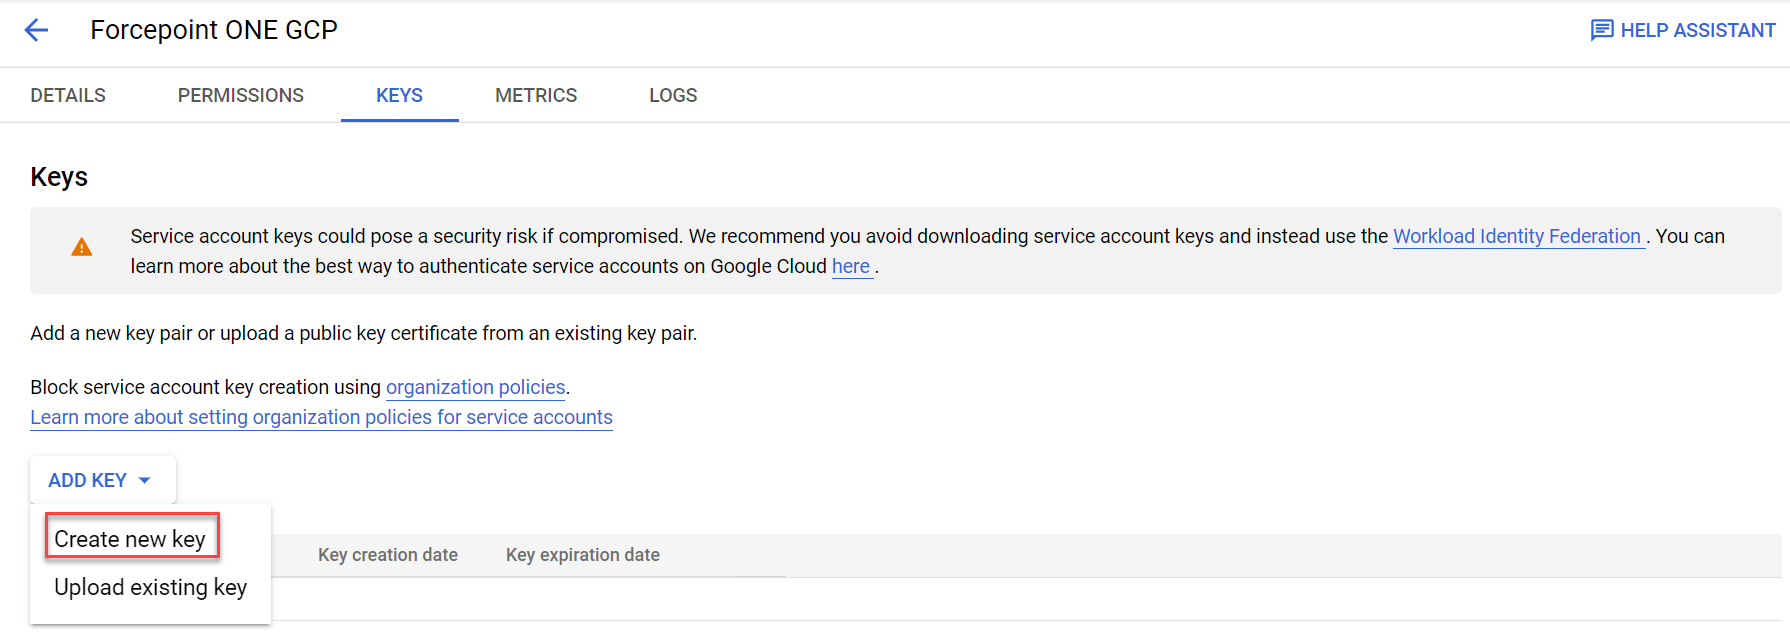
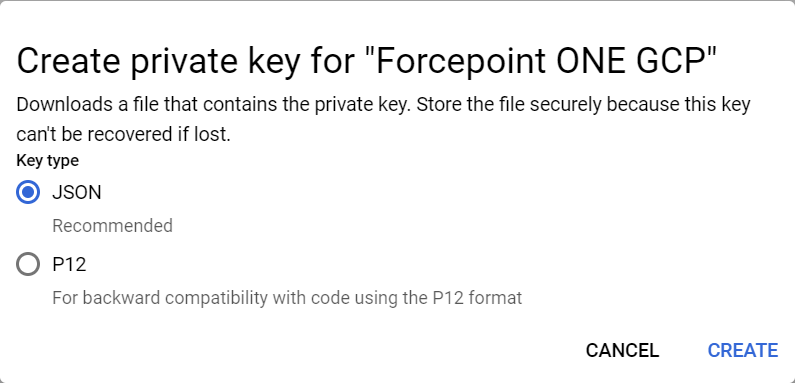
Now click into the service account that you just created in Google Cloud Platform and click on the Keys tab to create a key that you will upload to Forcepoint Data Security Cloud | SSE to use that account for API scanning. Click and then select P12 and then click Create to download the .p12n file to your computer and to open pop-up with Private
key password as you will need the file and password for uploading to Forcepoint Data Security Cloud | SSE to enable Google API scanning. Once done keep the
service account page open as we will still need the Service Account Email, the Unique ID (Client ID), as well as the key created above. You can now move on to the next
section.