Enabling and configuring API scanning in Forcepoint Data Security Cloud | SSE
Steps to enable and configure API scanning in Forcepoint Data Security Cloud | SSE.
Steps
-
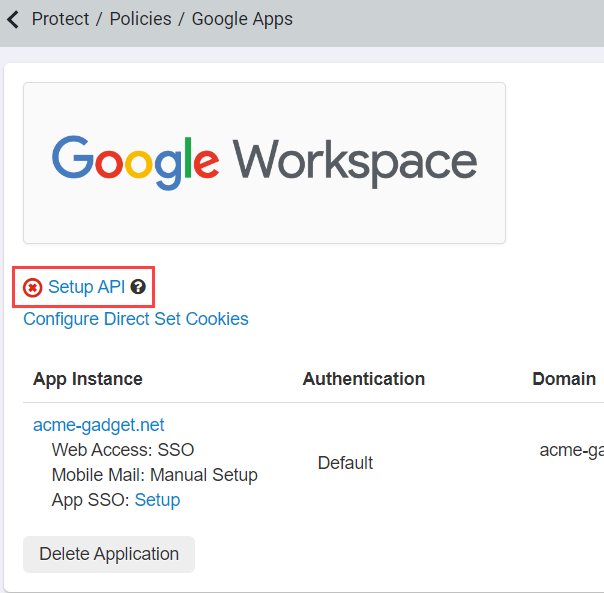
Start by opening a new tab/window and logging into the Forcepoint Data Security Cloud | SSE portal. Navigate to and click on the Google Workspace to open the settings page. Select Setup API.

-
Check the box for Google Suite and then fill out the 3 fields: Enter your Google Admin Email, copy over the Service
Account Email from the Google Service Account creation section above, and then upload the Service Account Key that you
created and downloaded. Click Save.


For customers who were already setup for Google API scanning using Forcepoint Data Security Cloud | SSE's Google service tokens you will instead see a Migrate to Customer Credentials option. Click on this option to open up the other fields shown above to use your own generated Google Service Account.

-
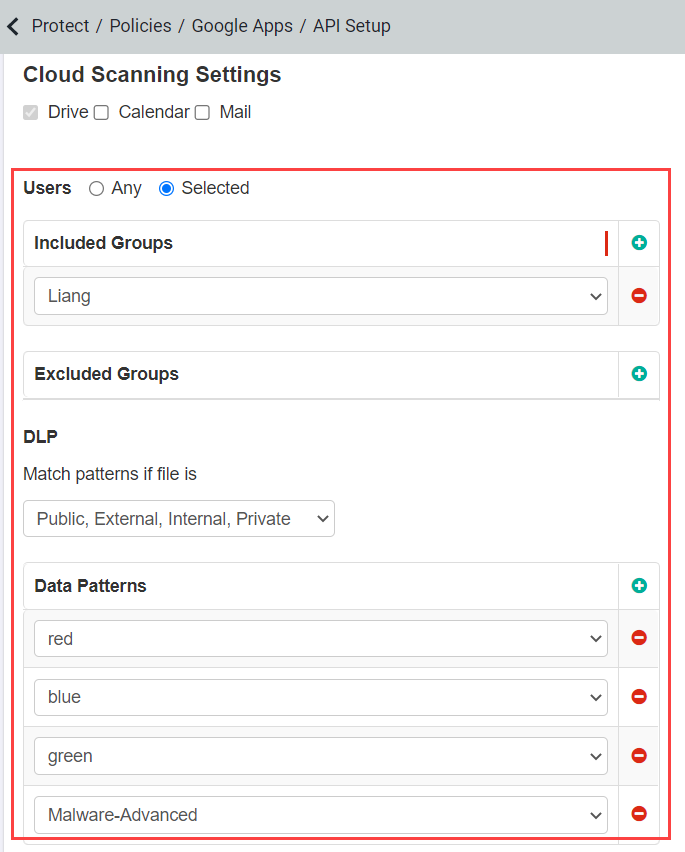
Now you are setup to configure who (users) gets scanned and what you are scanning for (Data Patterns). To learn about configuring the settings for scanning (what type of content
you are looking to identify) as well as policy actions, refer to Configuring API policies.
You can use the Test button on the Google Setup API page to check if the connection is healthy. The status of the API connection can also be viewed on the Google Apps page (Green check indicates a healthy connection, Red cross indicates that the setup is not complete or is in error).
Note: Customers who wish to auto register users from Google Directory as a local user in Forcepoint Data Security Cloud | SSE can do so via this API integration. Reach out to support to have them enable this feature in your tenant.Note: To configure API policies with the Forcepoint DLP data pattern, refer to Configuring FSM controlled policies for CASB and SWG channels.