Microsoft Entra ID: Configuring Forcepoint Data Security Cloud | SSE as a SAML SP
You can set up Microsoft Entra ID as an IdP within Forcepoint Data Security Cloud | SSE. This setup will work to configure SAML SSO proxy authentication with any apps outside of Microsoft apps.
Attention: Azure Active Directory (AD) is renamed as Microsoft Entra ID.
Note:
- SAML proxies cannot support applications with their own internal IdP system. This is because the application needs to point to the SAML proxy, in this case Forcepoint Data Security Cloud | SSE, as its IdP and then Forcepoint Data Security Cloud | SSE will point to the external IdP as the true source of authentication. When the app and IdP are part of the same ecosystem, this causes a login loop (user attempts to login to M365, is sent to Forcepoint Data Security Cloud | SSE who sends them to Microsoft Entra ID which checks the M365 setup and sends them back to Forcepoint Data Security Cloud | SSE).
- To use Microsoft Entra ID as an IdP for Microsoft 365 applications, follow the steps in Microsoft Entra ID IdP: Configuring Reverse Proxy for Microsoft 365.
Steps
-
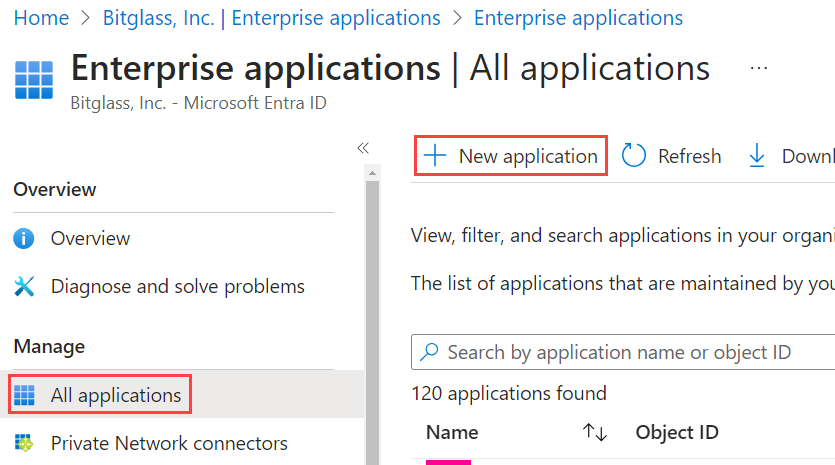
On the Enterprise Applications page, select All applications and then click New application.
-
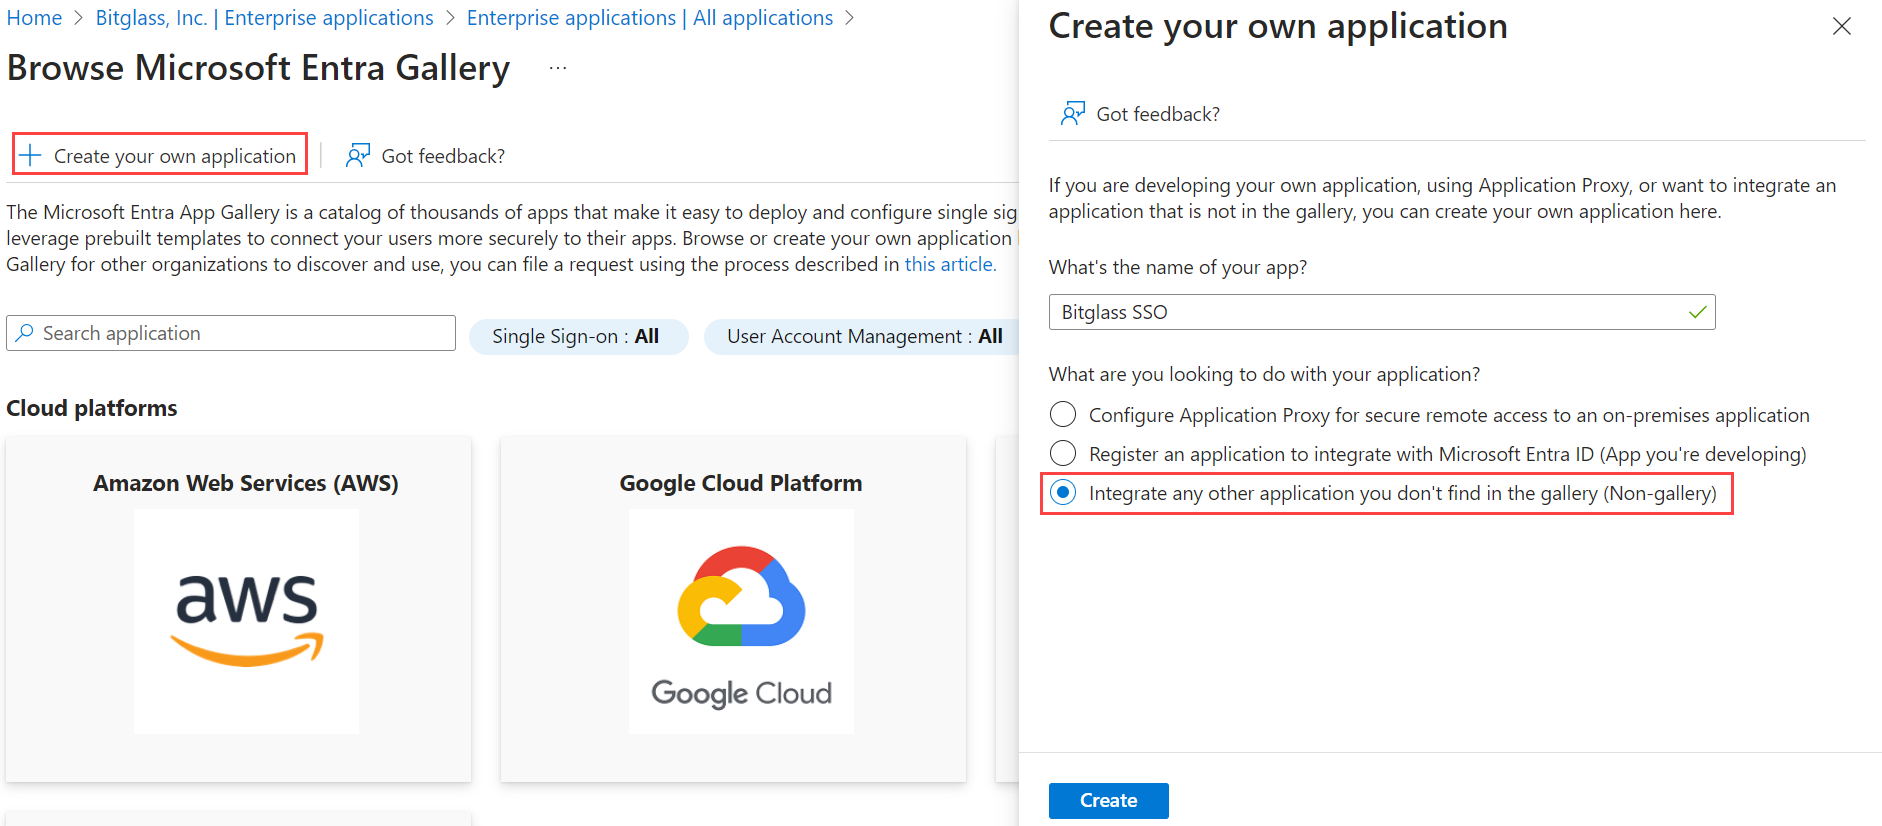
On the Create your own application dialog that appears on the right:
- Enter a recognizable application name.
- Ensure Integrate any other application you don't find in the gallery (Non-gallery) is selected.
- Click Create.
Wait for the application to get created.
-
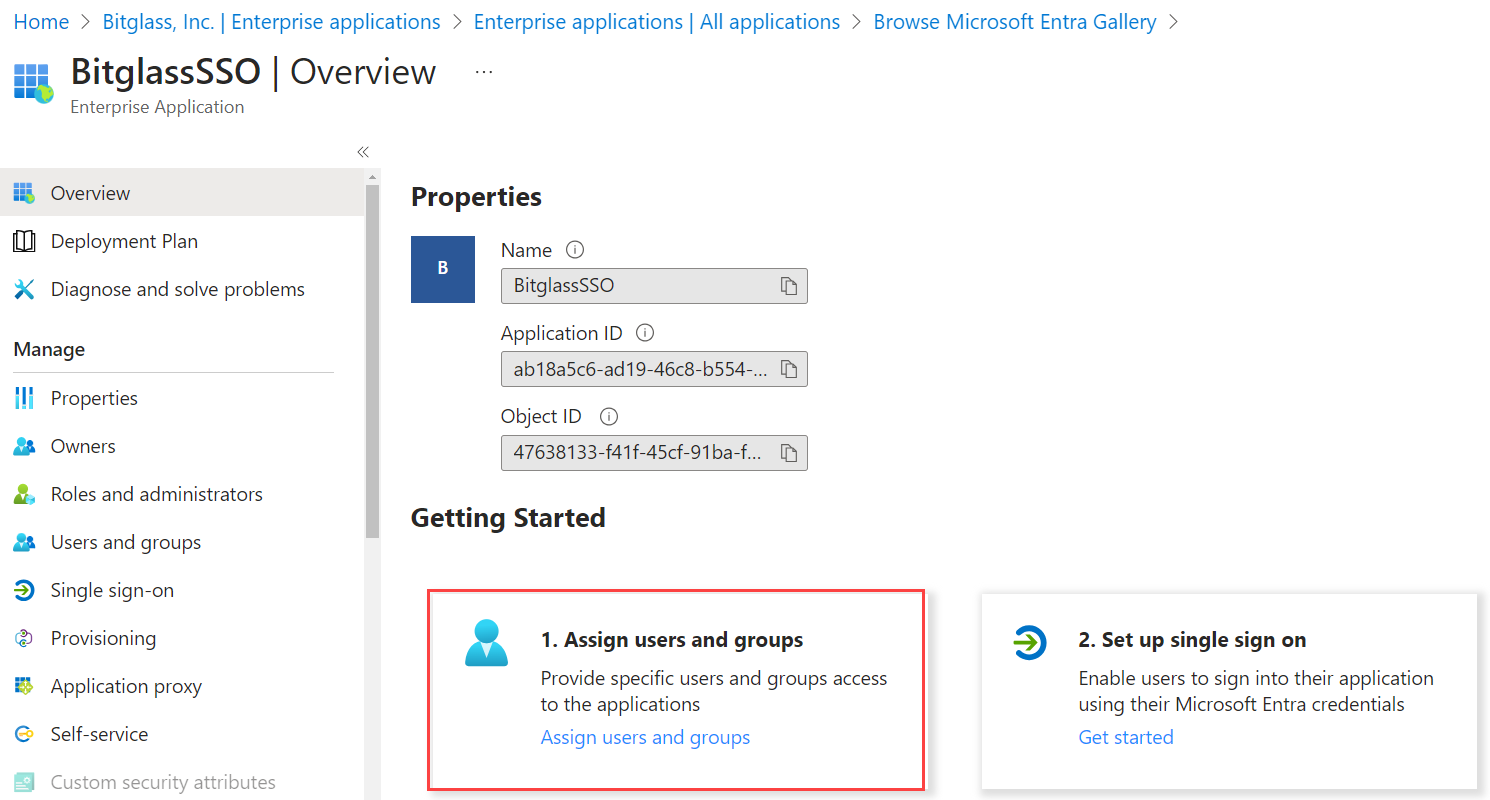
On the newly created app page, select Assign users and groups and assign the users/groups that will be accessing apps and authenticating through Forcepoint Data Security Cloud | SSE.
 Note: Forcepoint Data Security Cloud | SSE UI supports UTF-8 characters. However, the SAML assertion only supports low-ASCII characters as attribute values. If an attribute value contains characters that are not low-ASCII, then SAML sign-in failures occur.
 -
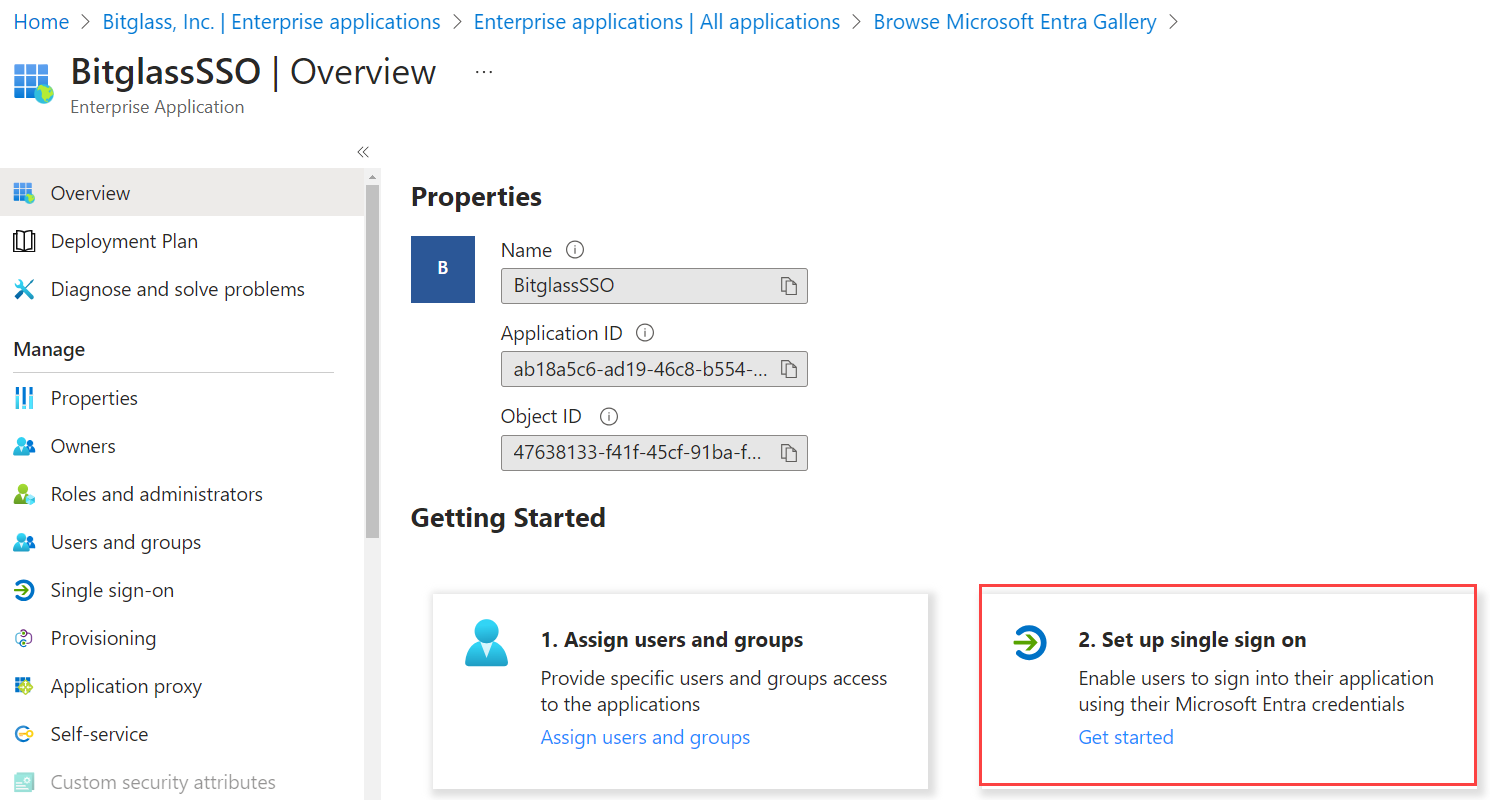
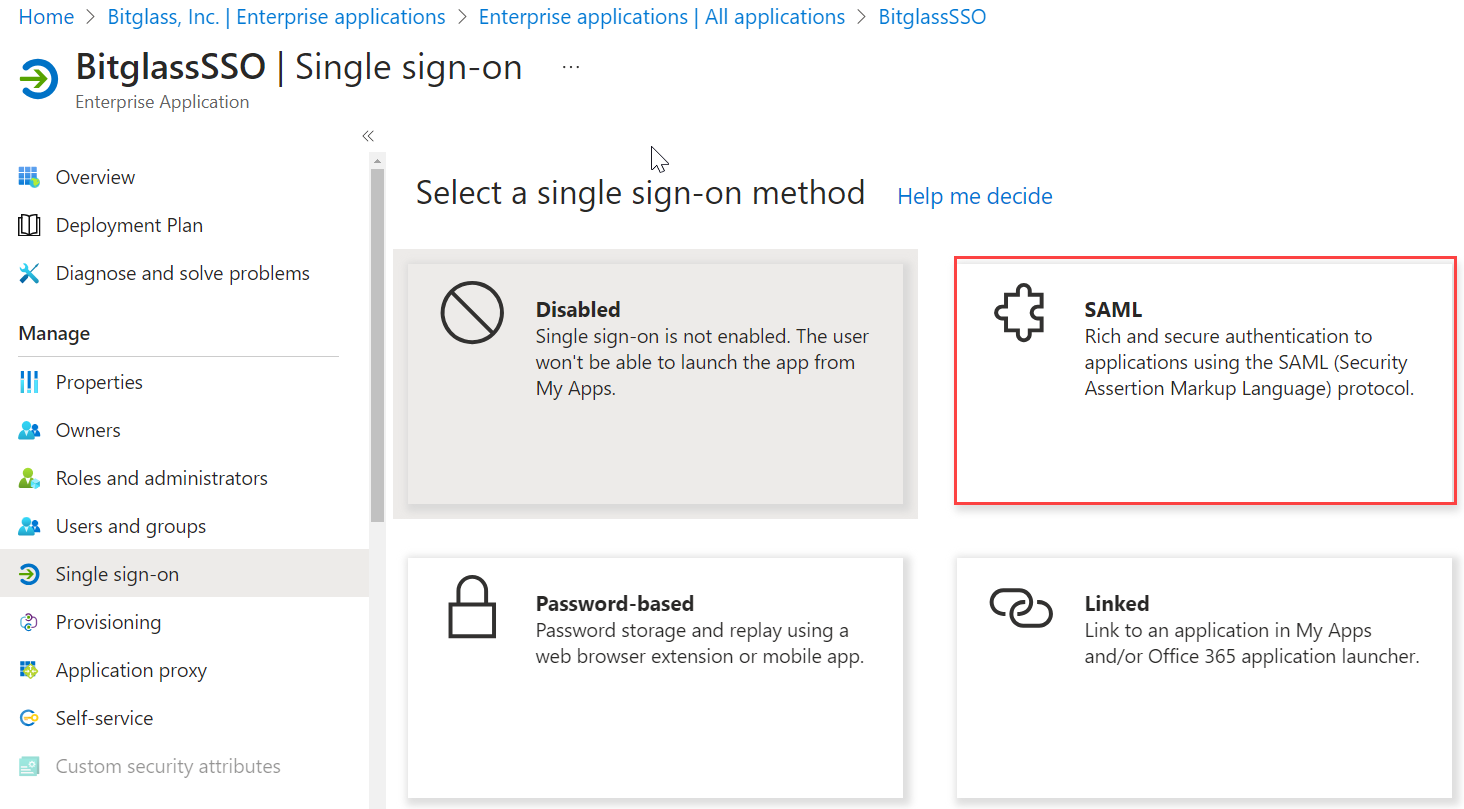
Once you have assigned your users/groups, select Set up single sign on and then click SAML.
-
On the Set up Single Sign-On with SAML page:
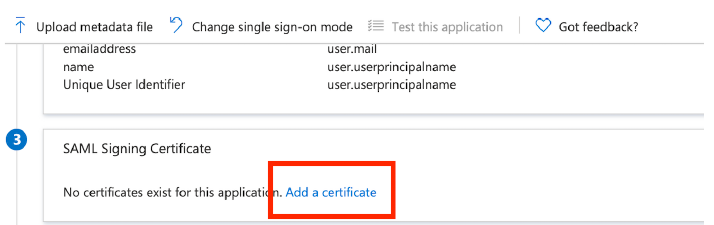
Section 3: If you have not created a SAML Signing Certificate already, you will need to create one. If you have already created one skip to step 8. Otherwise, click Add a certificate and then in the new tab window that appears, click New Certificate. Then set the fields as below and Save.
- Signing Option: Sign SAML assertion
- Signing Algorithm: SHA-256

Leave this page open.
-
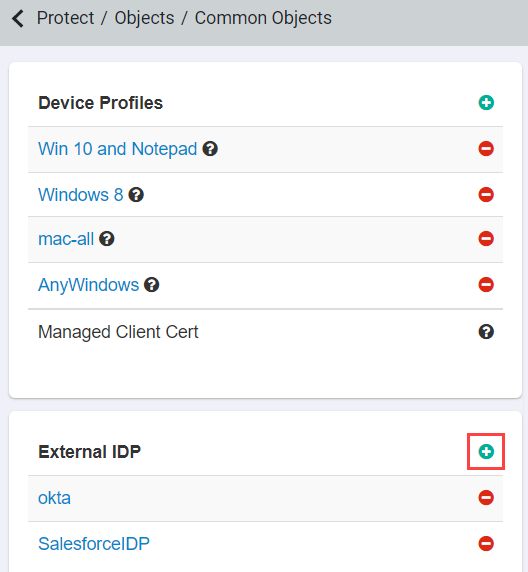
Navigate to and then click the green icon to add a new External IdP.
-
On the new IdP object page, provide a name and then select Other IdP from the IDP Type drop-down. Copy information from the Forcepoint Data Security Cloud | SSE IdP object setup to the Set up Single Sign-On with SAML page in Azure setup (step 7).
-
Copy the Forcepoint Data Security Cloud | SSE
Saml Entity ID to the Identifier (Entity ID) field in Azure.

-
Enter https://portal.bitglass.com/sso/acs/ to the Reply URL
(Assertion Consumer Service URL) field in Azure.


-
Copy the Forcepoint Data Security Cloud | SSE
Saml Entity ID to the Identifier (Entity ID) field in Azure.
-
Copy over information from the Azure page in step 7 to Forcepoint Data Security Cloud | SSE.
-
Copy over the Logout URL in Azure to the Logout URL field in Forcepoint Data Security Cloud | SSE.


-
Copy over the Logout URL in Azure to the Logout URL field in Forcepoint Data Security Cloud | SSE.
-
On the Forcepoint Data Security Cloud | SSE portal:
-
On the Username Domain dialog, select the External Identity Provider option as the Authentication method
and then select IDP that you just created in step 10 from the IDP Object drop-down.

-
On the Username Domain dialog, select the External Identity Provider option as the Authentication method
and then select IDP that you just created in step 10 from the IDP Object drop-down.