Installing and configuring the SmartEdge Agent
The SmartEdge Agent can be installed on either Windows or Mac devices and will profile the machines for attributes defined on the .
To learn about how to create Device Profiles, refer to the Objects guide page. To learn more about the SE agent, how to install it and other additional policy control capabilities, refer to the SmartEdge Agent: Installation and Configuration guide page.
Steps
-
From the Download Agent section, select the applicable version from the Windows drop-down and click
 .
.
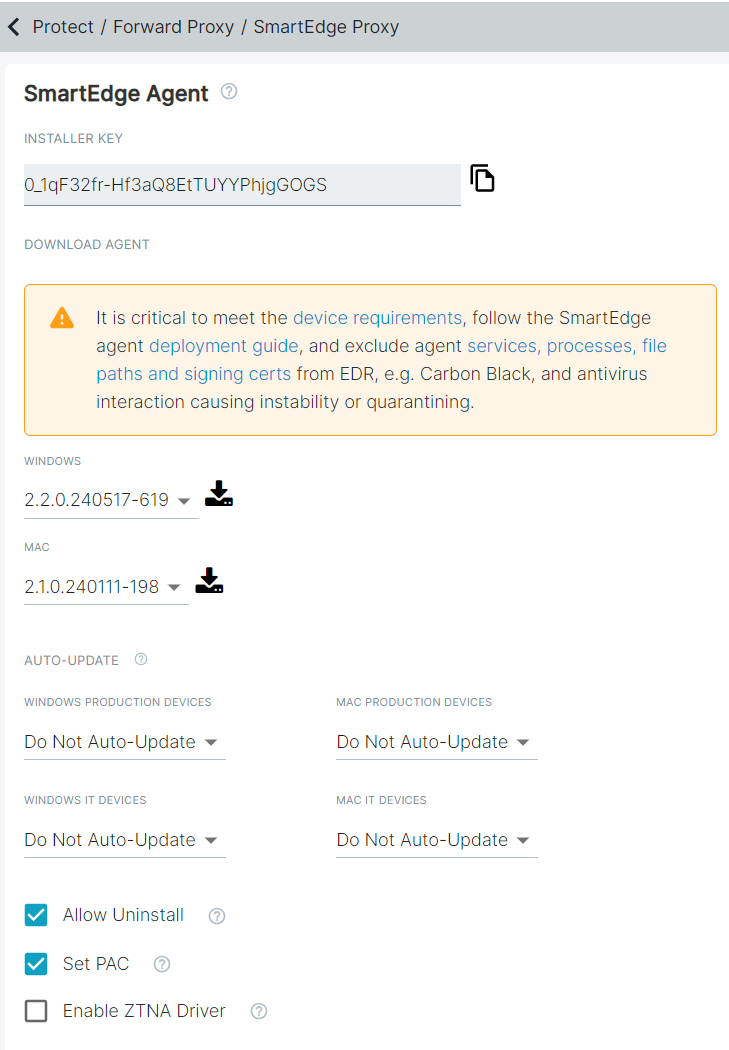
A zip file gets downloaded to your machine.
Note: If you currently have the Device Profiling Agent installed, you will need to uninstall that agent before you can install the SmartEdge agent. -
Unzip the downloaded file and double-click the autoinstall.bat file to start the installation.
Follow the prompt and complete the installation of SmartEdge agent. While installing the SmartEdge agent, the Installer Key is prepopulated.
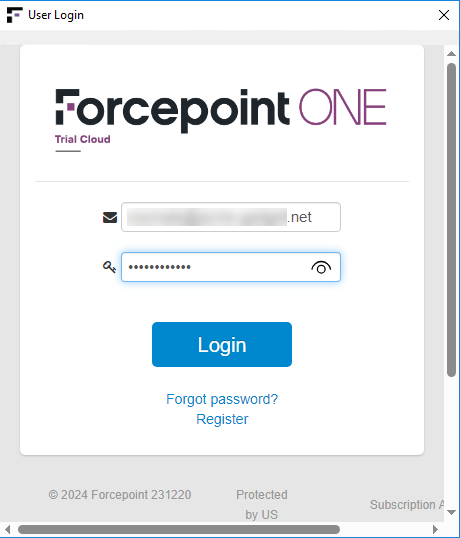
A few seconds after installation, you will see a login window pop up to prompt the user to authenticate with their account. Once logged in the agent is fully installed and connected and will now be applied configured policies.
Note: When your machine's disk is encrypted with the Azure BitLocker, the SmartEdge agent will not work until BitLocker finishes full disk encryption. -
Once installed, navigate to the page and locate the Device Profiles section.
