Once the installation and configuration of ZTNA connector is complete, you can add your internal apps to Forcepoint Data Security Cloud | SSE to enable contextual access
controls and inline protection. Adding apps follows a similar setup to adding cloud-based apps, with the key difference being that you will select the Any HTTP/S ZTNA
App/Service template.
Follow the below steps to provide access to internal apps via ZTNA over HTTP or HTTPS:
Steps
-
In the Forcepoint Data Security Cloud | SSE portal, click .
-
On the Managed Apps page, select the Any HTTP/S ZTNA App/Service option.
-
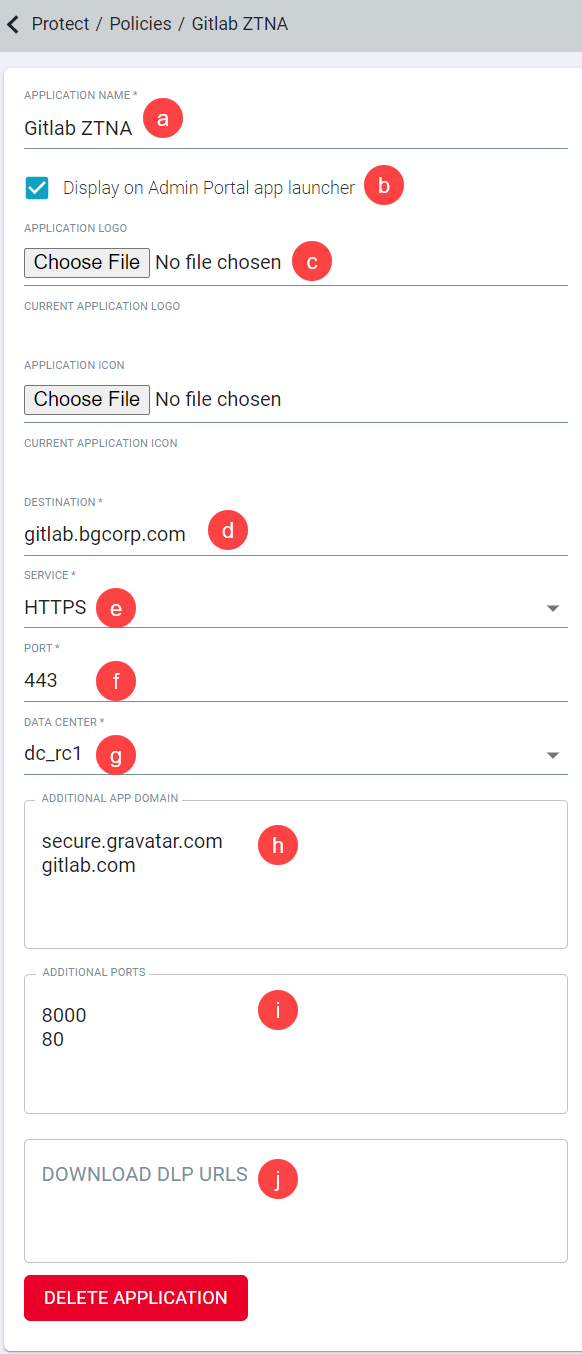
In the new window, fill out the fields to configure your app:
-
Provide a name for the app.
-
Select the Display on Admin Portal app Launcher checkbox to display ZTNA application name in Navigation Bar.
-
You can (optionally) upload an image that will appear on the policies page as well as a small icon that will be used on logs and Dashboard pages.
-
Enter the internal hostname (destination) for your app.
-
Select server type.
-
Enter the port number through which the application can be accessed.
-
Select the datacenter name that you configured. This name will be used in logs to identify the location of the app, such as the 'Campbell, CA' office.
-
Add any additional domains associated with the app to ensure full functionality when users are proxied to it.
You can add up to 50 rows.
Note: Applications with multiple domains can use either HTTP or HTTPS protocol, but not at a time. However, applications with a single-domain can support
both HTTP and HTTPS protocols.
-
Enter the HTTP/S ports that the internal application can be accessed on. This field supports individual ports as well as port ranges.
You can add up to 50 rows.
-
Enter each download DLP URL on a separate row.
You can add up to 50 rows. To know about Download DLP URLs, refer to Download DLP Configuration section under Configuring inline DLP for custom
applications.
-
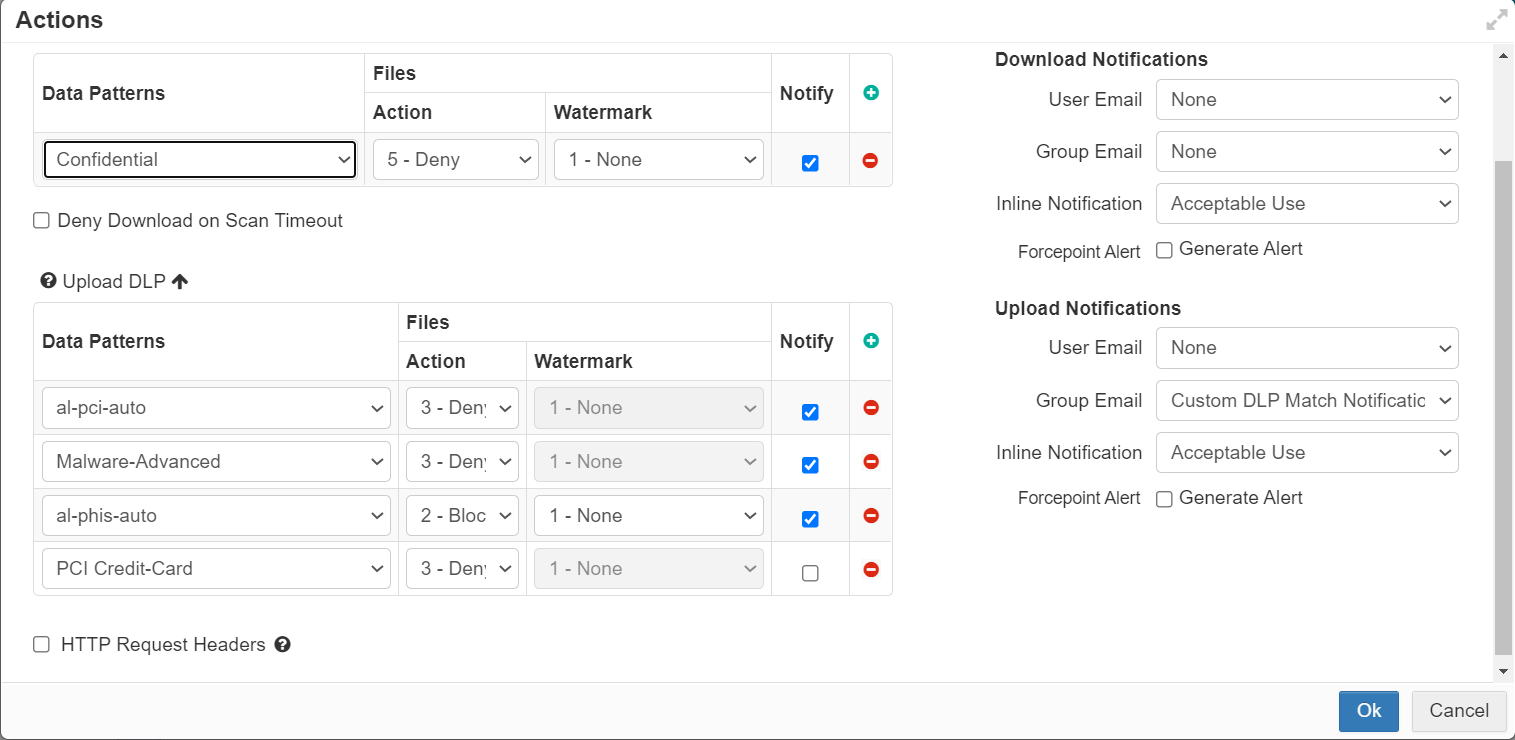
Now with the app added, you can go back to the page and apply contextual access controls and inline DLP policies just like any other cloud app (notice it will indicate ZTNA HTTP/S on the top left of the app logo and
datacenter name at the bottom of the app logo).


