Converting a CSV file to JSON format
Access rules in CSV format must be converted to JSON format before import.
This procedure documents steps to create a list of custom rules in CSV format and to convert the same to JSON file format.
Steps
-
Create the CSV file: The first line in the CSV file holds the rule fields and, each line after the first line will count as a rule. Rule fields in the CSV will be in the
following order:
rule_type – removable_storage (fixed value)
name - custom
description - custom
status – ENABLED \ DISABLED
reaction/action - PERMIT \ READ_ONLY \ BLOCK
user_conditions/ - EMPTY value
user_conditions/0/type - user \ local_user \ group_user
user_conditions/0/sid - custom
user_conditions/0/upn - custom
device_conditions/0/usb_vid – custom
device_conditions/0/usb_pid - custom
device_conditions/0/usb_serial_number - custom
system_conditions/0/system_name - custom (endpoint hostname)
notification/title - custom
notification/message - custom
notification/close_method – AUTOMATIC \ MANUAL
notification/close_timeout – 0 \ 5 \30 \60
When selecting 0 ensure that the notification/close_method is set toMANUAL. -
User Conditions
- To create a rule that is applied for all users- all fields of the
user_conditionsshould be empty.- user_conditions/0/type - empty - user_conditions/0/sid - empty - user_conditions/0/upn - empty - To create a rule that is applied for all local
users.
- user_conditions/0/type - local_user - user_conditions/0/sid - empty - user_conditions/0/upn - empty - To create a rule that is applied for Domain
group.
- user_conditions/0/type - user_group - user_conditions/0/sid - enter group sid - user_conditions/0/upn - empty - To create a rule that is applied for the domain user (identified by its UPN \ user’s
SID).
-	user_conditions/0/type - user
-	user_conditions/0/sid - enter user’s sid
OR
- user_conditions/0/upn - enter user’s upn
- To create a rule that is applied for all users- all fields of the
-
Apply rule for Array of users or endpoints: Policy rules can be applied to array of users and endpoints.
Users:
For users, add specific
user_conditionsfields and increase the number in it by1(the 2nd place in the user’s array).user_conditions/1/type - user \ local_user \ group_user user_conditions/1/sid - custom user_conditions/1/upn - customLimitations: Array of users can be applied only when using the same users type. For example: user_group \ user (by SID) \ user (by UPN).Endpoints:For endpoints, add specific
system_conditionsfields and increase the number in it by1(the 2nd place in endpoint’s array).system_conditions/1/system_name -
Convert the CSV to JSON:
- Convert tool selected is: https://www.convertcsv.com/csv-to-json.htm.
- Configure tool options: On the Output Options screen, select the option Do Not output field/value pair if value is
empty.
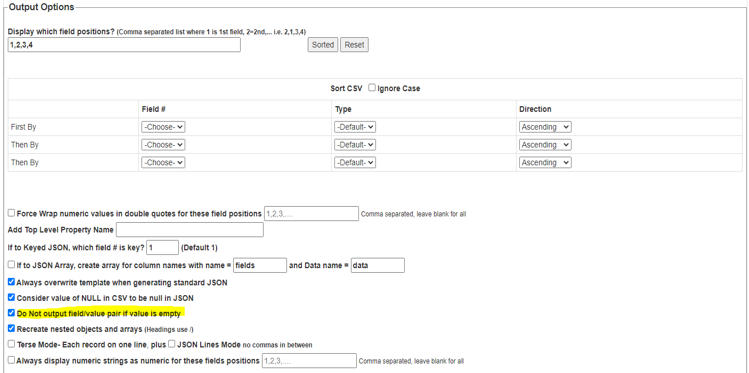
- Open the convert tool, make sure relevant check boxes are selected. Upload the CSV file.

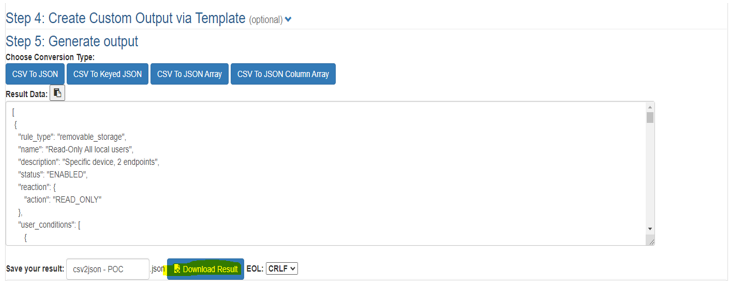
- Move to step 5, and download the result:
- Log in to the cloud portal, and navigate to the Policy view and click on the 3 dots on the top right of the Access rules
widget.
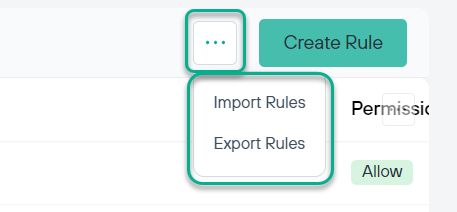
- Upload the converted JSON file, set the Rule priority and click OK:
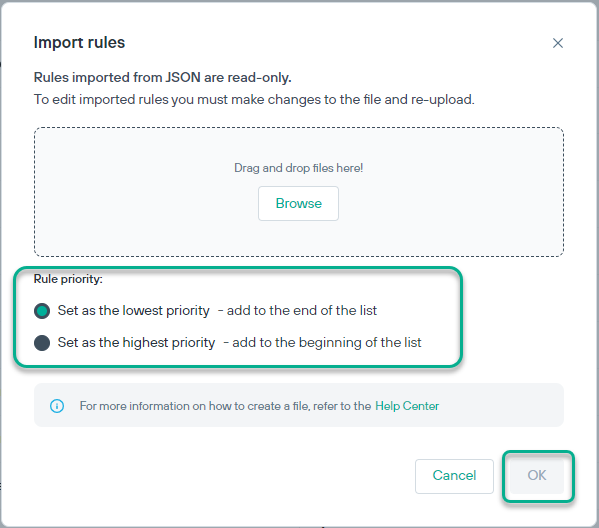
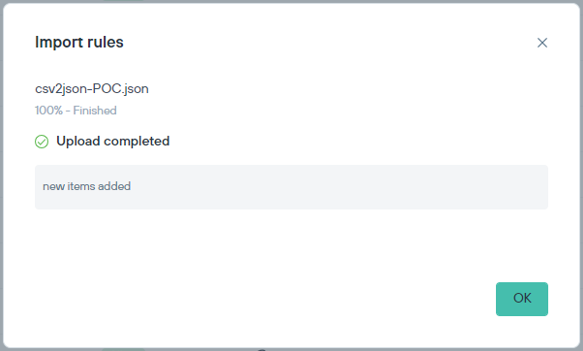
Post upload a confirmation message is displayed.
