How to Create a New Policy Level and Assign Policies
Steps
-
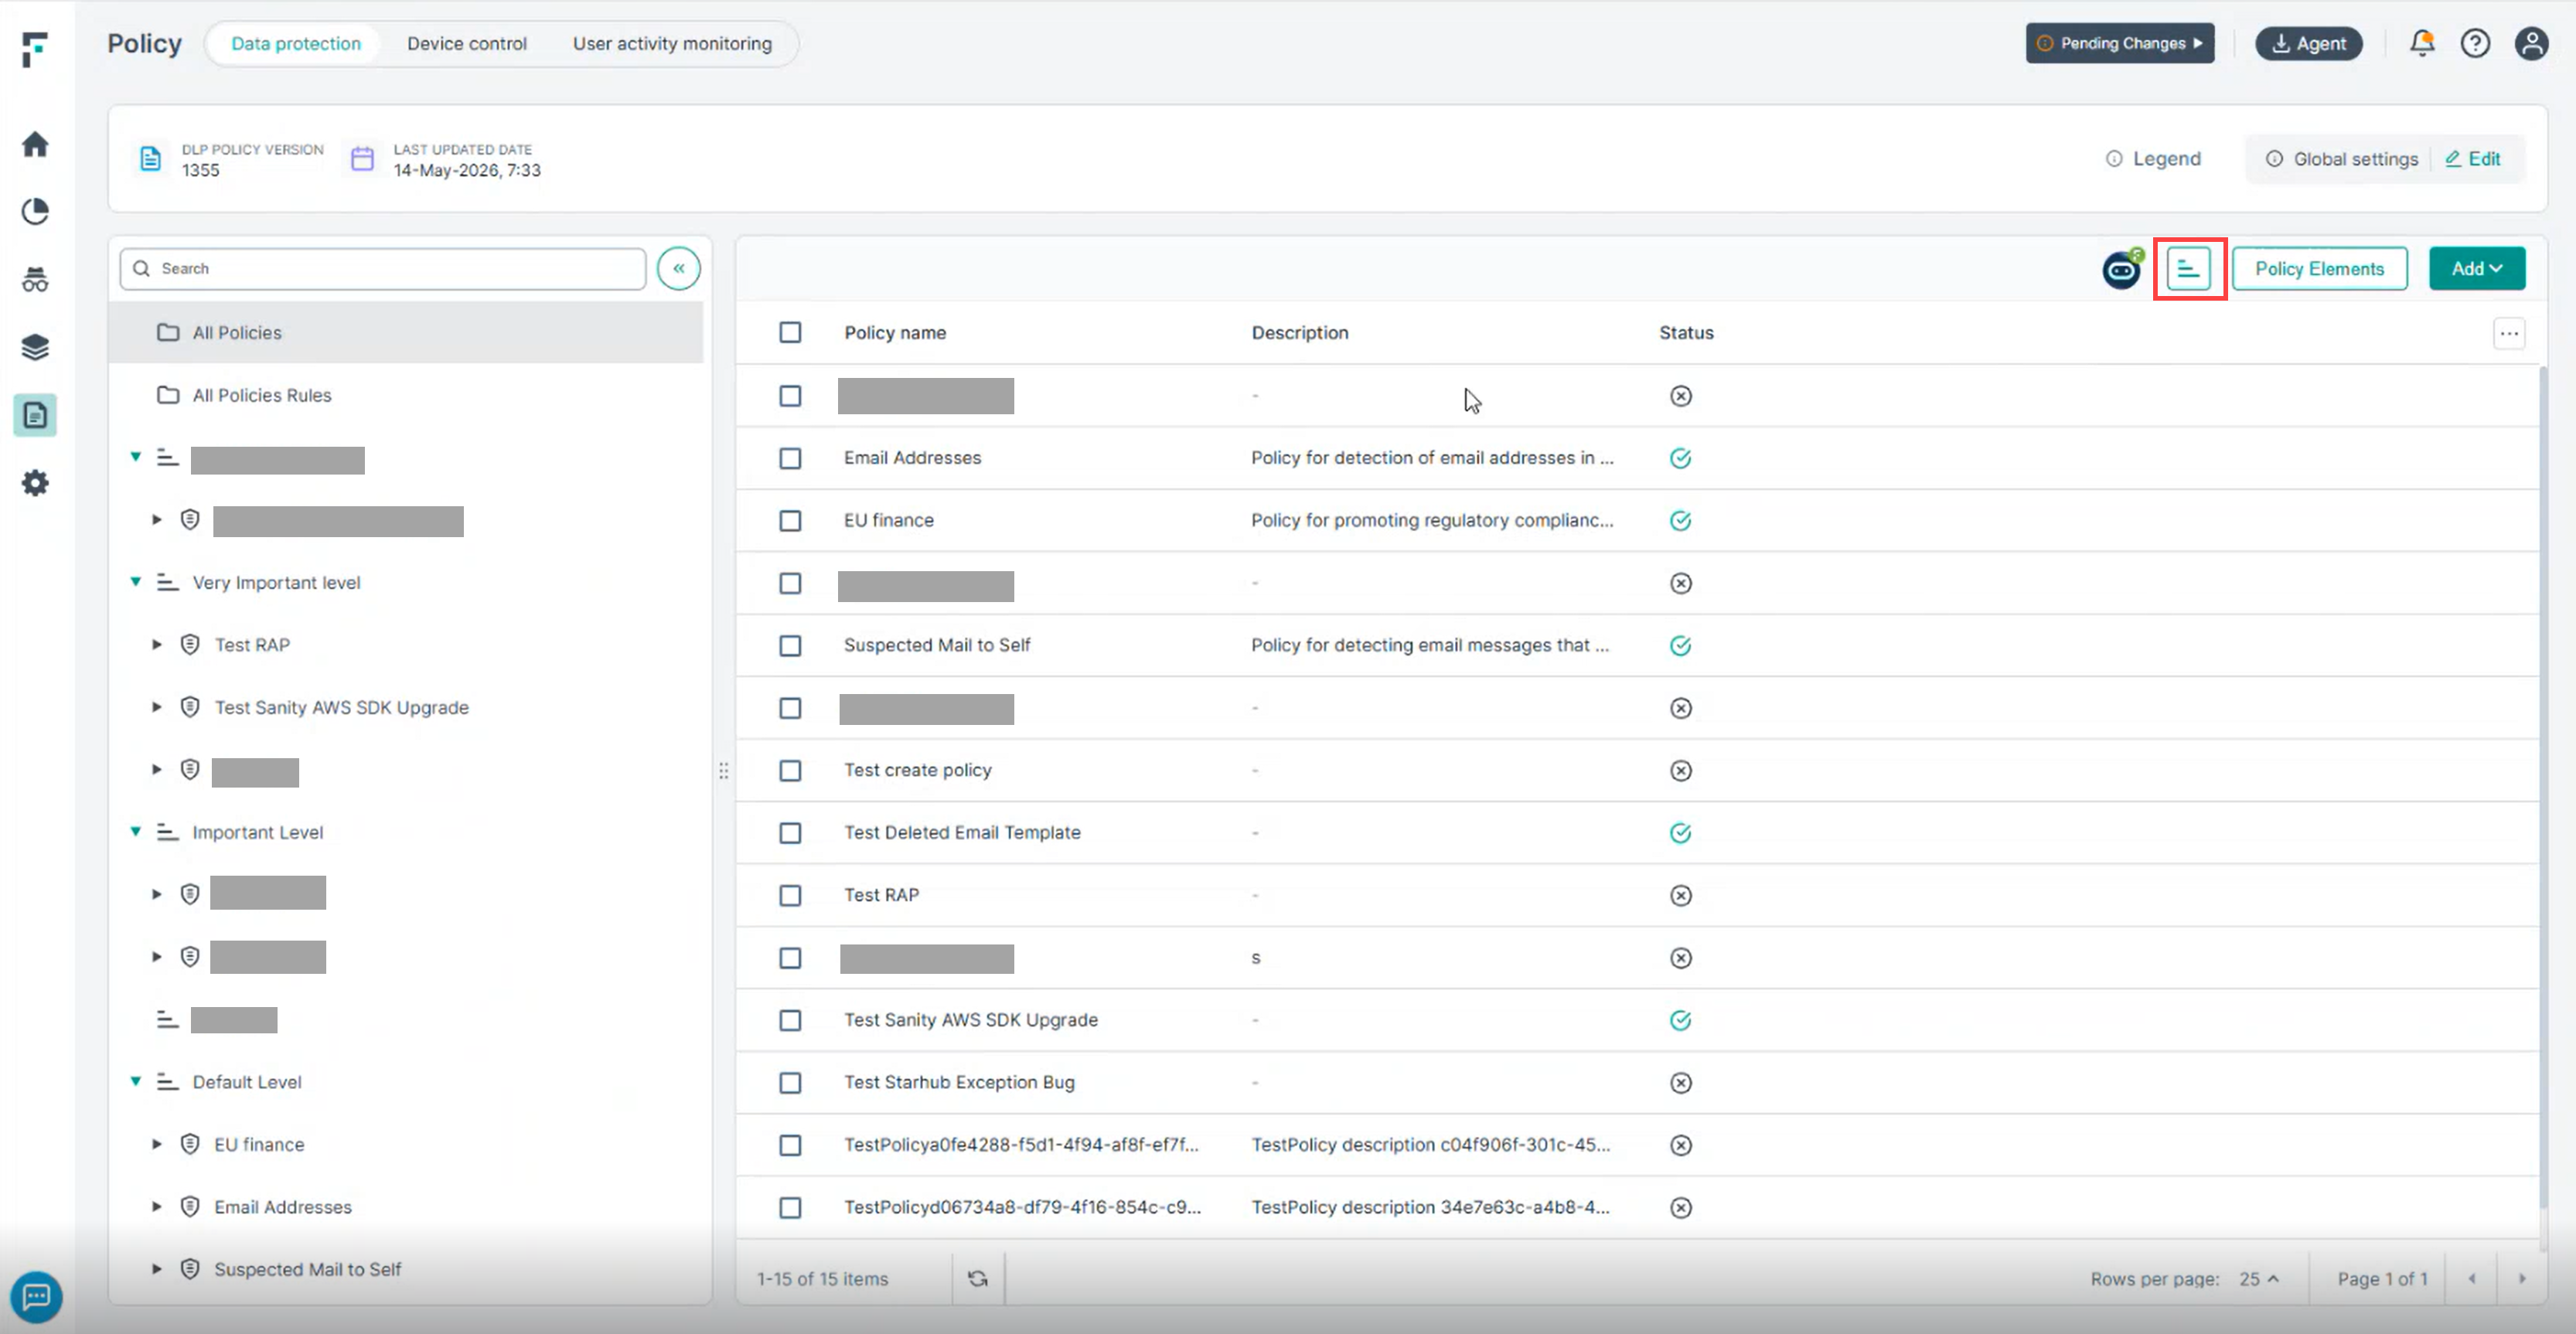
Navigate to the Policy menu and click on Manage policy levels, as shown below.
-
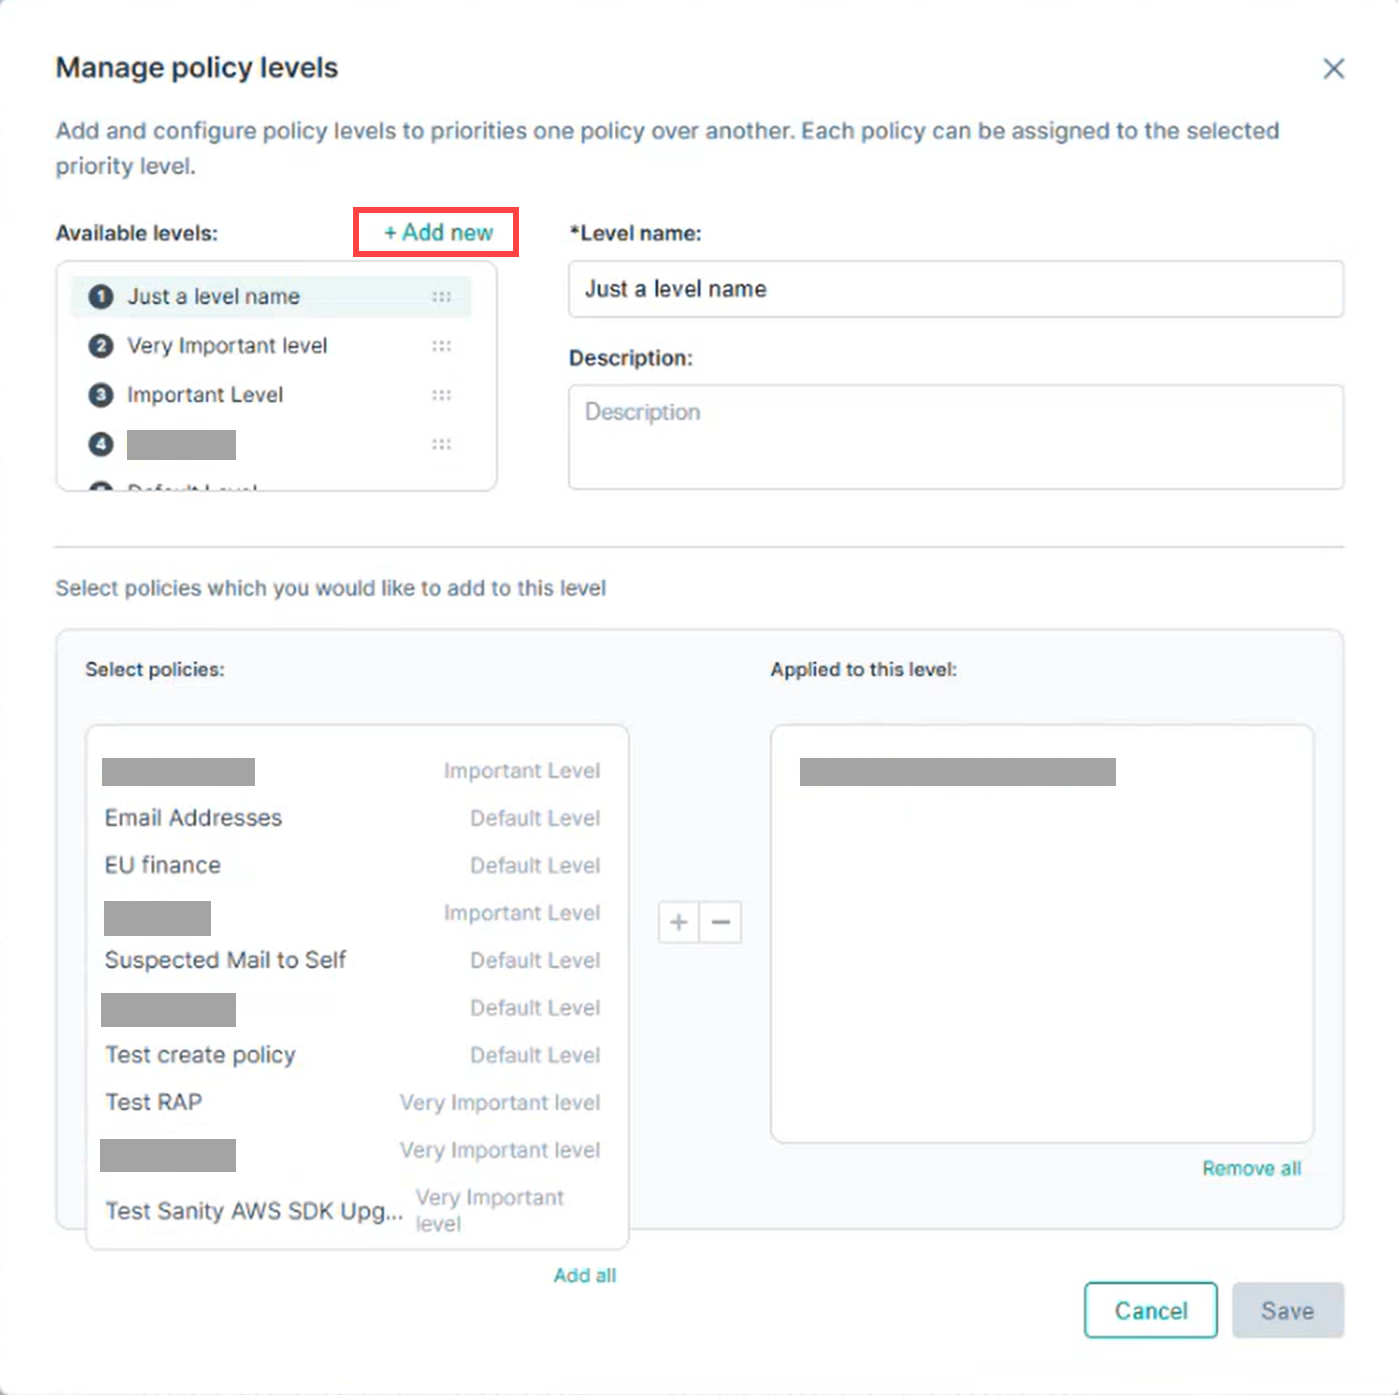
Click + Add new button.
-
Drag and drop the selected policies to the right-side panel to associate them with the level.
-
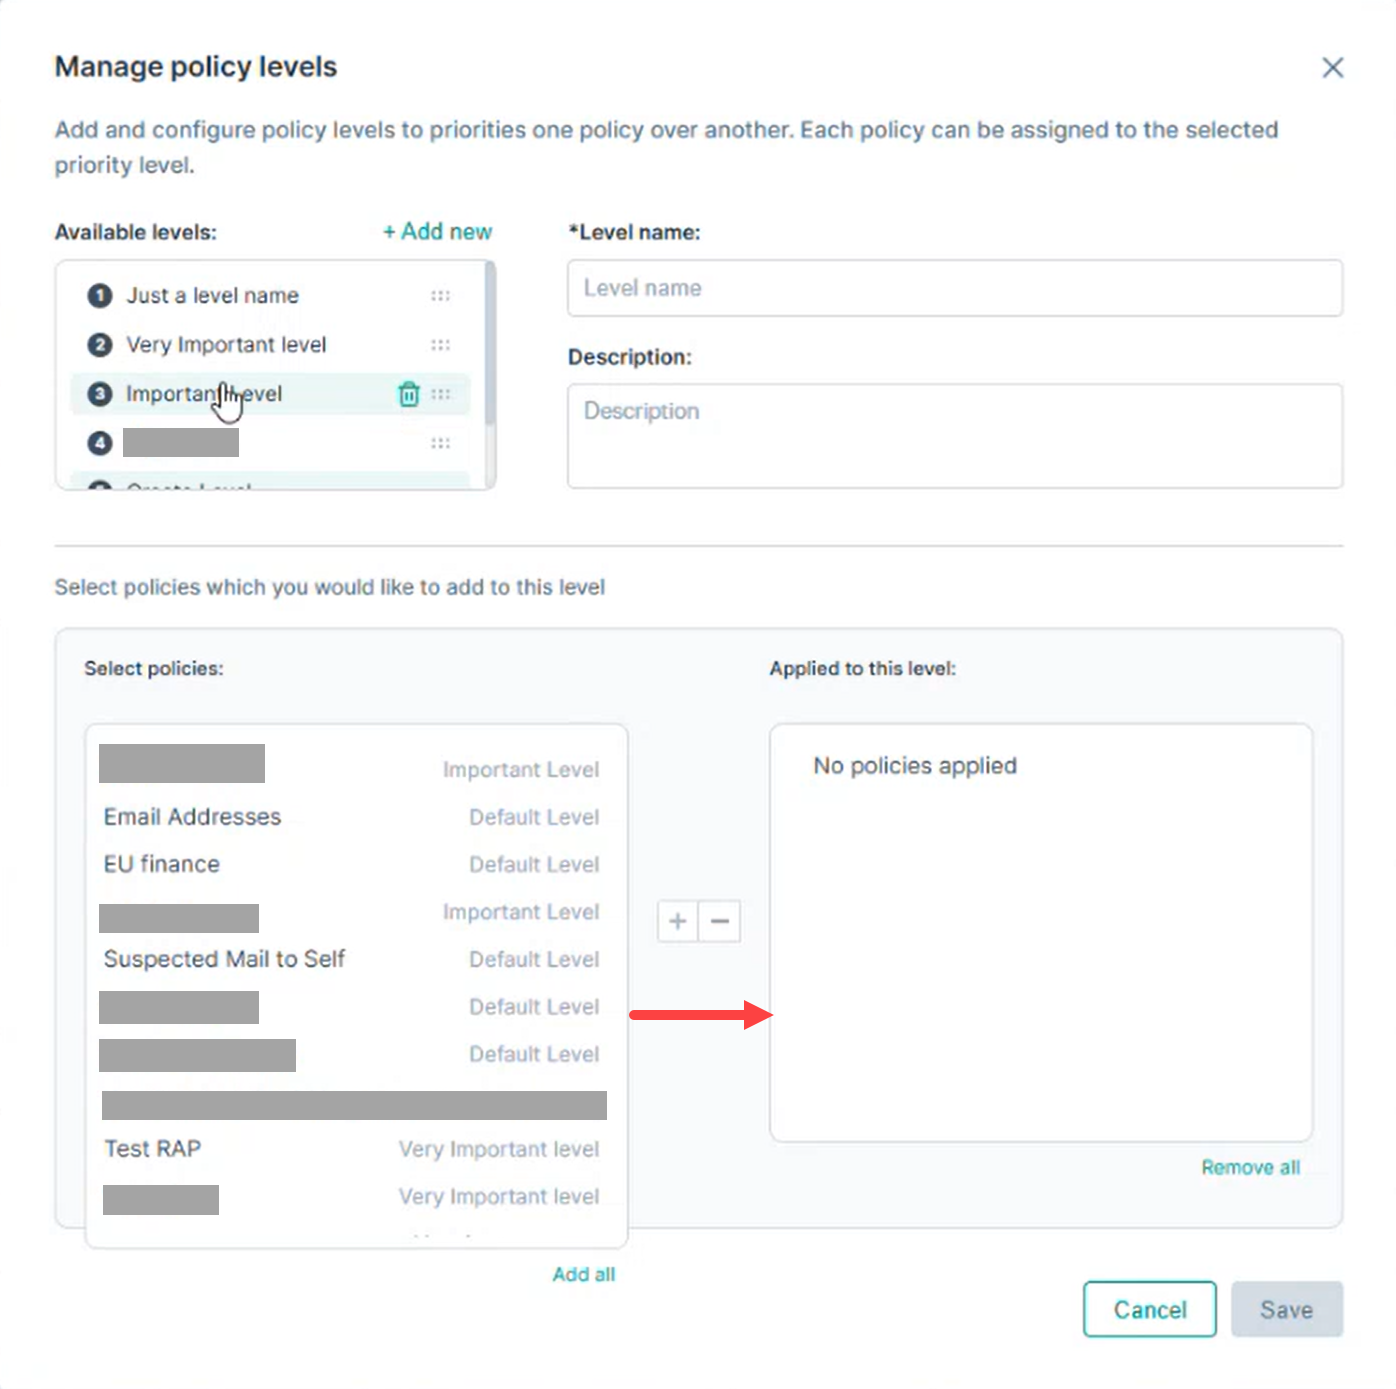
Alternatively:
-
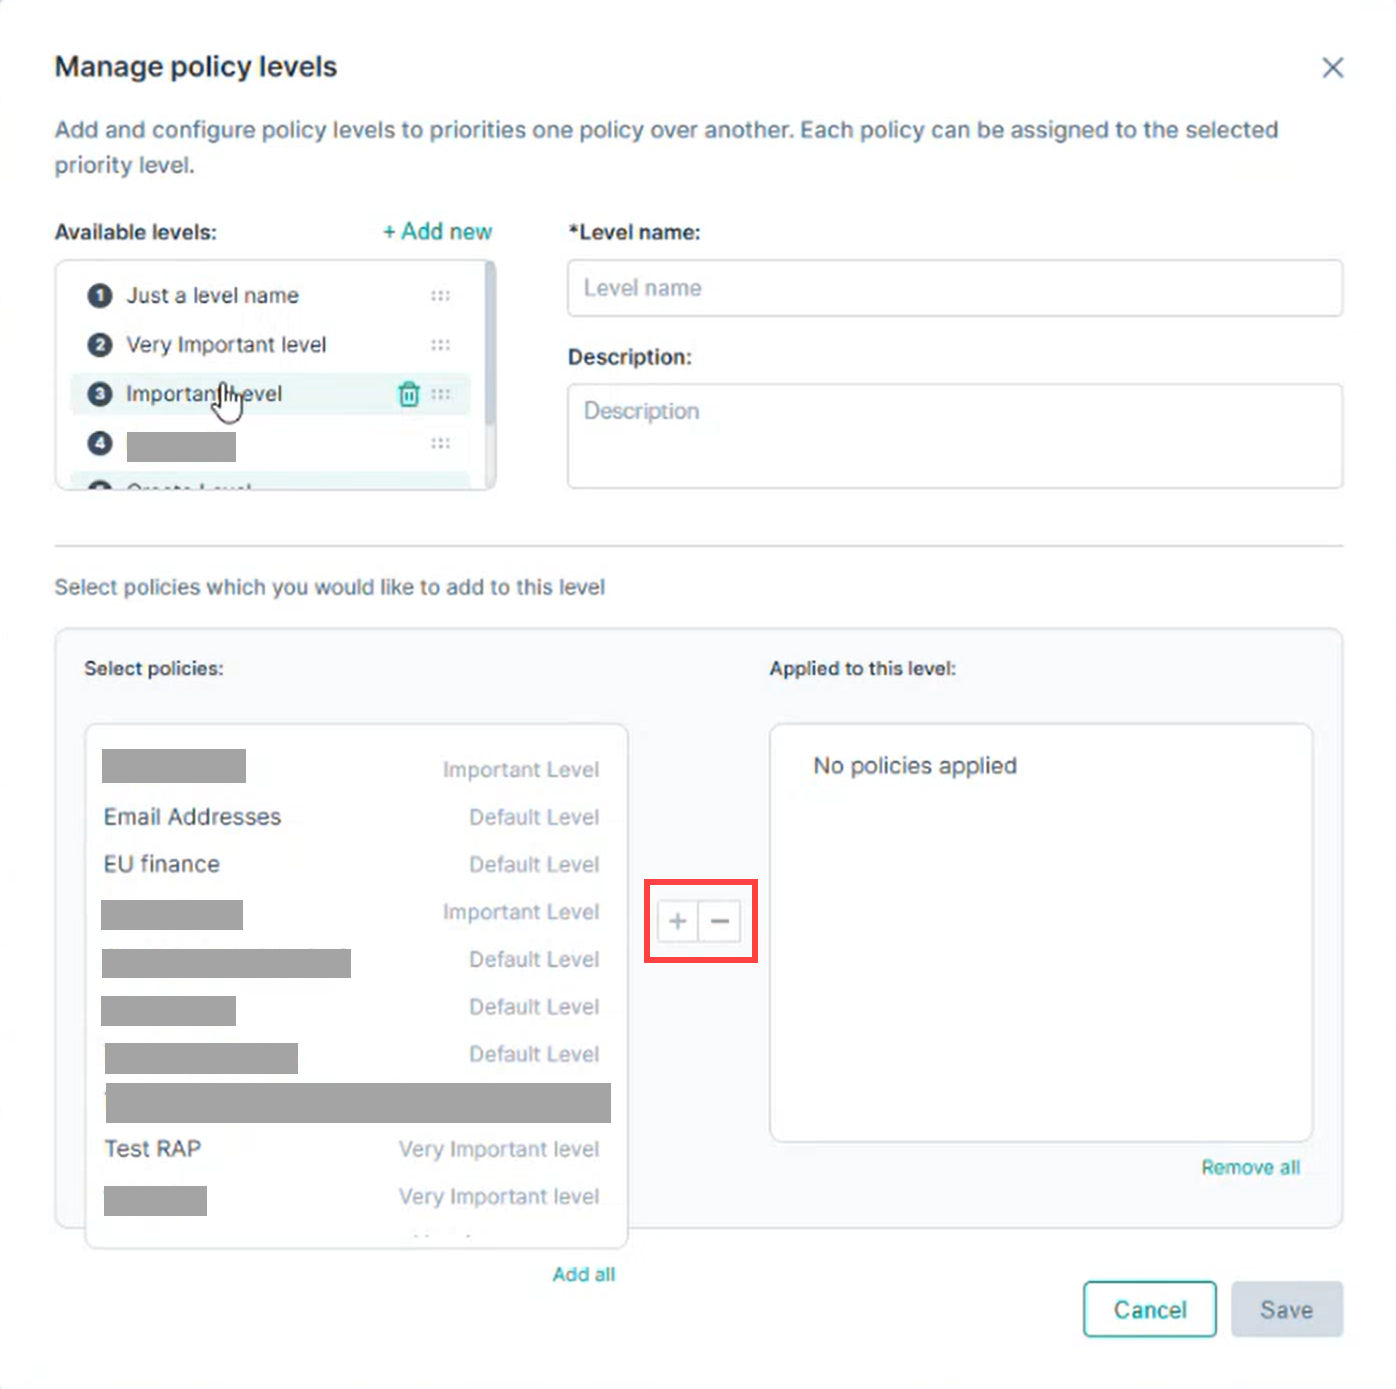
Use the Plus (+) button to assign and Minus (–) button to remove selected policies.
-
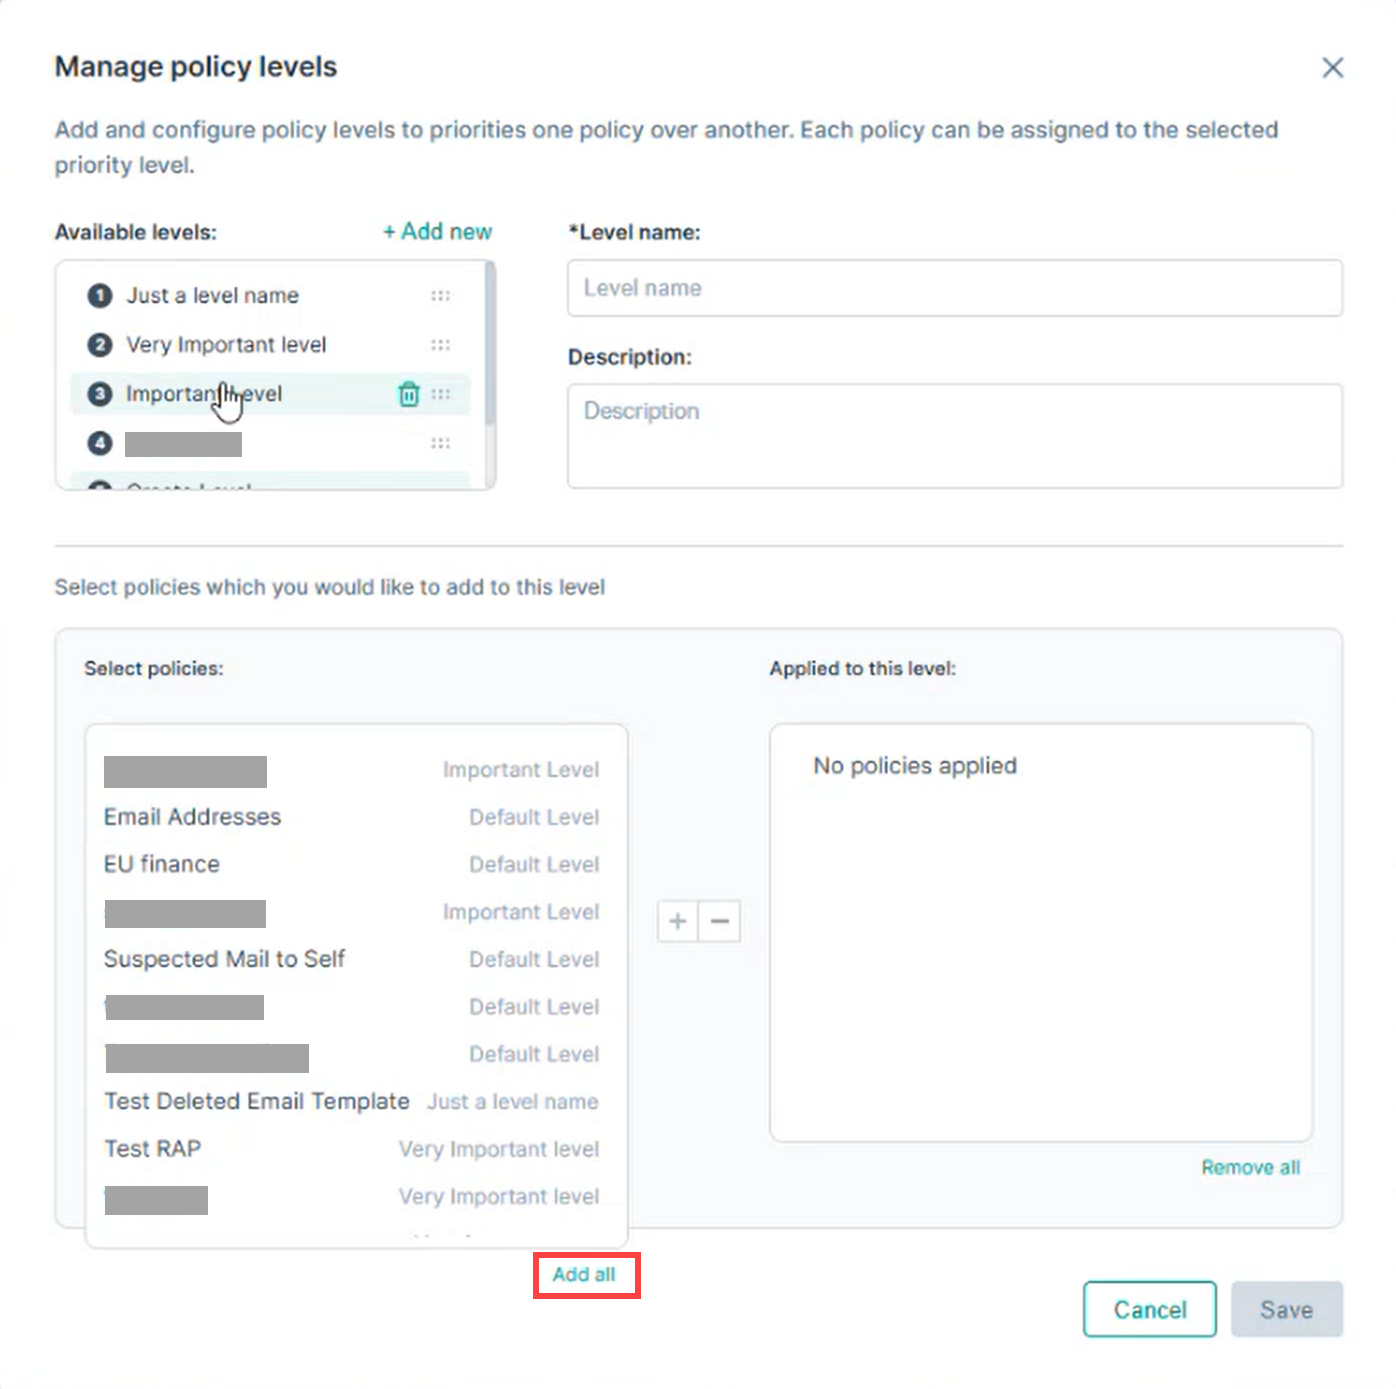
Click Add all to associate all available policies with the level.
-
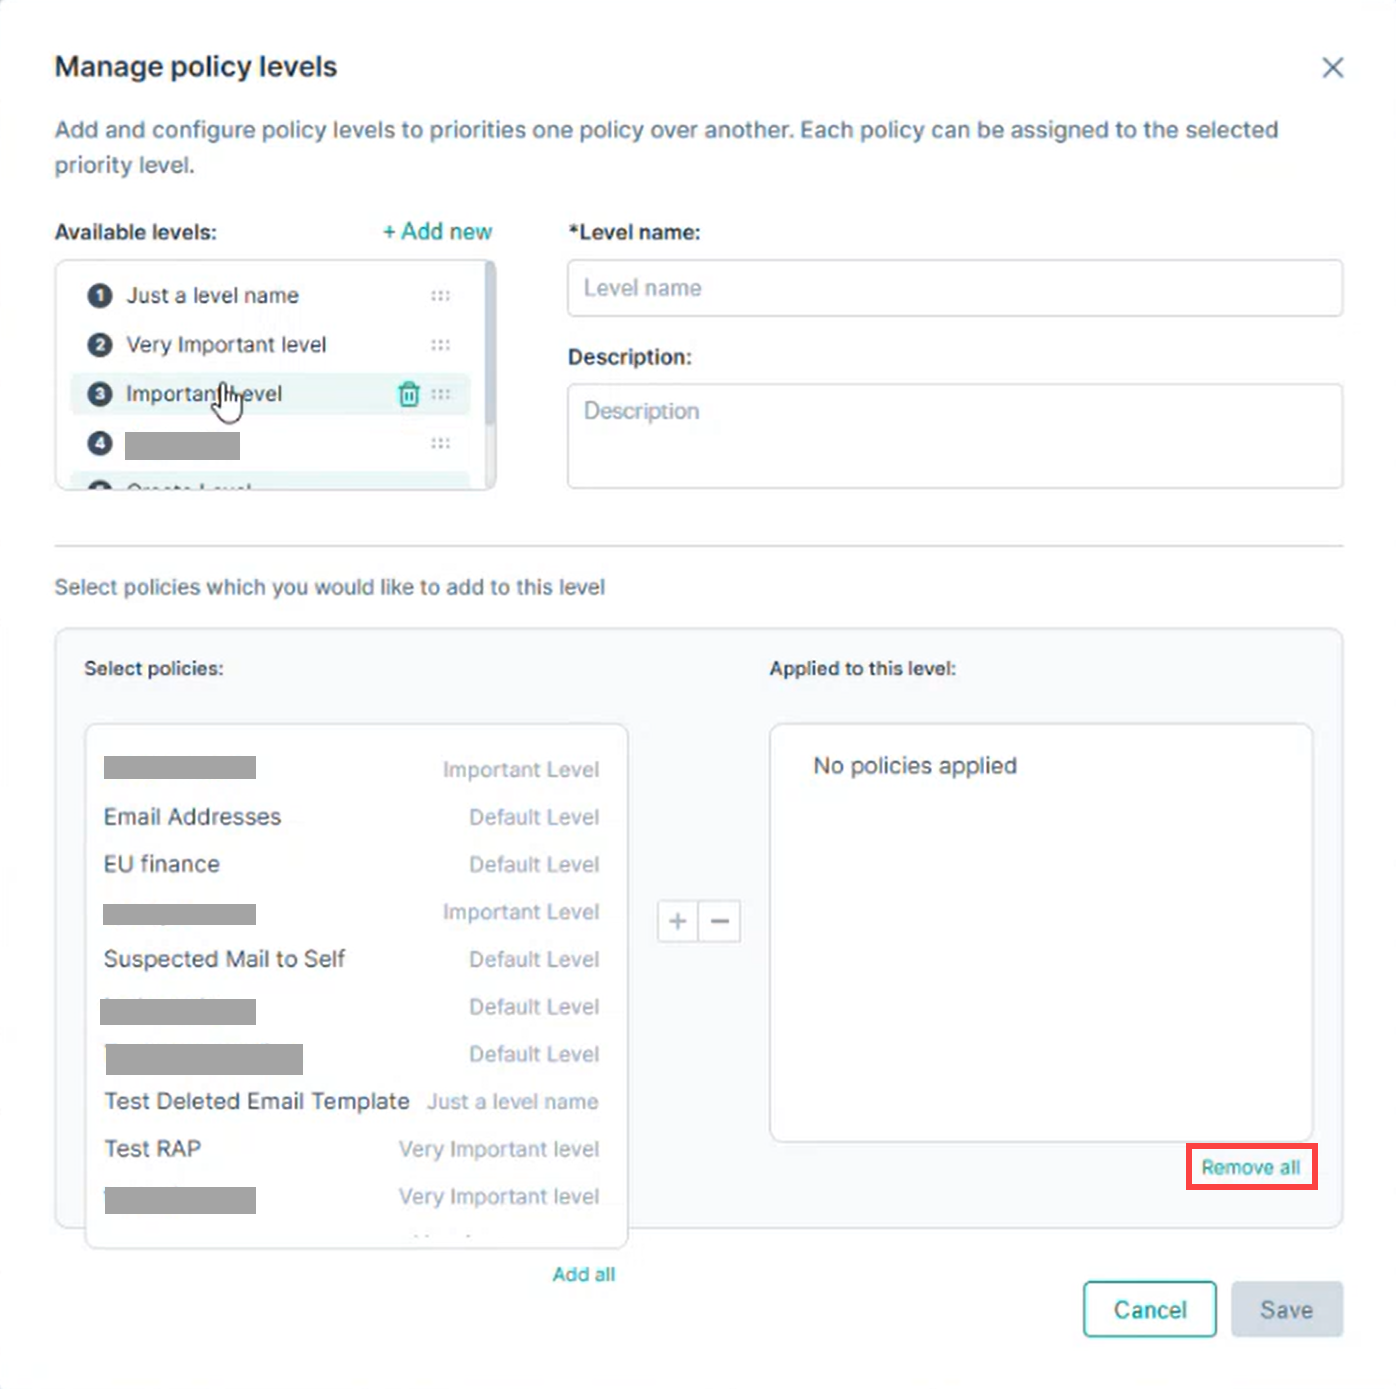
Click Remove all to remove all associated policies from the level.
-
Use the Plus (+) button to assign and Minus (–) button to remove selected policies.
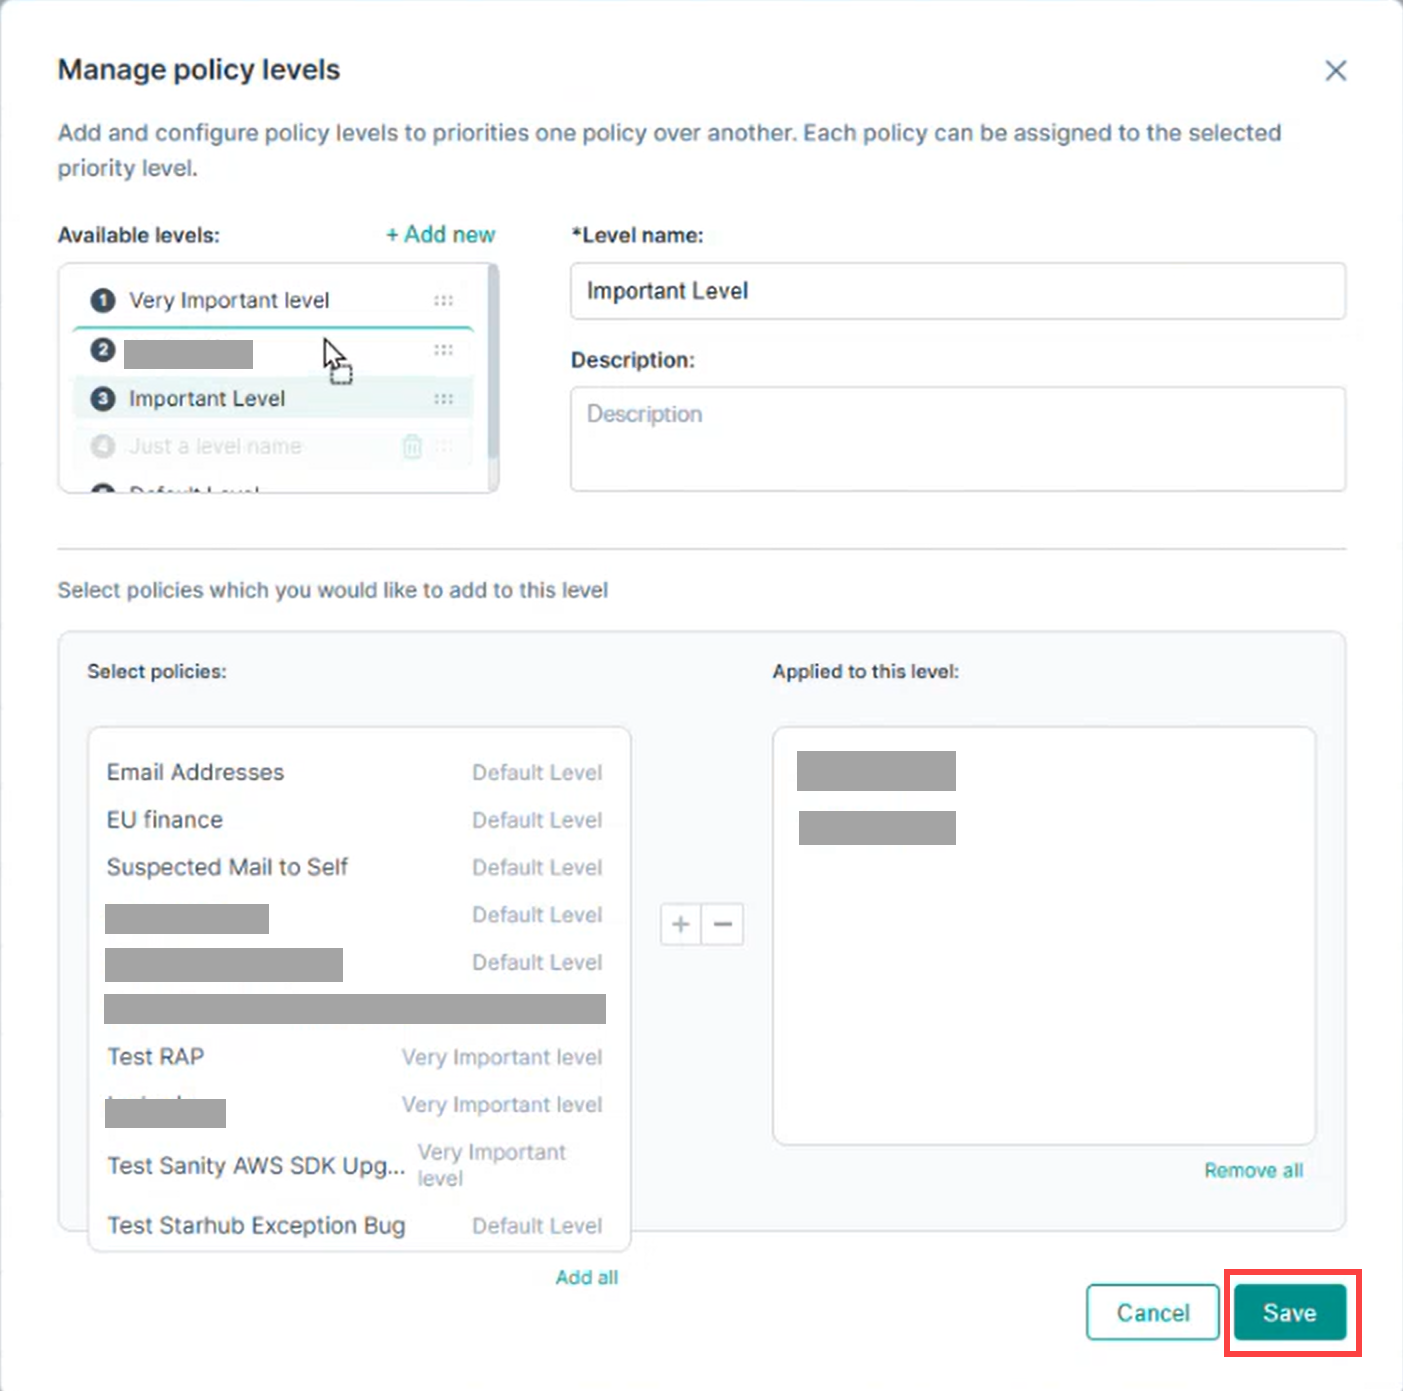
-
Click Save to apply the changes.