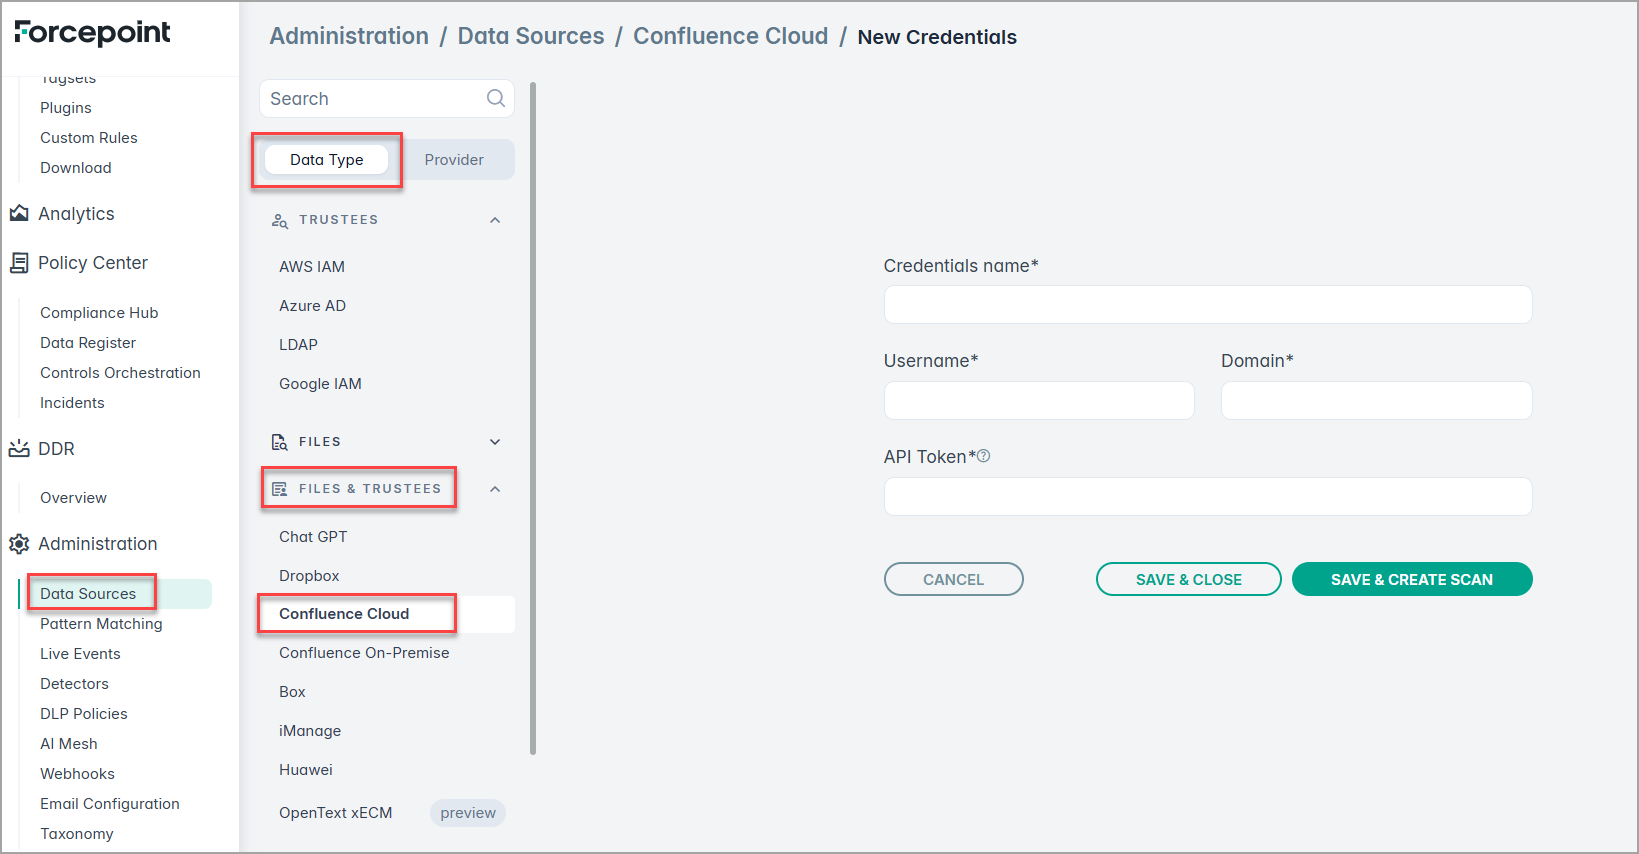
Configuring Confluence Cloud connector in Dashboard
Note: For Confluence Cloud, user account must be an Administrator account to enable scanning across all spaces.
Steps
-
Navigate to .
-
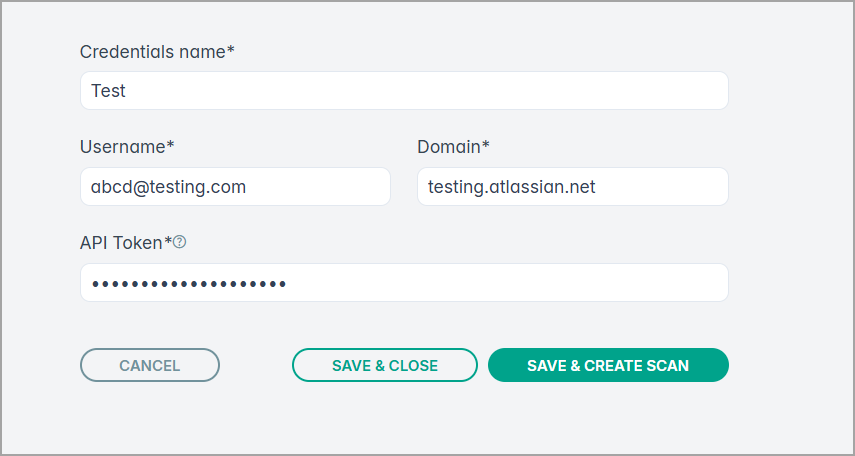
Provide the Credentials name, Username, Domain, and API Token, generated in the
previous section from the confluence application.
For example:
-
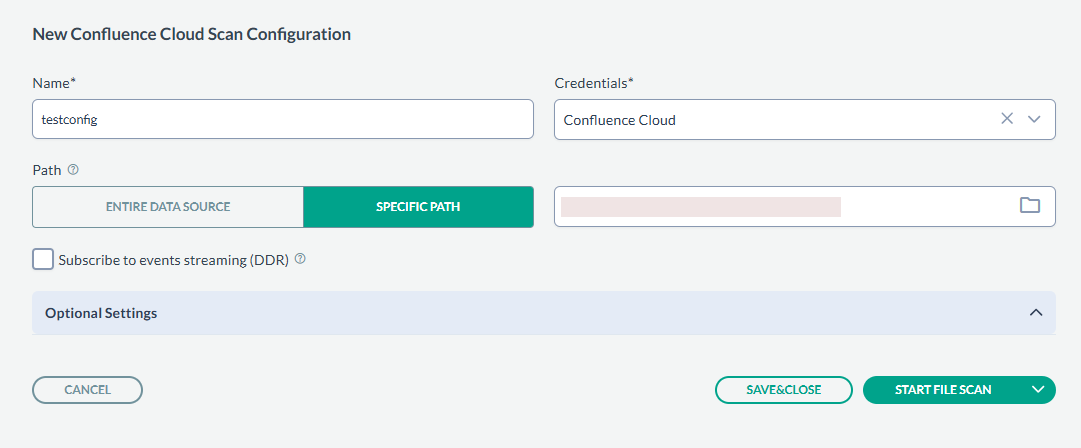
On the tab Scan configurations, click New Configuration, next enter the Name and
Credentials created in above steps. In the Path field, select the Folder icon to select a particular folder to scan, or leave the
path as empty to scan all folders. An example is shown below:
-
Next, click SAVE & CLOSE to just save the configuration or you can start the scan by clicking START FILE SCAN.
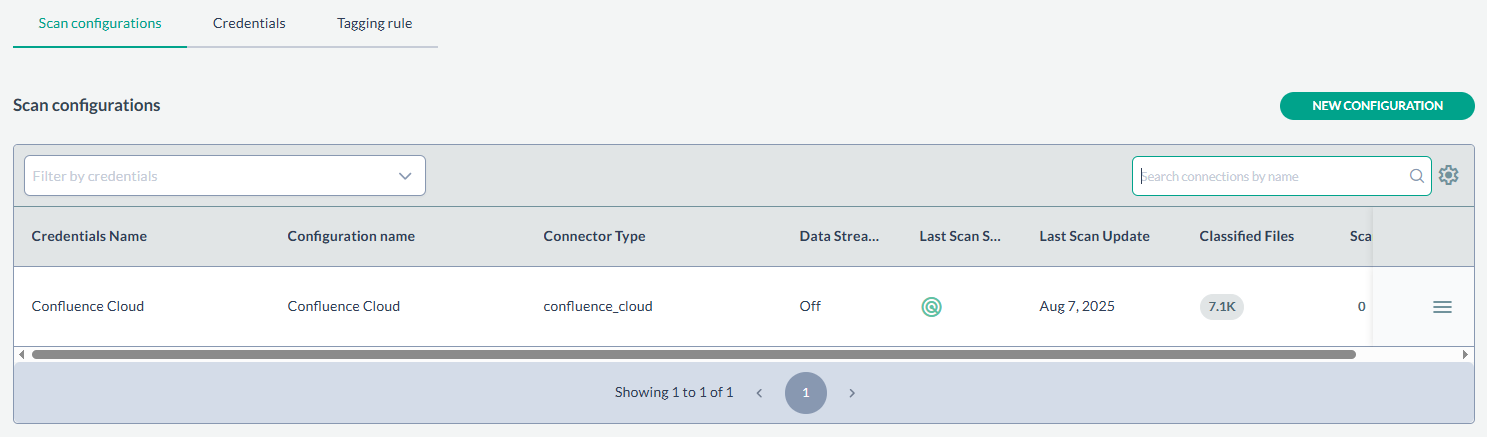
If you have previously saved scan configurations, then you can also start a scan by selecting Start file scan from the context menu. An example is shown below: