Configuring Azure Blob connector in Dashboard
Steps
-
Navigate to .
-
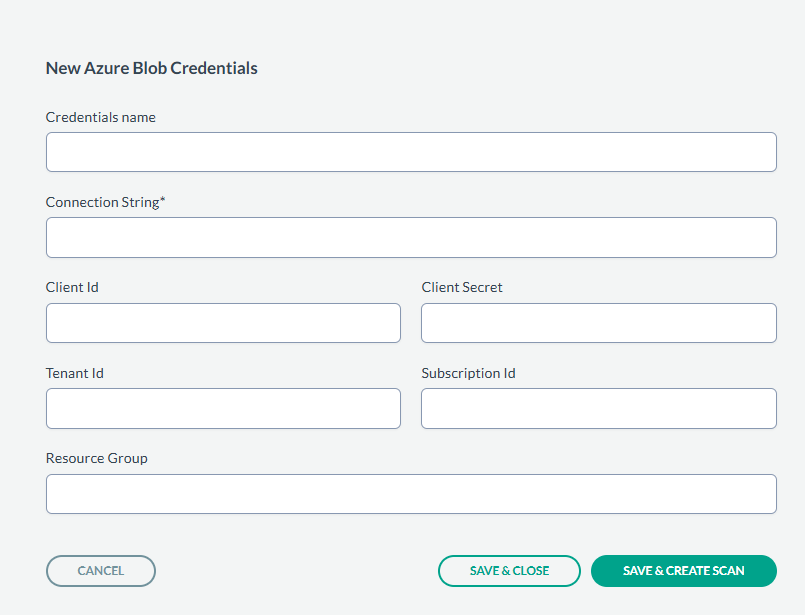
On the tab Scan configurations, click New Configuration, next enter the Name and select the
Credentials created in above steps. Select SPECIFIC PATH and then select the Folder icon in Path to select a particular bucket to
scan, or leave the path as empty to scan all buckets. An example is shown below:
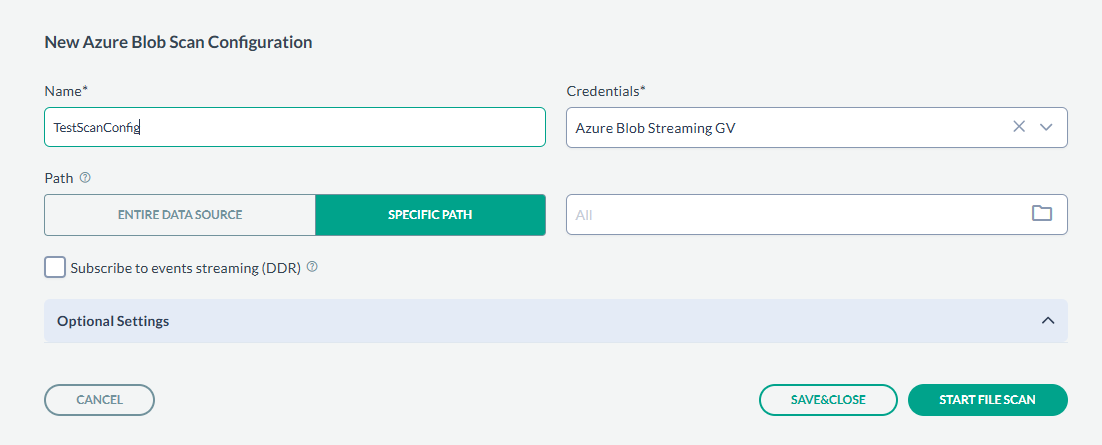 If you want to scan all objects, you can also select ENTIRE DATA SOURCE.
 -
If you have created scan configurations previously, they will be listed under the Scan configurations tab. To run one of the previously created
configurations, click on the icon on the right and select Start file scan to begin scanning.
