Adjusting Default Access Action
The Default Access Action is organization policy for login behavior. You either enforce MFA to all users or omit MFA enforcement.
Steps
-
From the left Navigation Pane, click the IDM Policy
 icon.
icon.
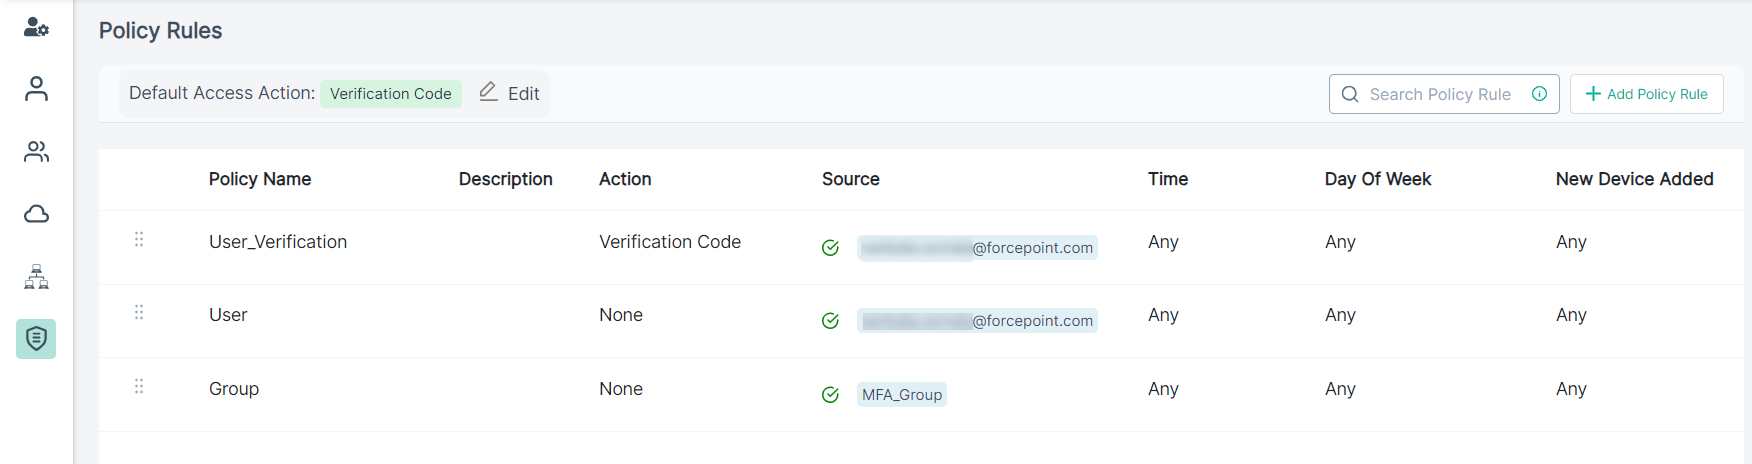
The Policy Rules page opens displaying existing policy rules.
-
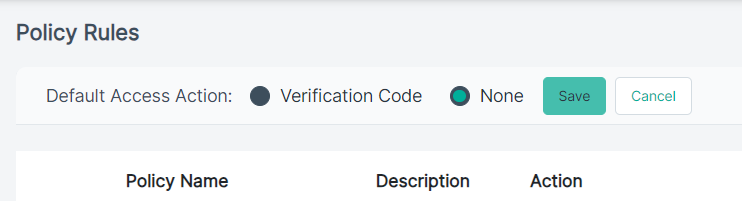
On the top of the page, click the Edit next to Default Access Action and select the one of the following options.
- Verification Code - Select this option to enforce verification code MFA check via Authenticator application after a user authentication before granting access.
- None - Select this option to avoid the MFA check.
The policies are implement in the following way based on Default Access Action and policies configured on the page:
- If the Default Access Action is set to None and if the user is not part of any existing IDM policies, then such user will be redirected to Insights landing page.
- If the Default Access Action is set to Verification Code and if the user is not part of any existing IDM policies, then such user is enforced to configure MFA and authenticate with MFA on each login.
- If the Default Access Action is set to Verification Code and if the user is part of an existing IDM policy with Action set to Verification Code, then such user is enforced to configure MFA and authenticate with MFA on each login.
- If the Default Access Action is set to None and if the user is part of an existing IDM policy with Action set to Verification Code, then such user is enforced to configure MFA and authenticate with MFA on each login.
- If the Default Access Action is set to Verification Code and if the user is part of an existing IDM policy with Action set to None, then such user will be redirected to Insights landing page.
- If the same user is part of two IDM policies with different Actions, then IDM policy on top takes effect.