Allowing the installer
For allowing the installer, it is best to locate the hash and add this to your systems allow list directly.
Steps
-
Open PowerShell and change the directory to the folder location of the installer. If it is your downloads folder so use the following
cd .\downloads\command.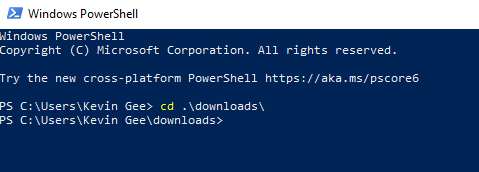
-
In PowerShell, you can enter ls to list out all of the files in your folder. Conversely you can just copy the name of the installer directly from the
folder. Then you need to run the following command to get the hash:
Get-FileHash - Path <name of installer> -Algorithm 256If you are using agent version number 1.2.24 so your command will be:Get-FileHash - Path Bitglass-SmartEdge-Agent-1.2.24.msi -Algorithm 256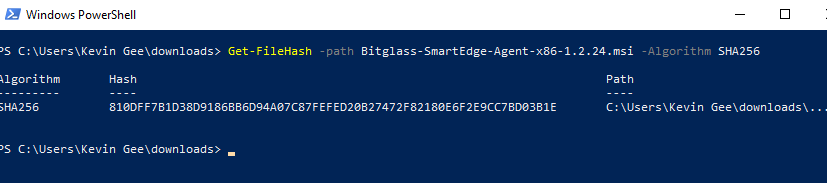
-
Copy the Hash and add it to your endpoint security systems management console.
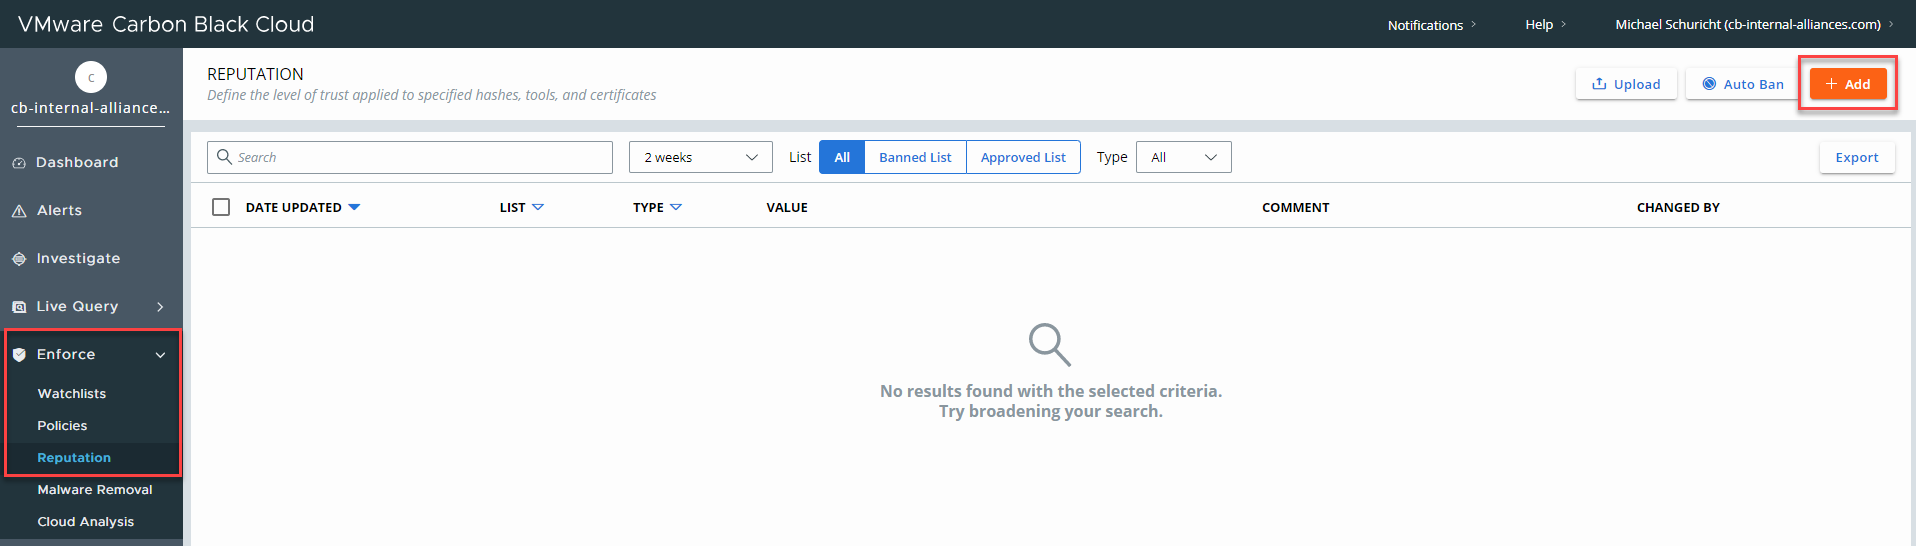
For example to do this in Carbon Black:
-
In your Carbon Black management console, navigate to and then click the orange Add button in the top right corner.
-
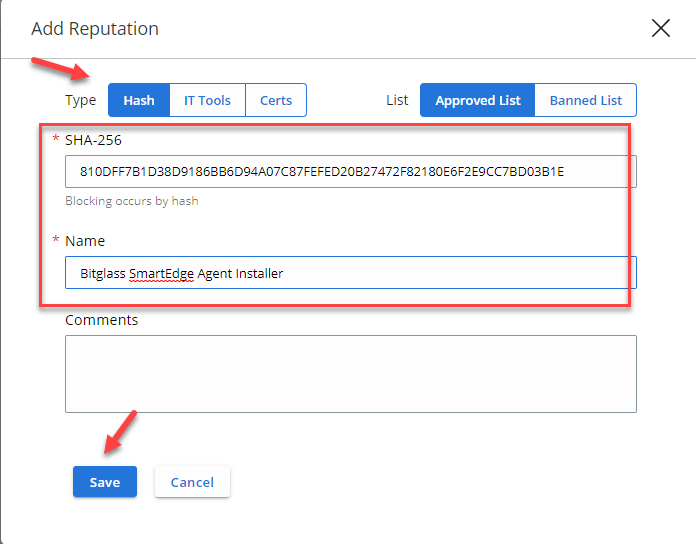
Leave the Type on Hash and then copy over the Hash you found in step 3 above into the
SHA-256 field and provide a recognizable name and click Save.
Now the installer should be allowed and safe to install on users devices.
Note: You will need to add any new installers to your allow list whenever Forcepoint Data Security Cloud | SSE releases a new SmartEdge agent version since the hash will be different.
-
In your Carbon Black management console, navigate to and then click the orange Add button in the top right corner.