Configuring Inline Encryption
If you do not intend to perform inline encryption and only encrypt via API calls you can skip this section.
Steps
-
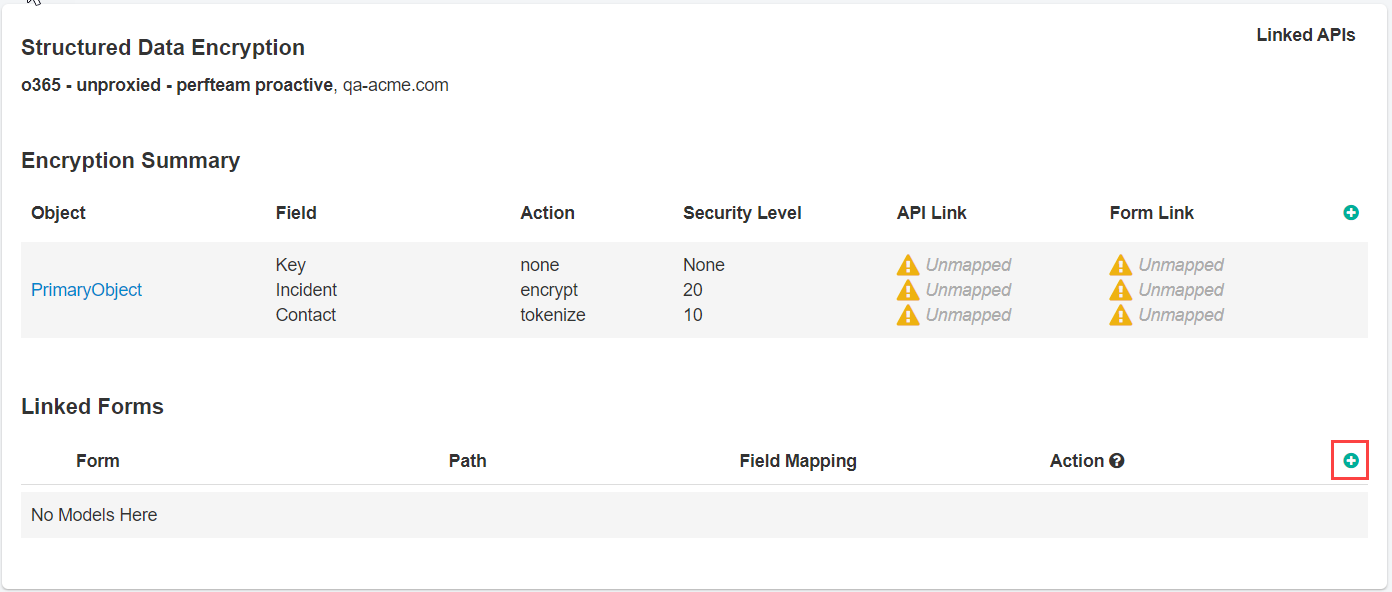
You need to learn the fields and map the linked form. Under Linked Forms click green plus icon.
-
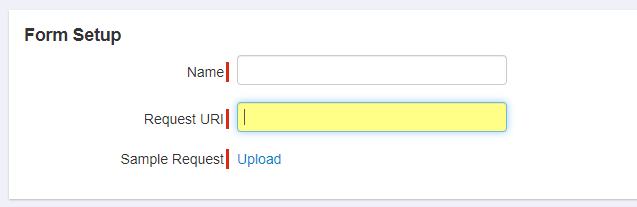
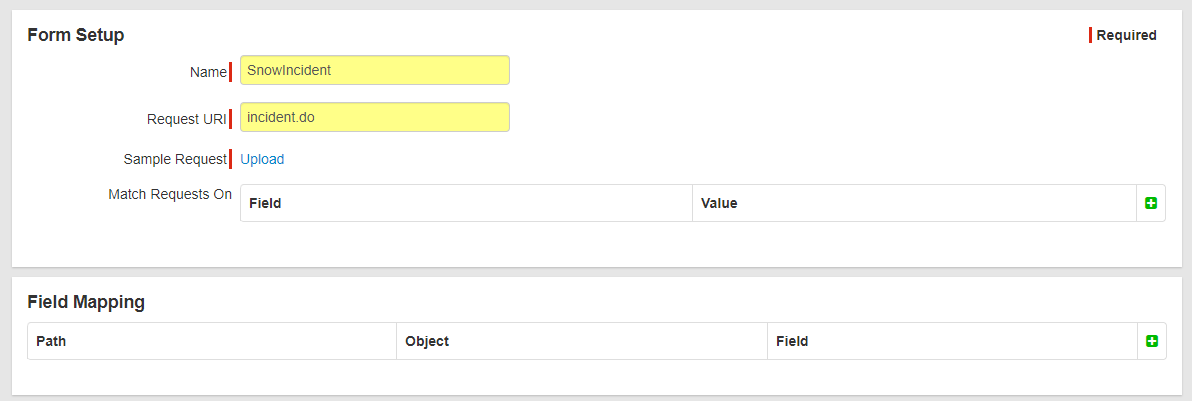
Provide a name for this form setup. Again this name is arbitrary but should be something to help you identify what it is for. Leave the Request URI blank
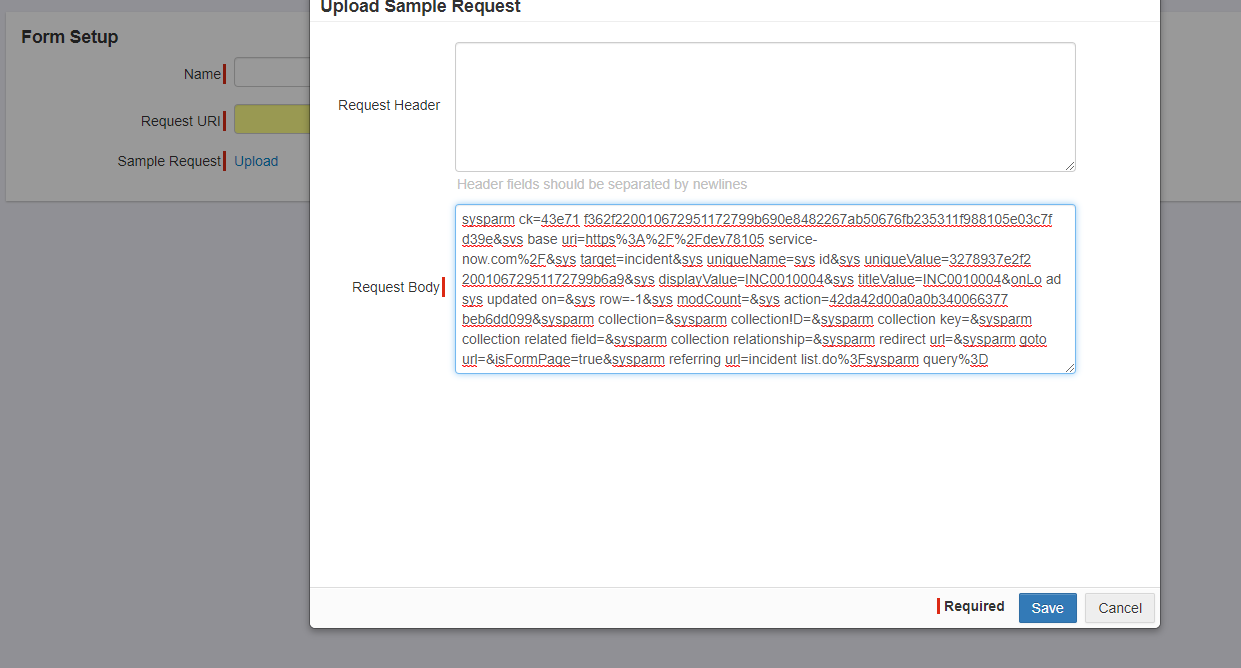
for now as you will discover it shortly. Click Edit Sample Request and you now need to find the Request Body in the application to
discover the fields that we will be making changes to.
-
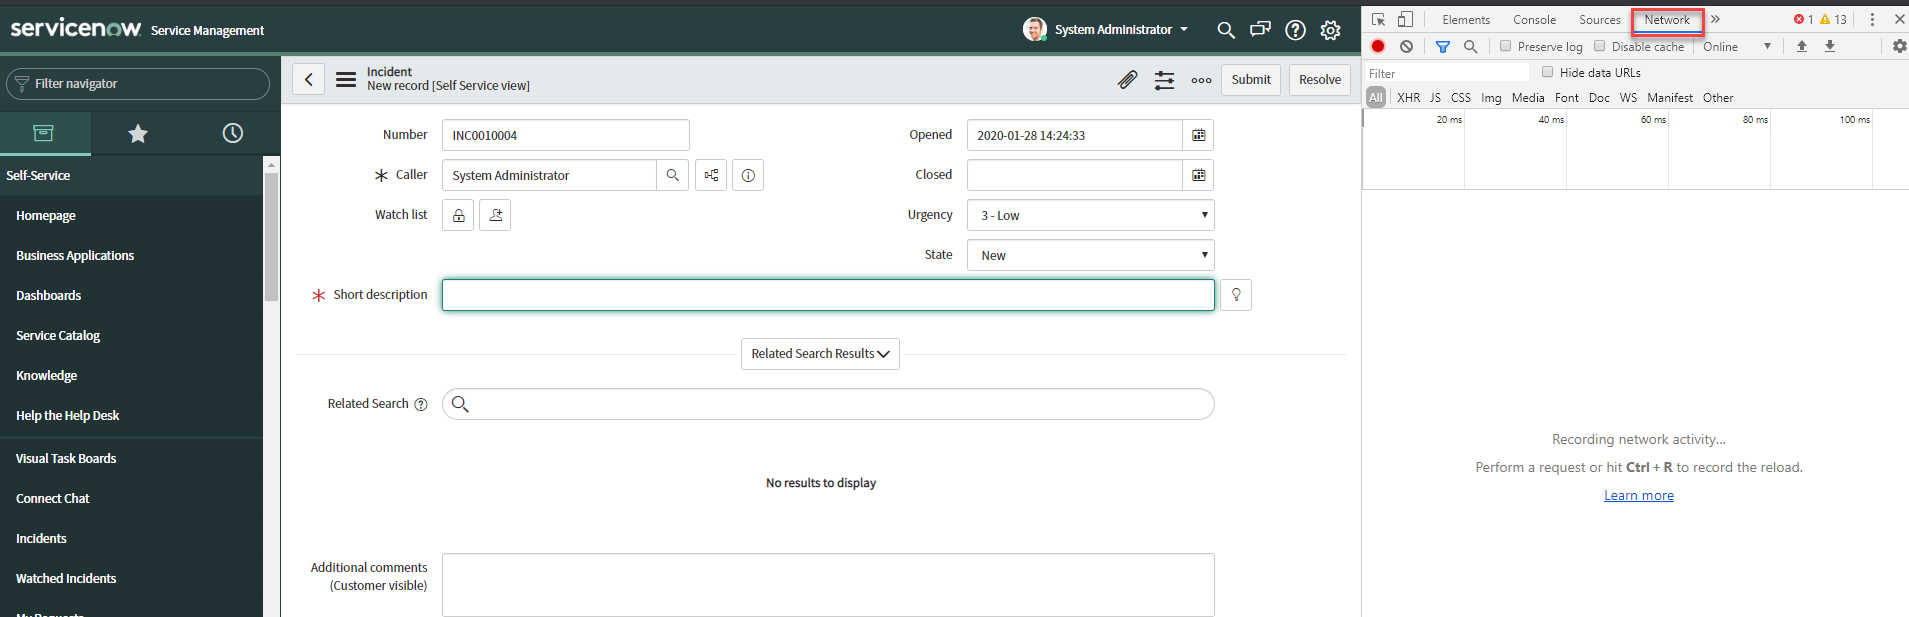
To figure out the Request Body, you will need to do a network capture inside the app itself attempting to upload or post to a field on the page you
wish to make changes to.
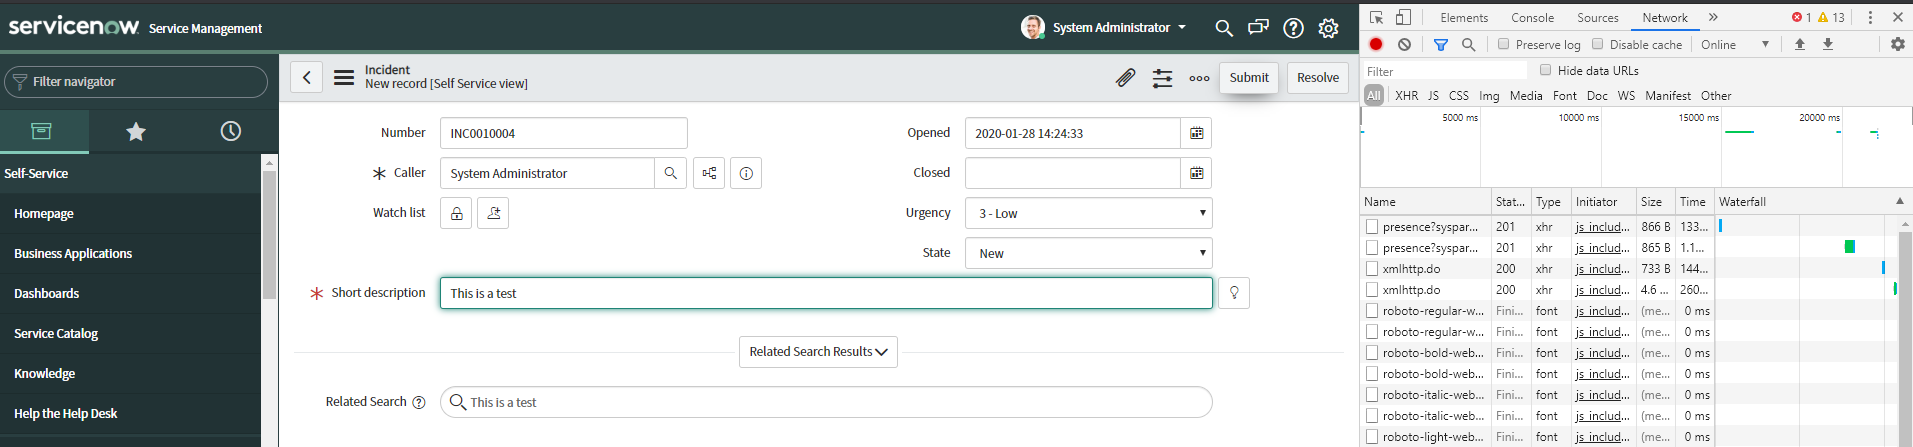
For this example, we will be looking at Incidents in Servicenow. While sitting on an Incident page open up the browsers Inspect function. Go to the Network tab at the top and clear out any traffic to start clean. Fill out whichever field you wish to control and click submit.
-
In the Network tab, search for the post. In this case it is incident.do. This will also be the Request
URI, enter that inside of the Forcepoint Data Security Cloud | SSE portal. Select incident.do scroll down to
Form Data and select view source.
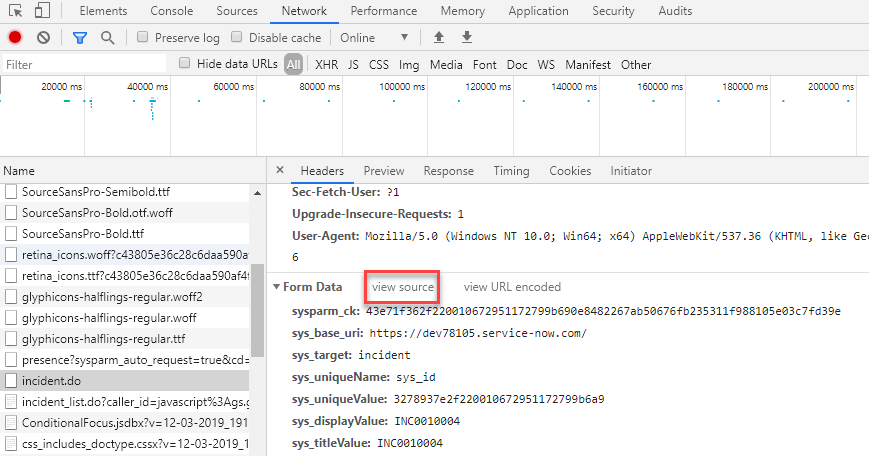
Then copy the contents (make sure to scroll to the bottom and show more to get the entire content) and paste it into the Sample Request in Forcepoint Data Security Cloud | SSE.
-
To figure out the Request Body, you will need to do a network capture inside the app itself attempting to upload or post to a field on the page you
wish to make changes to.
-
Now with the Name and Request URI fields filled out and the sample request uploaded you should now see an additional section at the
bottom for field mapping. This will allow you to select the available fields that we saw within that form based on the Sample Request uploaded.
-
Now you can add fields to encrypt. Select the field key that Forcepoint Data Security Cloud | SSE discovered (here we are choosing short description). Select the Object
and Field that you had created back in step 2 of this encryption setup. Remember you can have multiple objects/fields that you created each with different levels of
encryption/tokenization. Here we only created one.
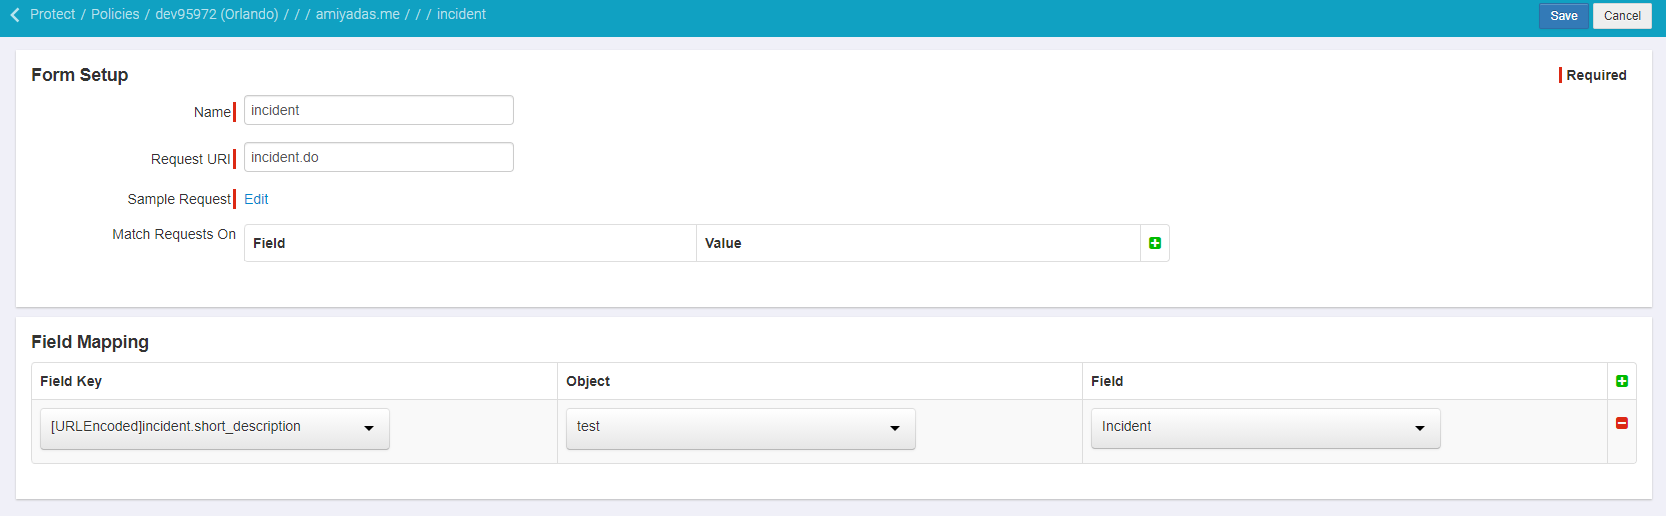
Now this means I will have encrypted the Short Description field with a level of 20 based on my configuration above.