Enabling or disabling forward proxy at device level

With the admin access, you can enable or disable the SmartEdge forward proxy on selected machines if the tenant Admin has enabled PAC checkbox on Protect > Forward Proxy > SmartEdge Proxy page. This is useful for troubleshooting the SmartEdge agent without uninstalling it from the device.

Before you begin

You can only disable SmartEdge forward proxy at device level if your machine has SmartEdge Agent 1.6.2 or newer version installed for Windows and SmartEdge Agent 1.4.10 or newer version installed for macOS.

Whenever you enable or disable forward proxy at device level or at tenant level, these are captured in Admin Logs.

Steps

  1. Make sure that the Set PAC checkbox on Protect > Forward Proxy > SmartEdge Proxy page is enabled.

    If the Set System Proxy is disabled at the tenant level and the Set System Proxy enabled at the device level, still the data will bypass the proxy.

  2. Navigate to Analyze > Devices > SmartEdge Agent to see the list of devices that have the agent installed.
  3. Click on the device for which you want to disable the forward proxy.
    The device detail page opens.
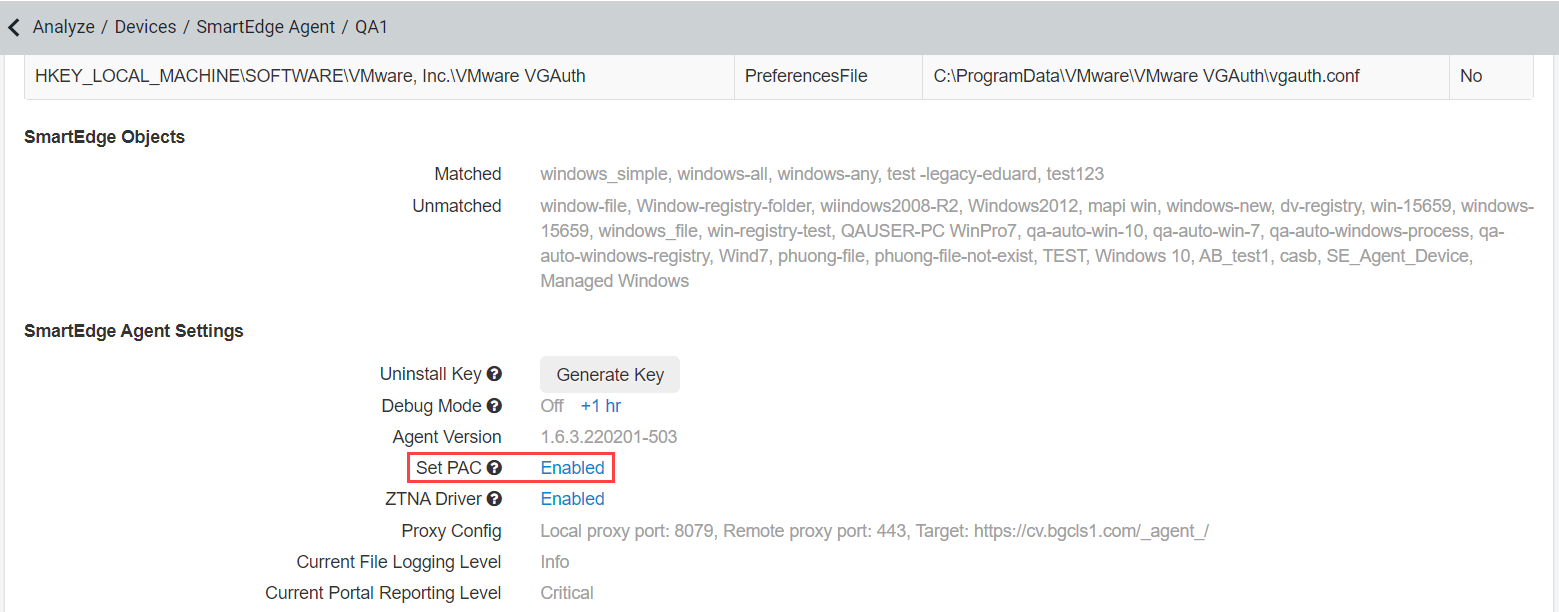
  4. Under the SmartEdge Agent Settings section, click the Enabled link next to the Set PAC to disable the forward proxy.

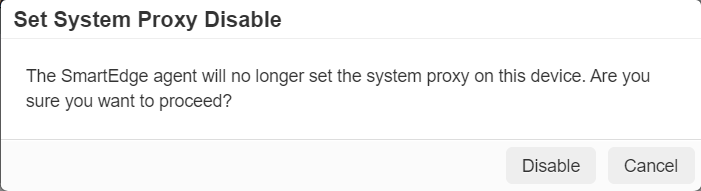
    The Set System Proxy Disable dialog box opens.

    Note: Set PAC will be enabled by default.
  5. To continue with the forward proxy disabling on the device, click Disable.

    Once disabled, the Enabled link gets converted to Disabled.

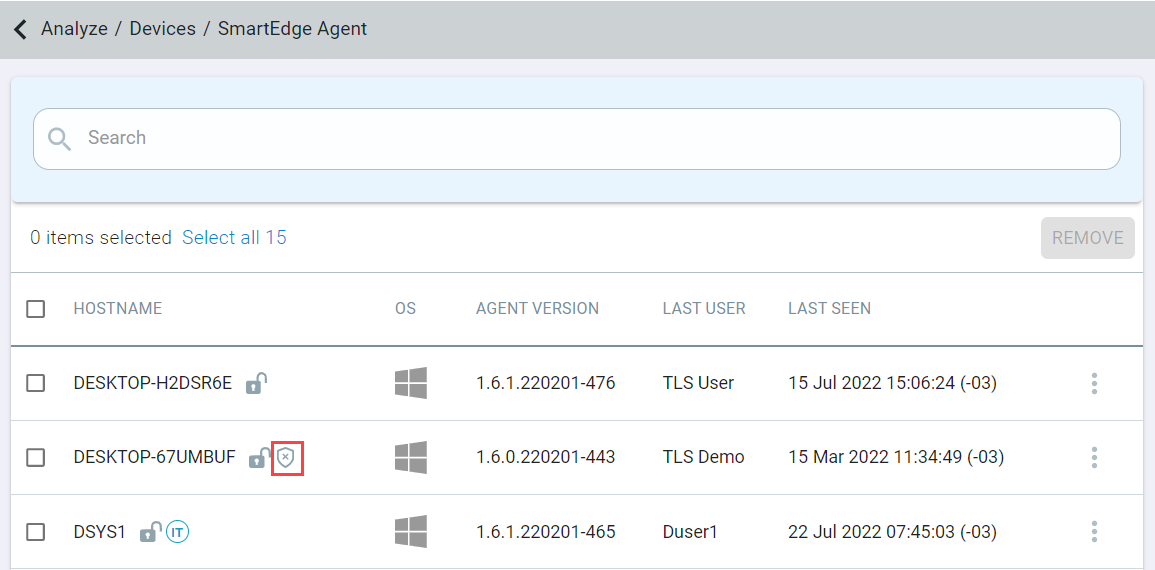
    You will now see a small disabled icon next to the device name.

  6. Once forward proxy troubleshooting is done, you can click the Disabled link to enable the forward proxy.