You can add or edit a policy on the All Policies page.
Do the following steps to add a new policy:
Steps
-
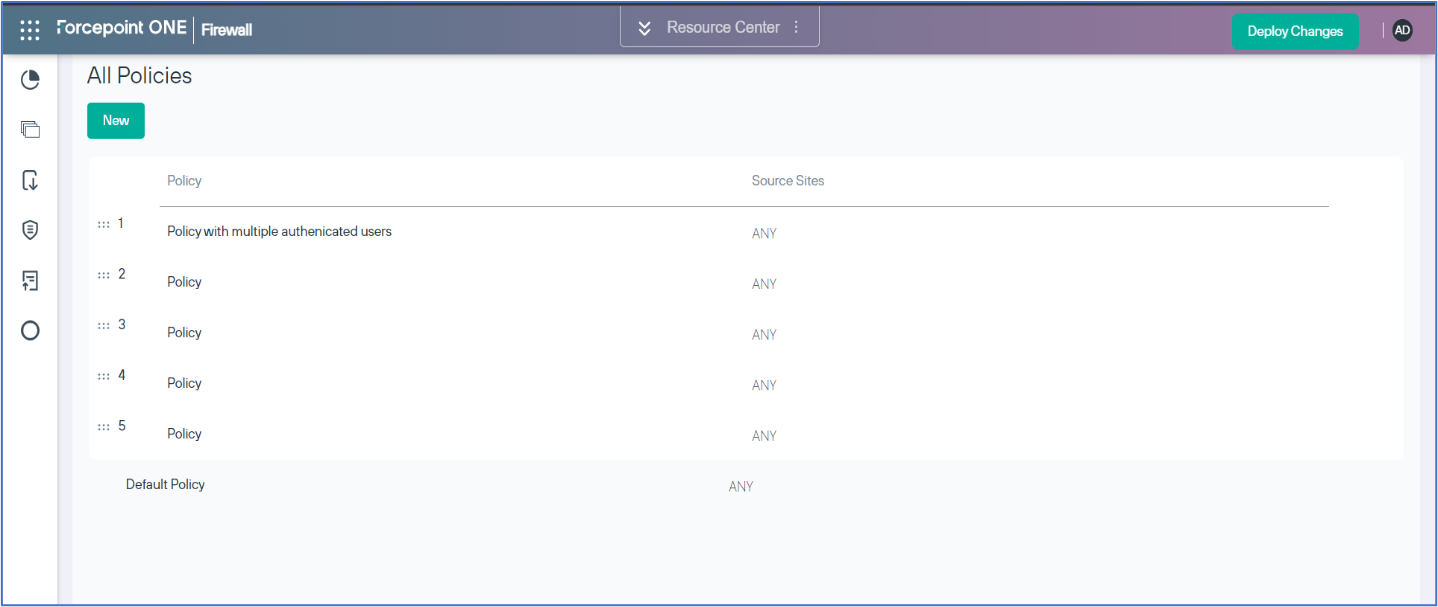
On the Navigation pane, click Policy. The All Policies page opens.
-
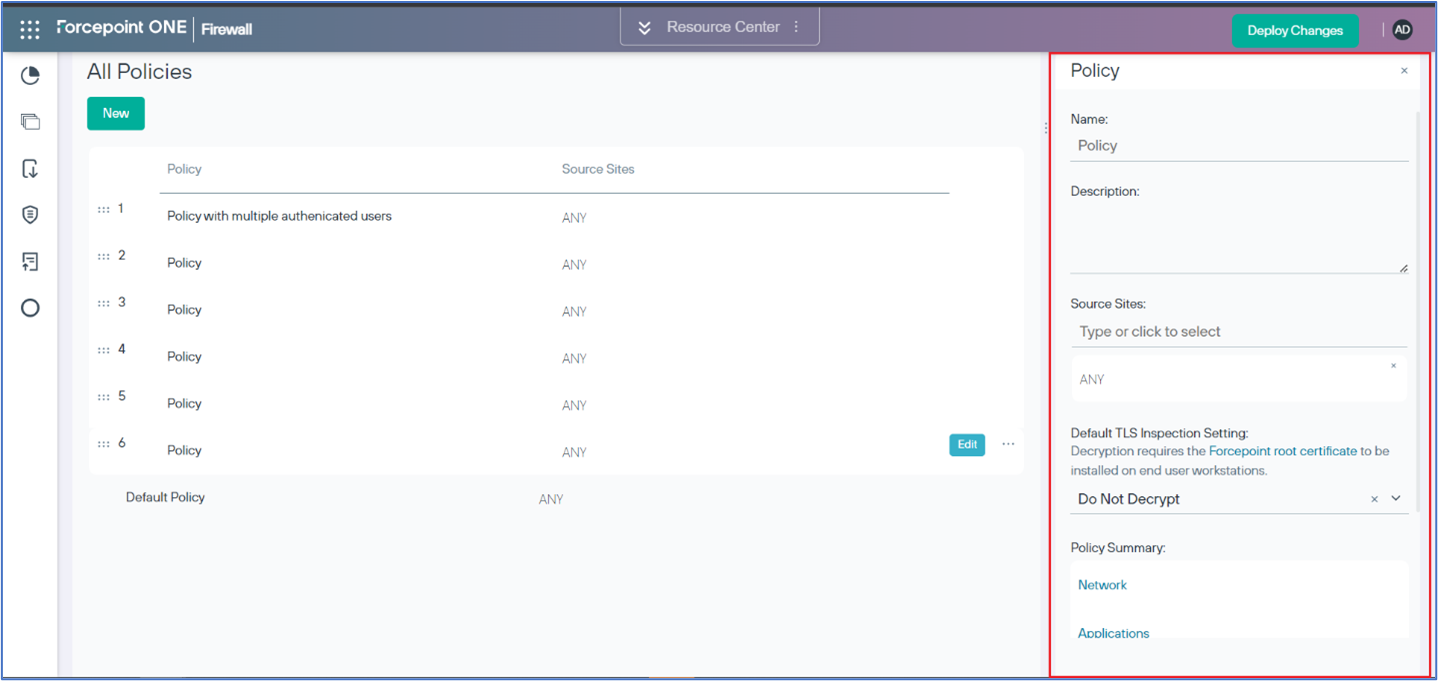
Click the New button to add a policy, or click the Edit button against the policy rule in the table to edit a policy. The
Policy panel is displayed for quick viewing and editing of the general policy information.
-
Enter a name for the policy in the Name field.
-
Enter a description for the policy in the Description field. This is an optional step.
-
Type or click to select a source site in the Source Sites field.
Note:
- When you type or click in the Source Sites field, you are displayed with the appropriate option to select in a pop-up dialog box. Also, you can
click Set to ANY to use any sites as the option.
- If you do not add a source site, the default entry of ANY is used.
- Click x on the source site element under the Source Sites field to remove it.
- If Set to ANY is selected, then the policy will match all traffic processed by the policy and no further policies are checked.
-
From the Default TLS Inspection Setting drop-down menu, select one of the following:
- Decrypt: The secure traffic is decrypted for inspection and then re-encrypted before it is sent to the destination. You must install the Forcepoint
root certificate on the end user workstations.
- Do not decrypt: The secure traffic is not decrypted, and the traffic cannot be fully inspected. Also, this option is selected by default.
-
Under Policy Summary, click a policy stage link to configure the policy stage. For more details on Policy Summary, refer to the
Policy Summary topic in the Forcepoint ONE | Firewall Online Help documentation.
The
Policy Summary has the following policy stages:
- Network
- Applications
- Threat Exceptions
- Threat Categories
-
Once the policy stage configuration is complete, click Save.
-
To make the policy live, click Deploy Changes.