Create policy
Using the Create Policy dialog, an admin can define custom policies for data protection.
- Navigate to the Policy page.
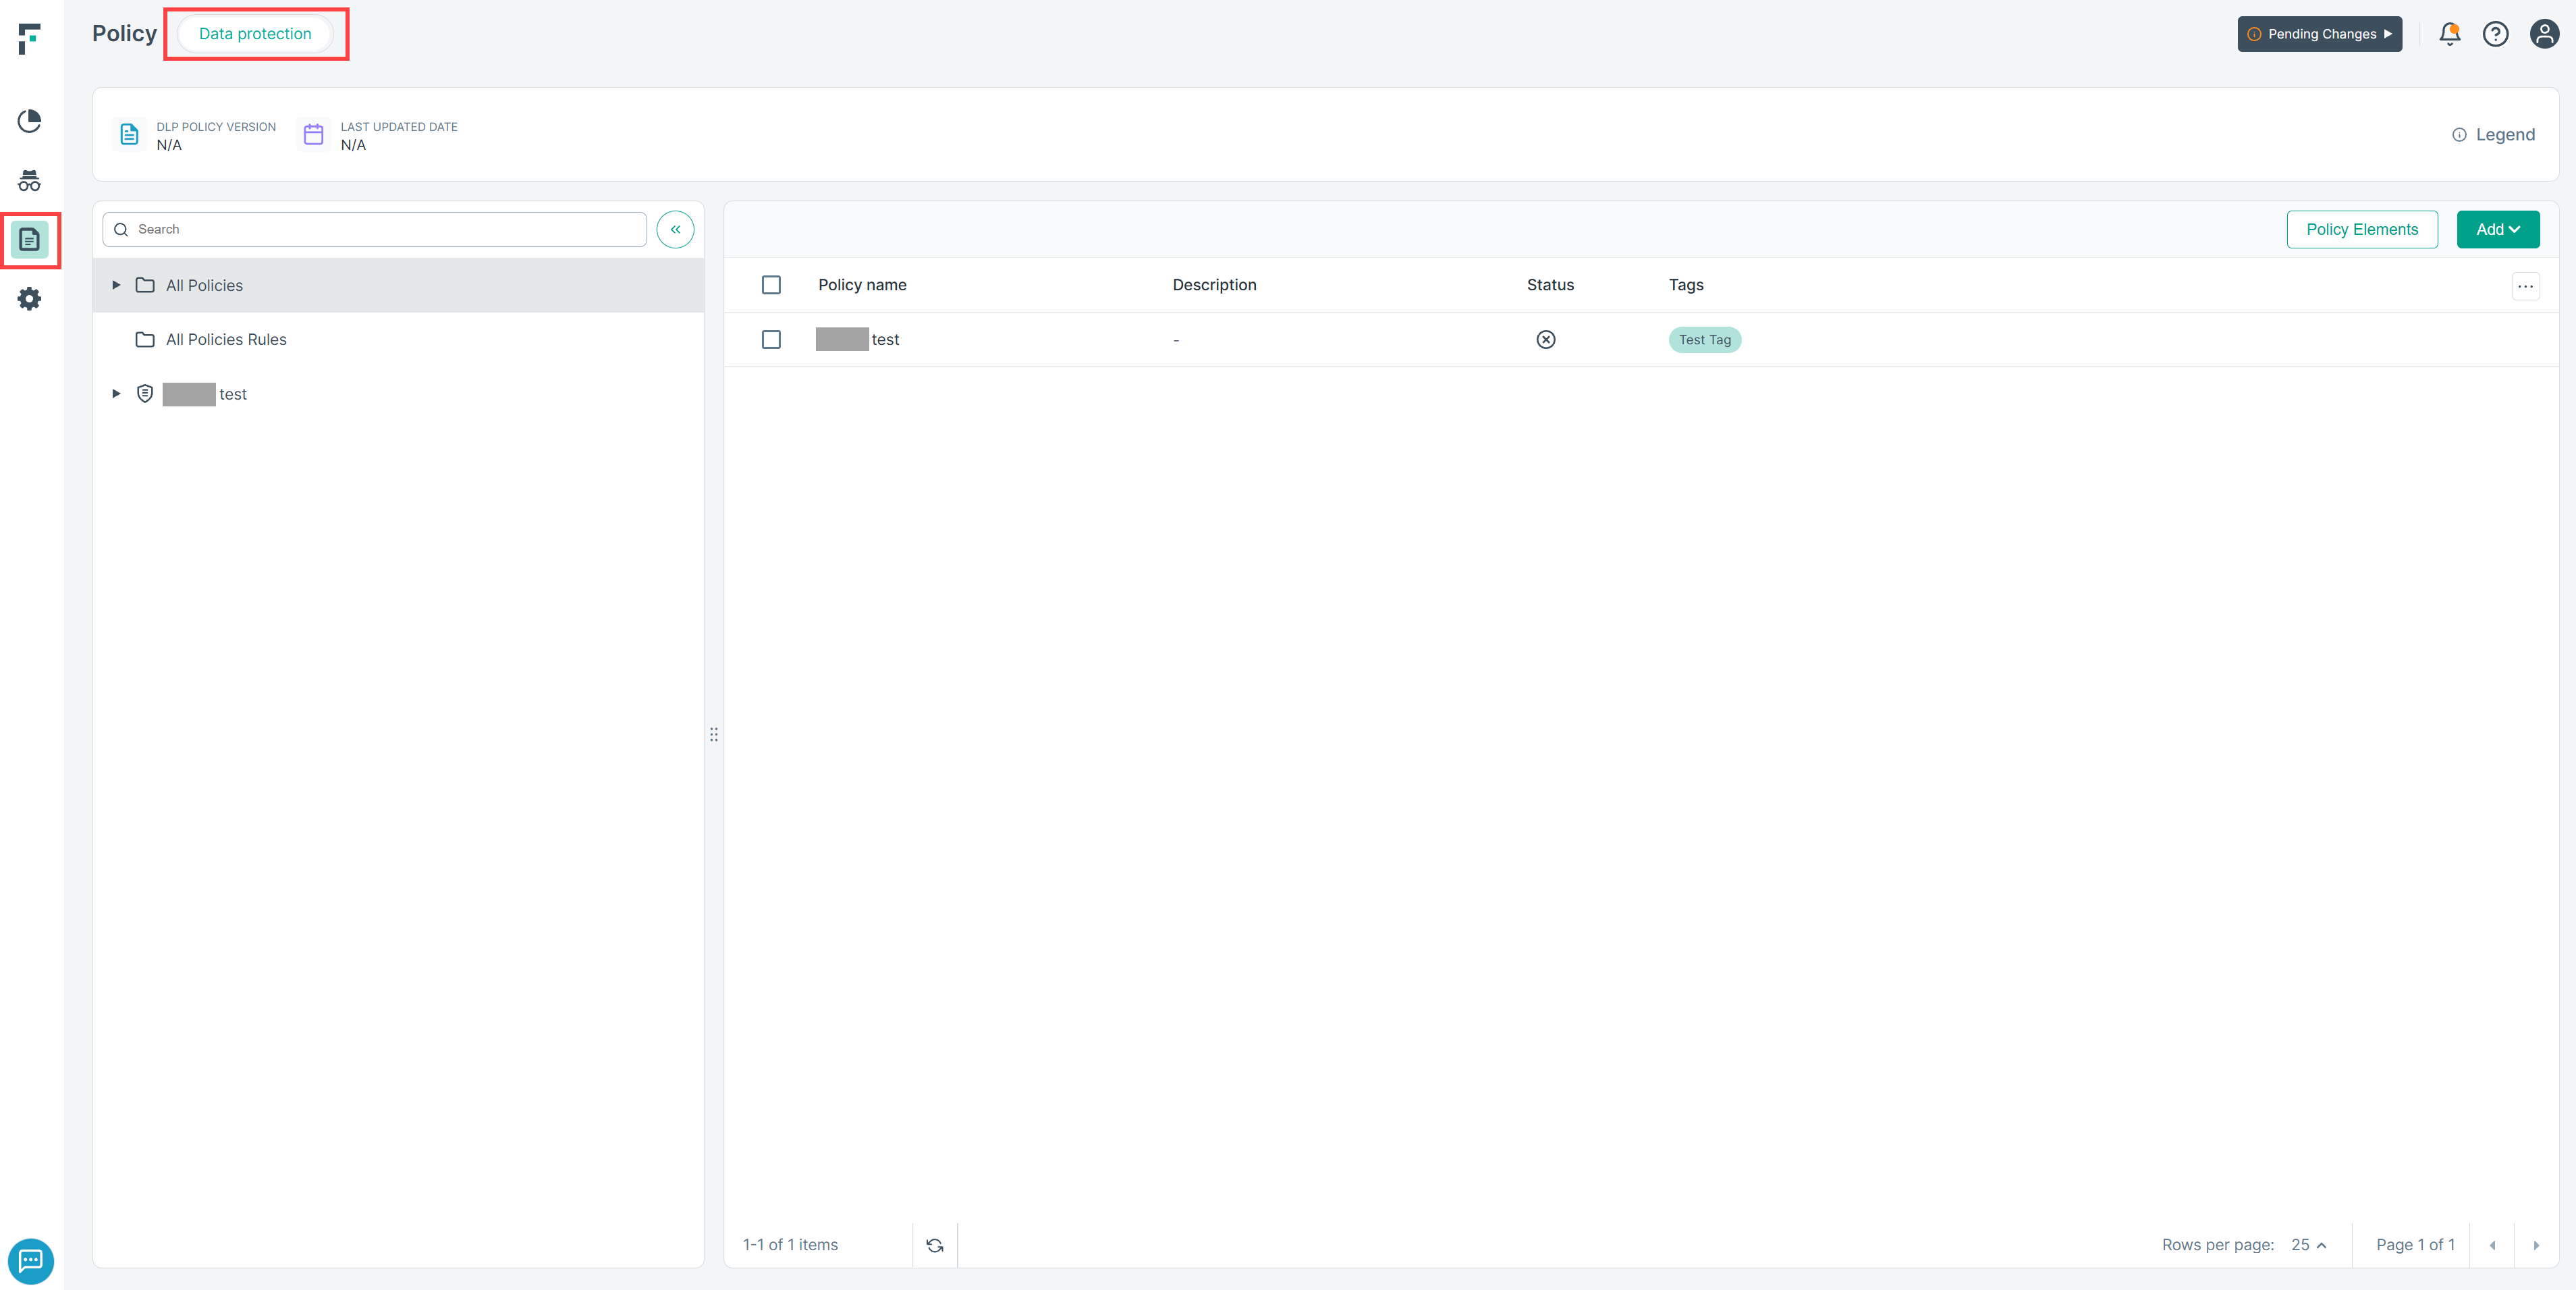
- Click the Add button in the top-right corner.
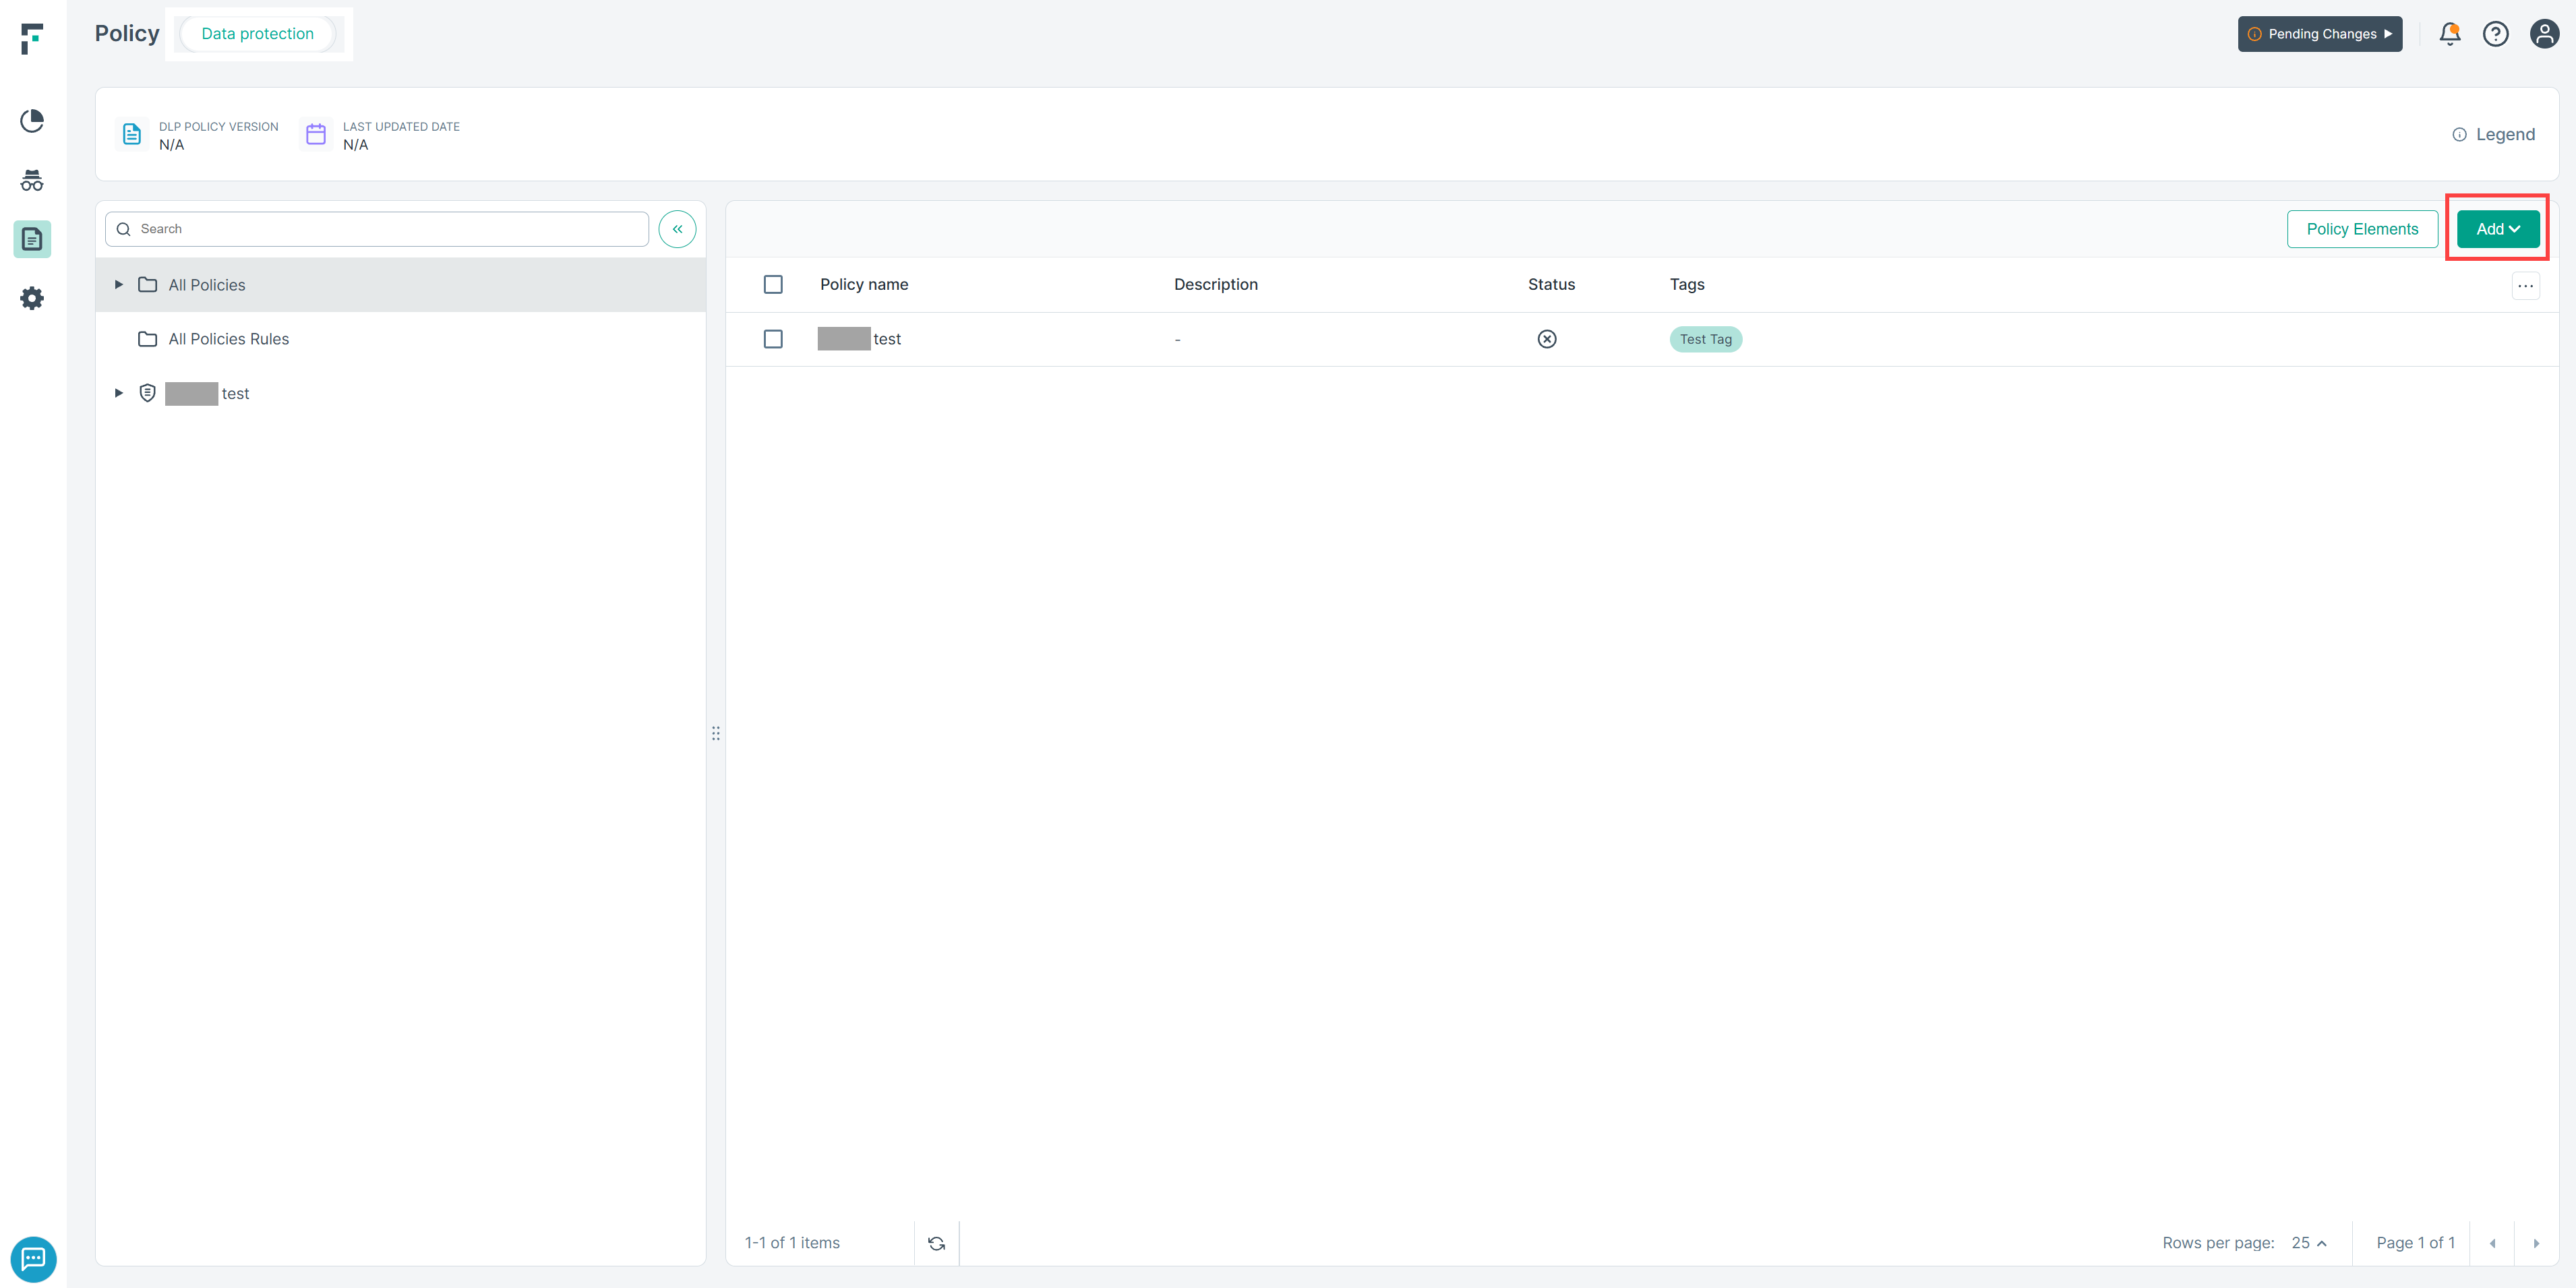
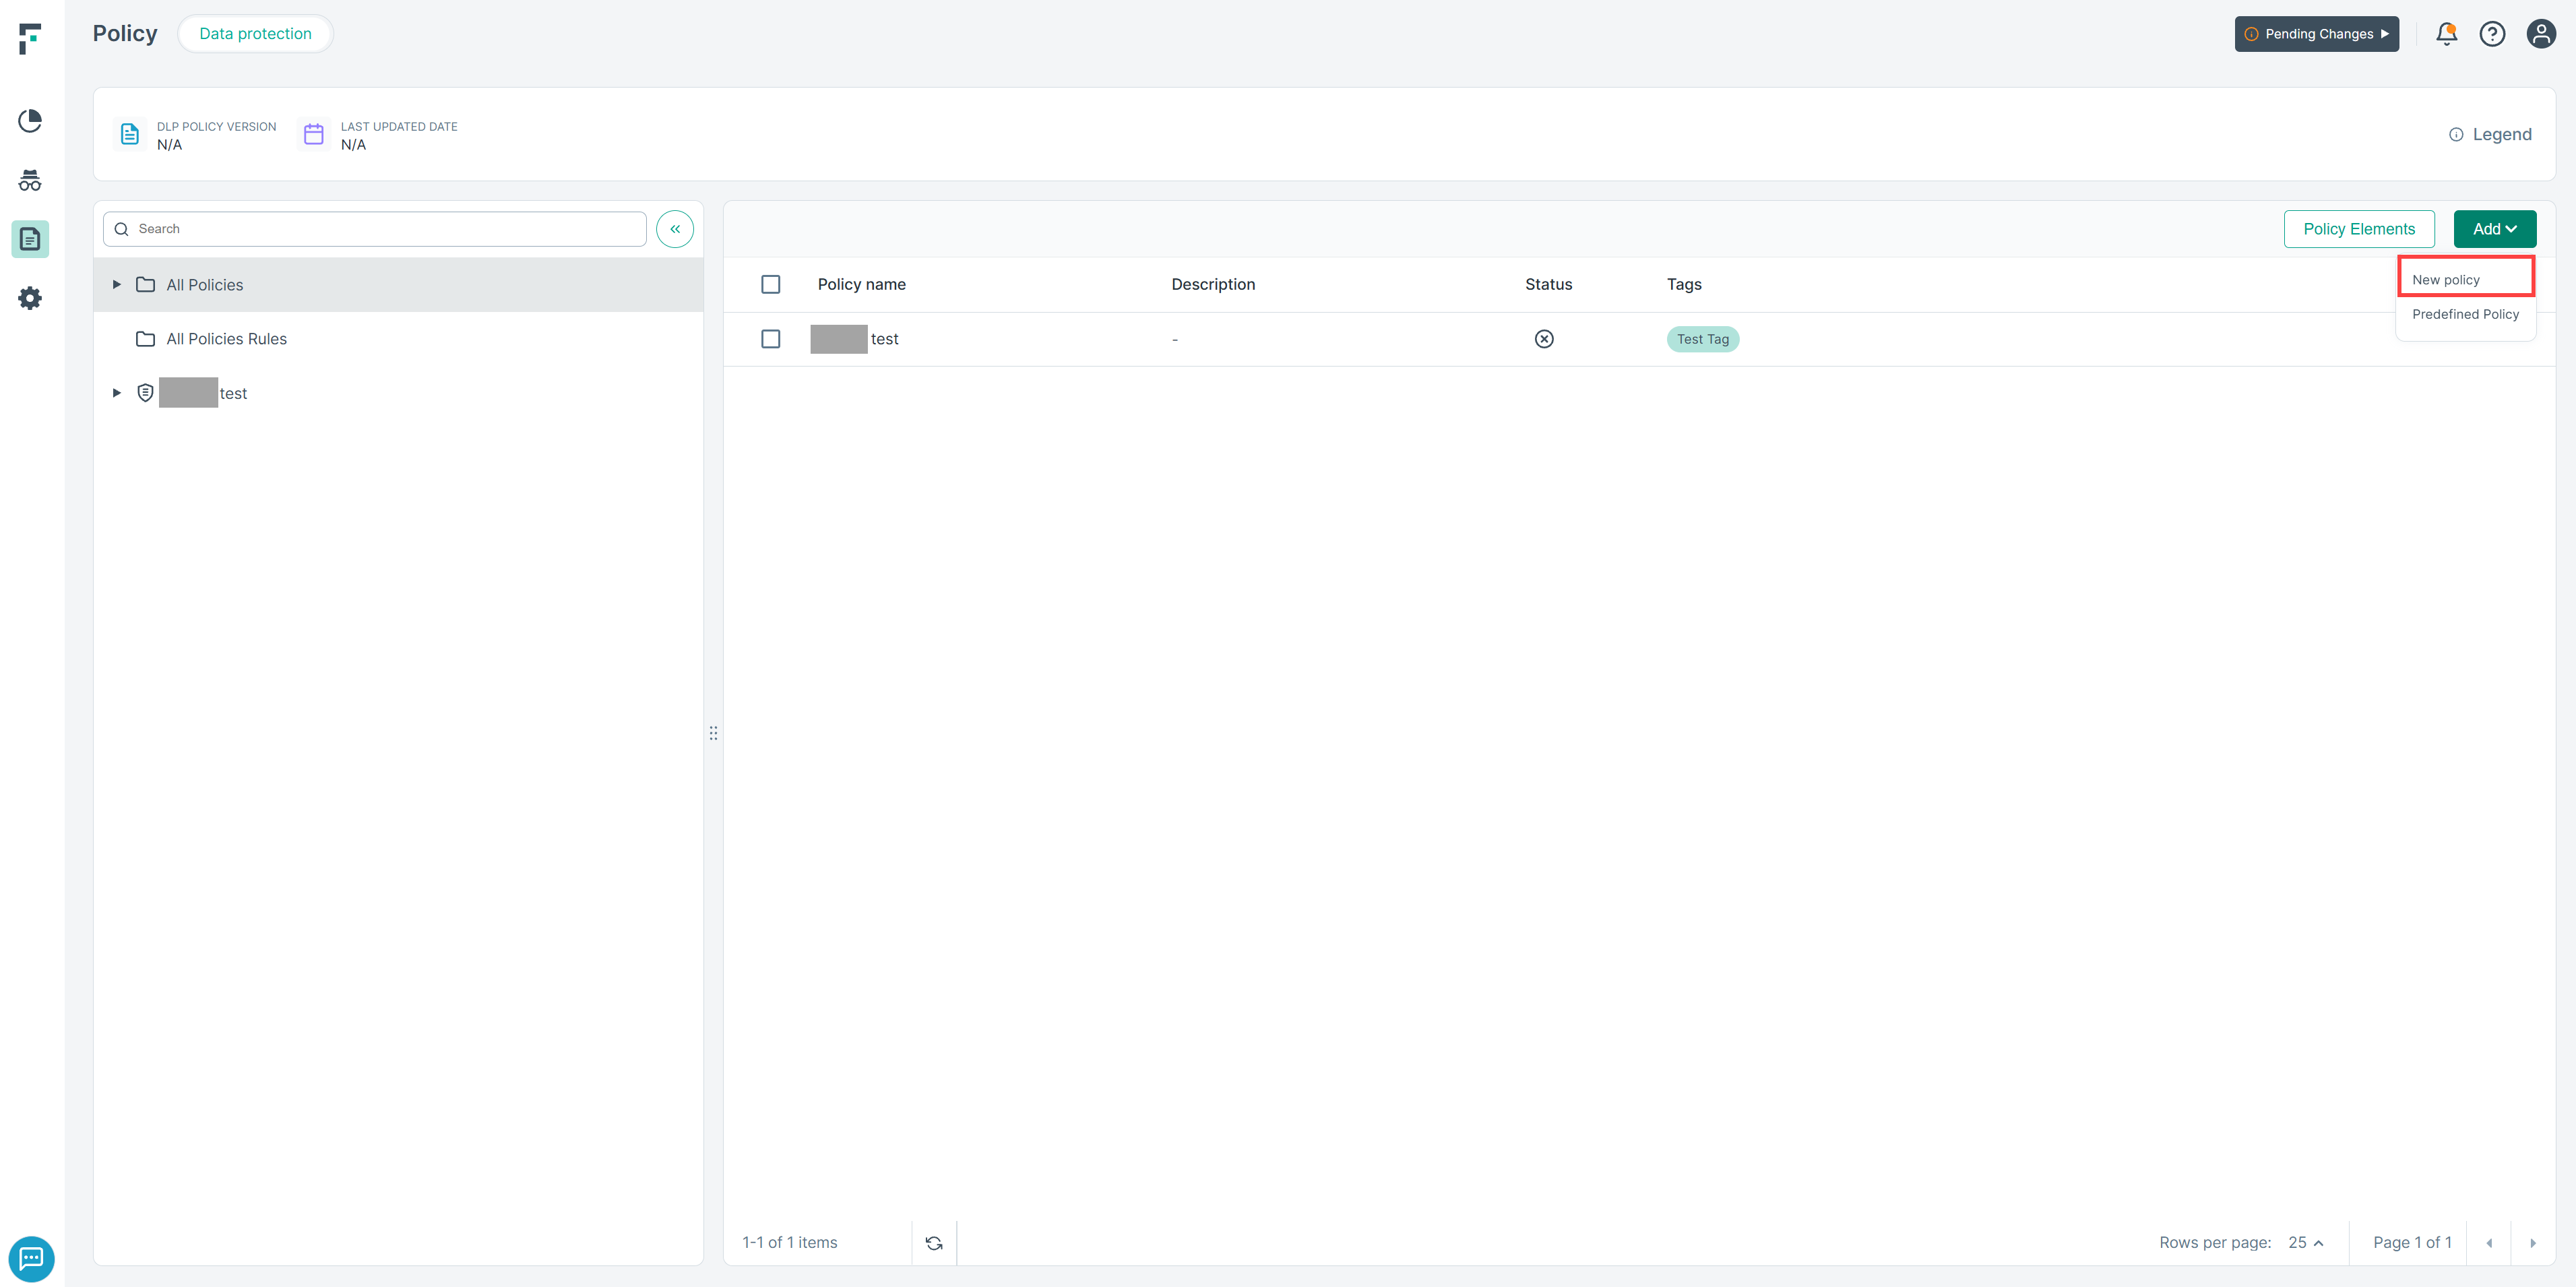
- Select New policy from the drop-down.
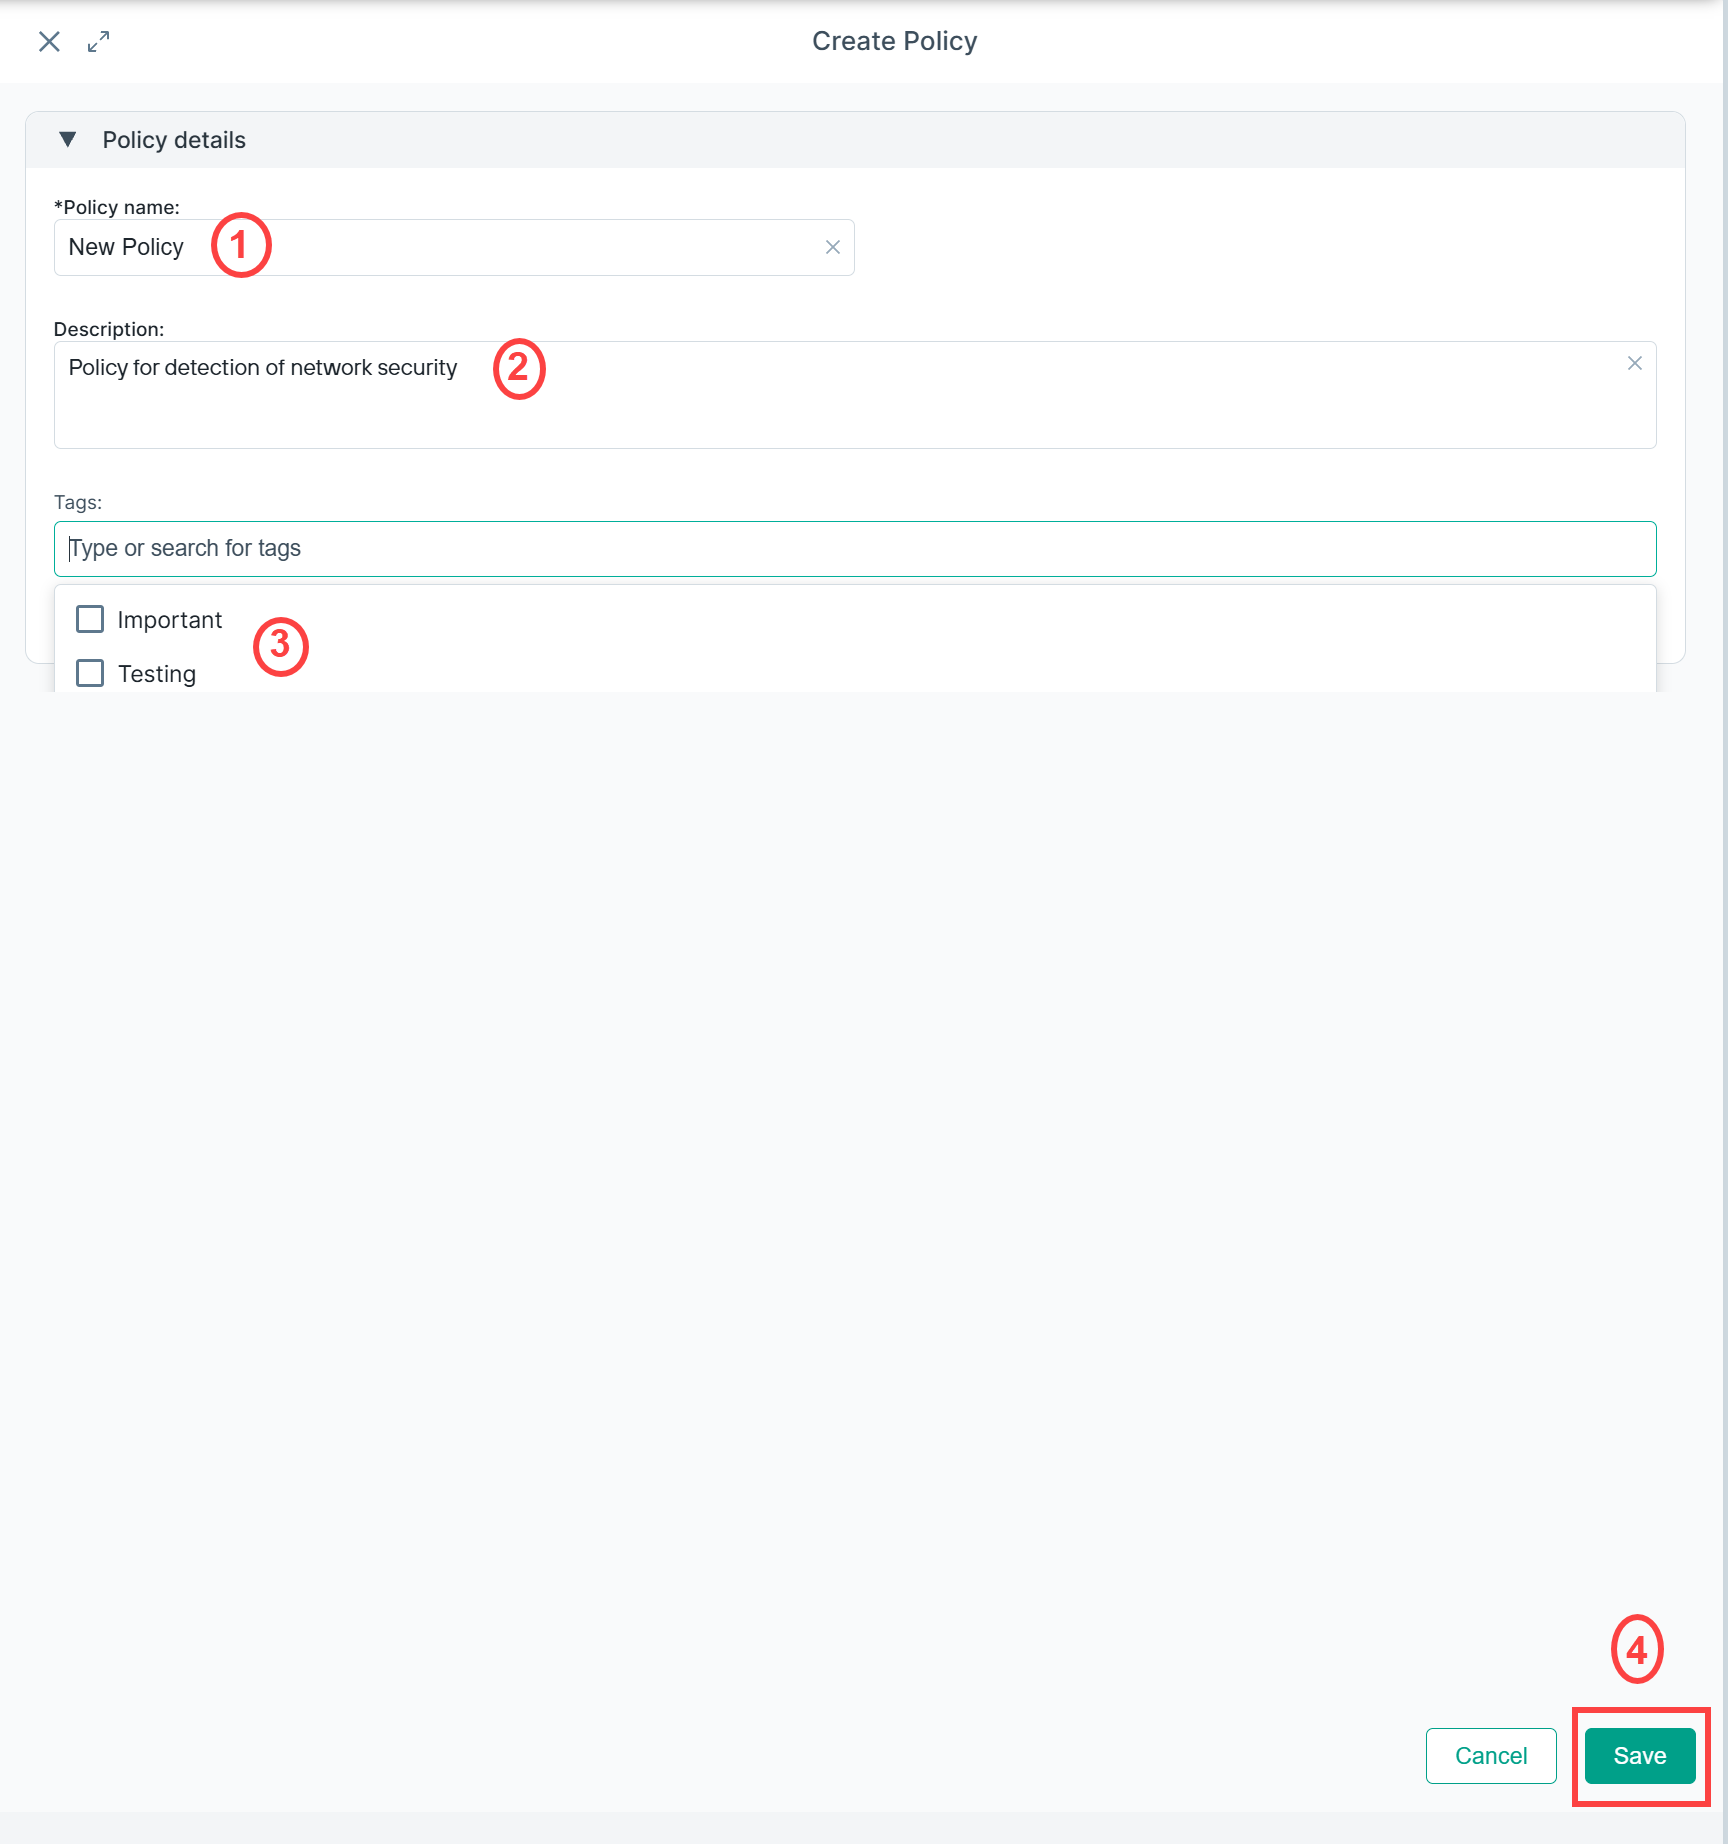
- The following screen is displayed:
- 1
- Policy name: Enter the name of the policy.
- 2
- Description: Enter an optional description.
- 3
- Tags: Click the Tags field to open the drop-down, then select one or more tags to group this policy with other related policies. To create a new tag, start typing the tag name and click + Create, or press Enter. For more information, see Policy Tags.
- 4
- Click Save. Once these parameters are saved, the Select policy level and Add rule widget editor opens.
 Note: The policy will be disabled until there is at least one rule.
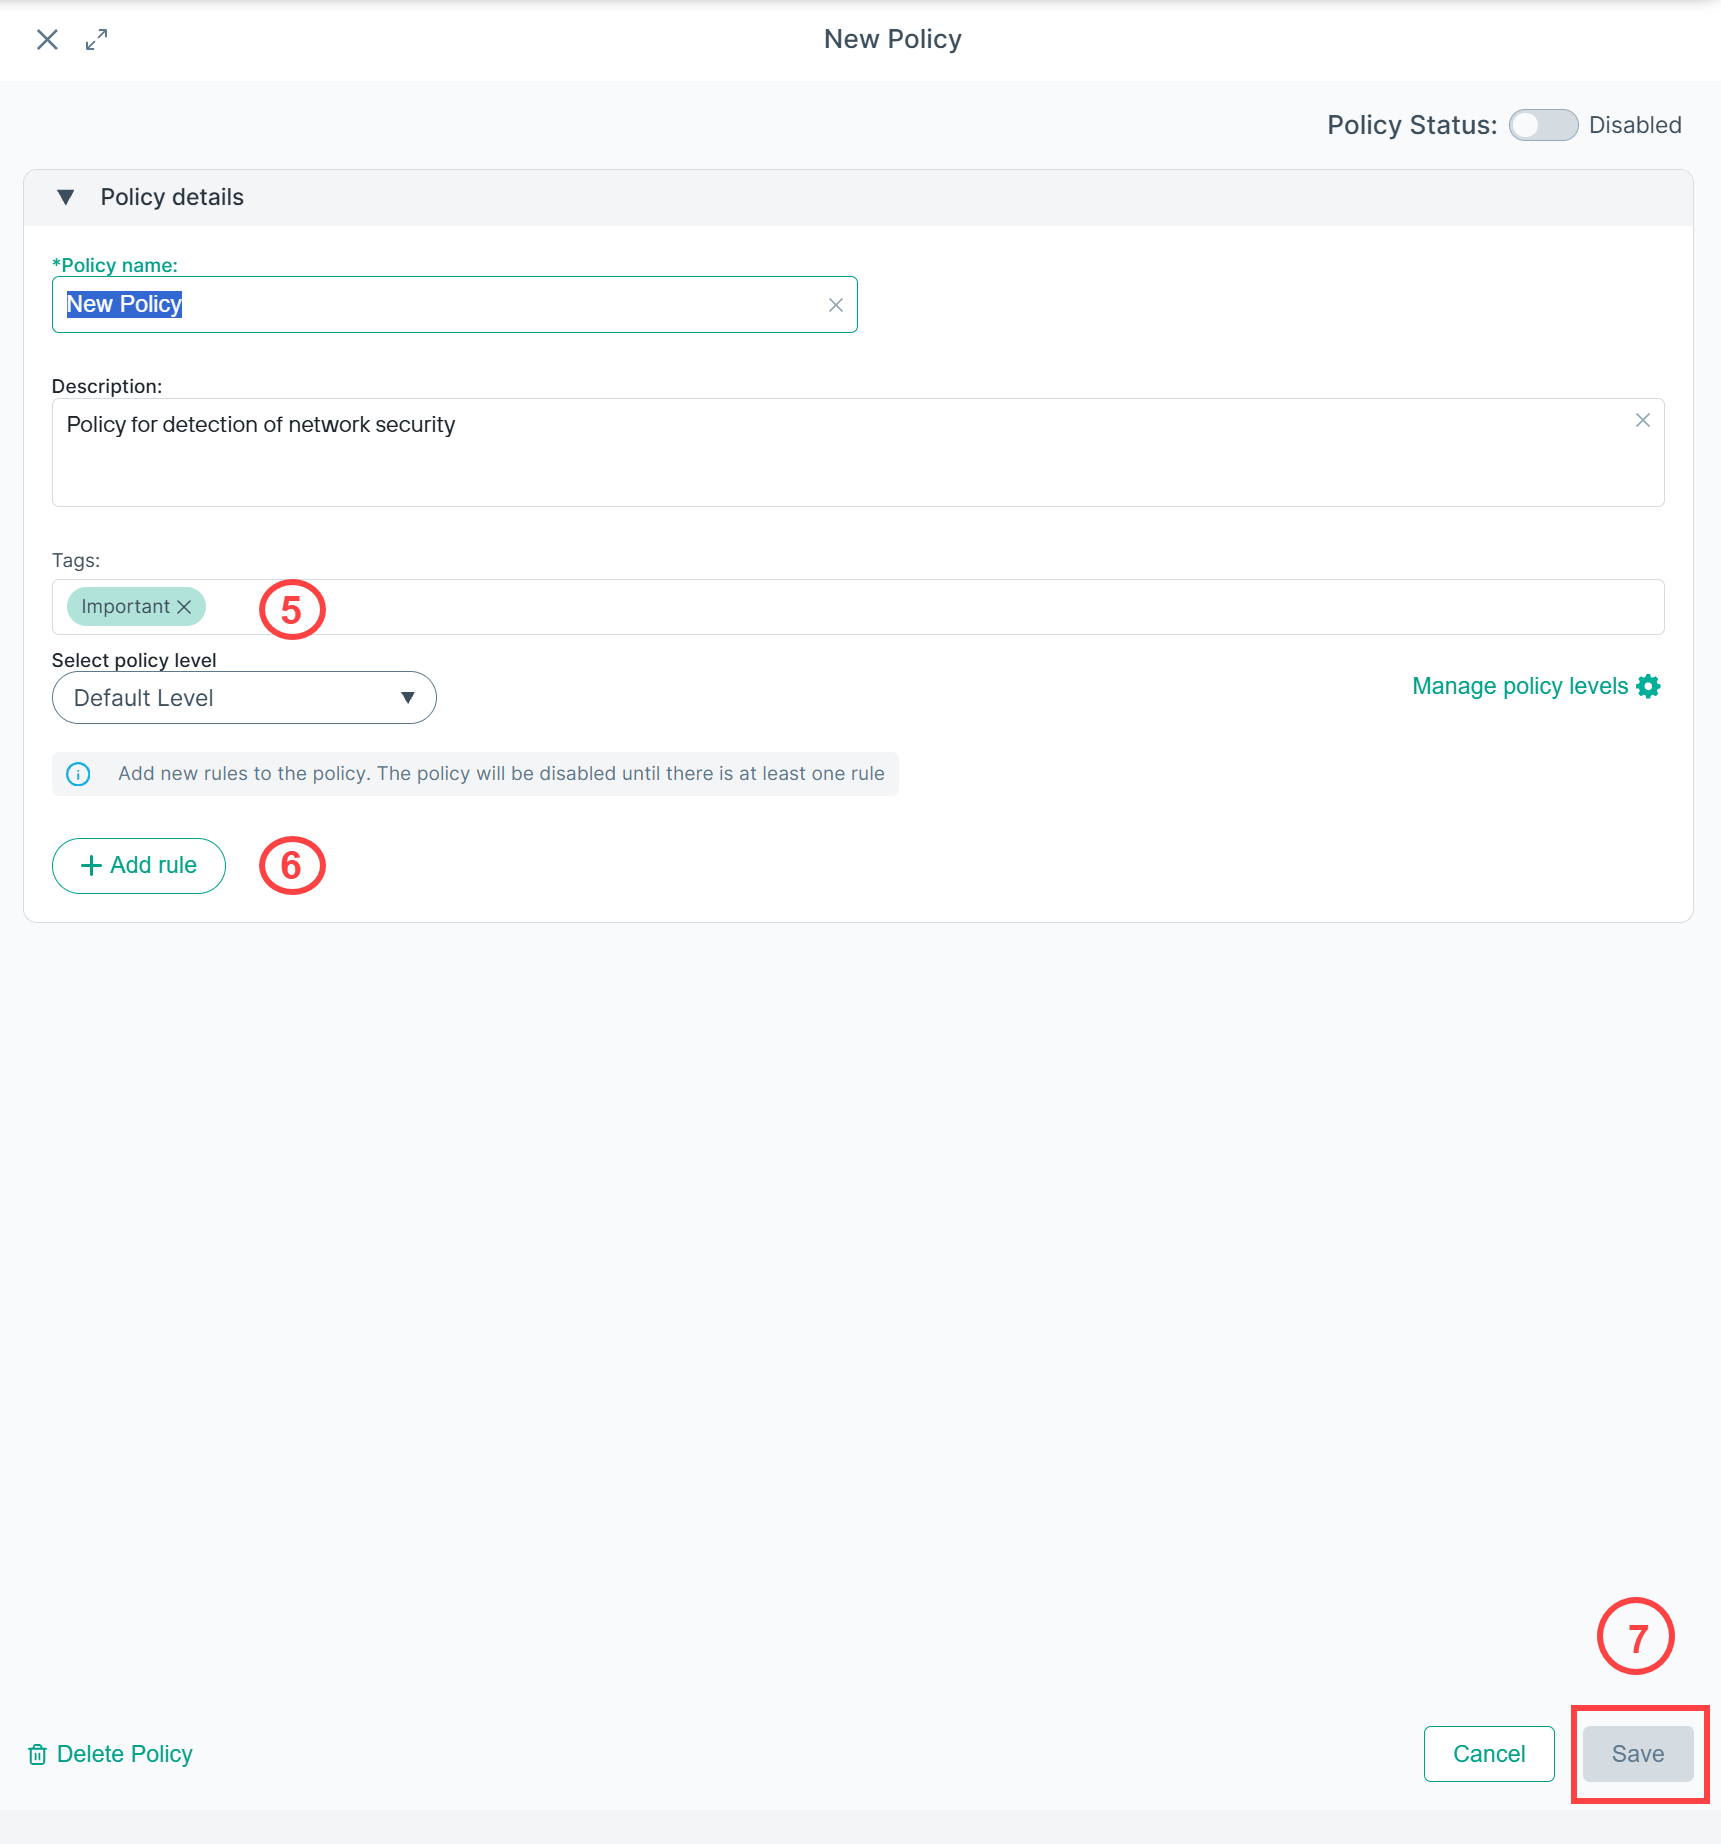
 - 5
- Select the Policy level from the drop-down.Note: Default Level is selected by default, which has the lowest priority. To create or edit levels, click Manage policy levels. For more information, see Policy Levels.
- 6
- Add a rule to the policy. For more information, see Add new rule to policy.Note: Once at least one rule is added, the Policy Status changes automatically from Disabled to Enabled.
- 7
- Click Save. The created policy appears in the All Policies list view.