Configuring SMB connector in Dashboard
Steps
-
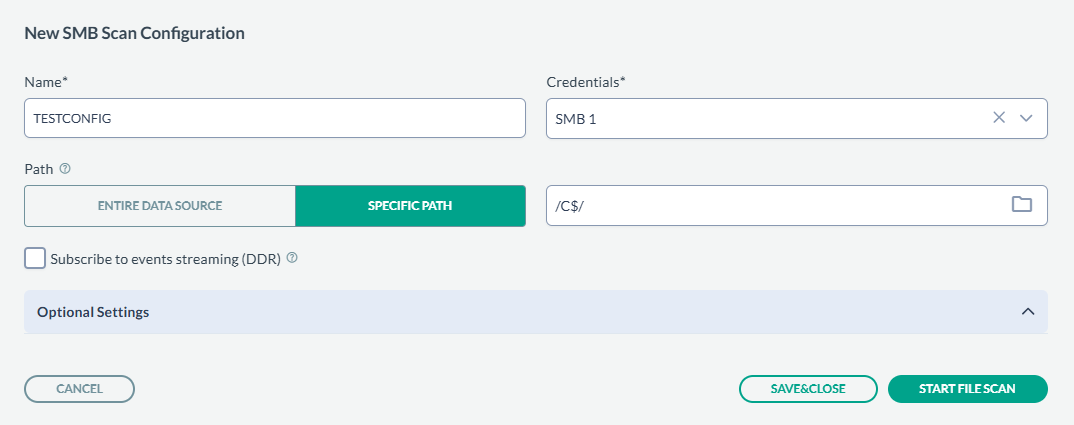
On the tab Scan configurations, click New Configuration, next enter the Name and
Credentials created in above steps. In the Path field, select the Folder icon to select a particular folder to scan, or leave the
path as empty to scan all folders. An example is shown below: