Applying Forcepoint DSPM Classification Tags to Files Stored on SharePoint
This feature allows you to add Forcepoint DSPM file classification tags to files containing sensitive data stored in a SharePoint system.
However, the Forcepoint DSPM file classification tag can be applied only if the same is defined in MS Purview.
Prerequisites
Your SharePoint site should be set up with the right permissions as explained in section: Registering an Azure App.
Check if MS Purview labels are already present or create (if necessary) as explained in the steps below.
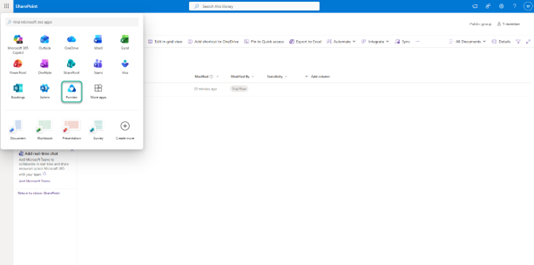
- Locate the Purview application from the tools menu on SharePoint.
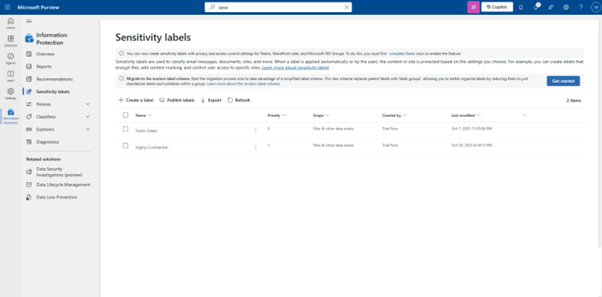
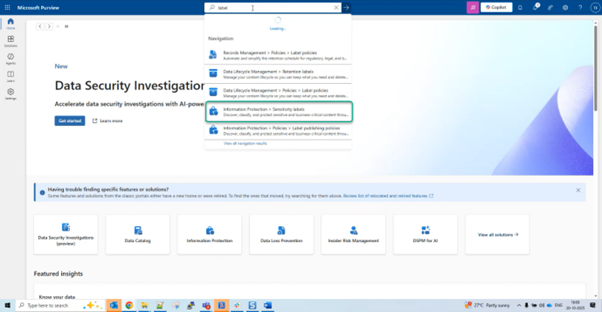
- Login to Purview and search for sensitivity labels as shown below:
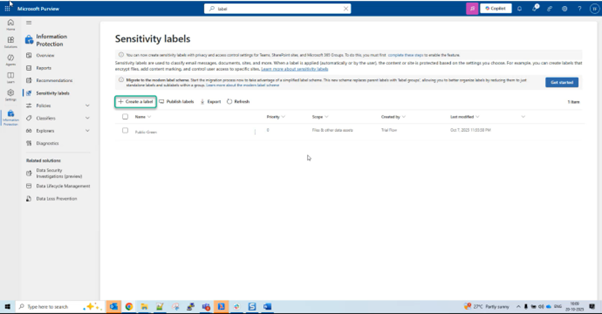
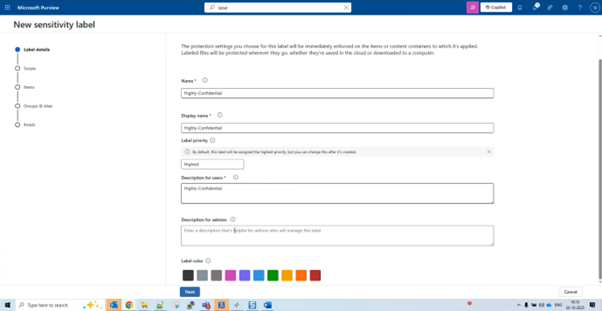
- Create the label with exact text as that used in the DSPM tag:
- Enter the Name, Display Name, and Description for users and click Next. An example is shown below:
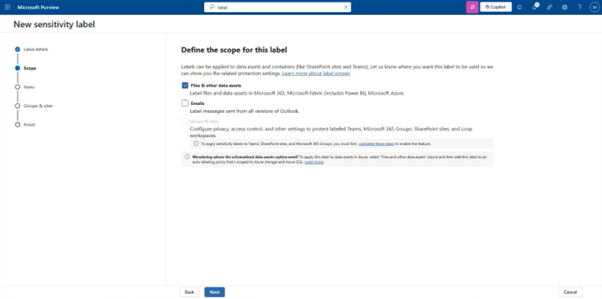
- On the next screen, select only Files & other data assets:
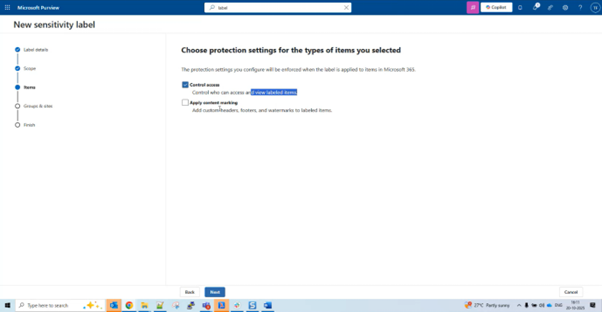
- In the following screen, select the option Control Access as shown in the example below:
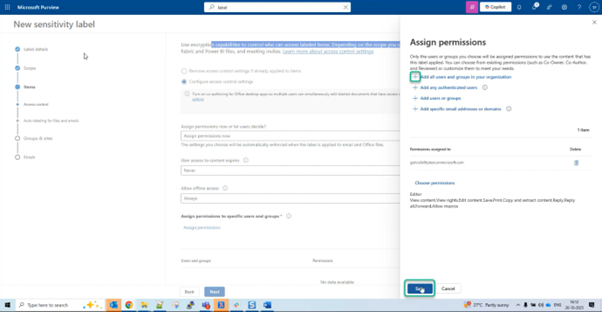
- On the next screen, click Assign permissions, which opens the following page, where you need to select the options +Add all users and groups in your organization and
click Save.
- On the screens that follow accept the default and click Next. Finally, on the Review your settings and finish page, click Create label after confirming all details are
correct.
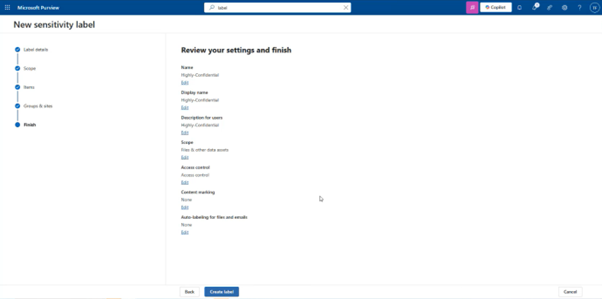
- Finally once label is created, click Done.
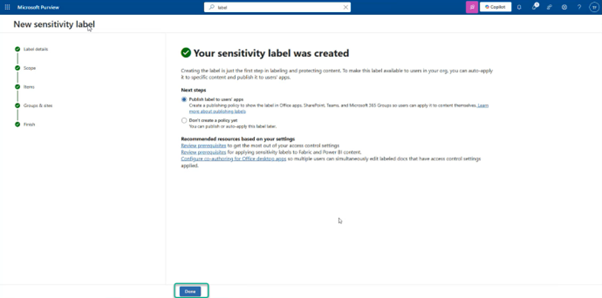
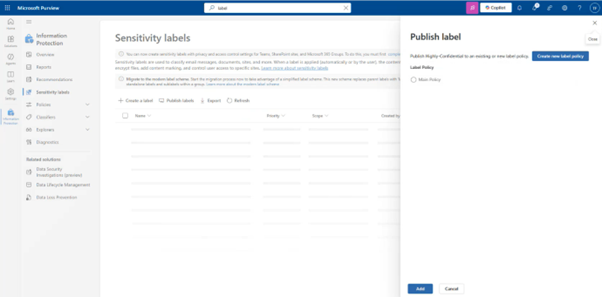
- . On the next screen, under public label, select the label policy as shown in the example below and click Add:
- Review the details and click Add:
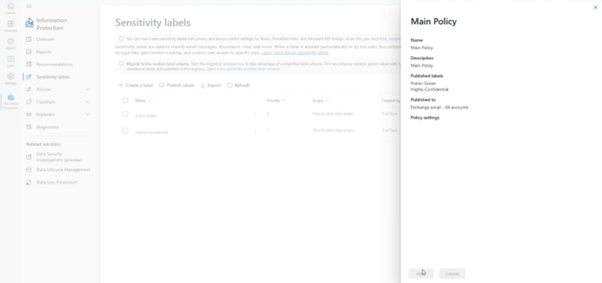
- You can now see the following Sensitivity labels defined: