Registering an Azure App
Steps
-
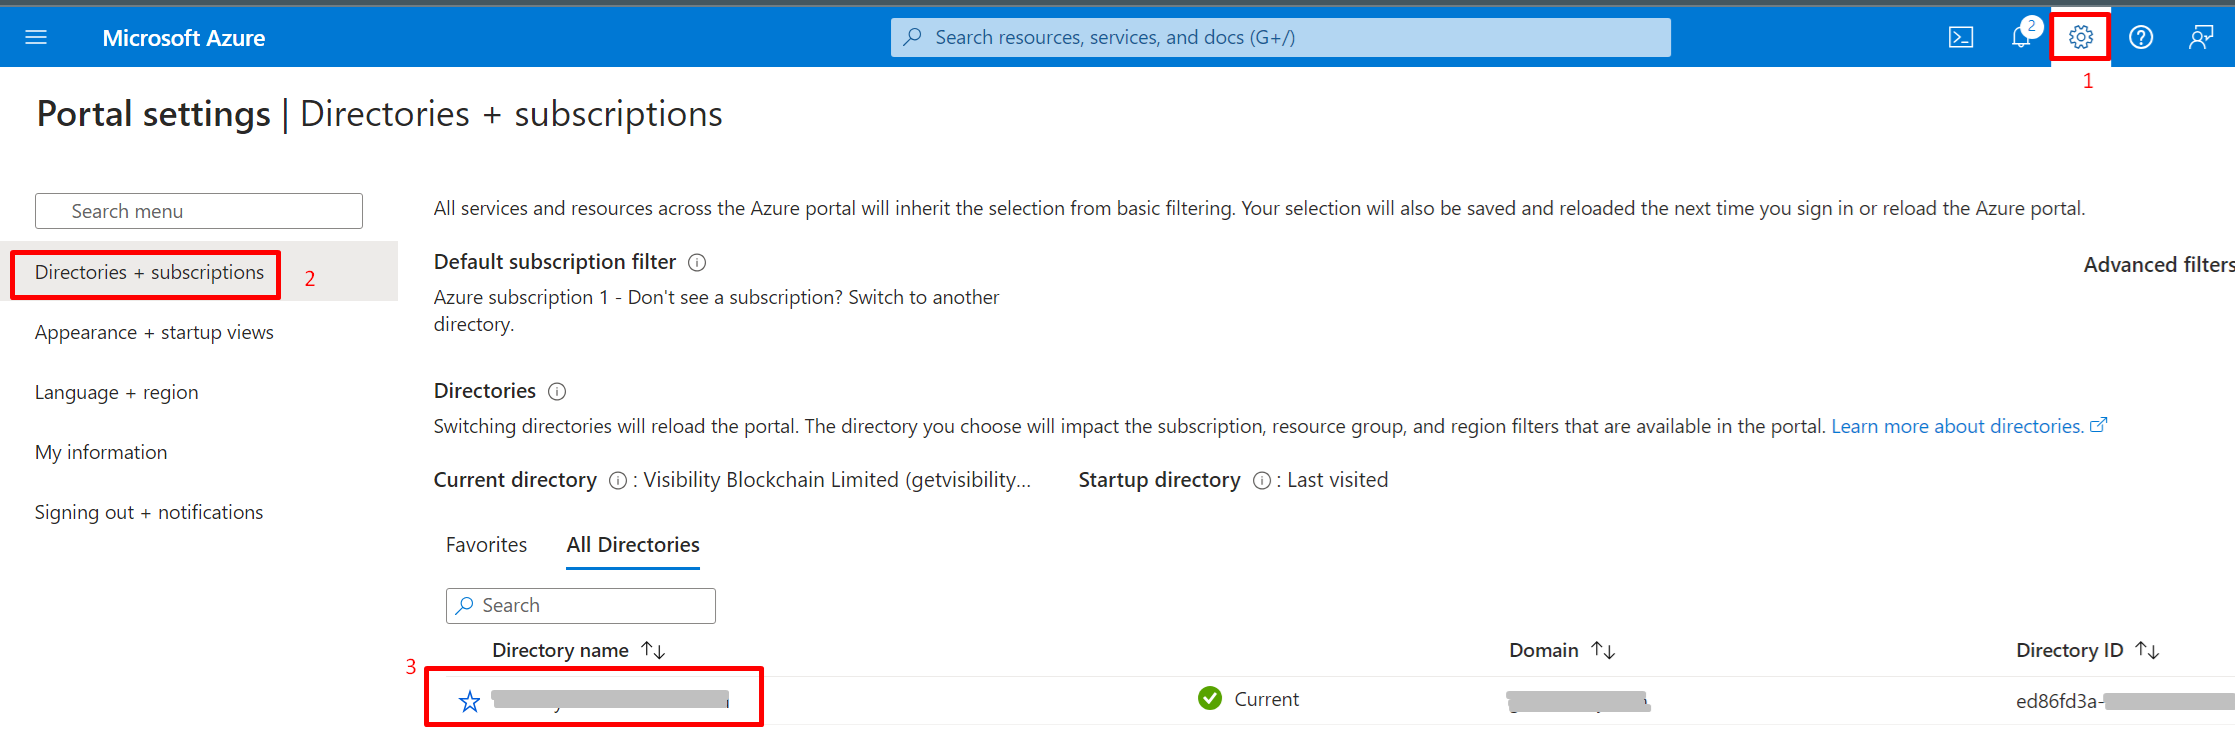
If there are multiple tenants to choose from, use the Settings icon in the top menu to switch to the tenant which needs to be registered to the application
from the Directories + subscriptions menu.
-
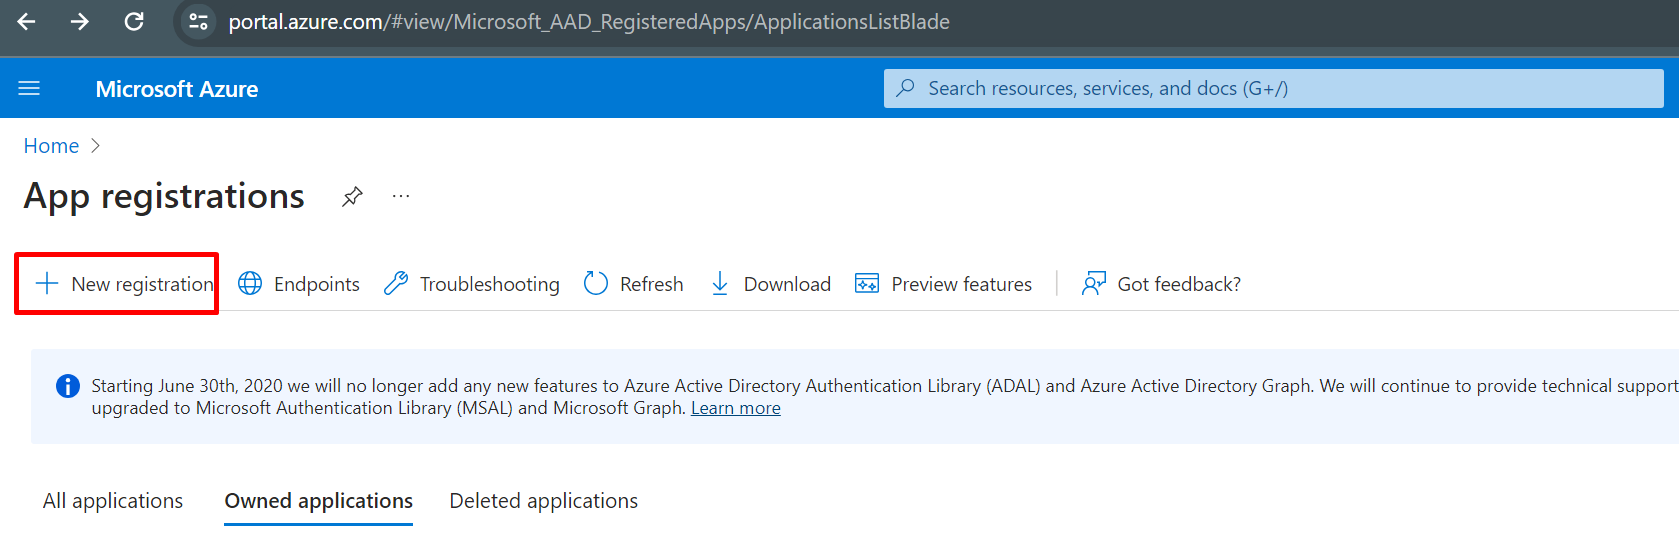
Browse to App Registration and select New registration.

-
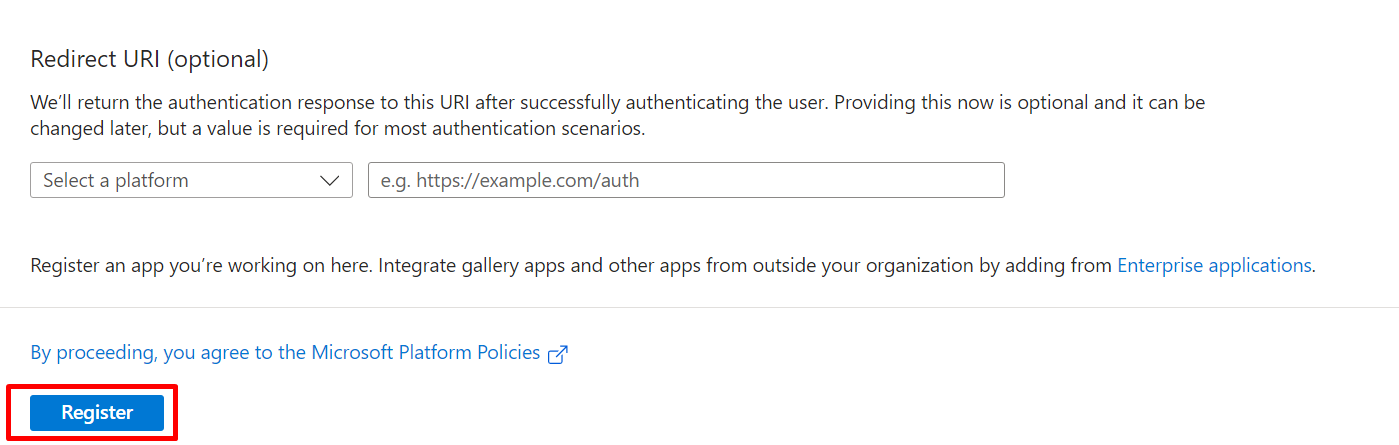
On the App Registration page enter the below information and click the Register button.
- Name: (Enter a meaningful application name that will be displayed to users of the app.)
- Supported account types:
- Select which accounts that the application will support. The options should be similar to the below screenshot.
- Accounts in this organizational directory only can be selected.
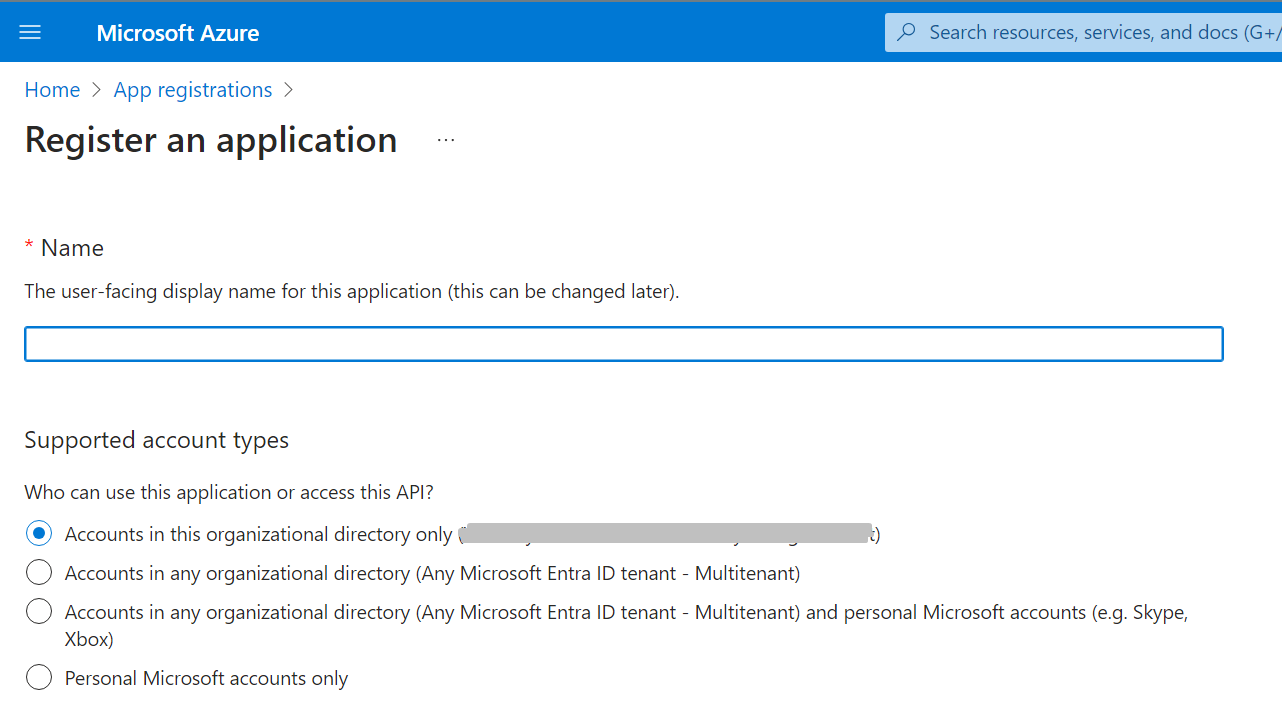
- Leave the Redirect URI as empty and click Register.
-
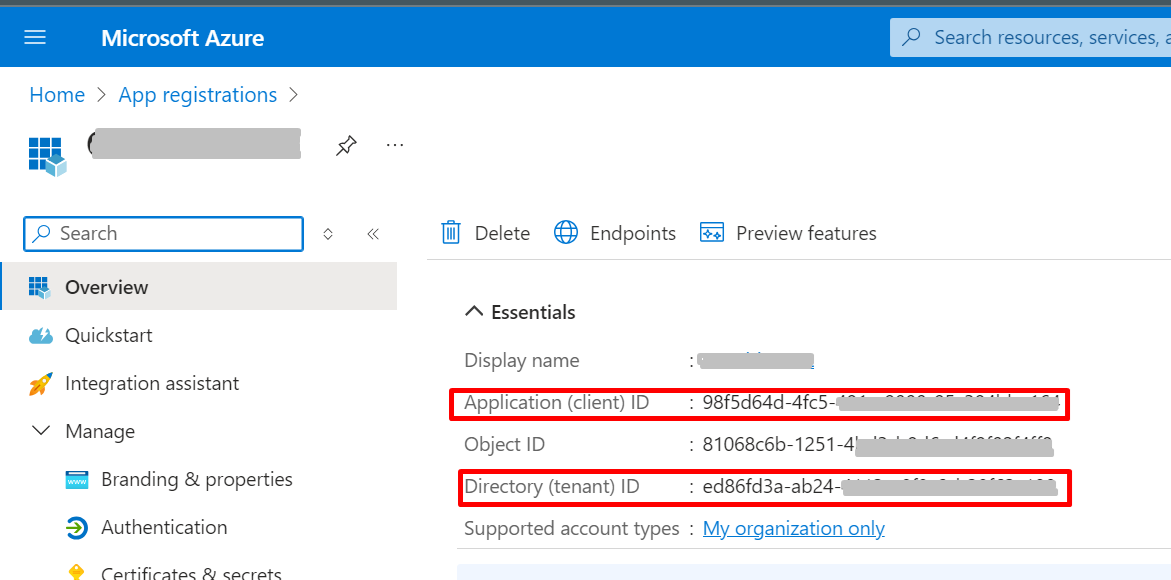
Note the Application (client) ID, Directory (tenant) ID values.
-
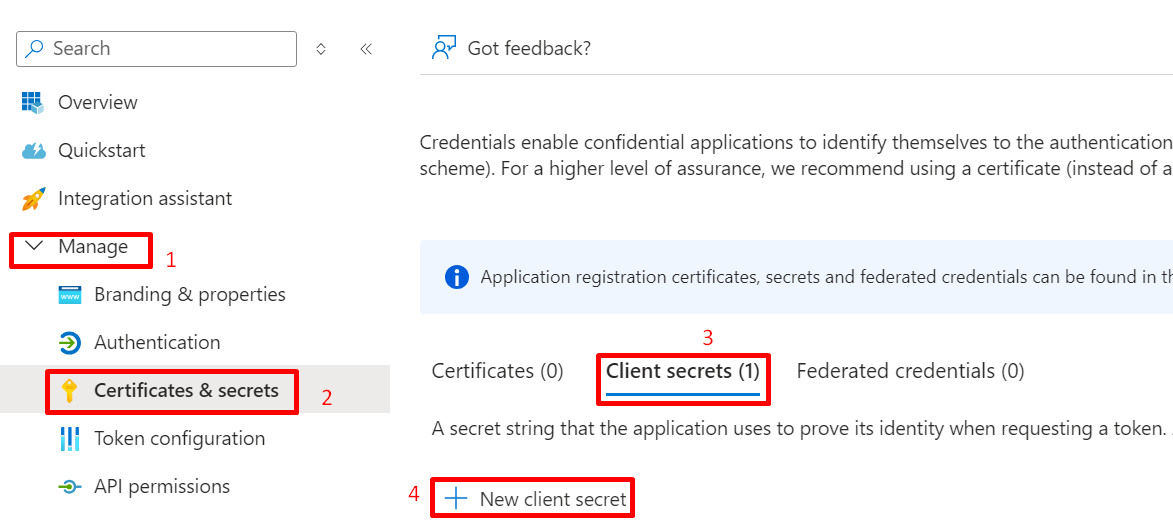
Navigate to on the left menu, to create a new client secret.
-
Once a client secret is created, note its Value and store it somewhere safe.
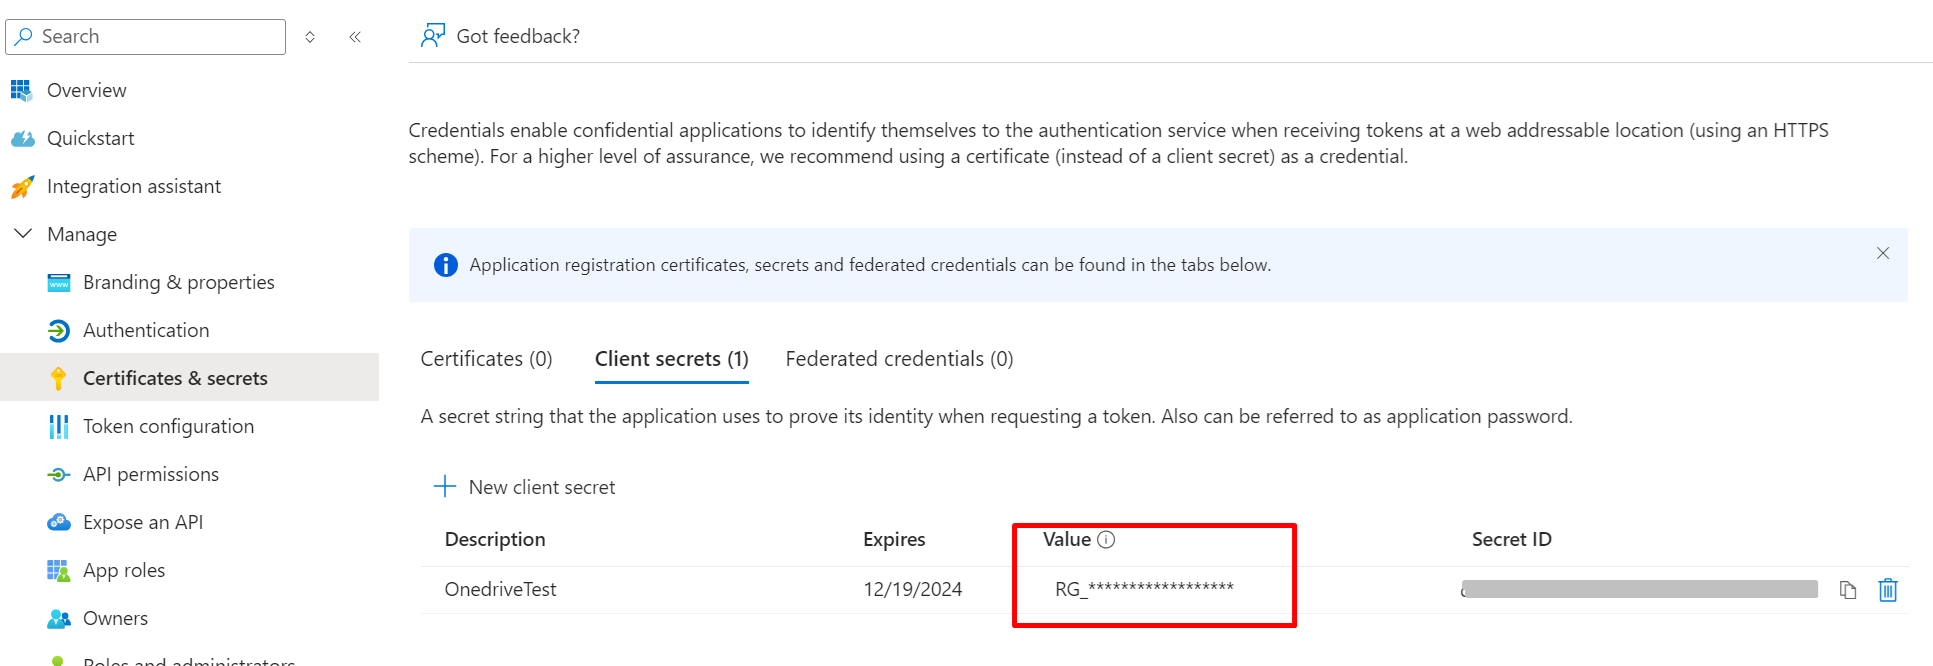 Note: This value cannot be viewed once this page is closed.
 -
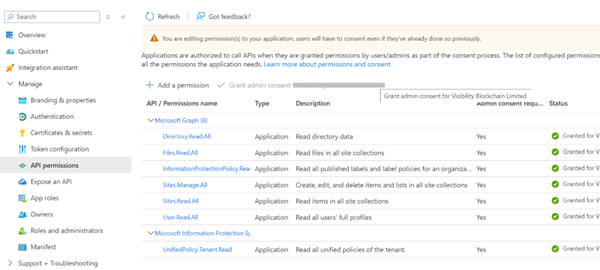
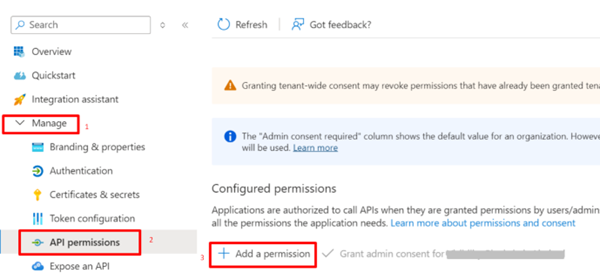
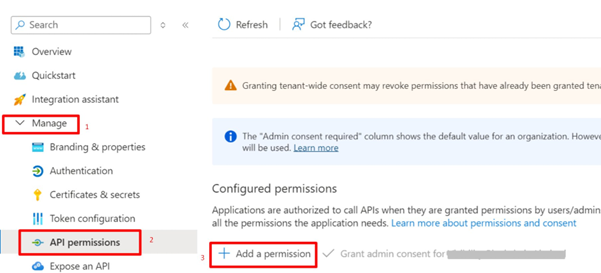
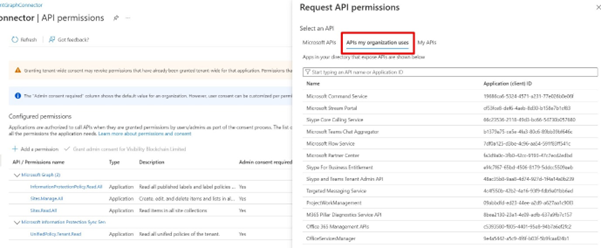
Navigate to on the left menu and Add a permission.
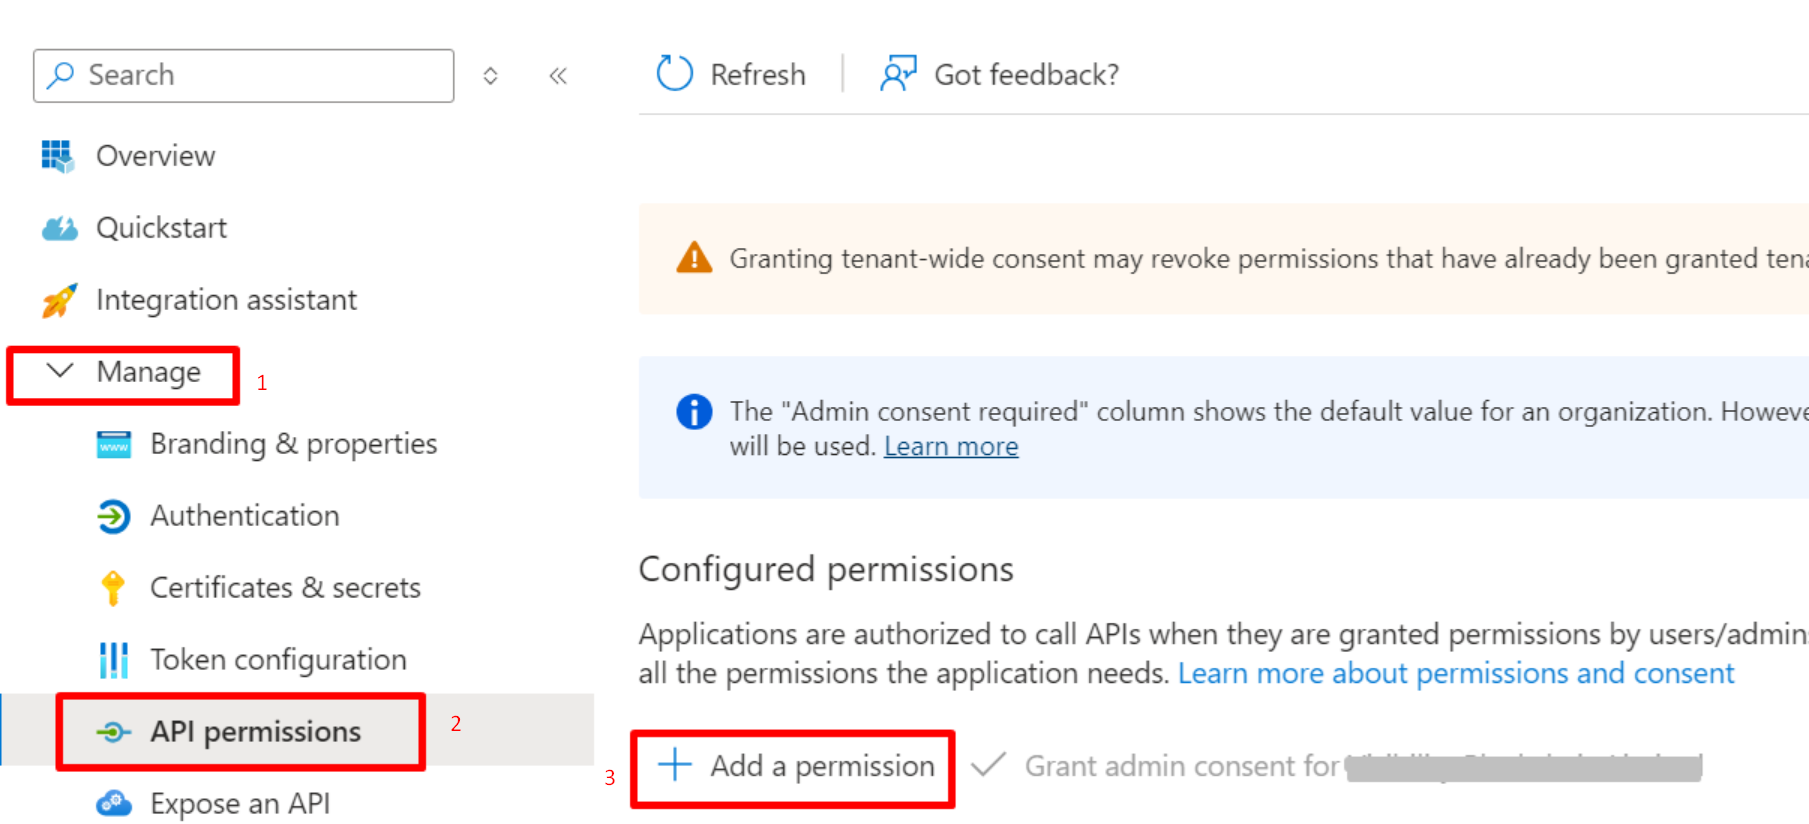
-
Select .
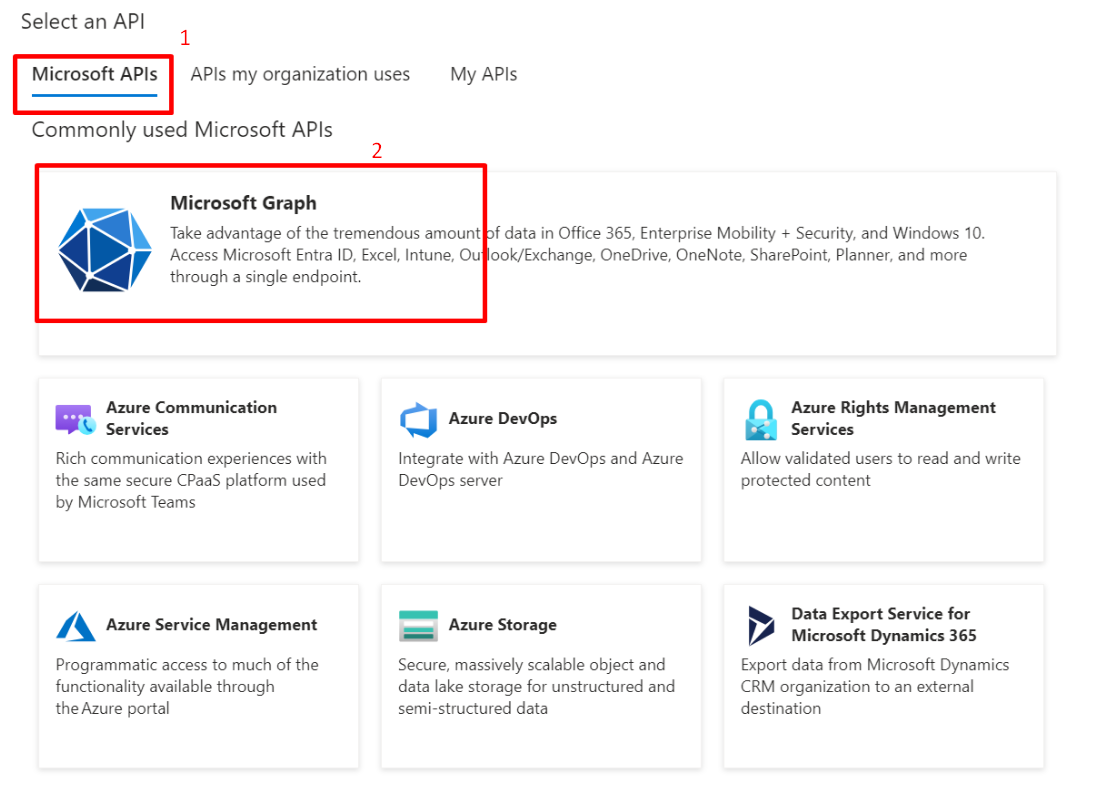
-
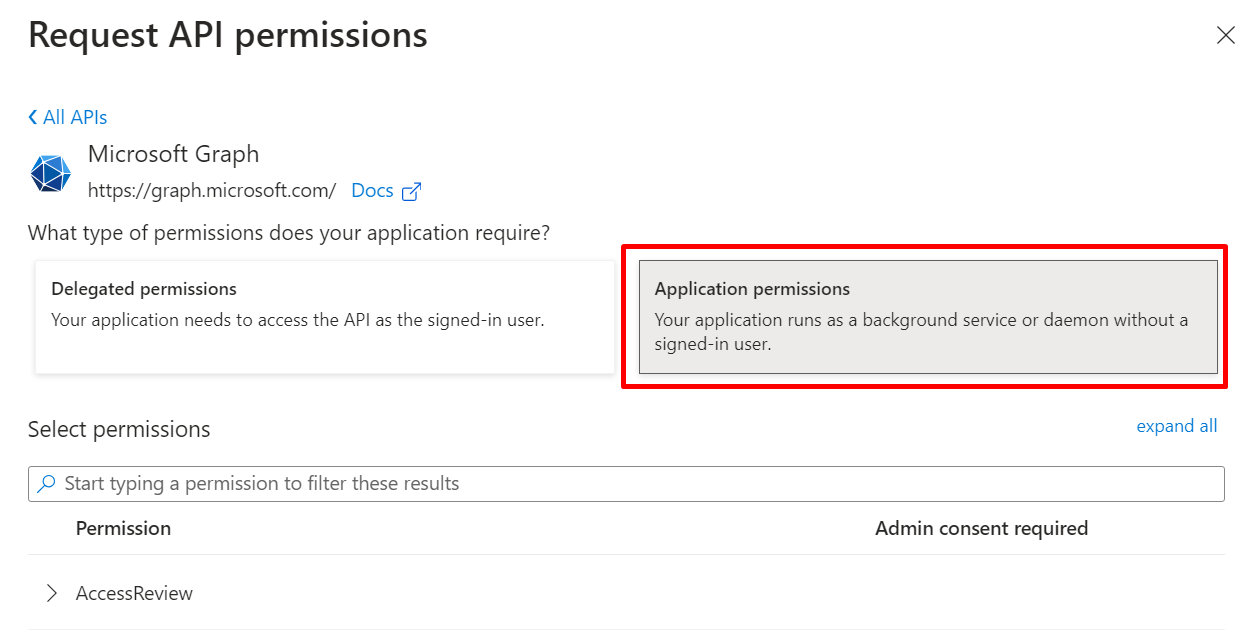
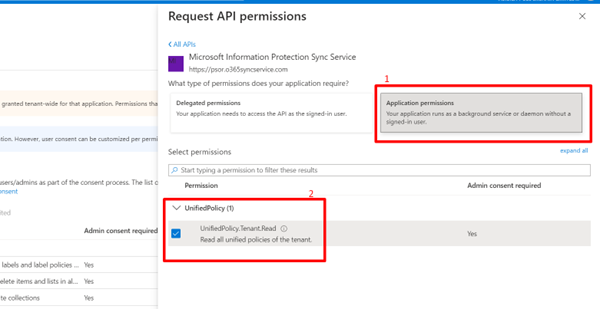
Select Application permissions.
-
For UnifiedPolicy.Tenant.Read, navigate to on the left menu and Add a permission.
-
Select APIs my organization uses tab.
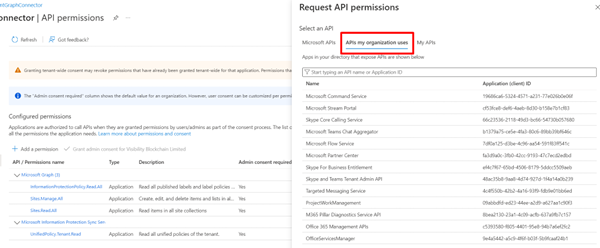
-
Search for Microsoft Information Protection Sync Service.
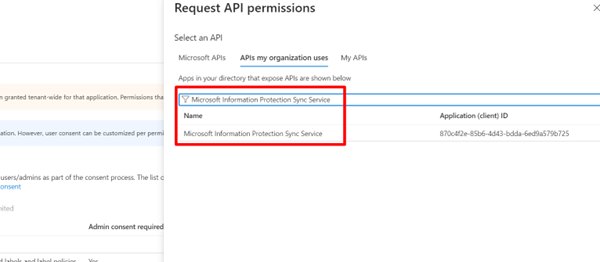
-
Select .
-
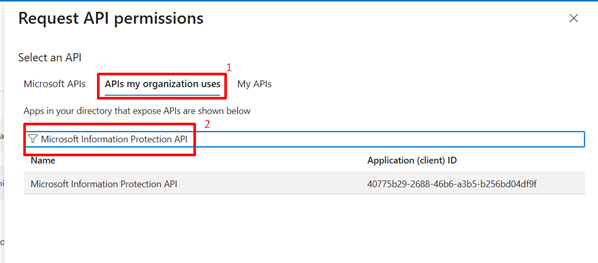
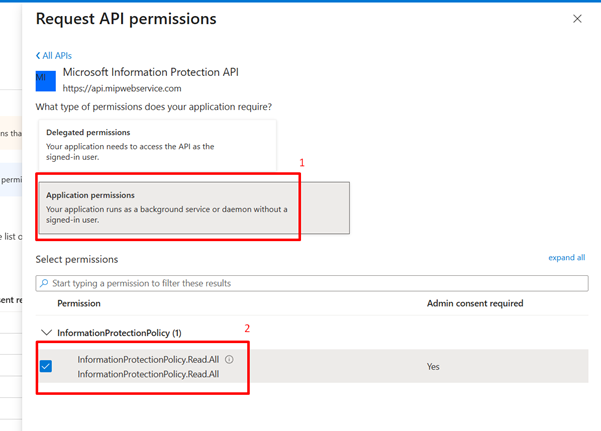
For InformationProtectionPolicy.Read.All, navigate to on the left menu, and Add a permission.
-
Select APIs my organization uses tab
-
Search for Microsoft Information Protection API
-
Select
-
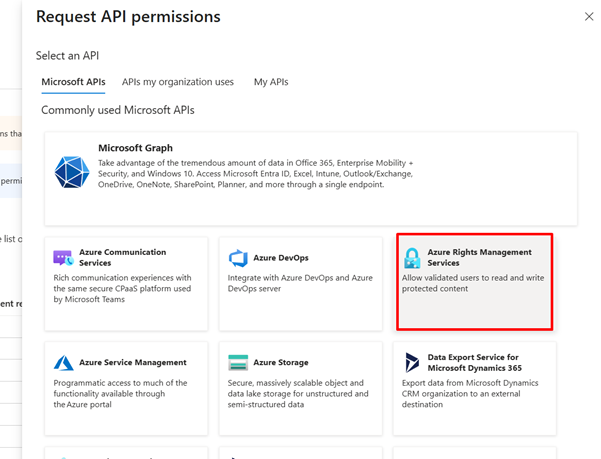
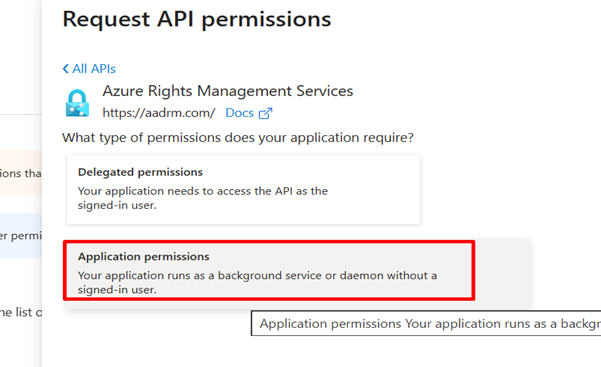
For Azure Rights Management Services > Content.Writer: Navigate to on the left menu, and Add a permission.

-
Select Azure Rights Management Services tab:
-
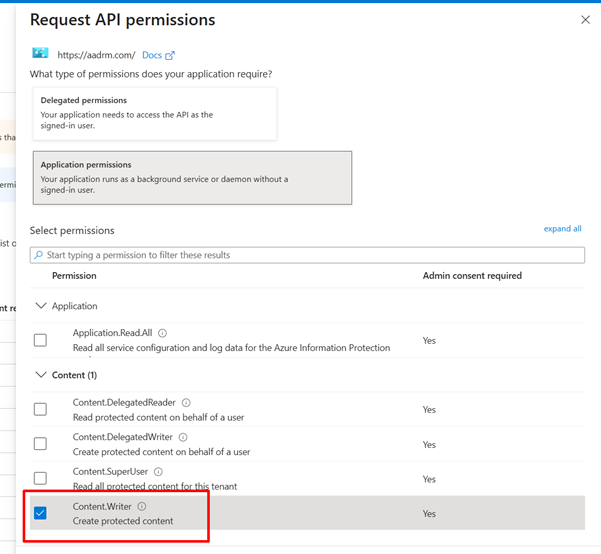
Select Application permissions:
-
Select .
-
Once all the required permissions are added, click Grant admin consent.