Configuring LDAP connector in Dashboard
Steps
-
Navigate to Administration > Data Sources > Confluence Cloud > New Credentials.
-
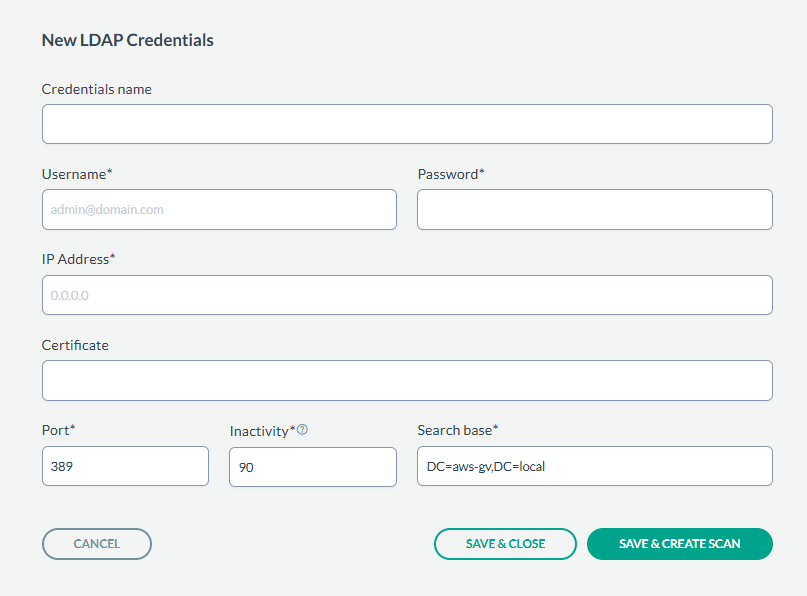
Enter the details of the LDAP server to scan.
- Credentials Name: Give a name to the scan to identify it later.
- Username: The user must be an admin level and have access to all the LDAP utilities to be scanned. The username should be entered in the format user@domain.com.
- Password: Password for the admin user.
- IP Address: The IP Address of the server where the LDAP is installed.
- Certificate (Optional): If the server to be scanned uses LDAPS (LDAP over SSL/TLS) enter the certificate text here. Otherwise leave it blank.
- Port: 389 is the default port for LDAP, however for Secure LDAP 636 is used
- Use Global Catalog ports at 3268 (LDAP) and 3269 (LDAPS), in case standard ports doesn't allow us to traverse through the whole LDAP tree.
- Inactivity: This defines inactive users. Default is 90 days.
- Search base: This is the point in the LDAP directory where Forcepoint DSPM will start searching from. In this example:
DCstands for Domain Component. An attribute used to represent domain levels.aws-gvis the name of the first-level domainlocalis the top-level domain.
DC=aws-gv,DC=localrepresents the domainaws-gv.local.
- After entering the values, you can either just SAVE & CLOSE or you can proceed onto creating a scan configuration by clicking SAVE & CREATE SCAN.
-
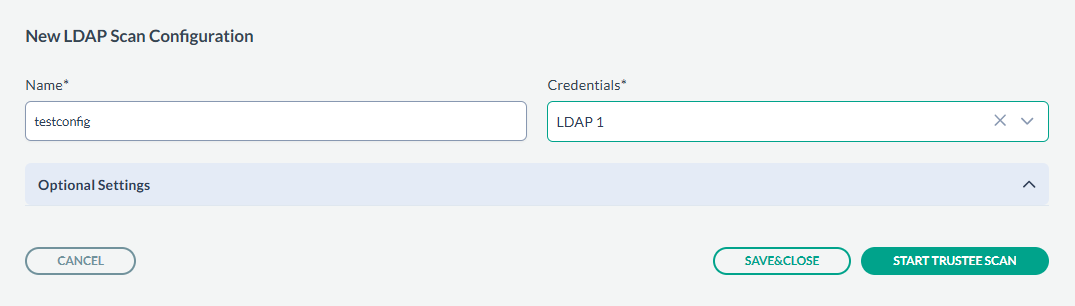
- Enter the Name, and select a Credential from the drop down.
- After entering the values, you can either just SAVE & CLOSE or you can proceed onto scanning by clicking START TRUSTEE SCAN.
-
- The scan results can be viewed under Dashboard > Access Governance.