Configuring ChatGPT connector in dashboard

Steps

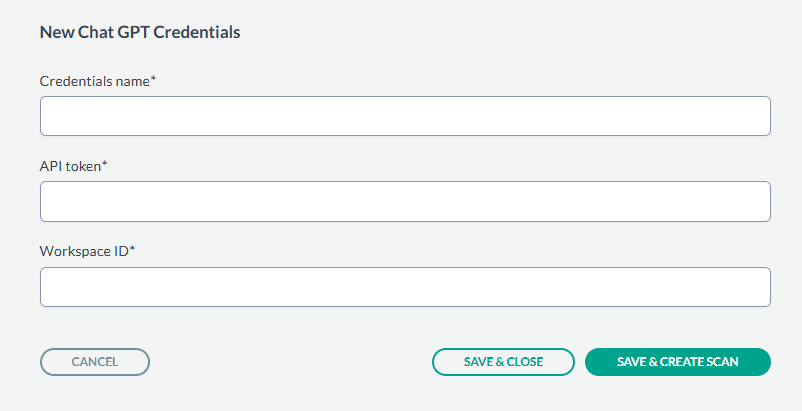
  1. Navigate to Administration > Data Sources > ChatGPT > New Credentials.
  2. Provide the Credential Name, API token, Workspace ID generated in the previous section from the OpenAI console.
  3. After entering the values, you can either just Save & Close or you can proceed onto creating a scan configuration by clicking Save & Create Scan.
  4. On the tab Scan configurations, click New Configuration, next enter the Name and select the Credentials created in above steps. In the Path field, select the Folder icon to select a particular folder to scan, or leave the path as empty to scan all folders. An example is shown below:
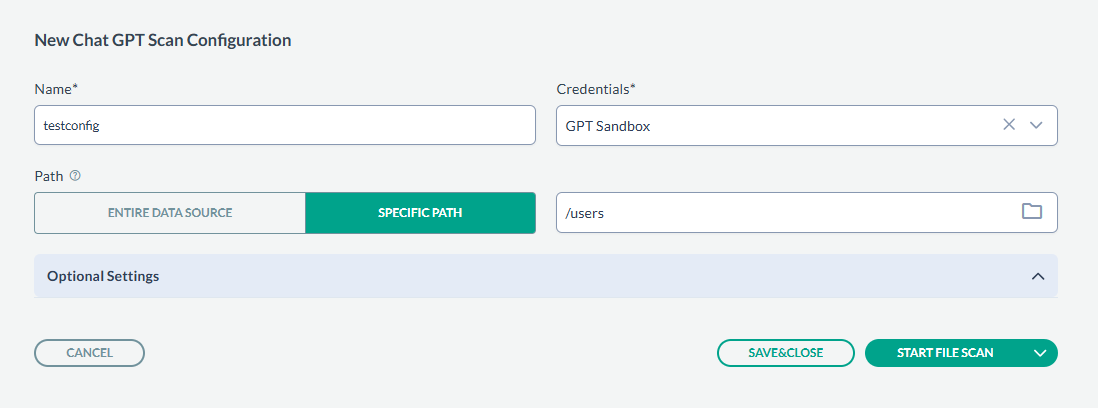
  5. Next, click SAVE & CLOSE to just save the configuration or you can start the scan by clicking START FILE SCAN.
  6. The scan results can be viewed under Dashboard > Enterprise Search.
    Note: The ChatGPT connector uses OpenAI's Compliance Logs Platform (CLP) to scan conversation data. The CLP retains logs for 30 days only, so the connector can only scan conversations from the last 30 days. Conversations older than 30 days are not accessible.