This step is optional but recommended. If you do not apply this step then end users will need install the agent software manually.
As long as the previous steps are completed, the install process in this case should require no user interaction and broadly follow the steps outlined in Manual install
section.
Steps
-
Sign into the Forcepoint Data Security Cloud | DLP portal and download the macOS agent installation package FP_Neo_installer_macOS_XX.XX.XX.XXXX.zip.
-
If you intend to monitor email on the endpoint and if your email client is Microsoft Outlook complete the following steps otherwise proceed to step 3.
- Unzip the installation package.
- Copy the key.pem and server.pem files created in Creating the Endpoint SSL Identity section. to the unzipped
folder.
- Re-zip macOS agent installation package so that it now includes key.pem and server.pem.
-
On the admin machine open Jamf Pro.
-
Go to the Computers tab, then select Management Settings.
-
Open the Computer Management menu, click Packages, then click + New.
-
Under Filename, click Choose File. Go to the location where you downloaded the agent installation files. Select
fpneoinstaller_mac.zip, then click Open.
-
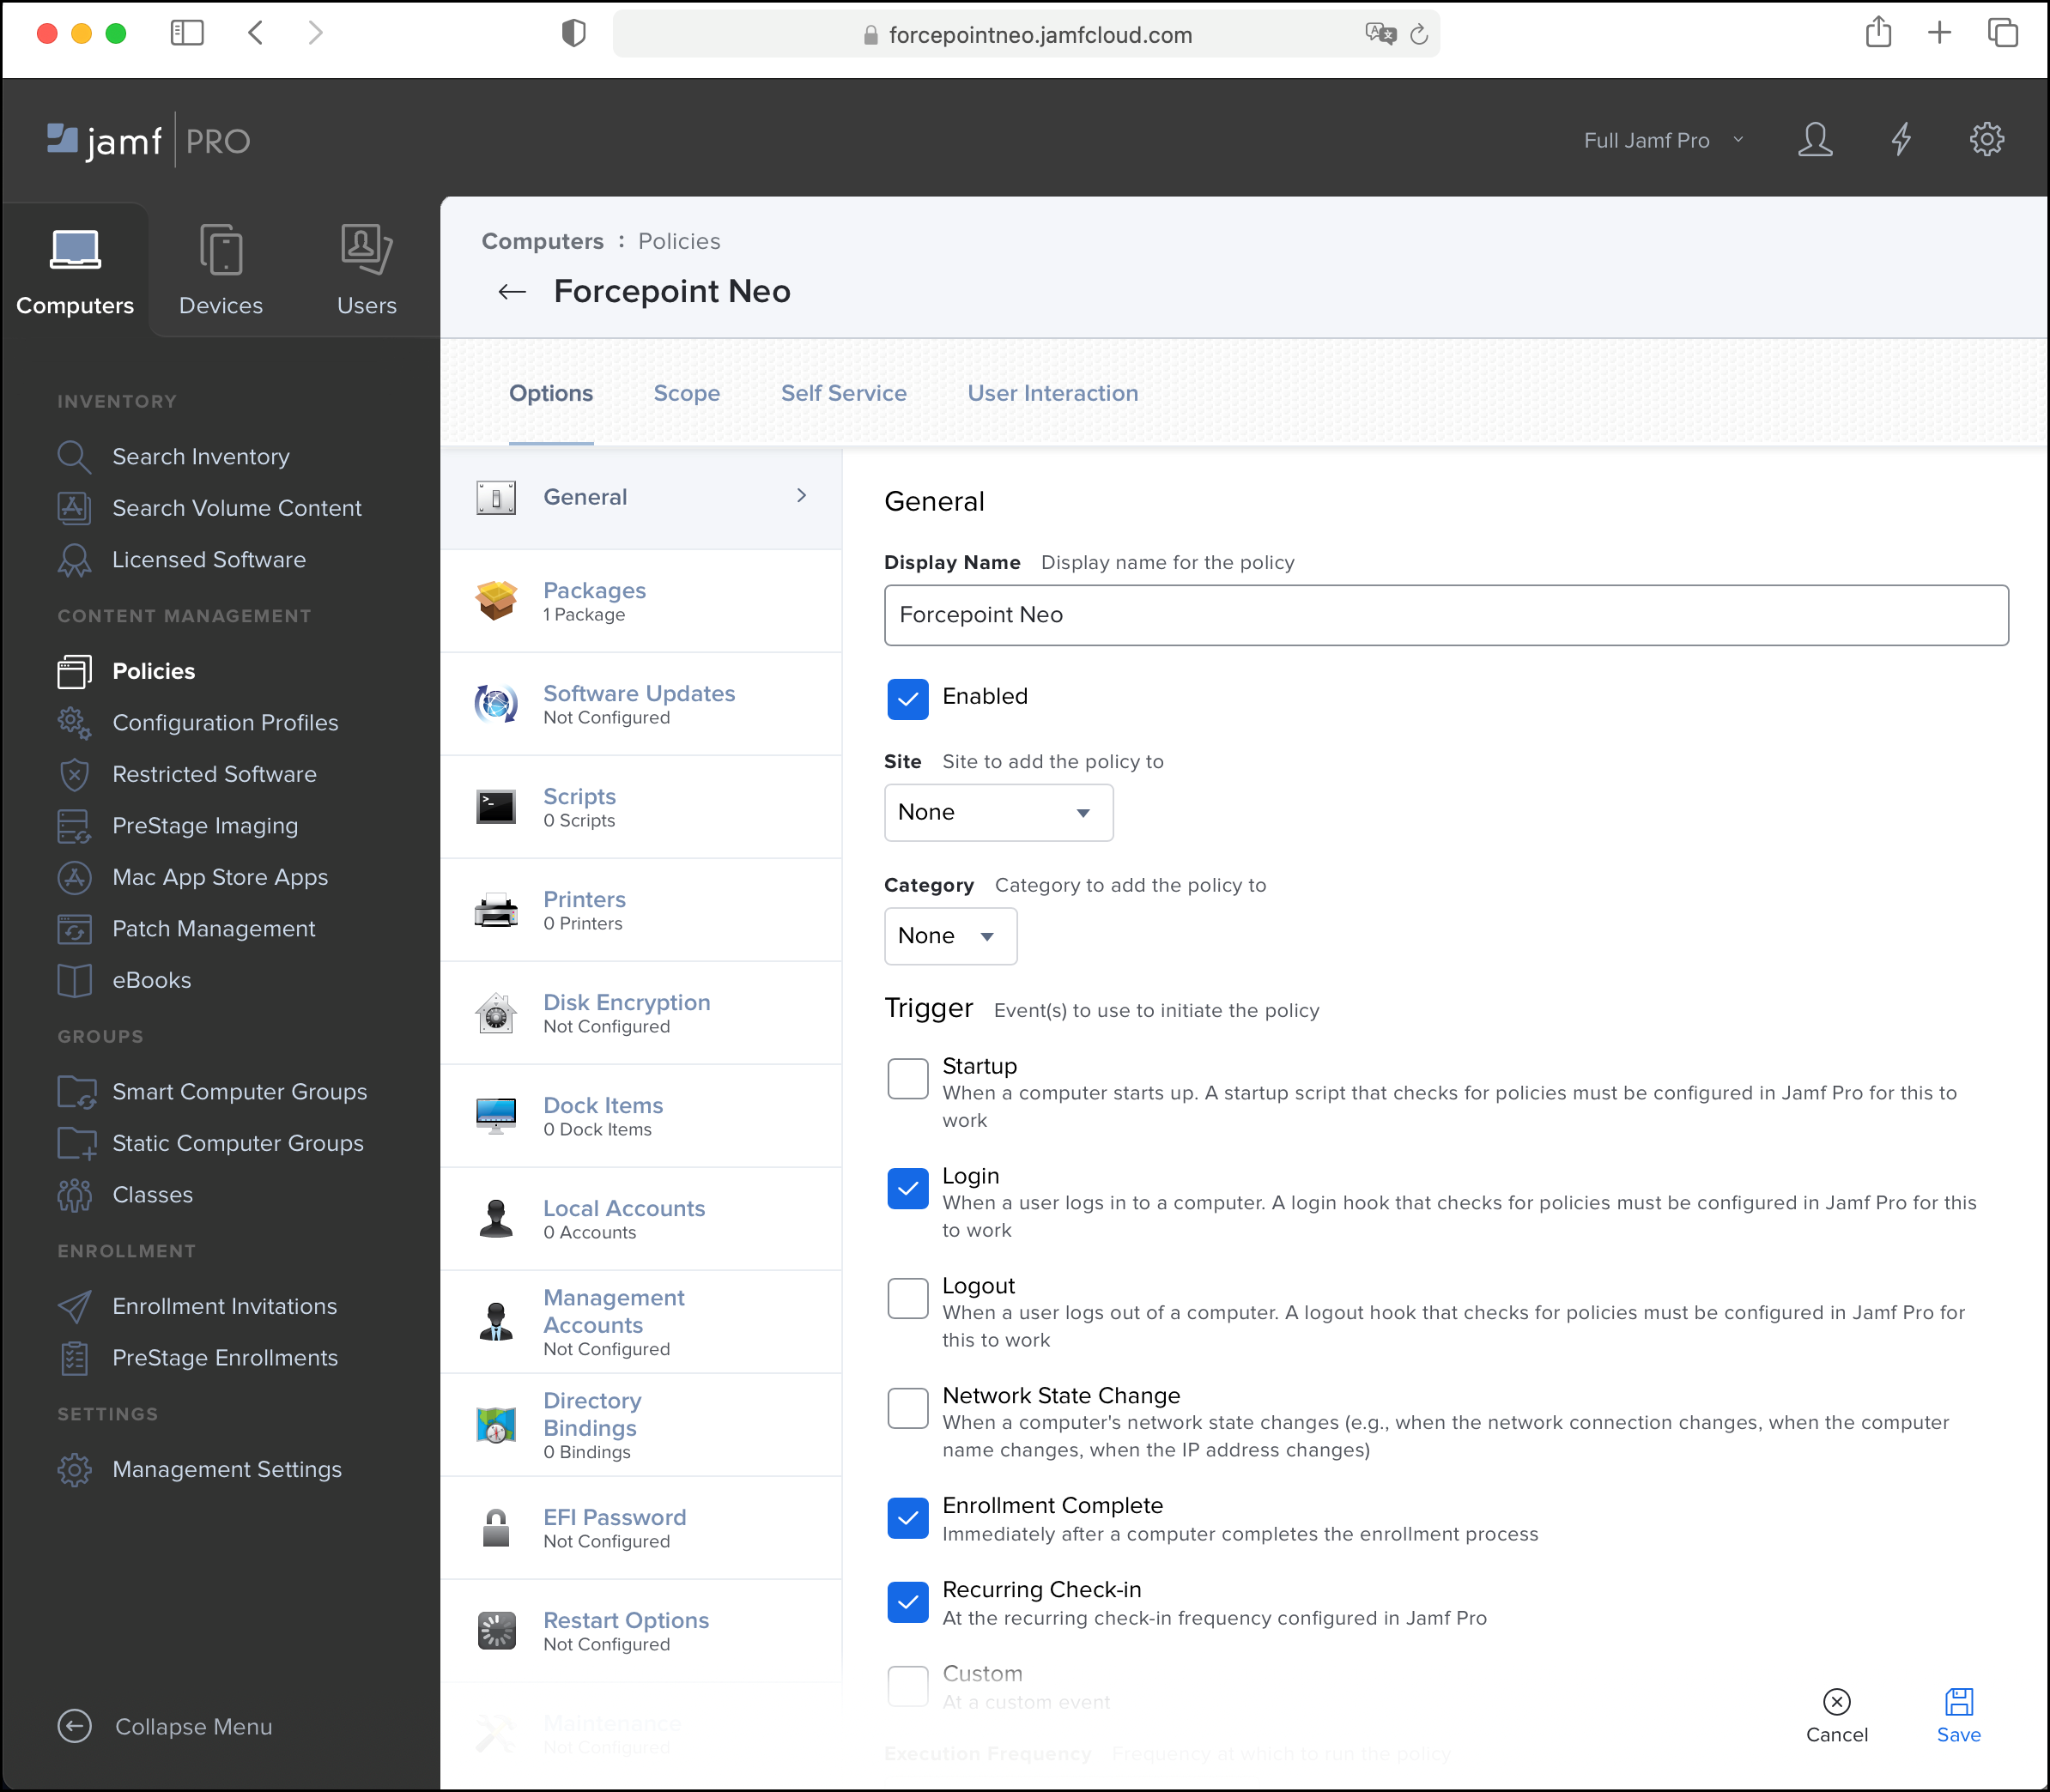
On the Computers tab, select Policies, then click + New and enter the following details:
- Display Name:
Forcepoint Neo
- Select the Enabled check box.
- Under Trigger, select the trigger options to match your organization's routine. At least one user must be logged in when deployment starts. For
example, if your organization enforces log out every night, then select Login. If your users rarely log out, then select Recurring
Check-in. For freshly enrolled endpoints, select Enrollment Complete.

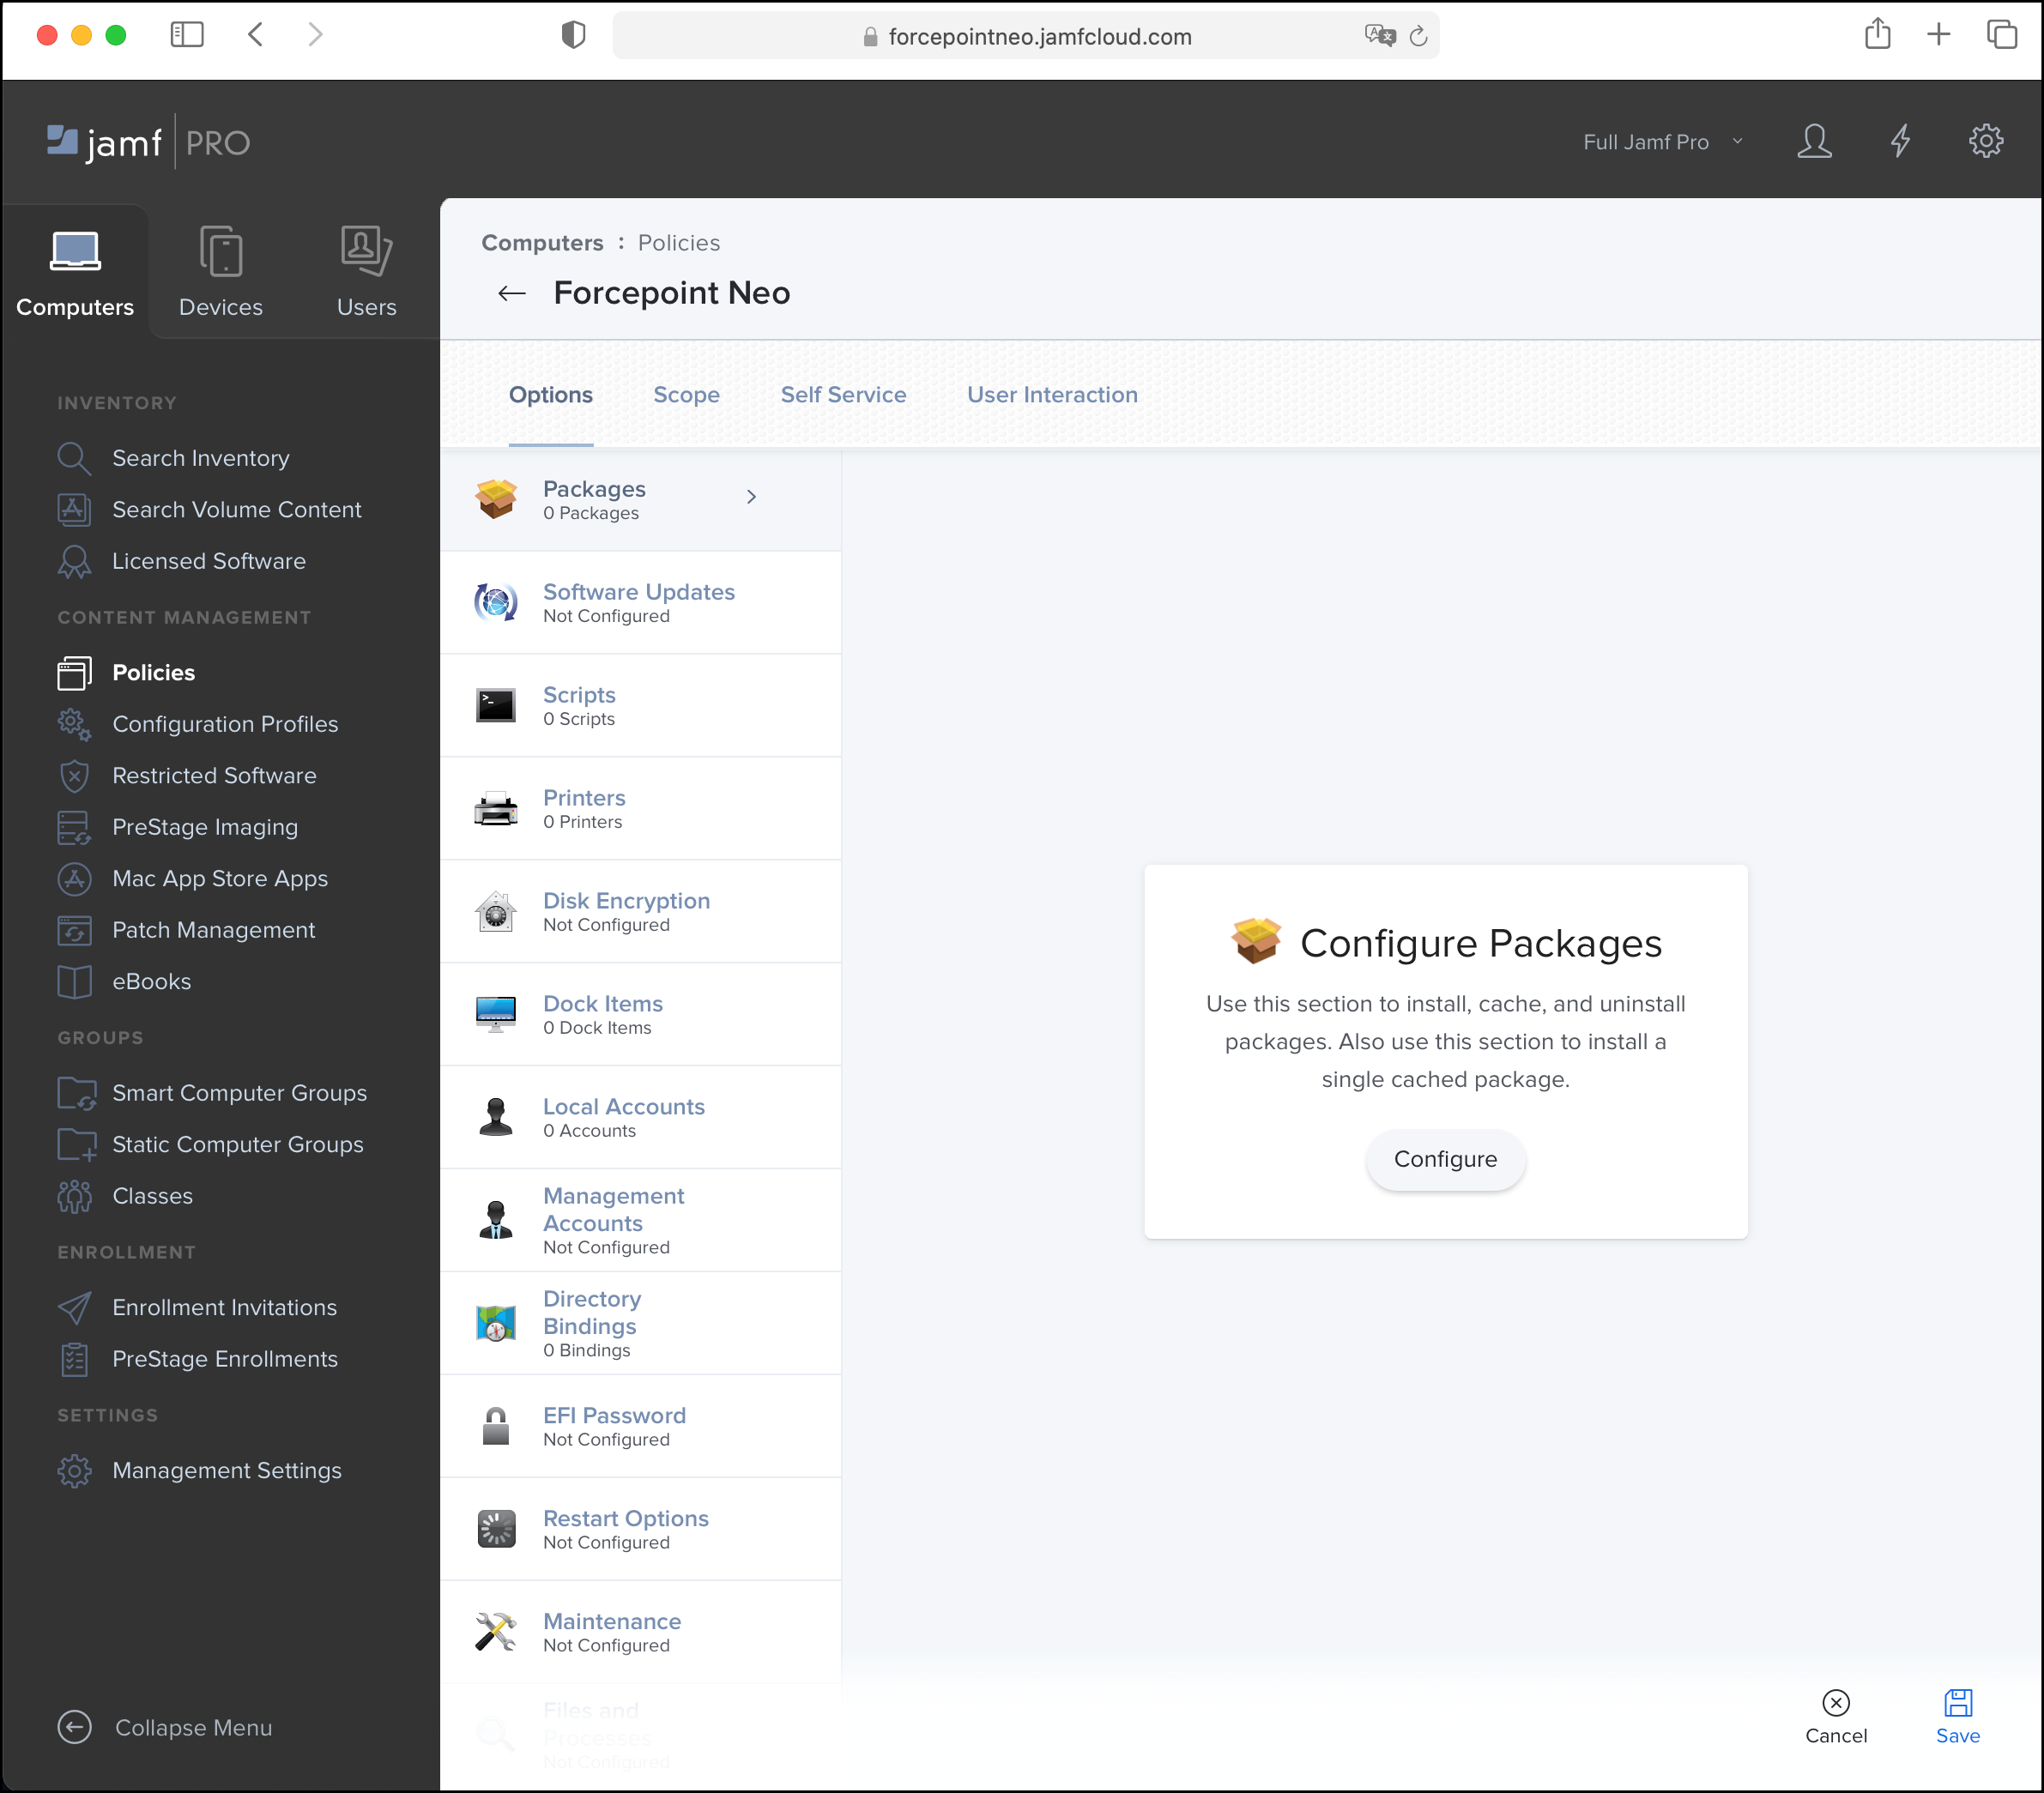
- On the Packages tab, click Configure Packages.

- Select the agent package, then click Add.
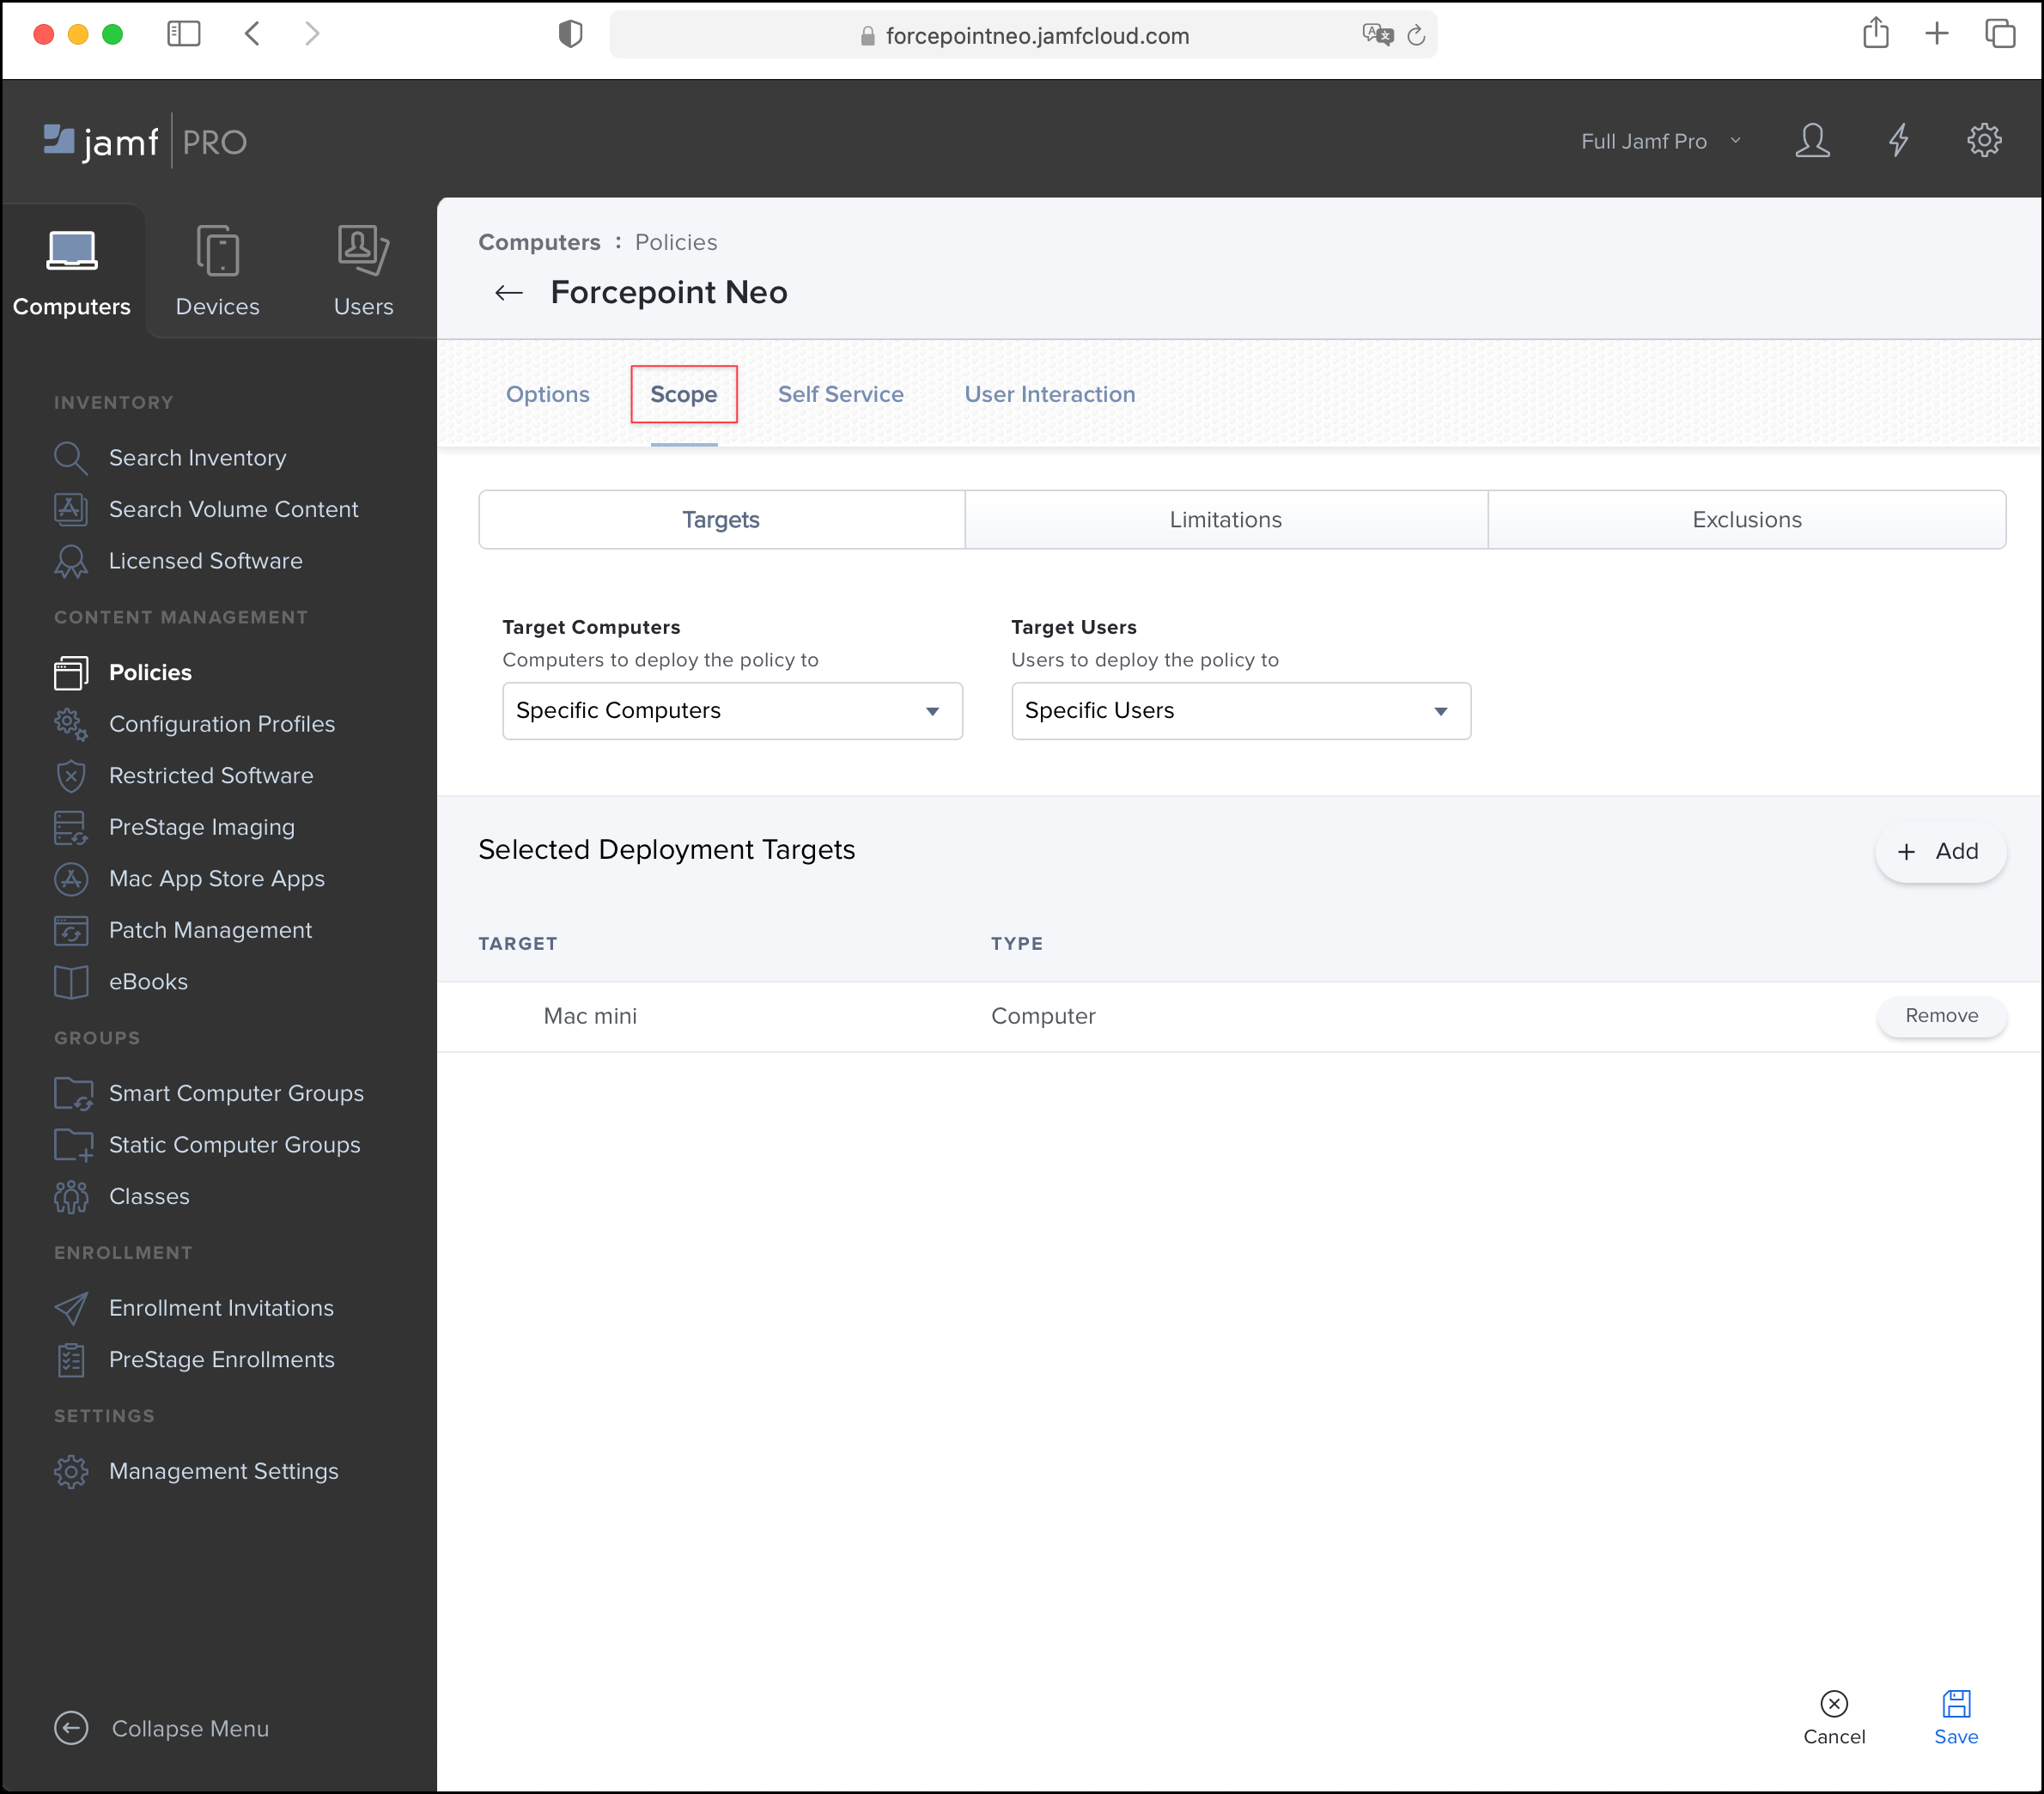
- On the Scope tab, select All Computers and All Users or alternatively, you can also identify specific
users or groups that should receive the endpoint software.

- Click Save.
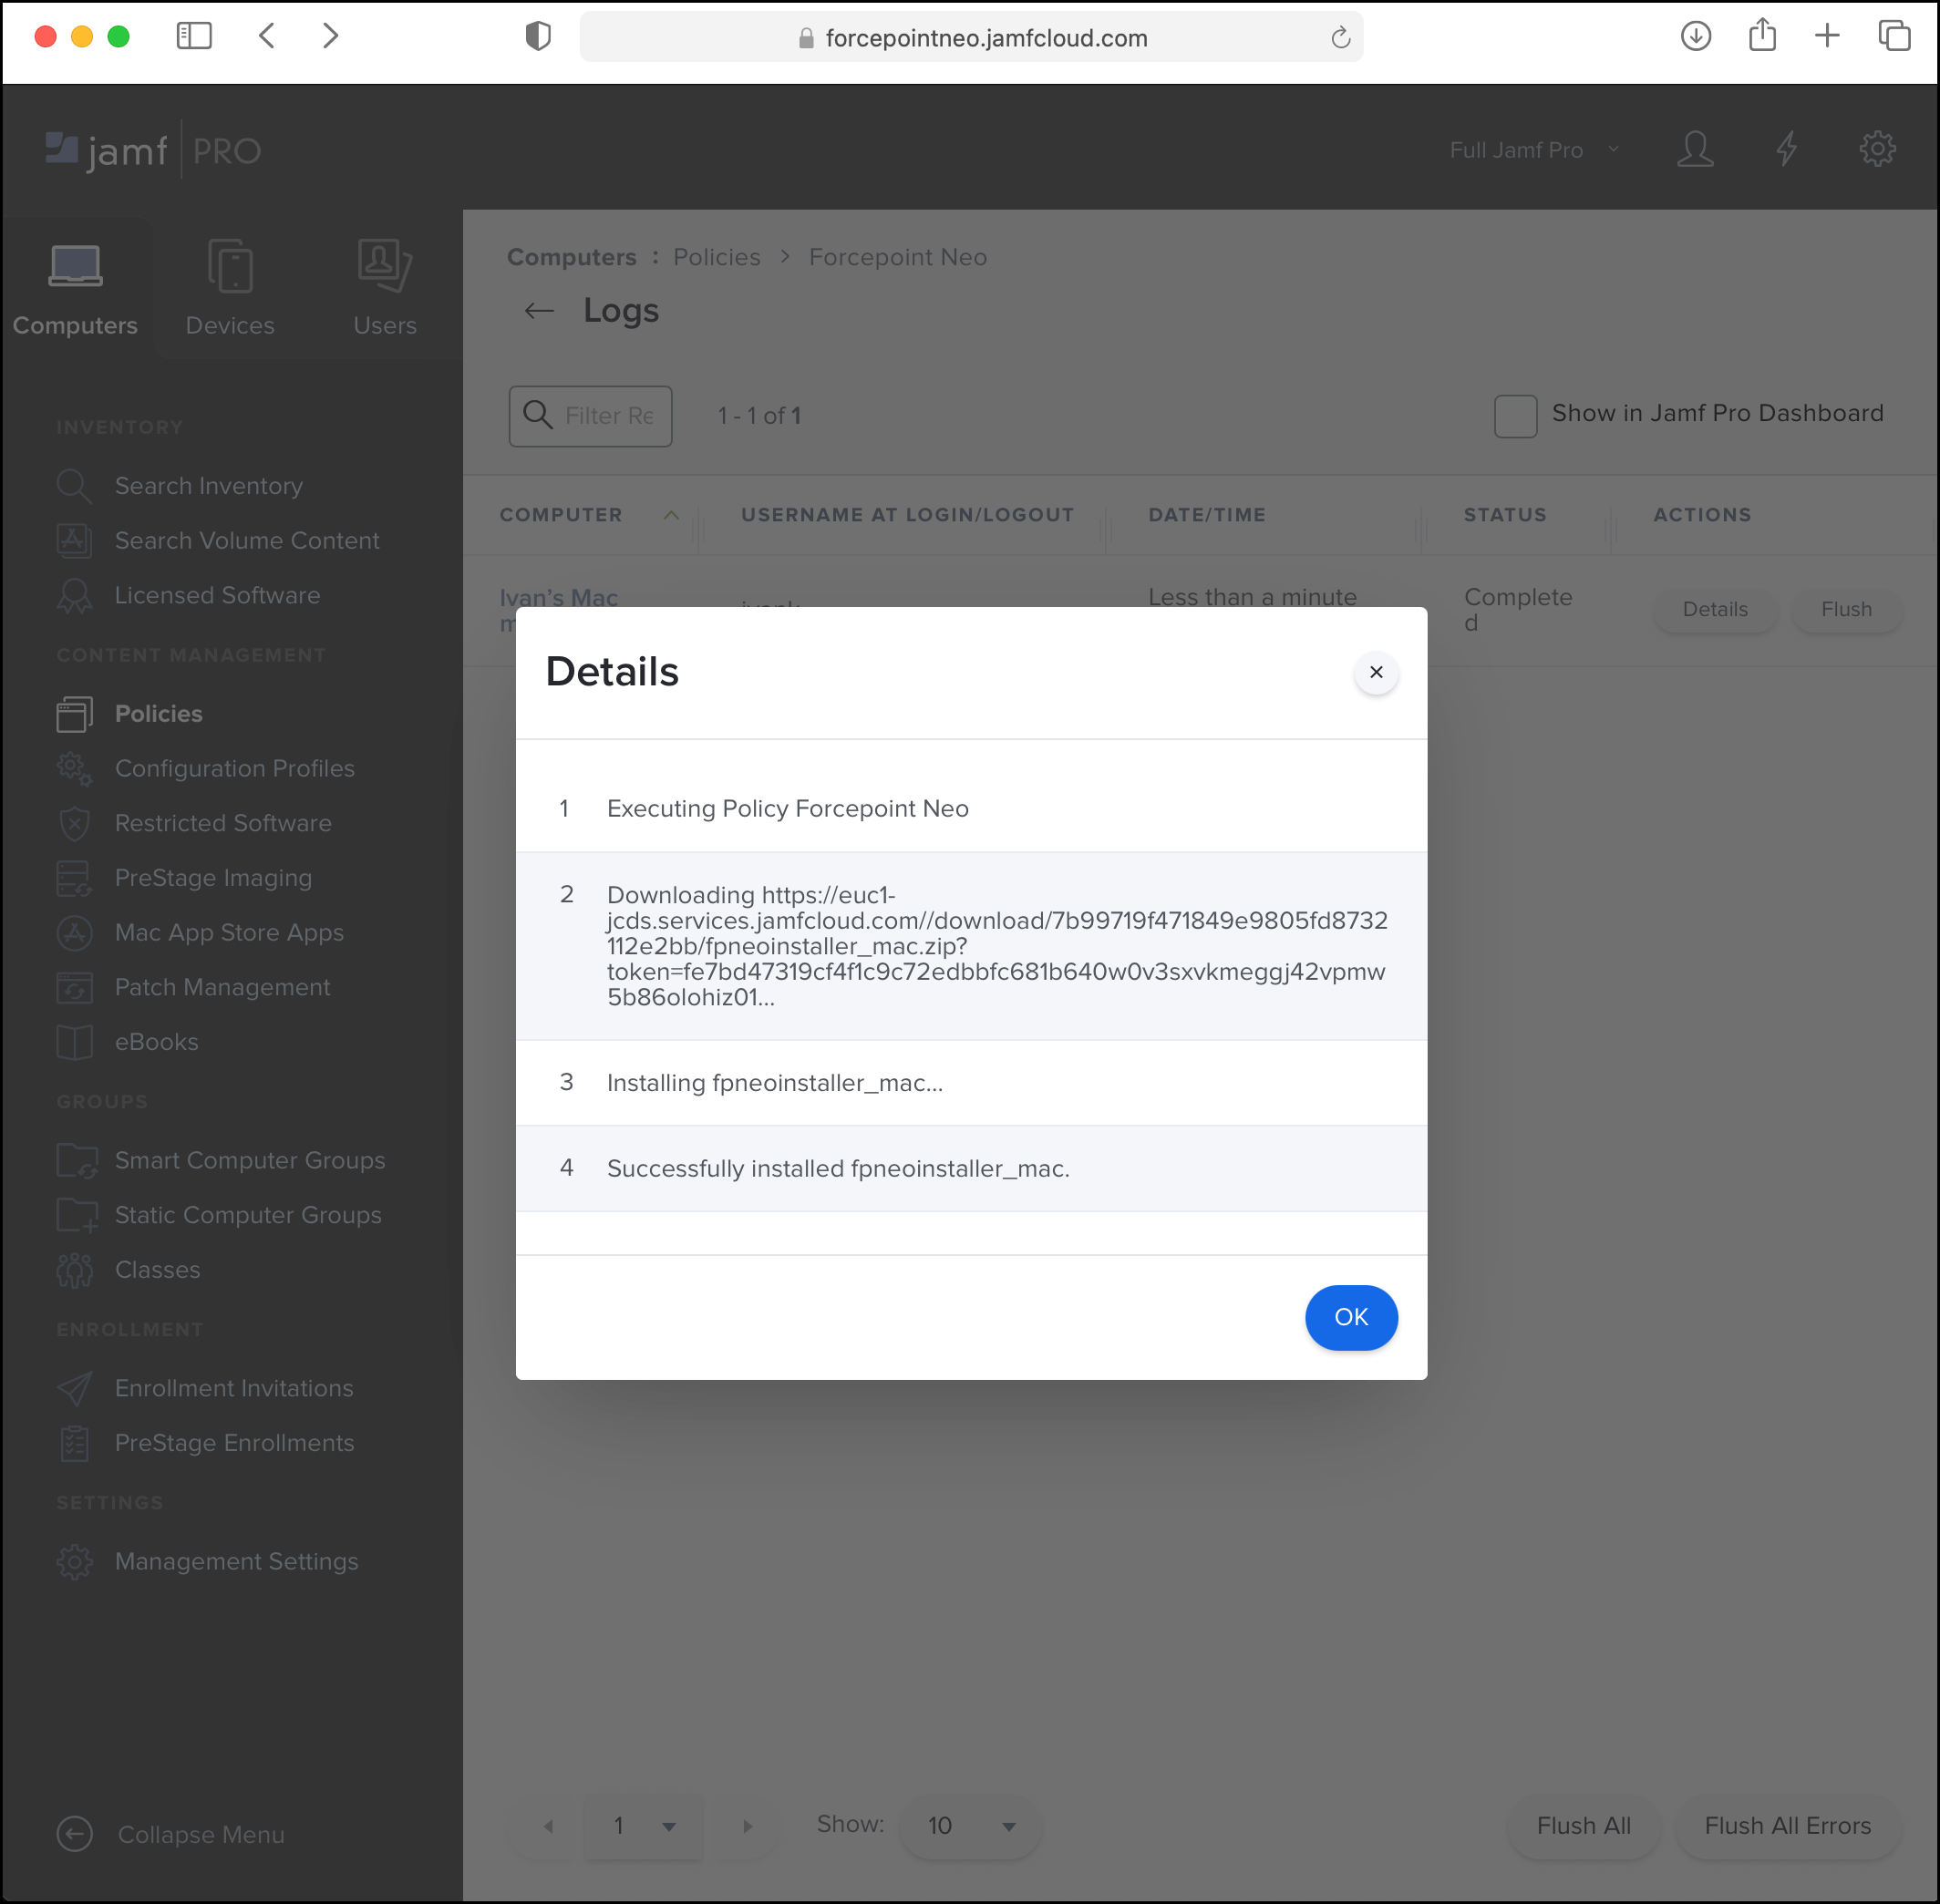
- Click Logs to verify the installation.
