Importing devices list
Import the list of SmartEdge devices linked to your tenant in the CSV format with each device set to either IT Device or Production Device.
Steps
-
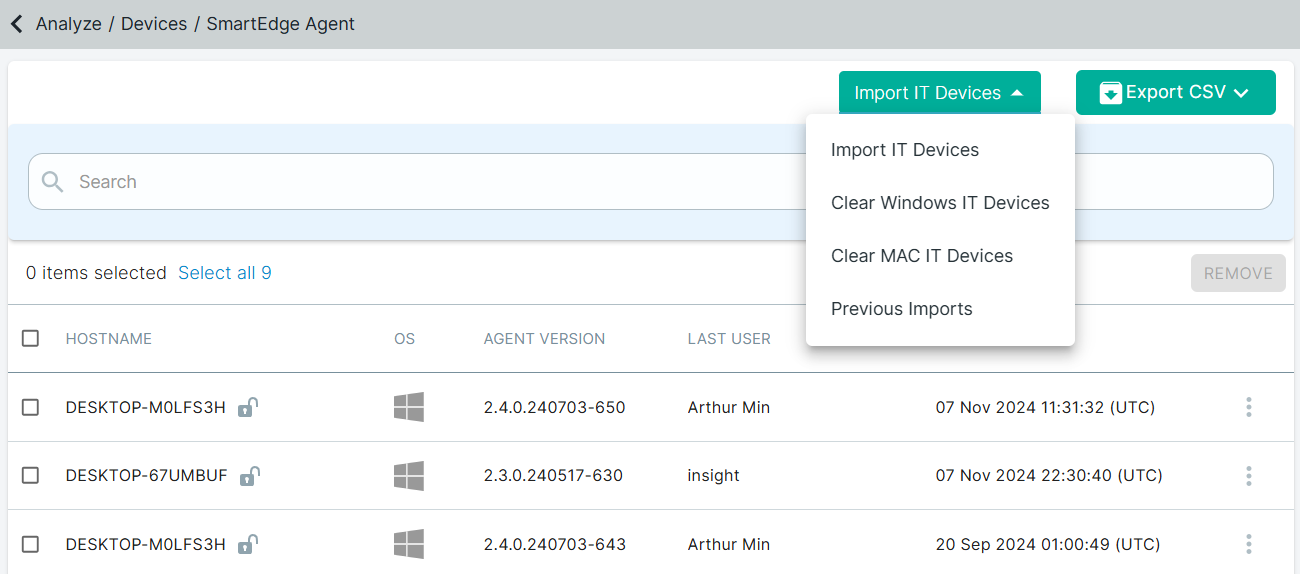
Navigate to Analyze > Devices > SmartEdge Agent to see the list of devices that have the agent installed.

-
To reclassify all the IT Devices as Production Devices, select the one of the following option from the Import IT Devices drop-down:
- Clear Windows IT Devices - Select this option to reclassify all the Windows IT Devices as Windows Production Devices.
On the Clear Windows IT Devices dialog, click Proceed to clear all Windows IT devices and reclassify them as Windows Production Devices.
- Clear MAC IT Devices - Select this option to reclassify all the MAC IT Devices as MAC Production Devices.
On the Clear MAC IT Devices dialog, click Proceed to clear all MAC IT devices and reclassify them as MAC Production Devices.
- Clear Windows IT Devices - Select this option to reclassify all the Windows IT Devices as Windows Production Devices.
- Select the Import IT Devices option from the Import IT Devices drop-down.
-
On the Import IT Devices dialog, download the example csv file.
The example csv file contains the Hostname and IT Device columns only.
You can also use the CSV file that you exported using the Export CSV drop-down. To know how to export selected devices, refer to Exporting devices list.
-
Based on the example csv file format, create your own csv file with a maximum of 5000 devices (rows) and each of the device either set to one of the following:
- IT Device - Enter IT Device in the IT Device column against the host name to designate device as IT device.
- Production Device - Enter Production Device in the IT Device column against the host name to designate device as production device.
Note: :- Devices are skipped from uploading if you have entered any value other than IT Device or Production Device in the IT Device column.
- Additional columns, other than the Hostname and IT Device columns, are skipped from uploading if the imported CSV contains additional columns.
-
Upload the updated csv file and click Save.
The Import Job Submitted for Processing dialog opens.

If you upload the csv file with more than 5000 devices (rows), an error will be displayed and the import will fail.
- Click OK on the dialog to close it.
-
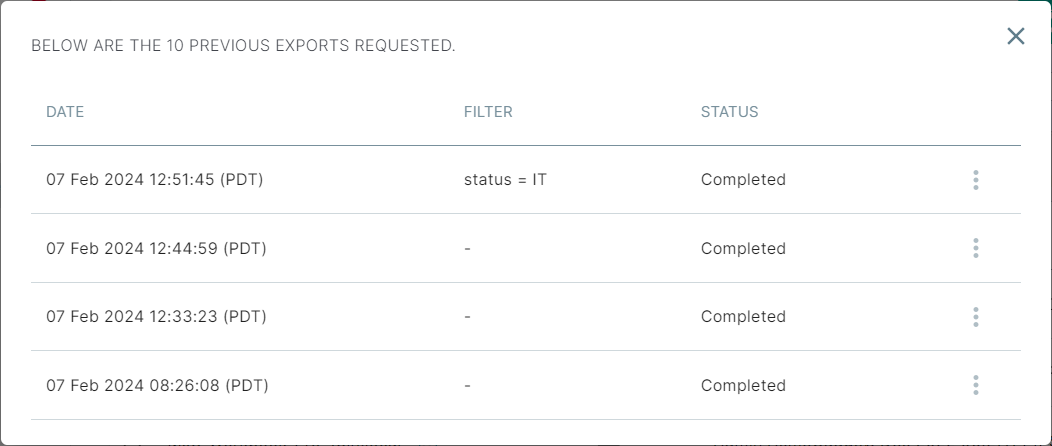
After few minutes, click Import IT Devices and then select Previous Imports from the drop-down.
The IT Devices Previous Imports dialog opens displaying the 50 previous imports requested along with the date when the import was made, imported CSV file name, user, type of the import, and status of the import.
The Status column displays:- In Process when a particular import is being processed.
- Completed when a particular import is successfully.
- Failed when a particular import failed.
Note: All the CSV imports older than 90 days, starting from the import date, are deleted from the list. -
To download the list of failed imports in .csv format, click on the 3 dots and then select Download when the Status column is set to
Failed.

The CSV file gets downloaded with the list of failed uploads—Hostname and IT Device.
Result
- Import IT devices
- Clear Windows IT devices
- Clear MAC IT devices