How to Import Policies
Use this topic to import an on-premises Forcepoint DLP policy archive into a Cloud DLP tenant.
Before you begin
Before starting this procedure, export your policy archive from on-premises Forcepoint DLP. For instructions, see Exporting Policies from on-premises Forcepoint DLP. Save the exported ZIP archive to a location accessible from your workstation.
Next steps
Use this procedure to import an on-premises Forcepoint DLP policy archive into Cloud DLP. If your Cloud DLP tenant has no existing policies, all imported items will appear with a New status and no conflict resolution is required — you can proceed directly to clicking Import after selecting your items.
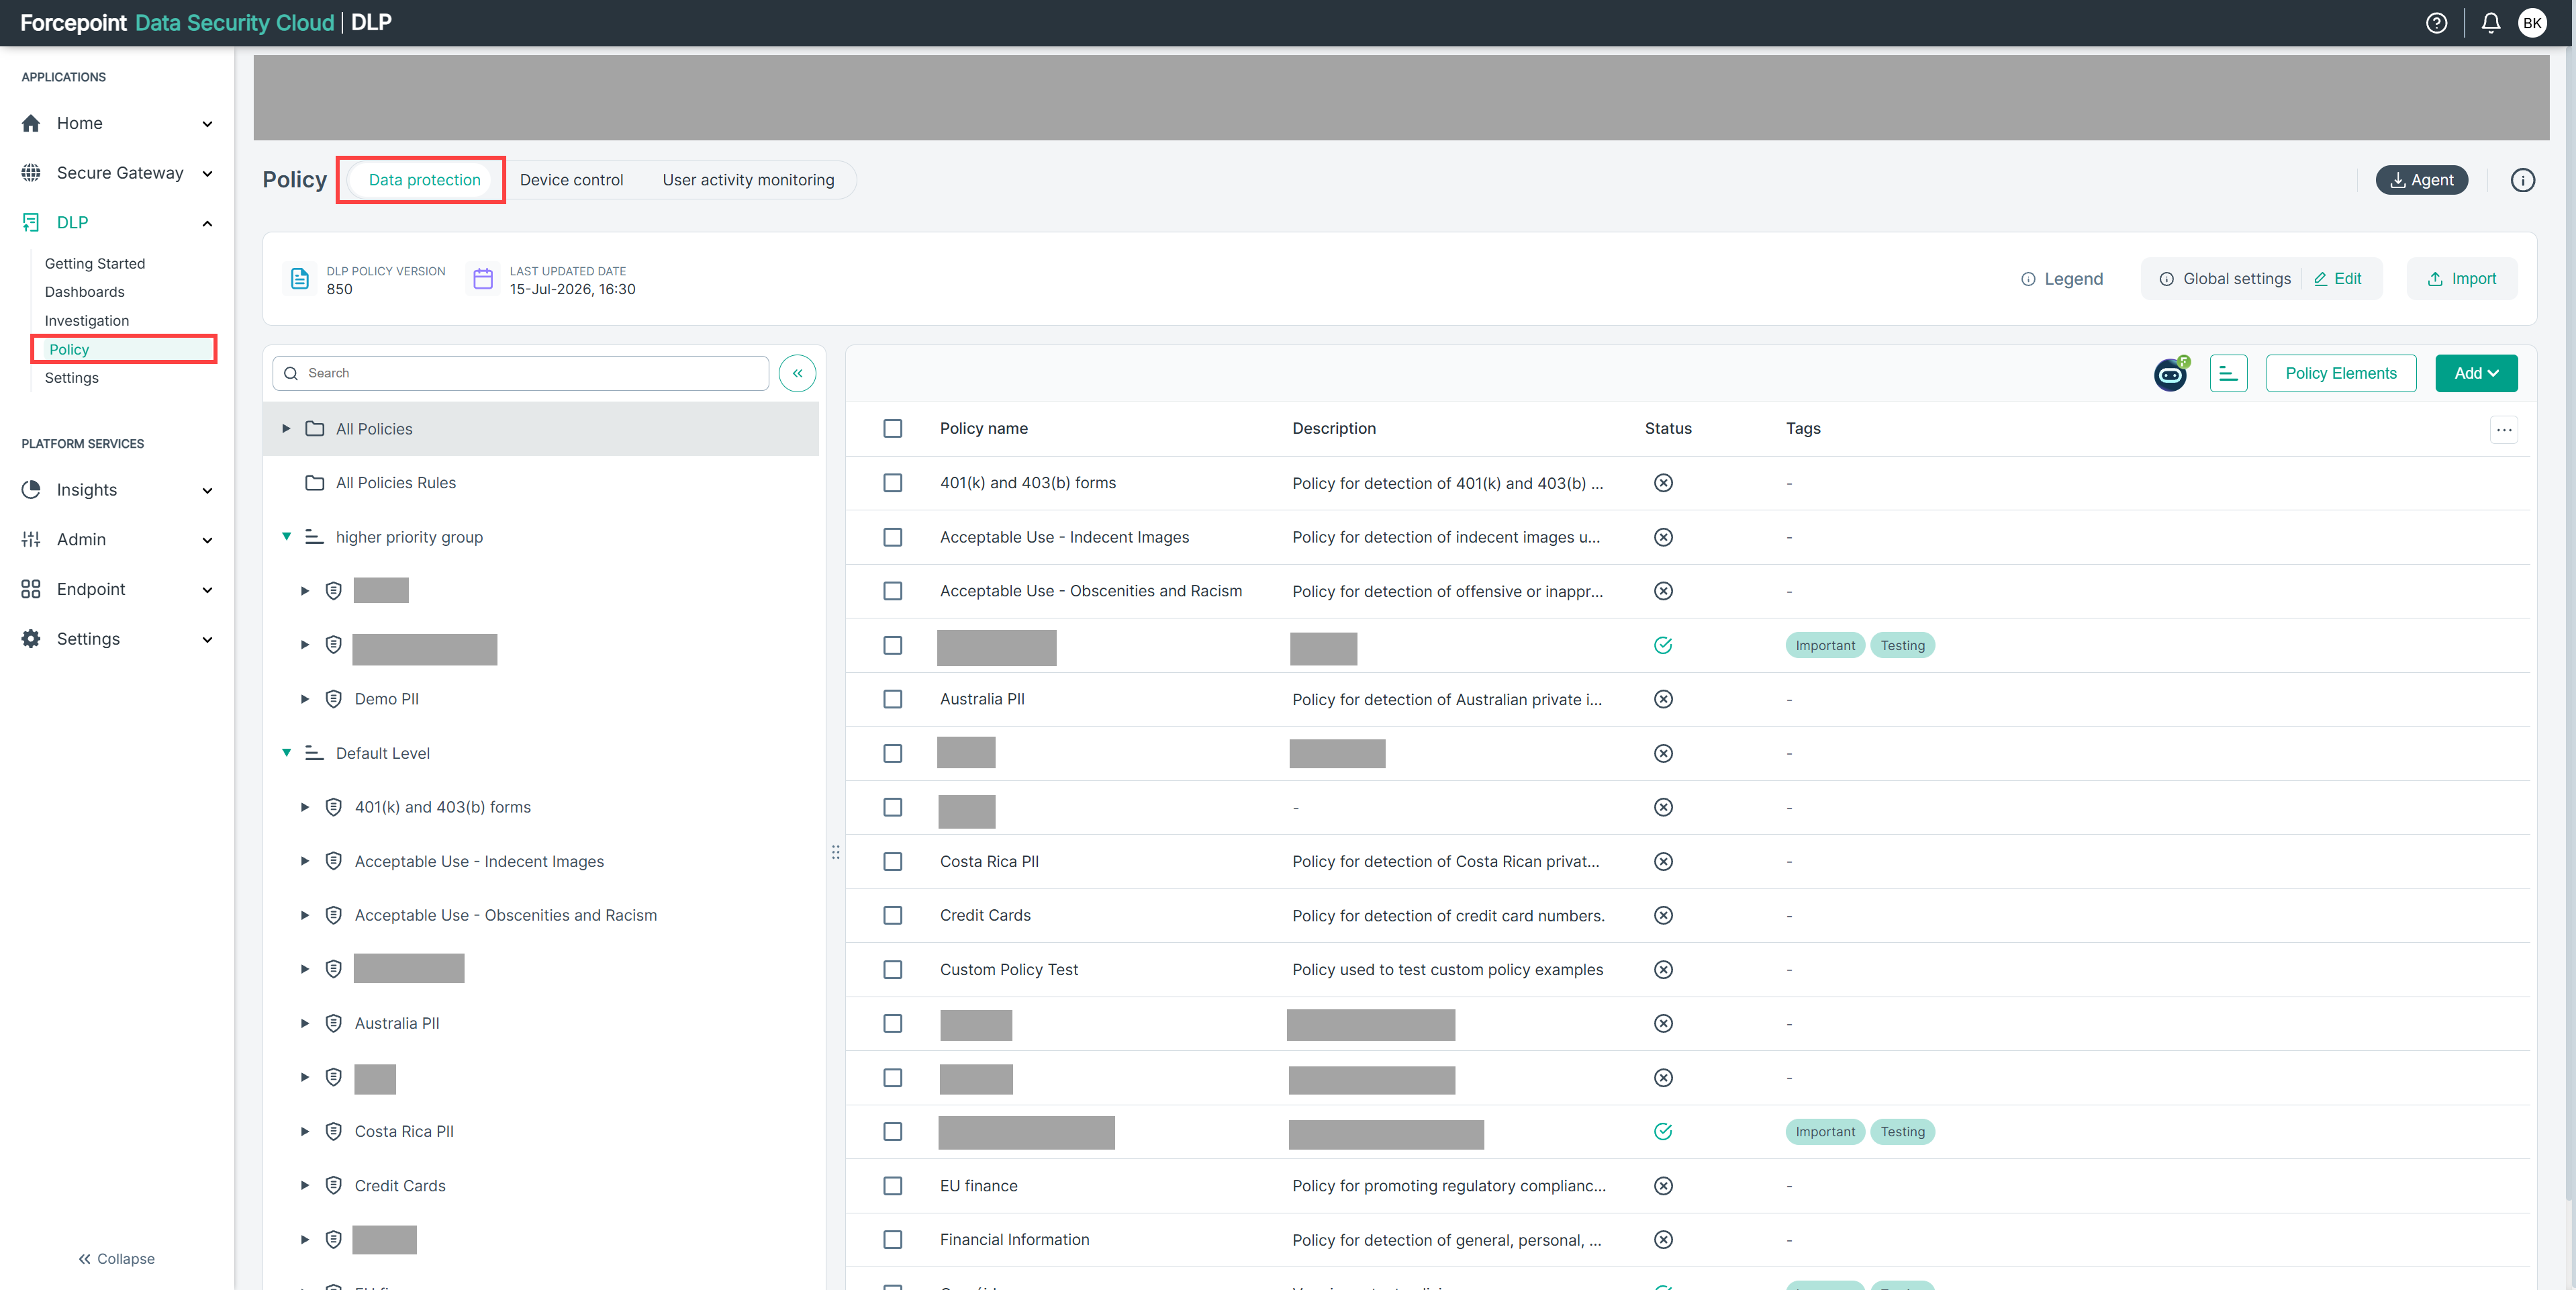
- In the Forcepoint Data Security Cloud Platform, navigate to Policy and then Data Protection.
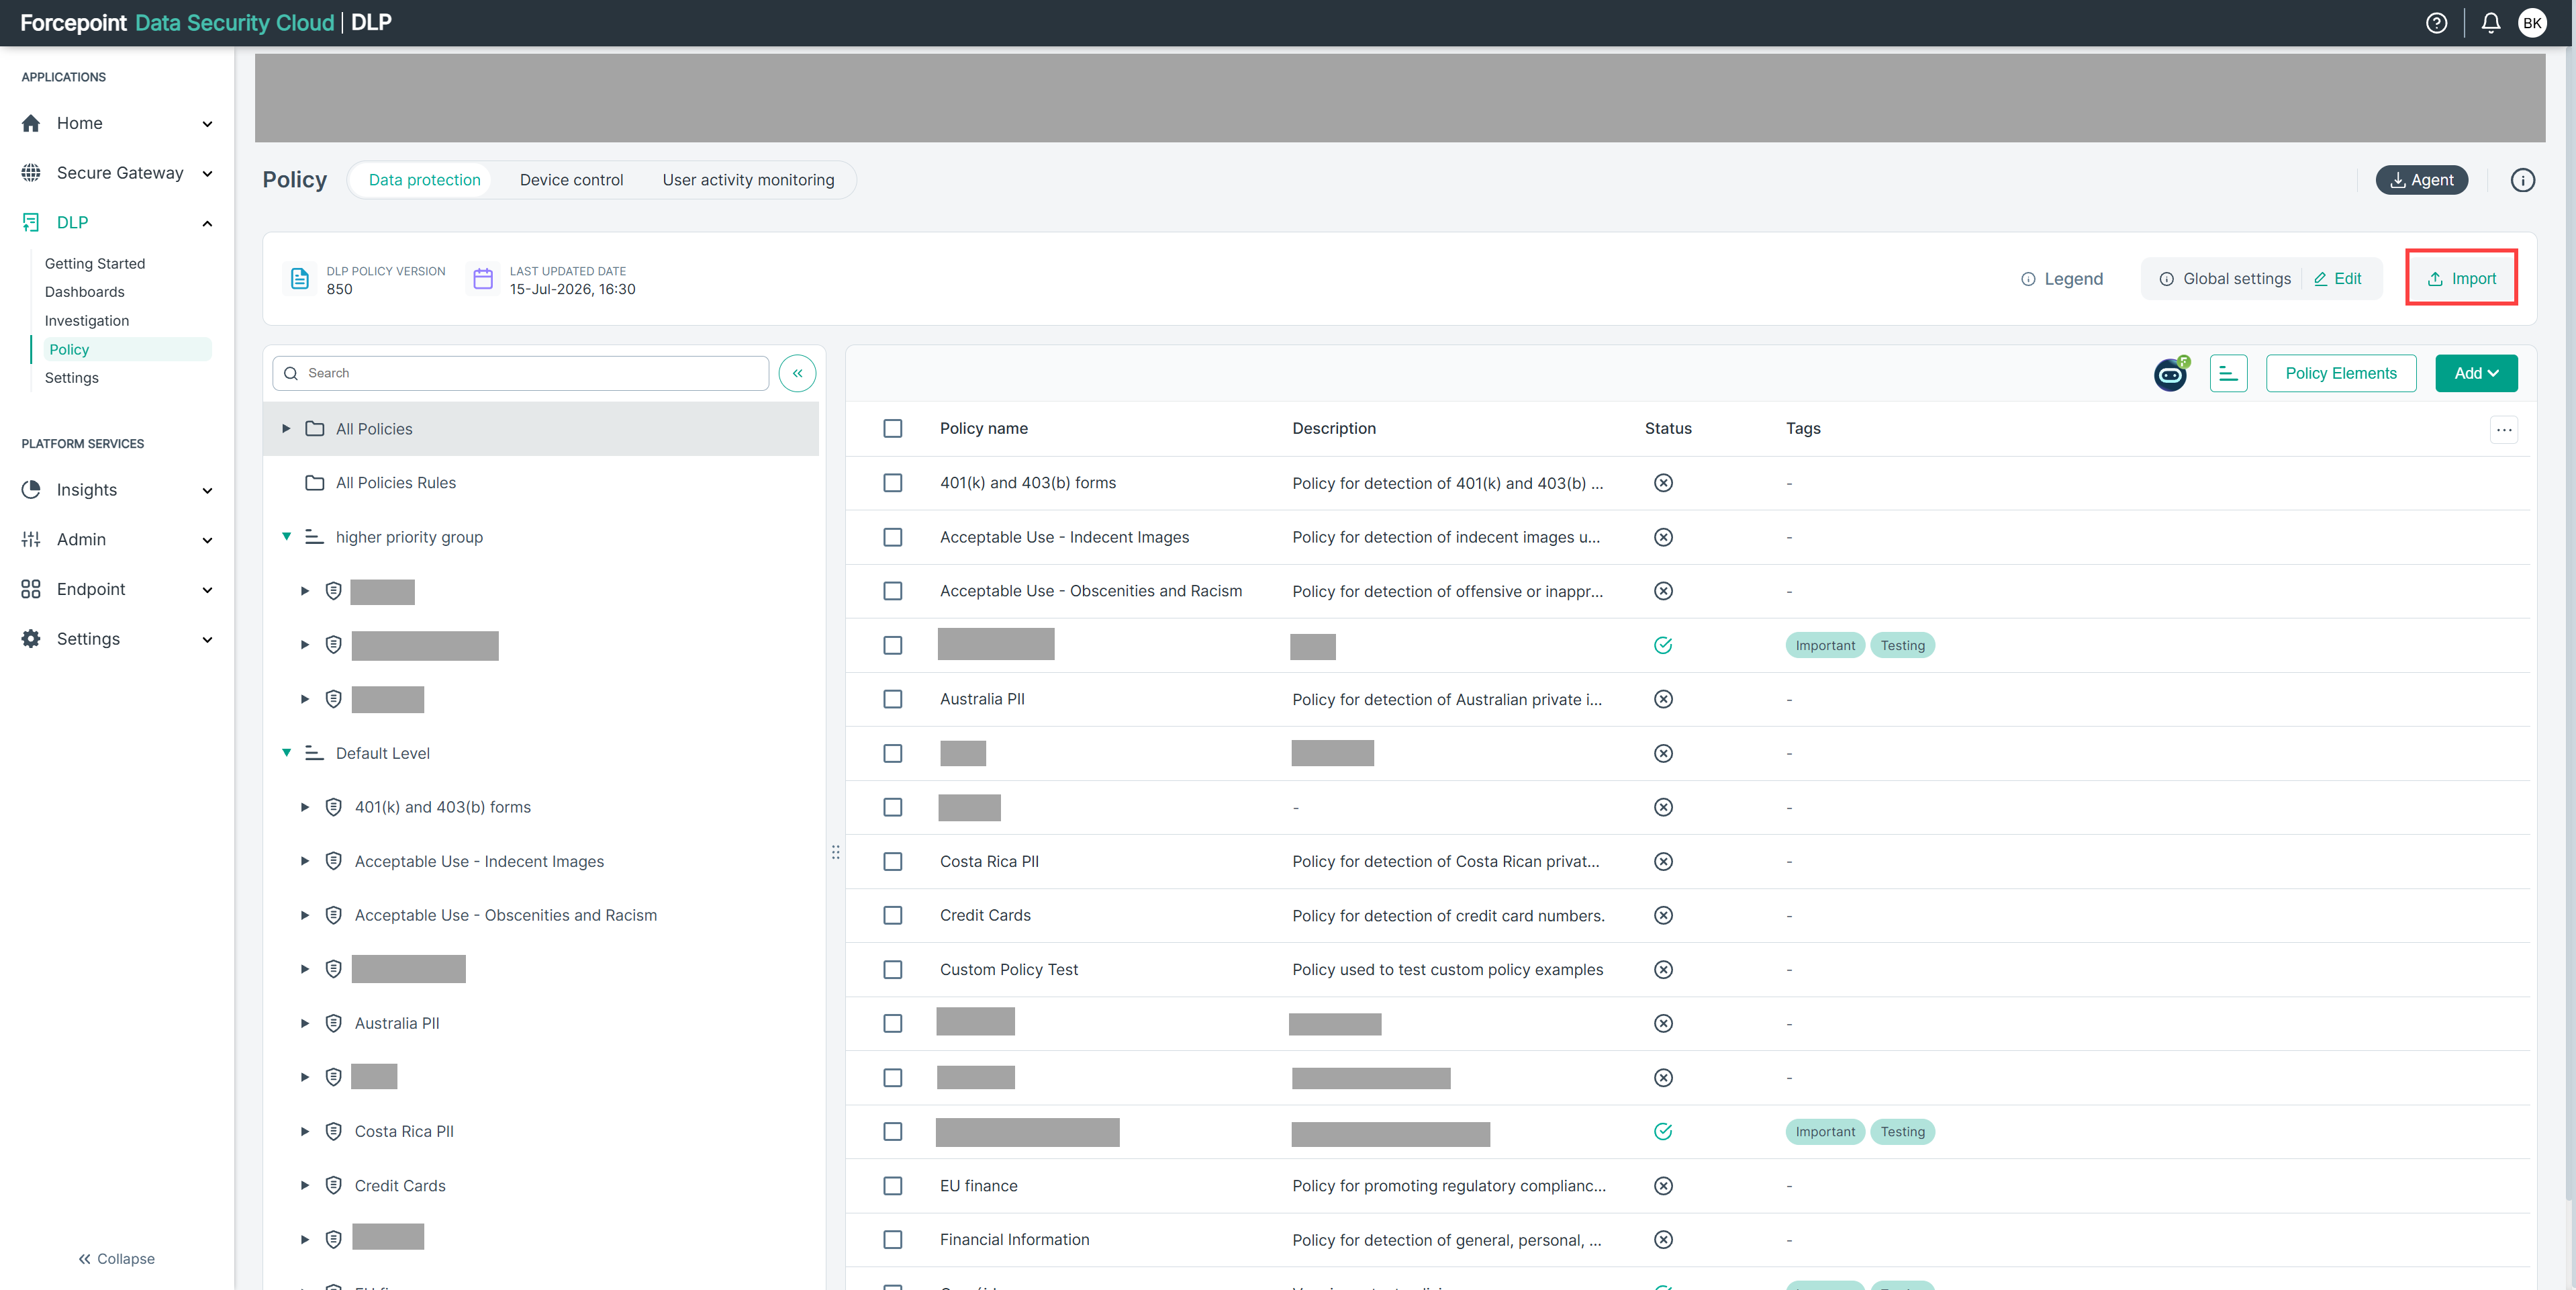
- In the top-right area of the Policy page, click Import.
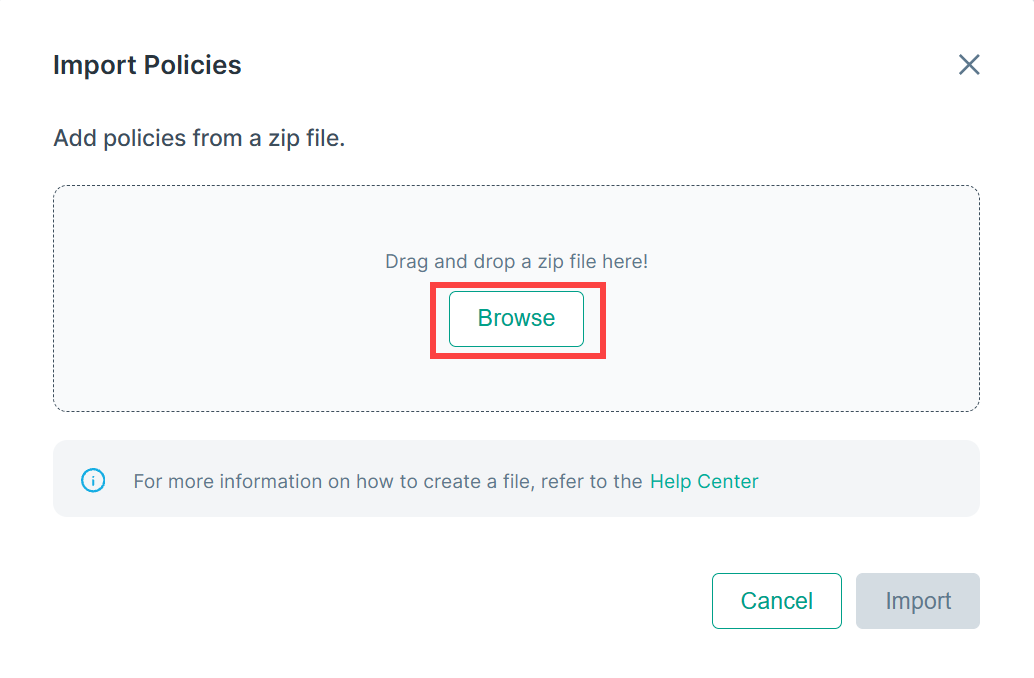
- The Import Policies dialog box opens. Click Browse.
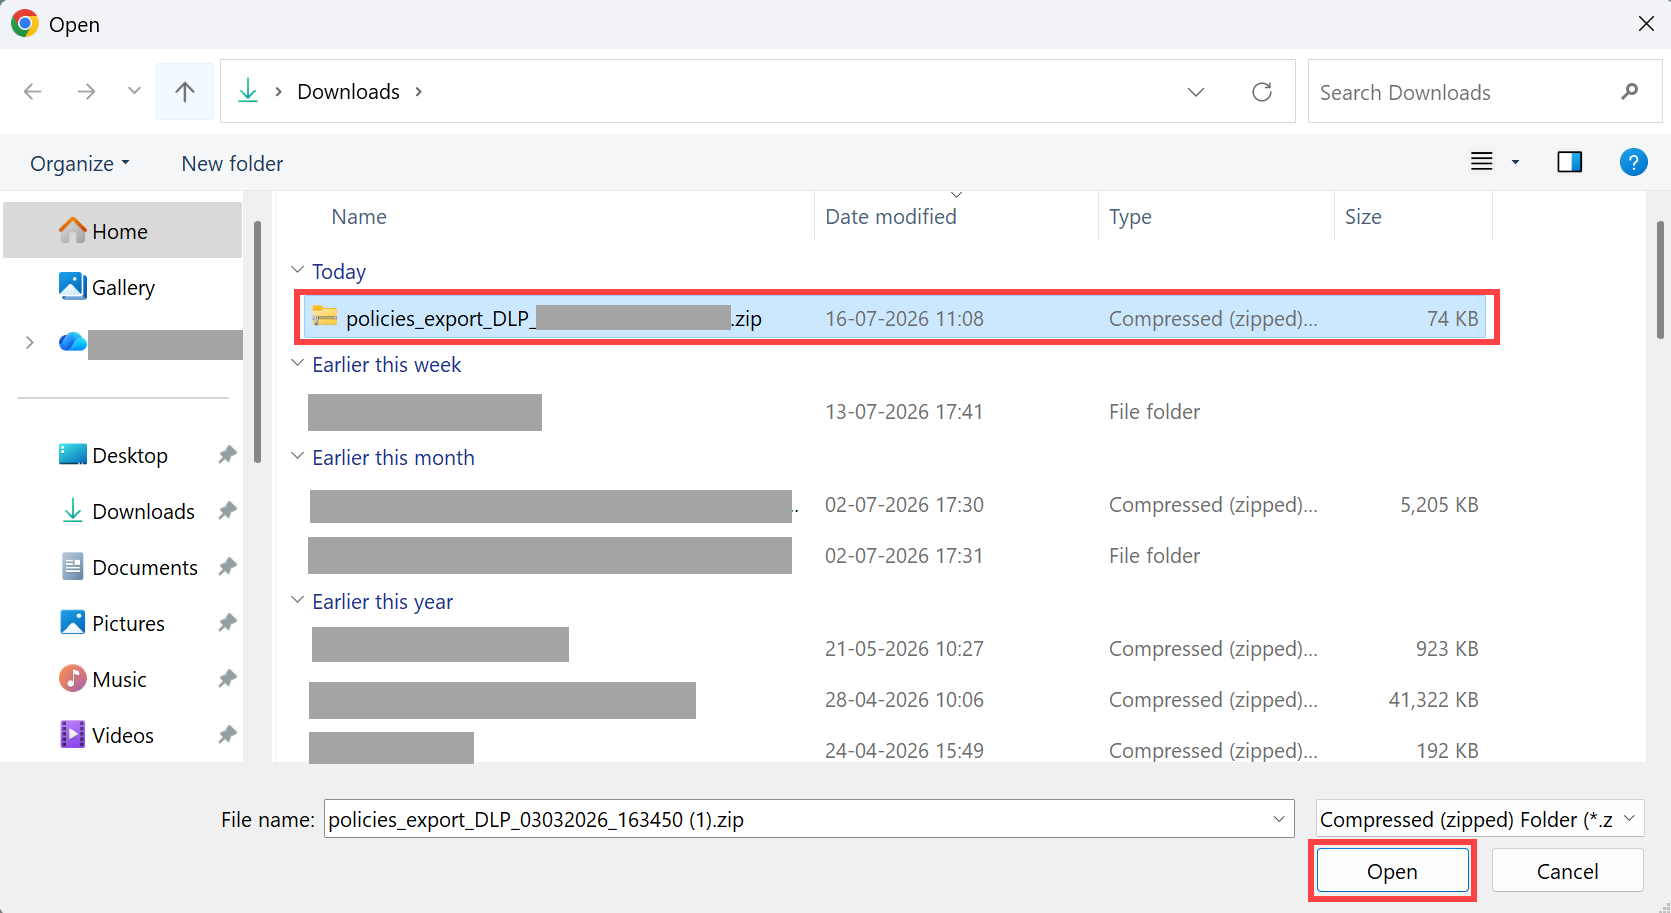
- In the file explorer, navigate to the location where you saved the exported on-premises Forcepoint DLP policy archive (.zip file).
- Select the file and click Open.
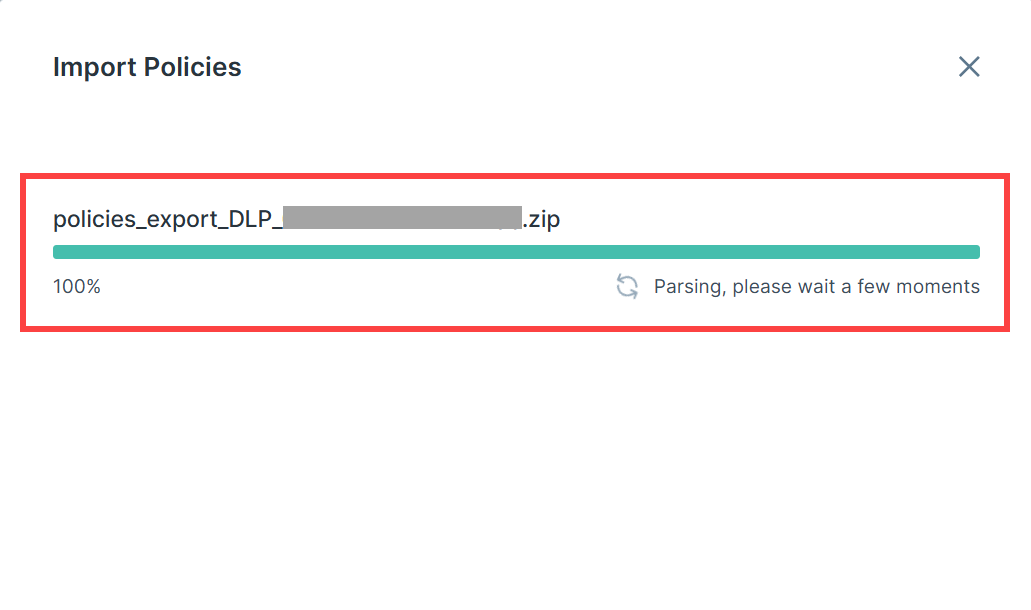
- The file uploads and the system parses the archive. A progress bar shows the upload status. Wait until parsing completes.
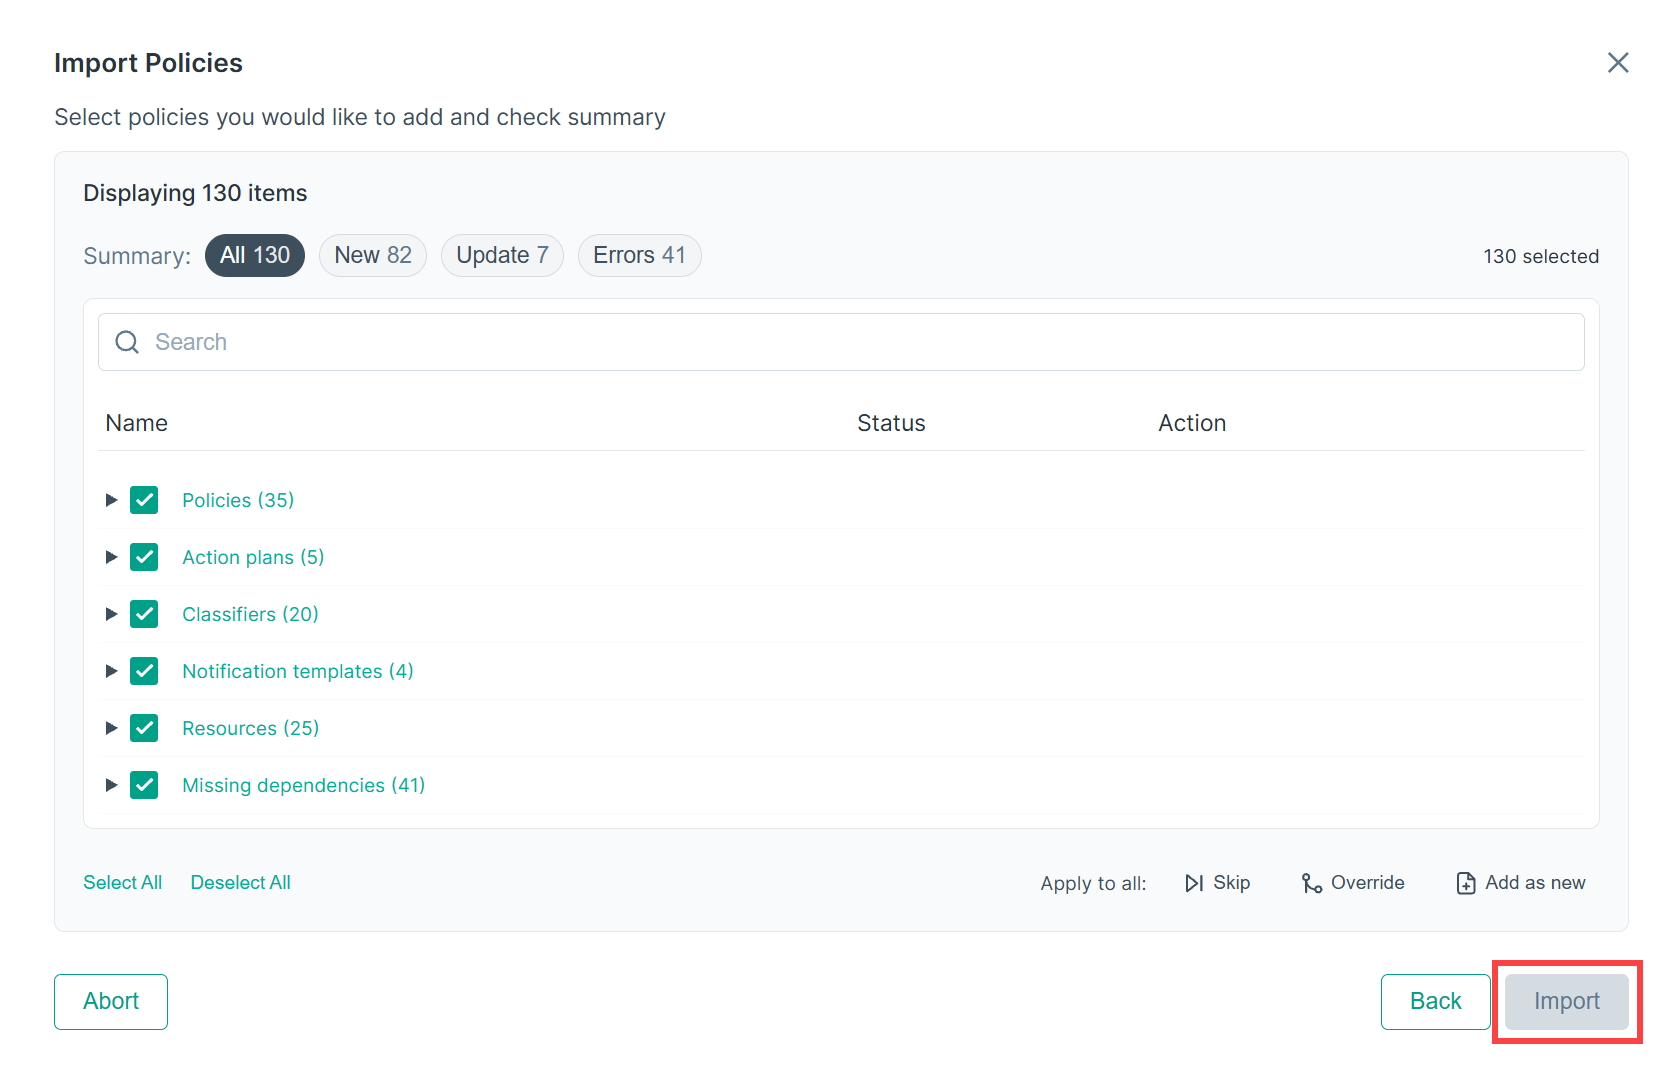
- After parsing, the Import Policies dialog displays a summary of all items found in the archive. The summary tabs show:
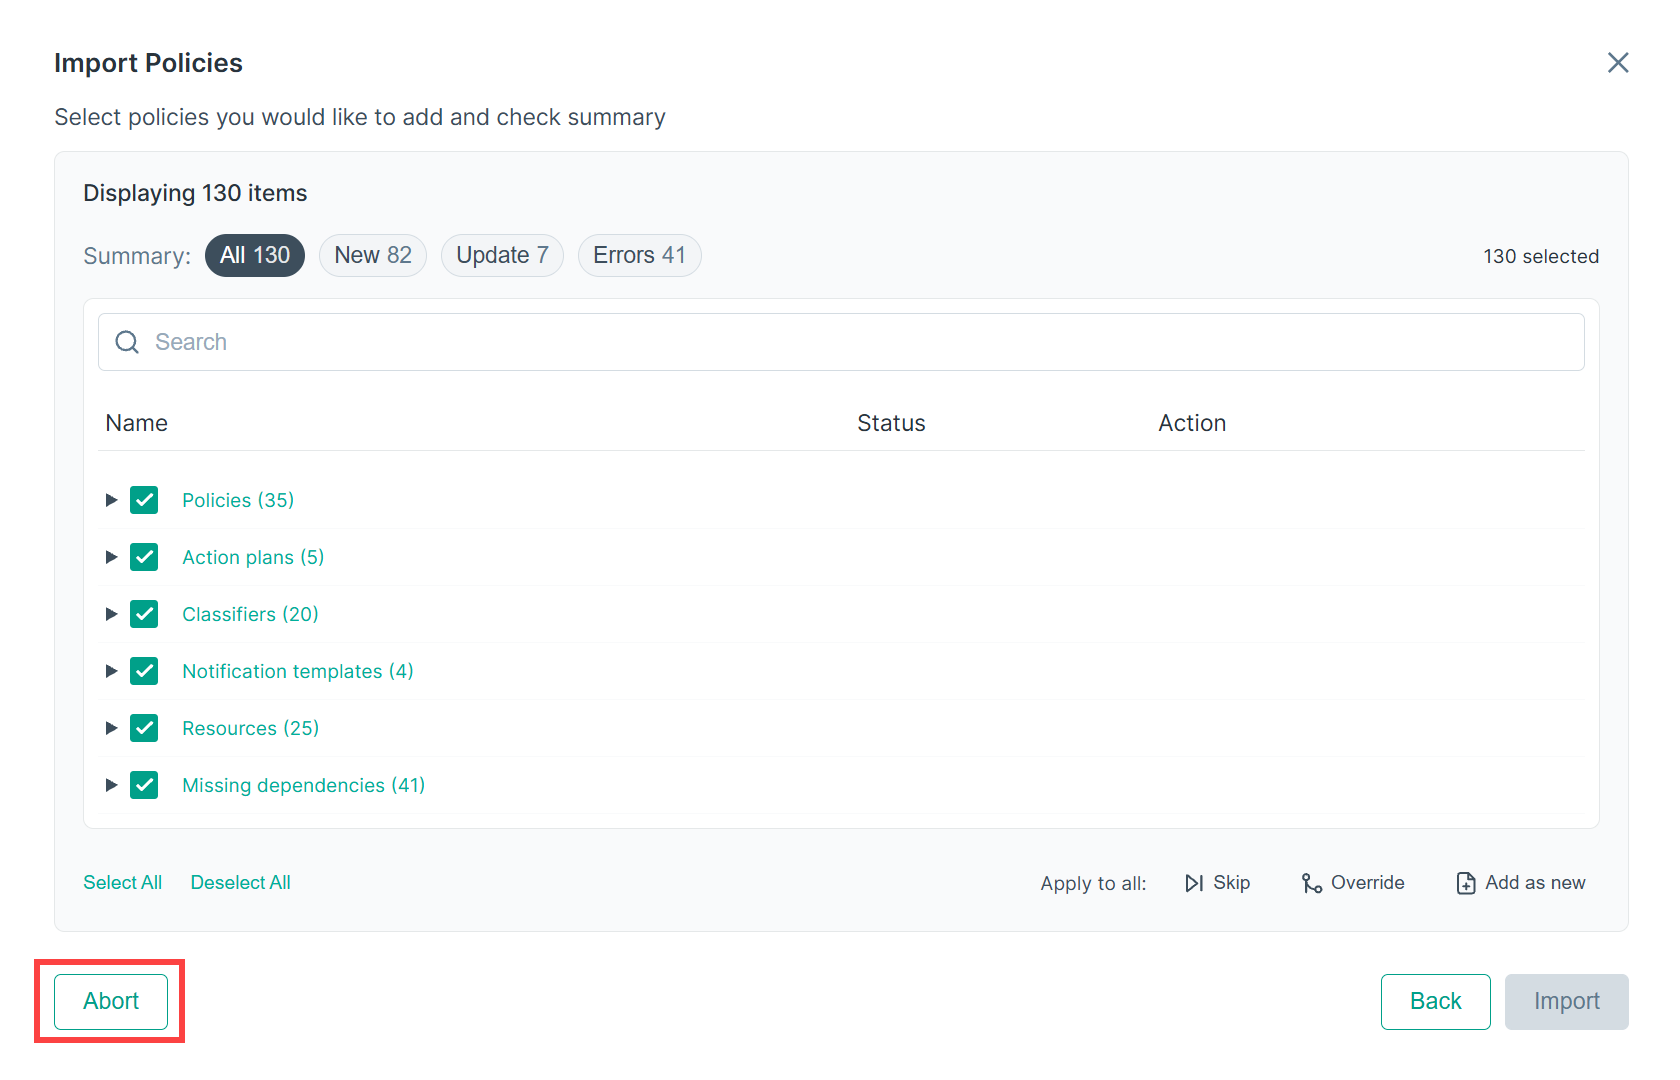
- All – displays all the policies and total count of all items.
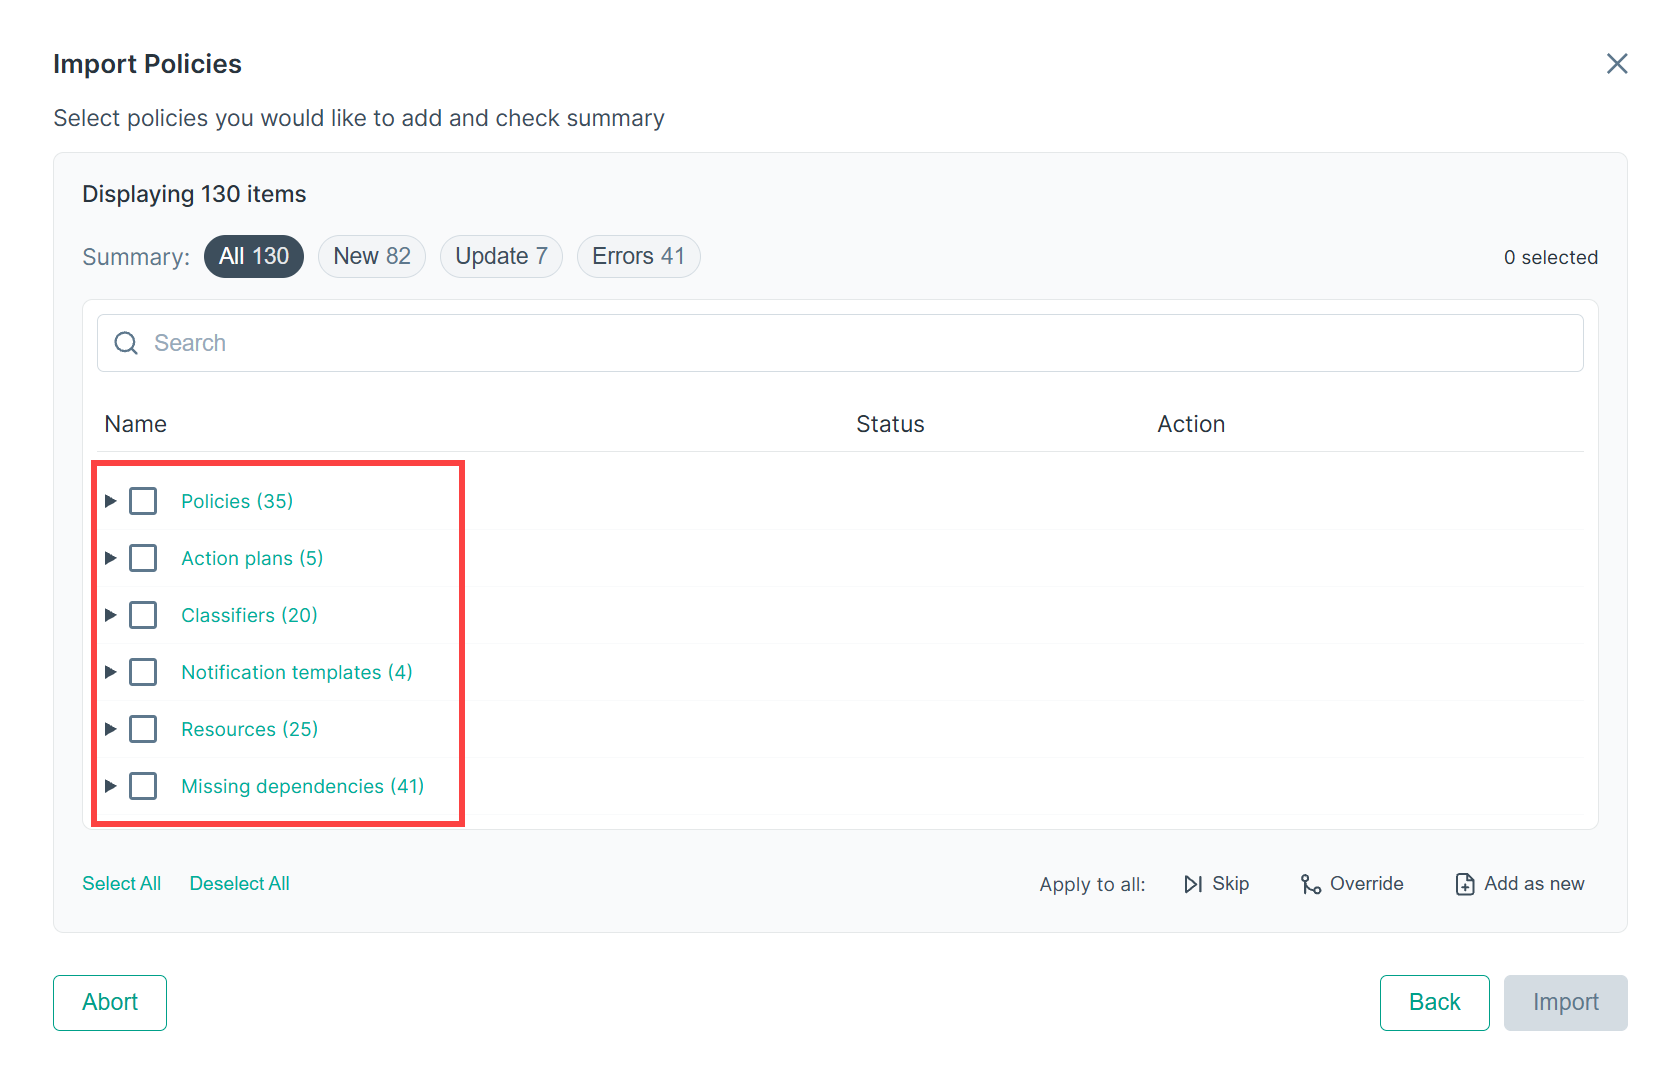
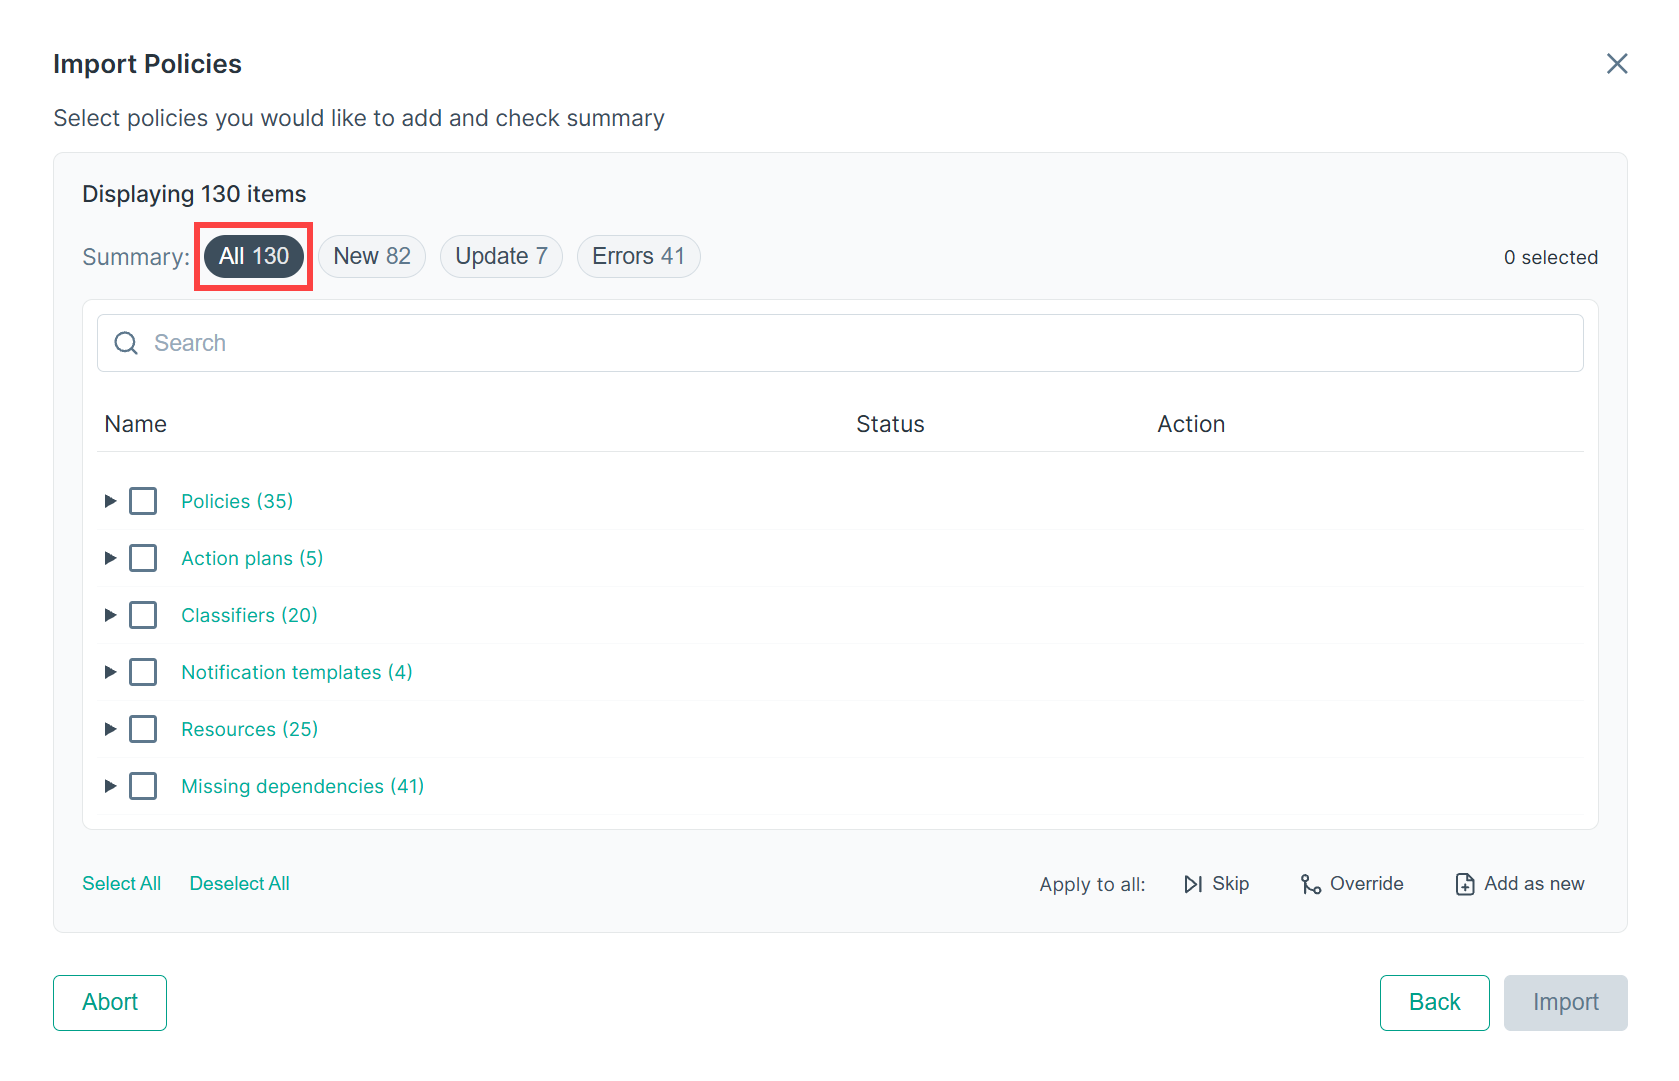 Note: Items are grouped by category: Policies, Action plans, Classifiers, Notification templates, Resources, and Missing dependencies. You can use the > (Expand) icon to view sub-items under each category.
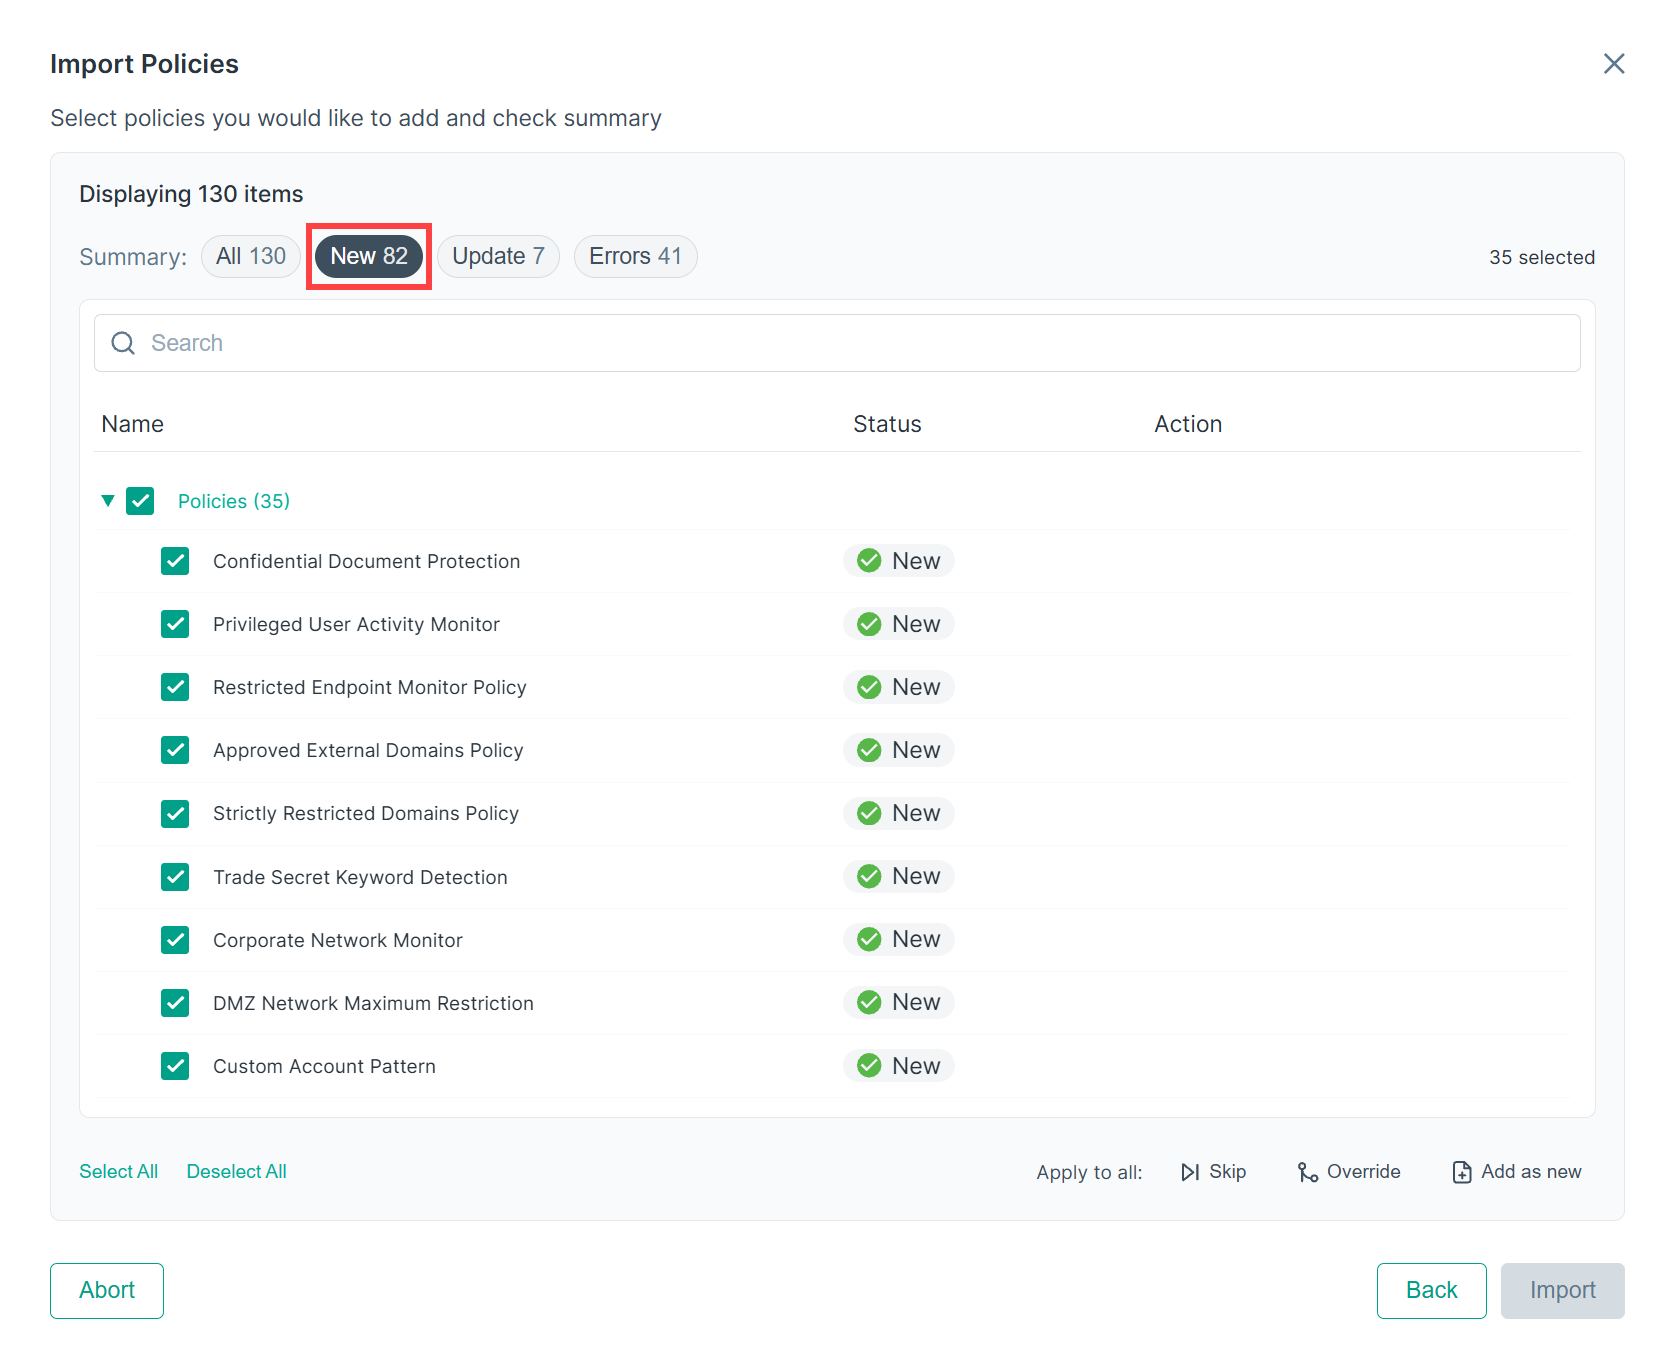
- New – items from the archive that do not yet exist in the tenant and will be added without conflict.
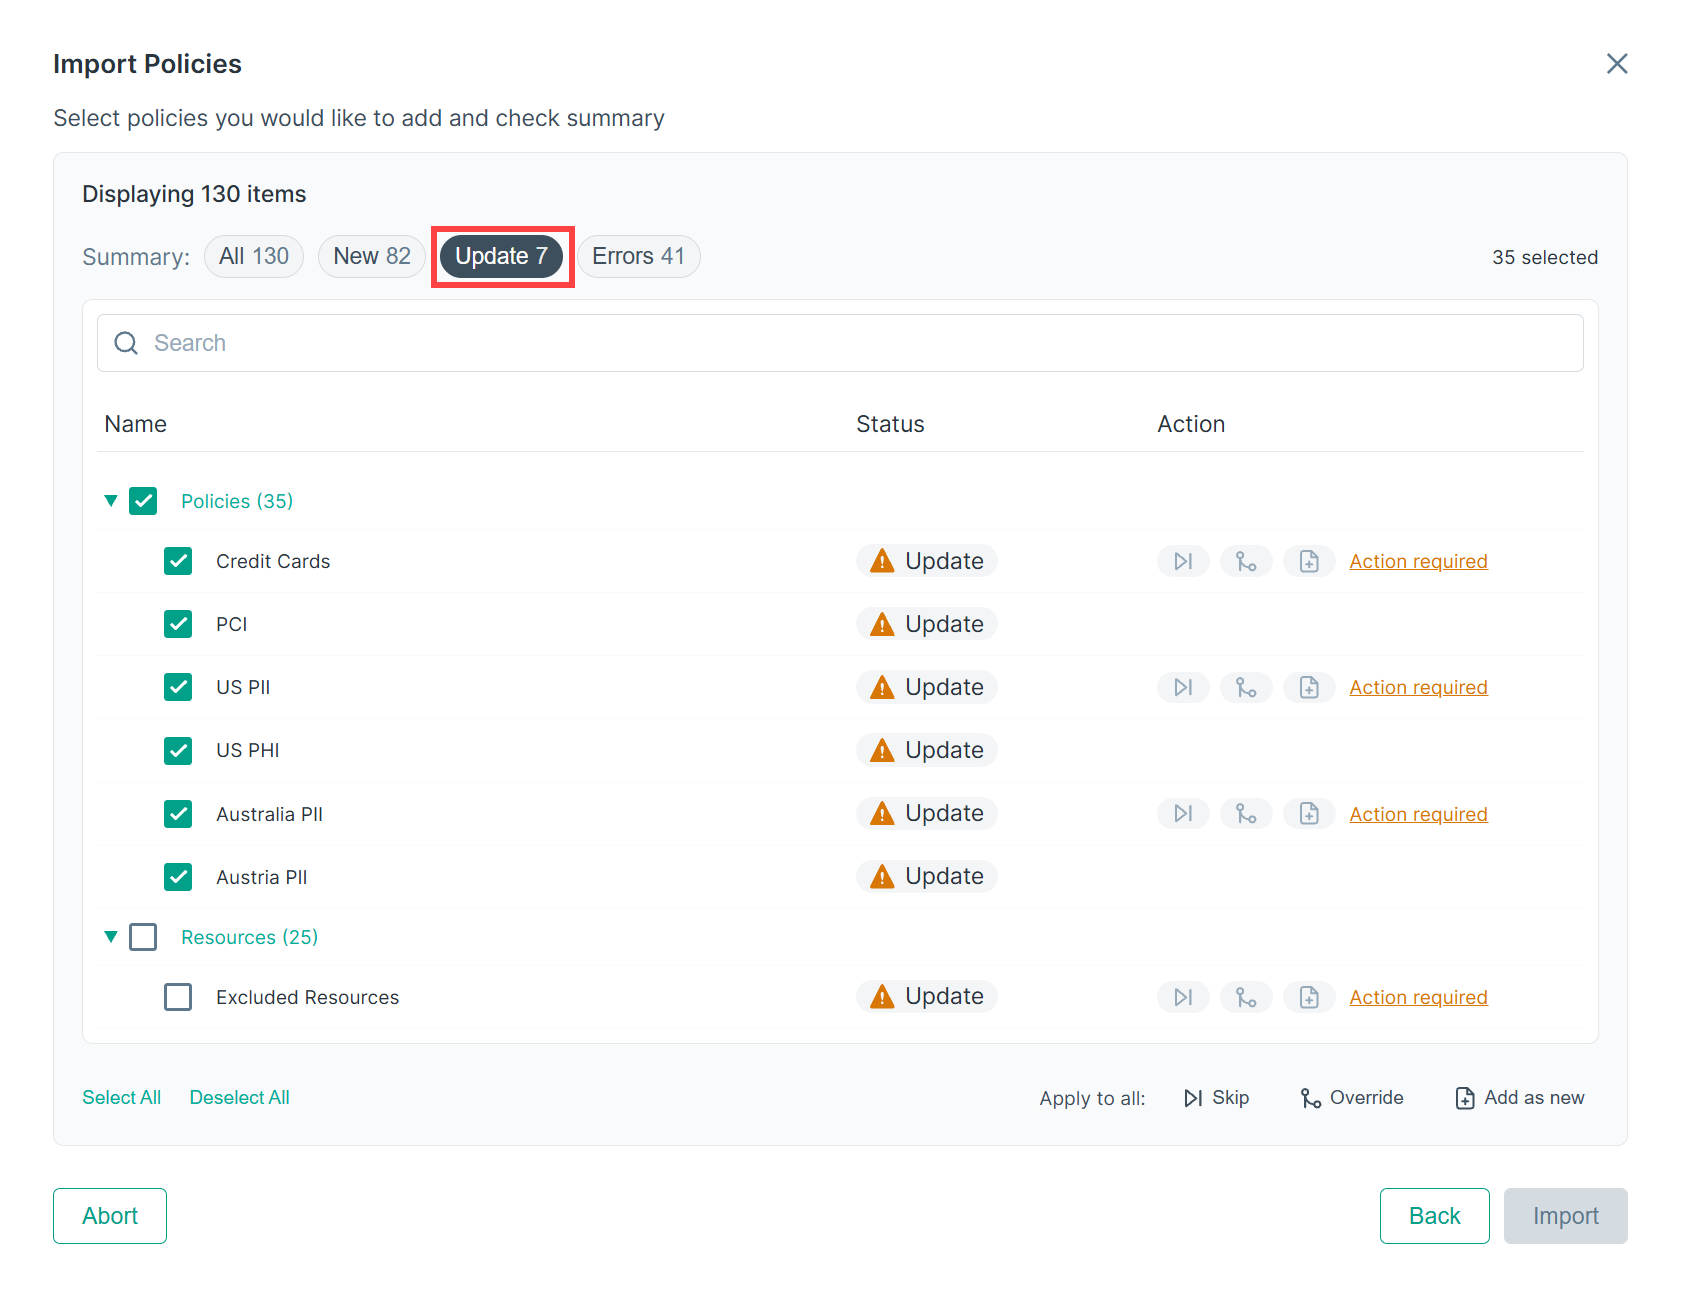
- Update – items that already exist in the tenant and conflict with archive items. These require a resolution action.
- Errors – items that cannot be imported (for example, due to missing dependencies).
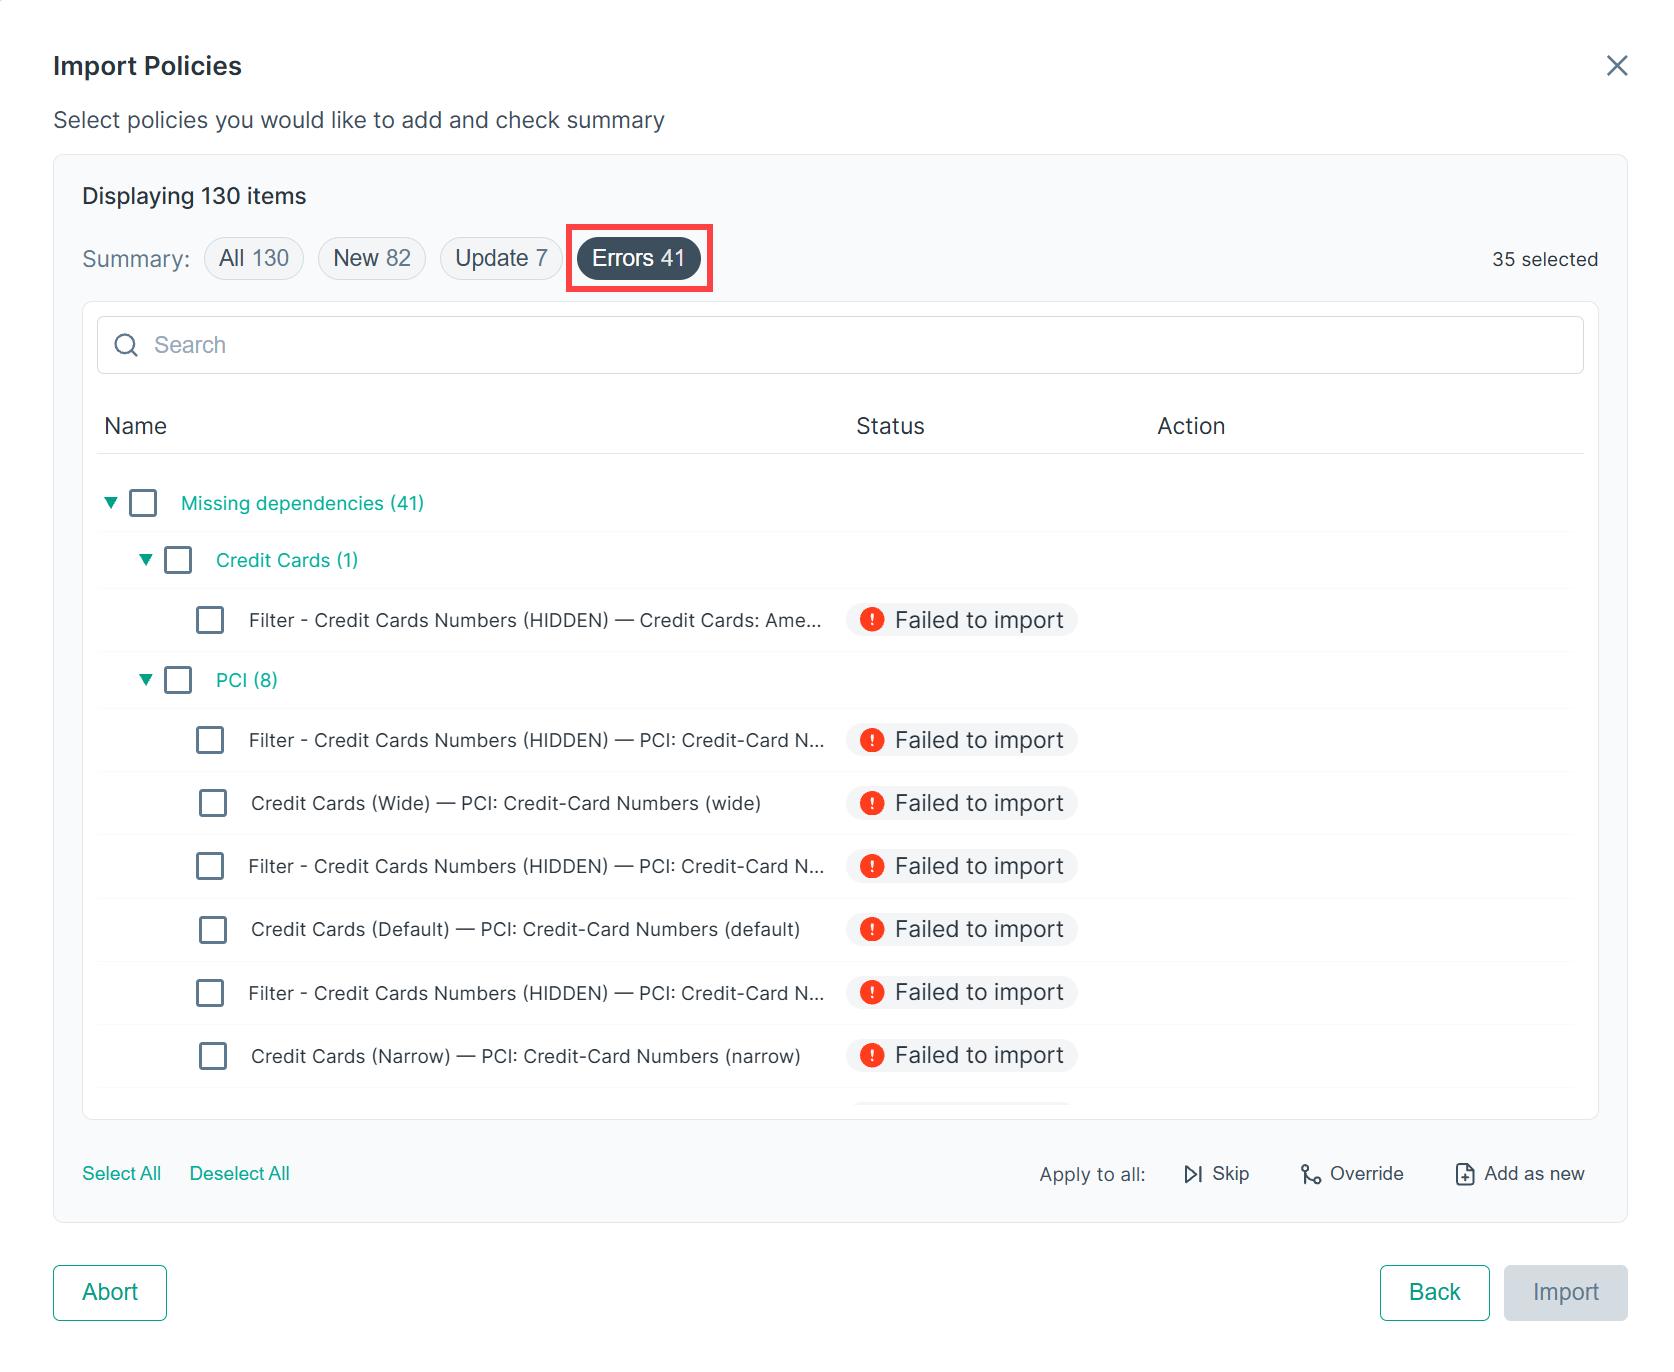 Note: Missing dependencies (resources or classifiers referenced by a policy but absent from the archive) are flagged in the Import Policies dialog as Errors and may require manual resolution after import.Note: To cancel the import at any time, click Abort.
- All – displays all the policies and total count of all items.
- For items showing Update status, an action must be assigned in the Action column before importing. Items showing Action
required have not yet been assigned a resolution.
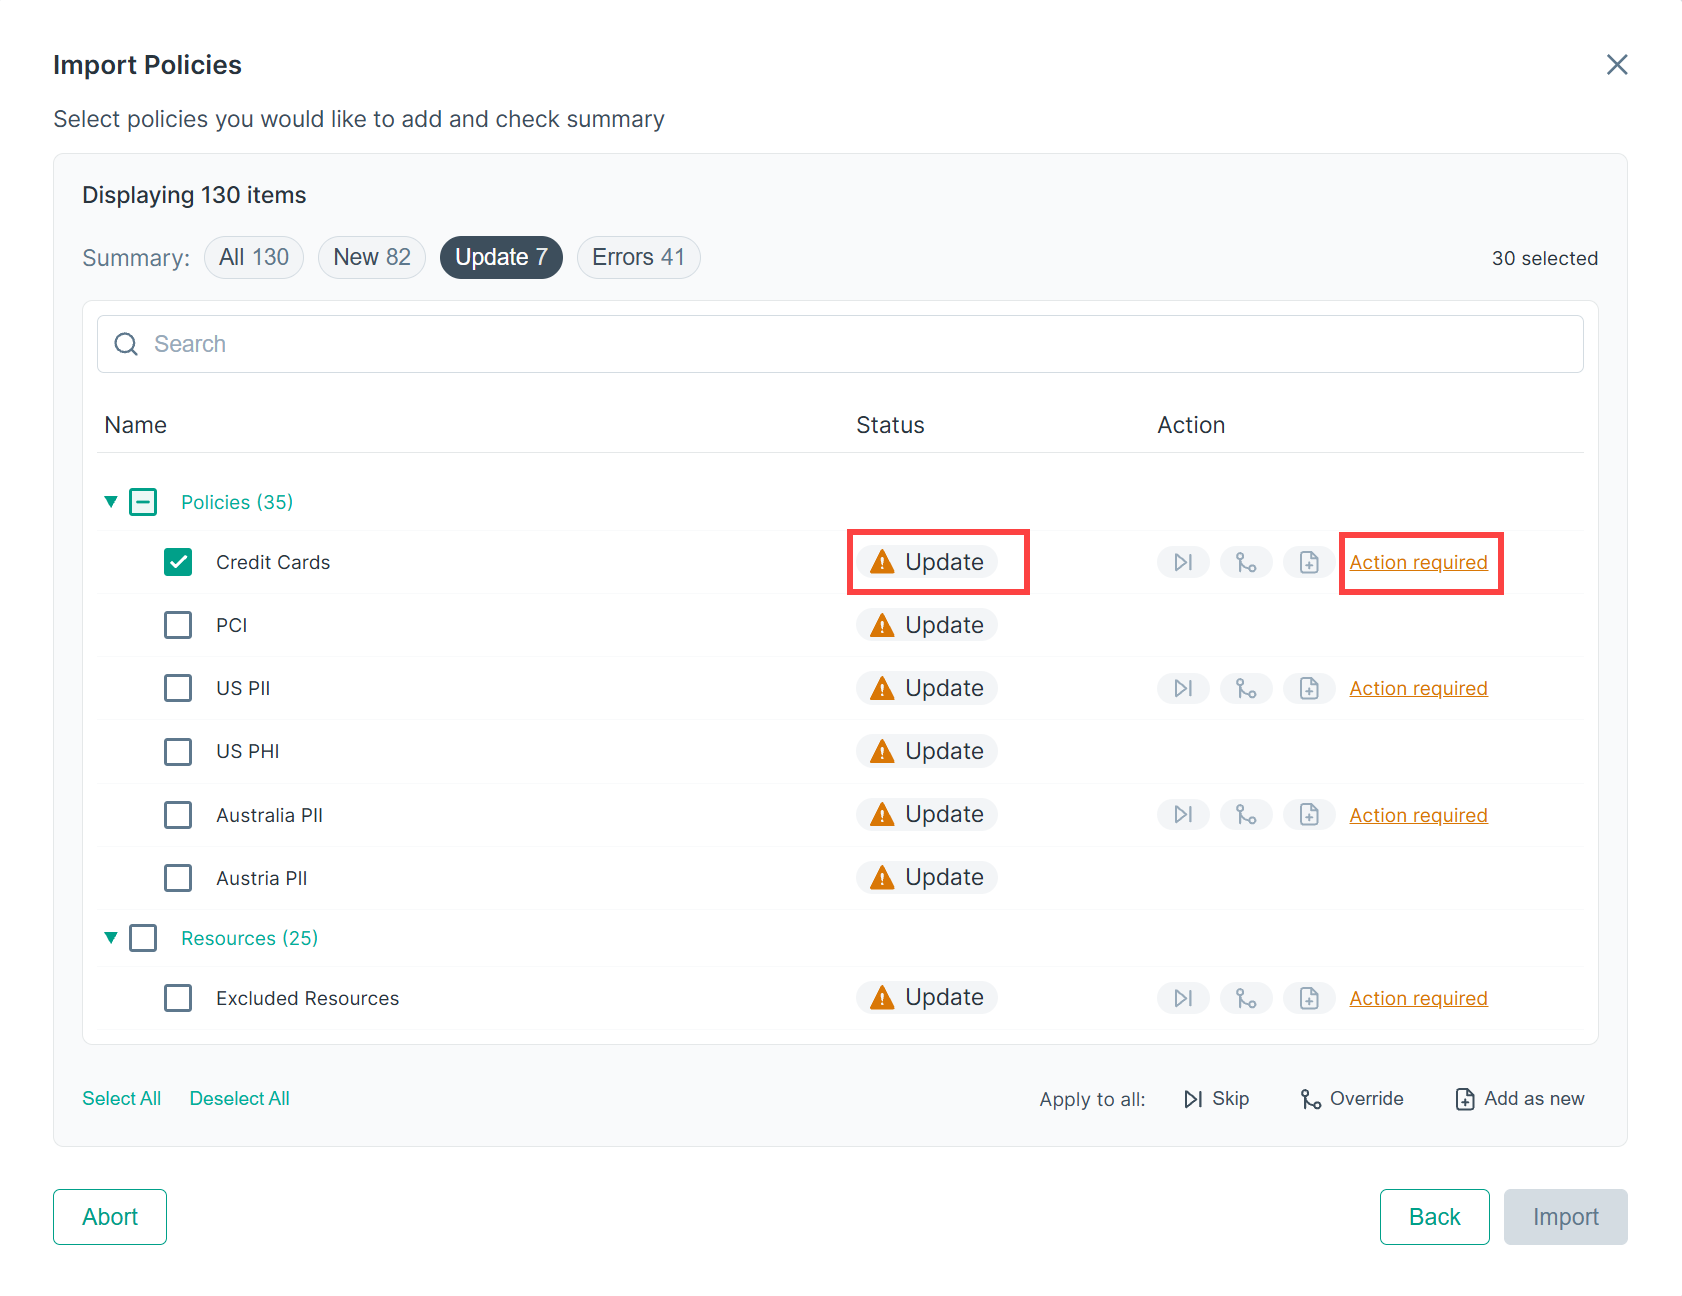
To resolve conflicts, you can act on items individually or apply an action to all selected items at once.
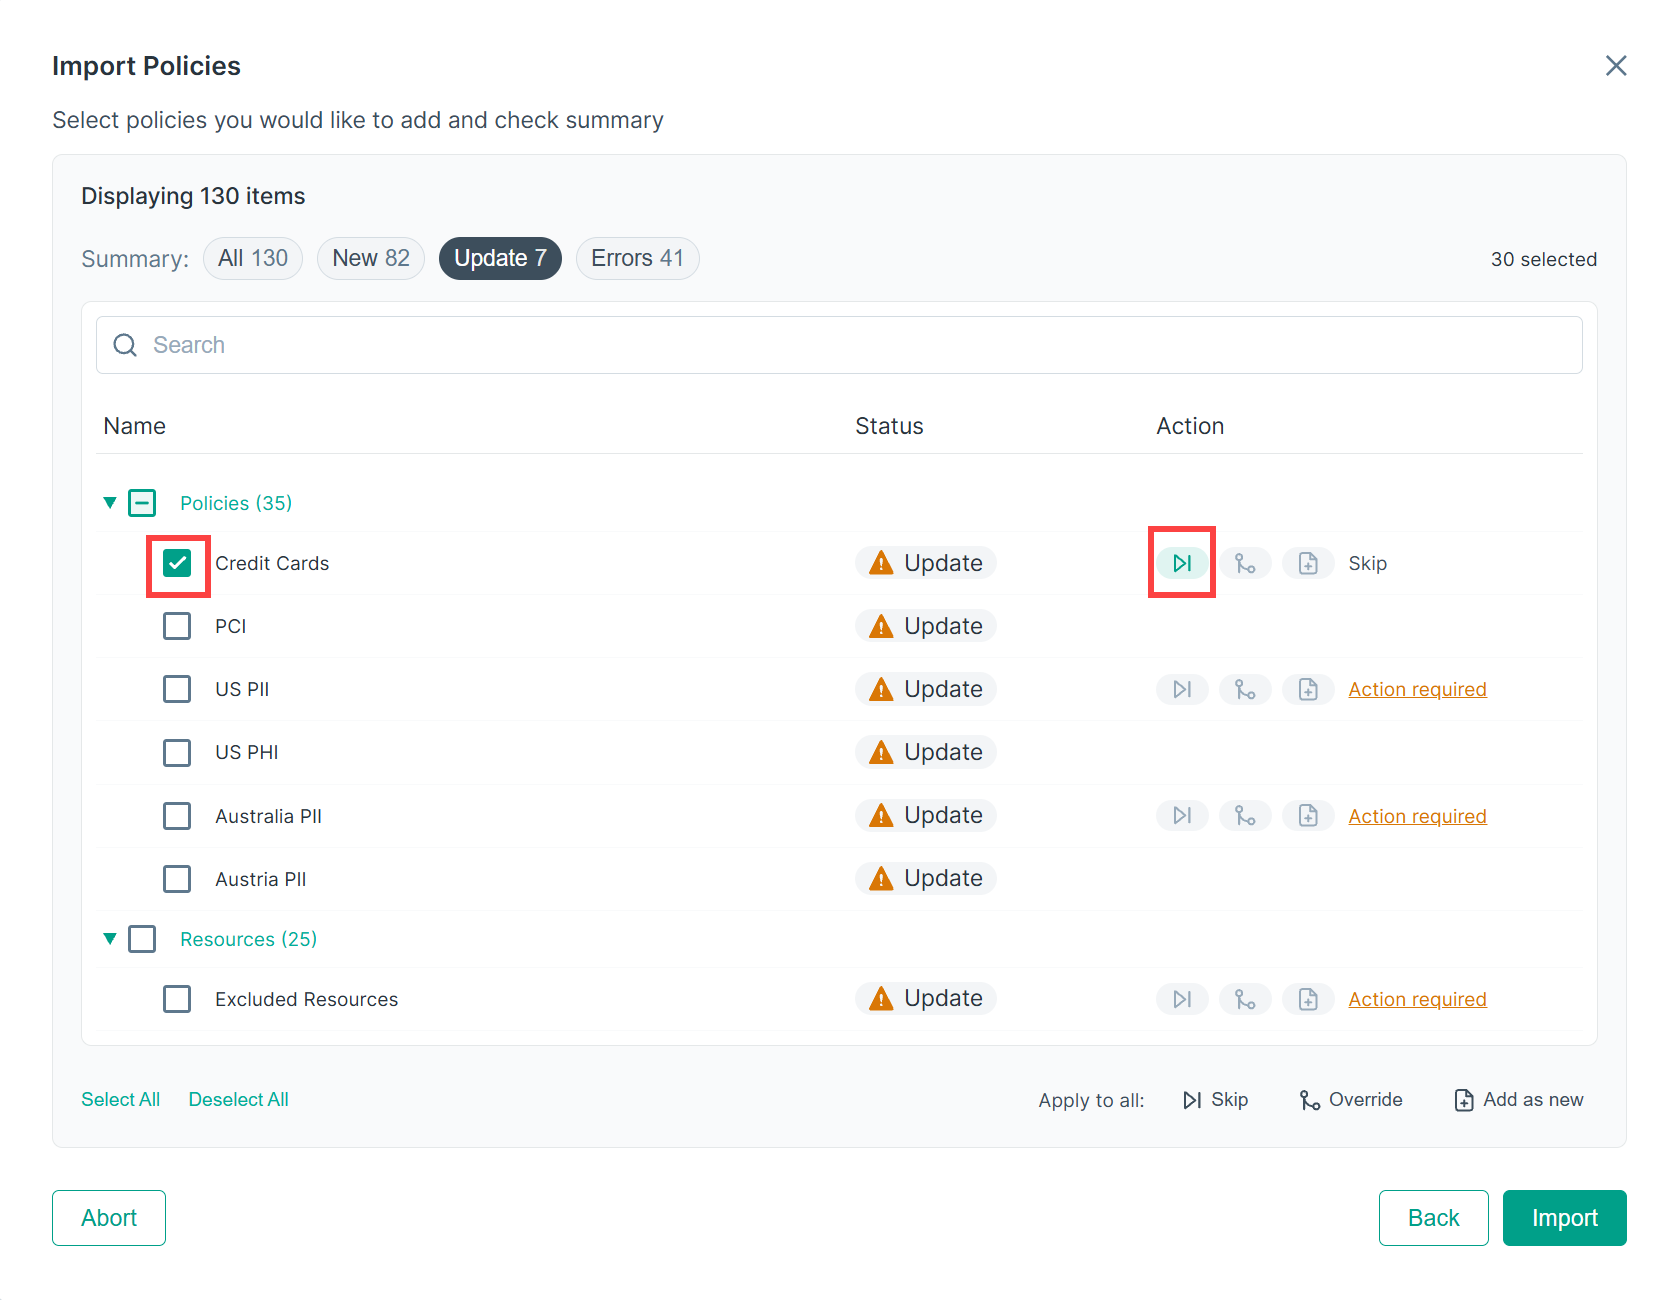
To act on individual items:
- Select the checkbox next to the item you want to resolve.
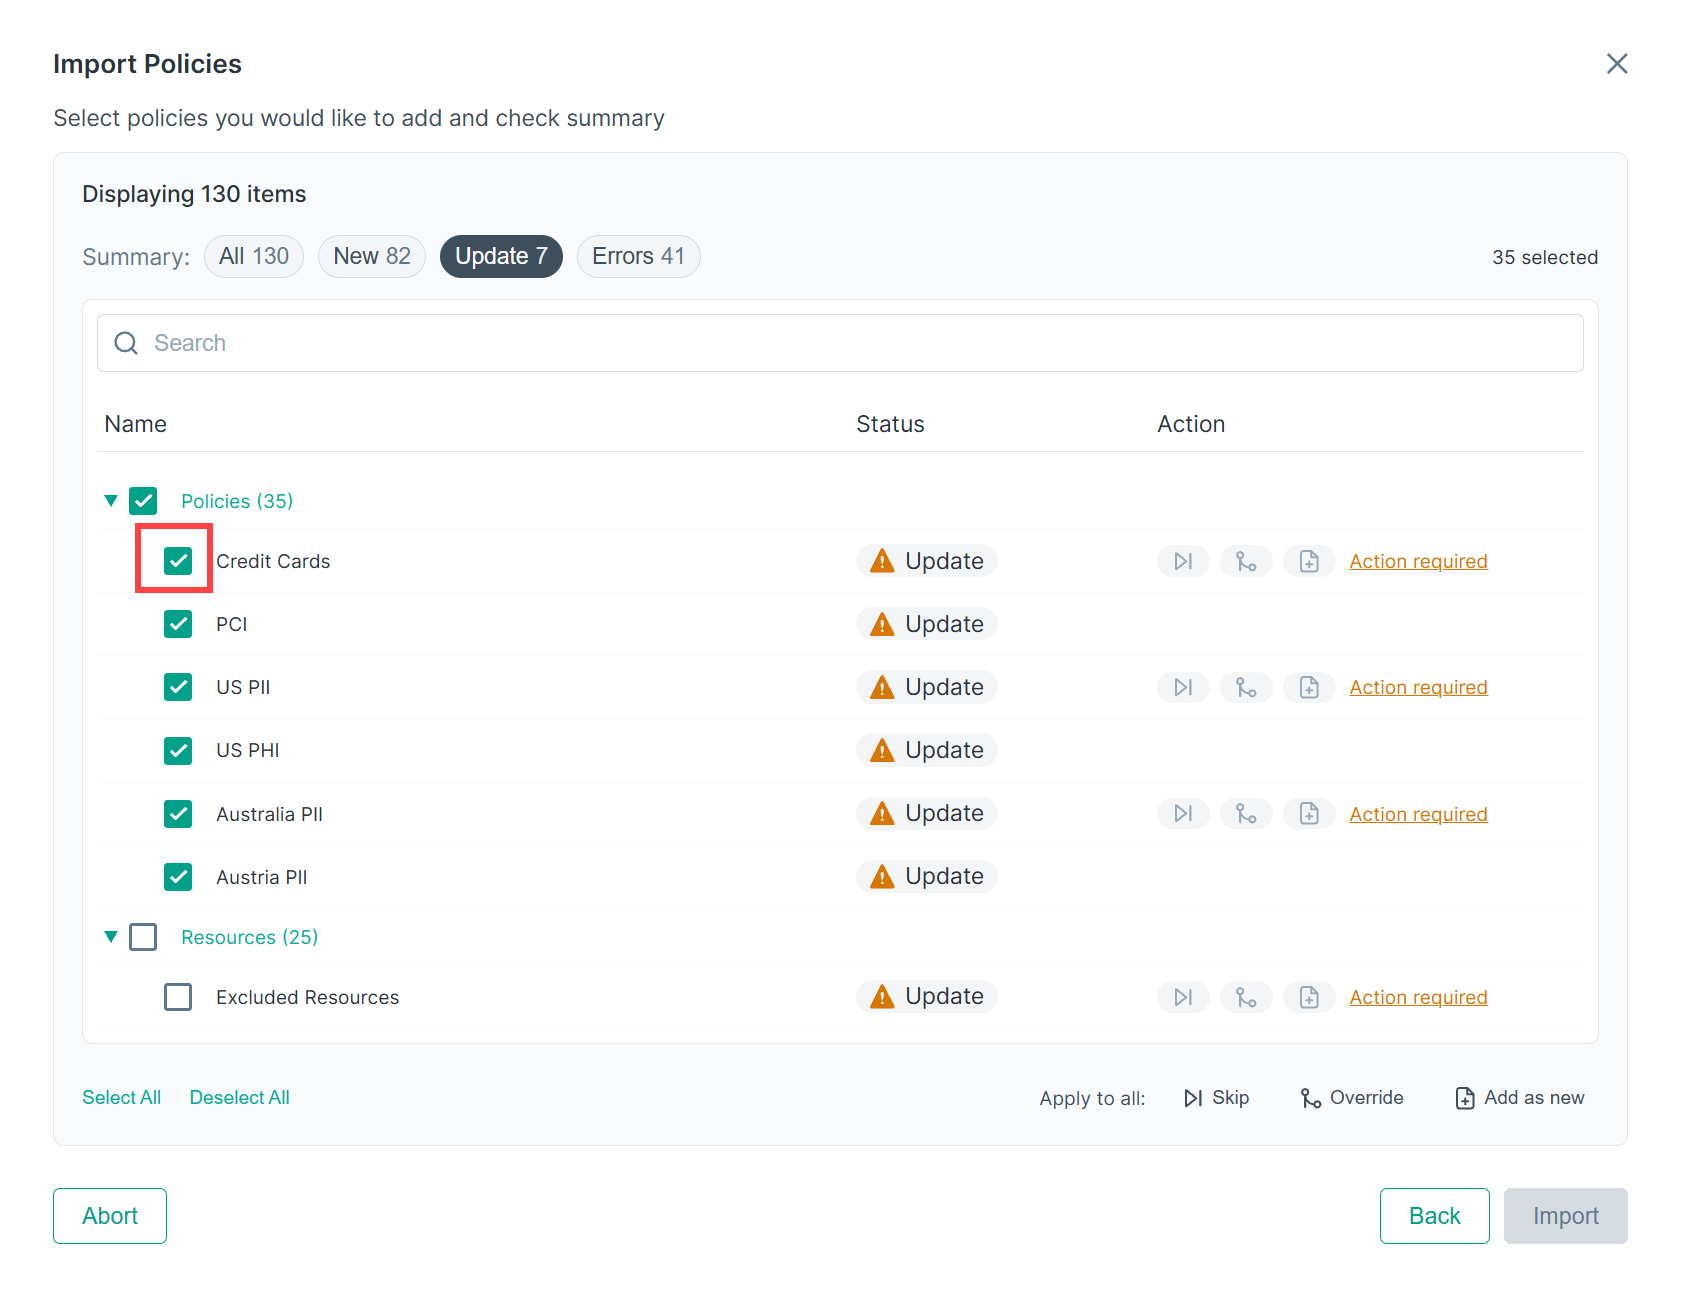
- In the Action column, click the appropriate icon to choose a resolution:
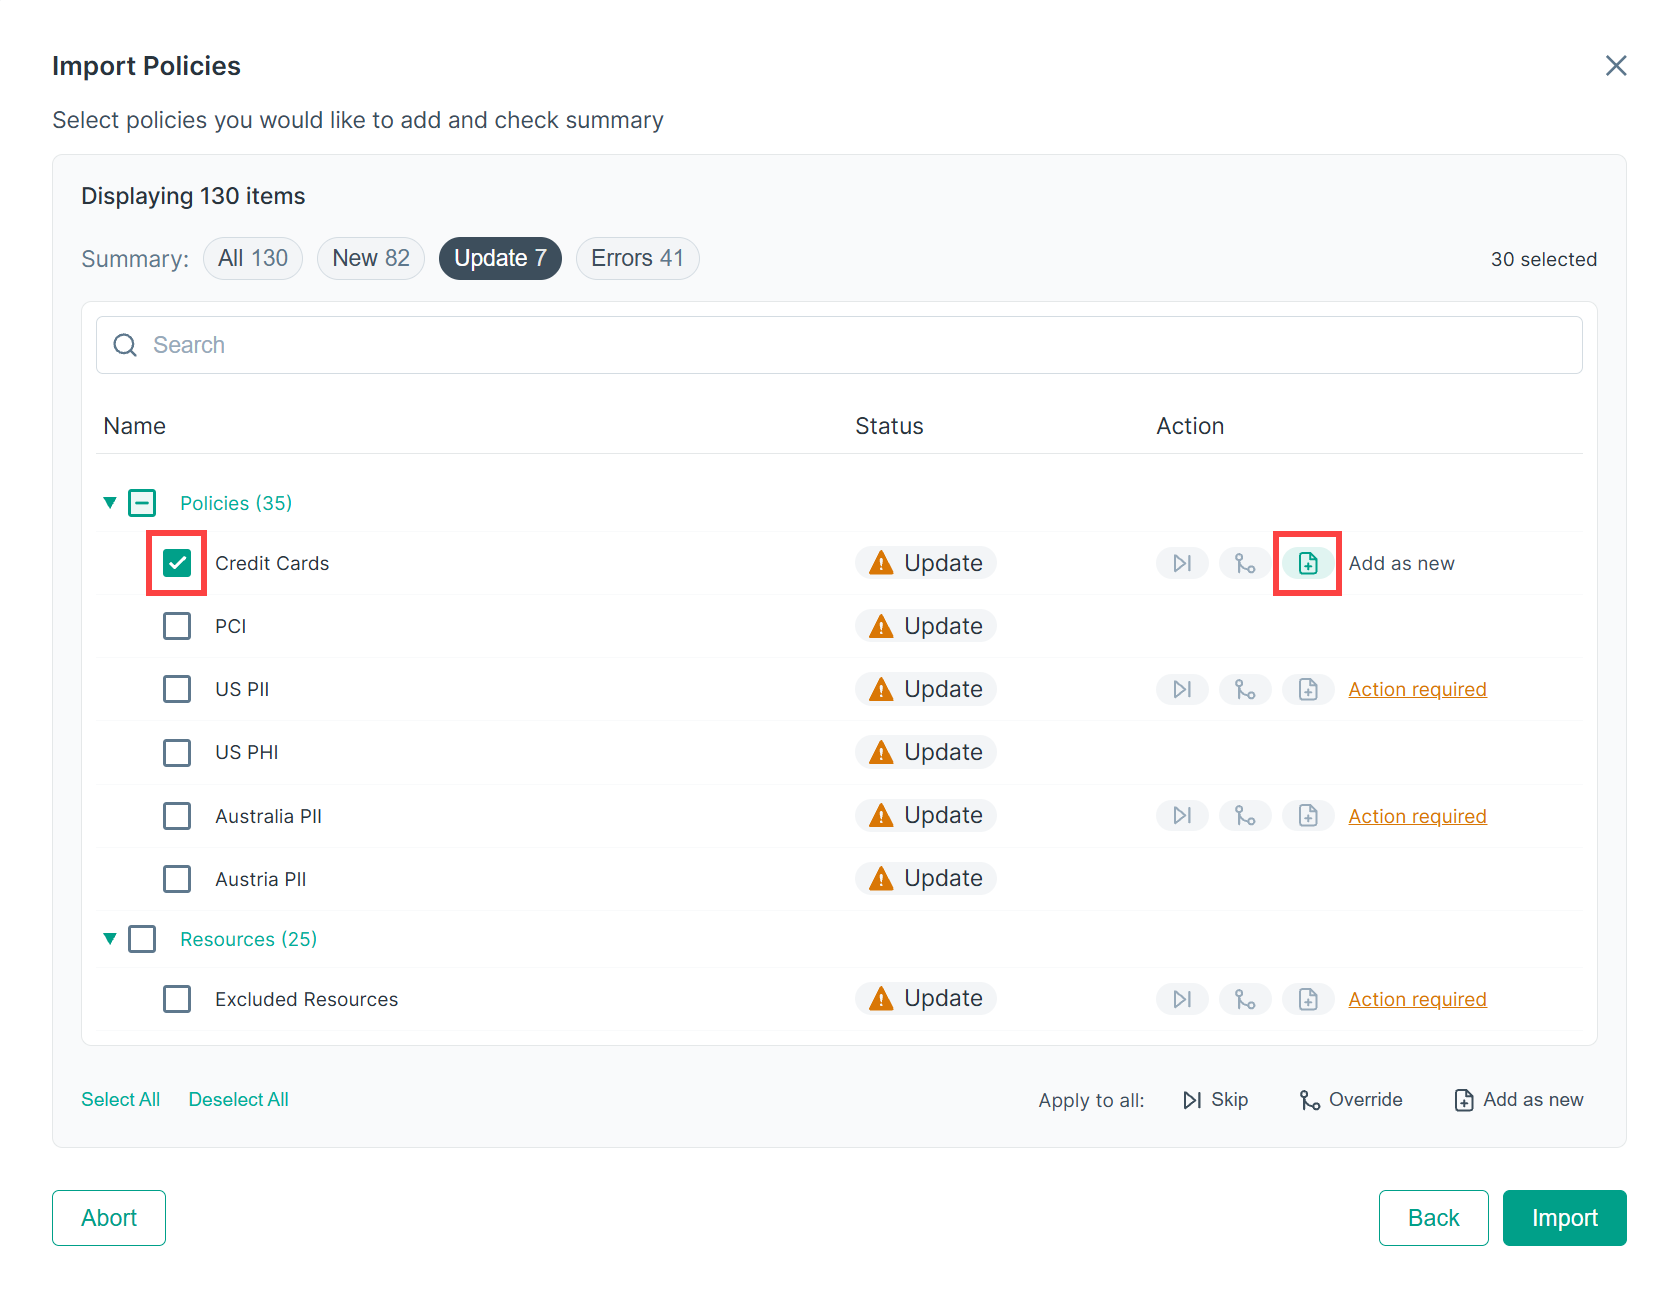
- Add as new – imports the item from the archive as a new, separate entry alongside the existing one. Select the item and click the
Add as new icon in the Action column.
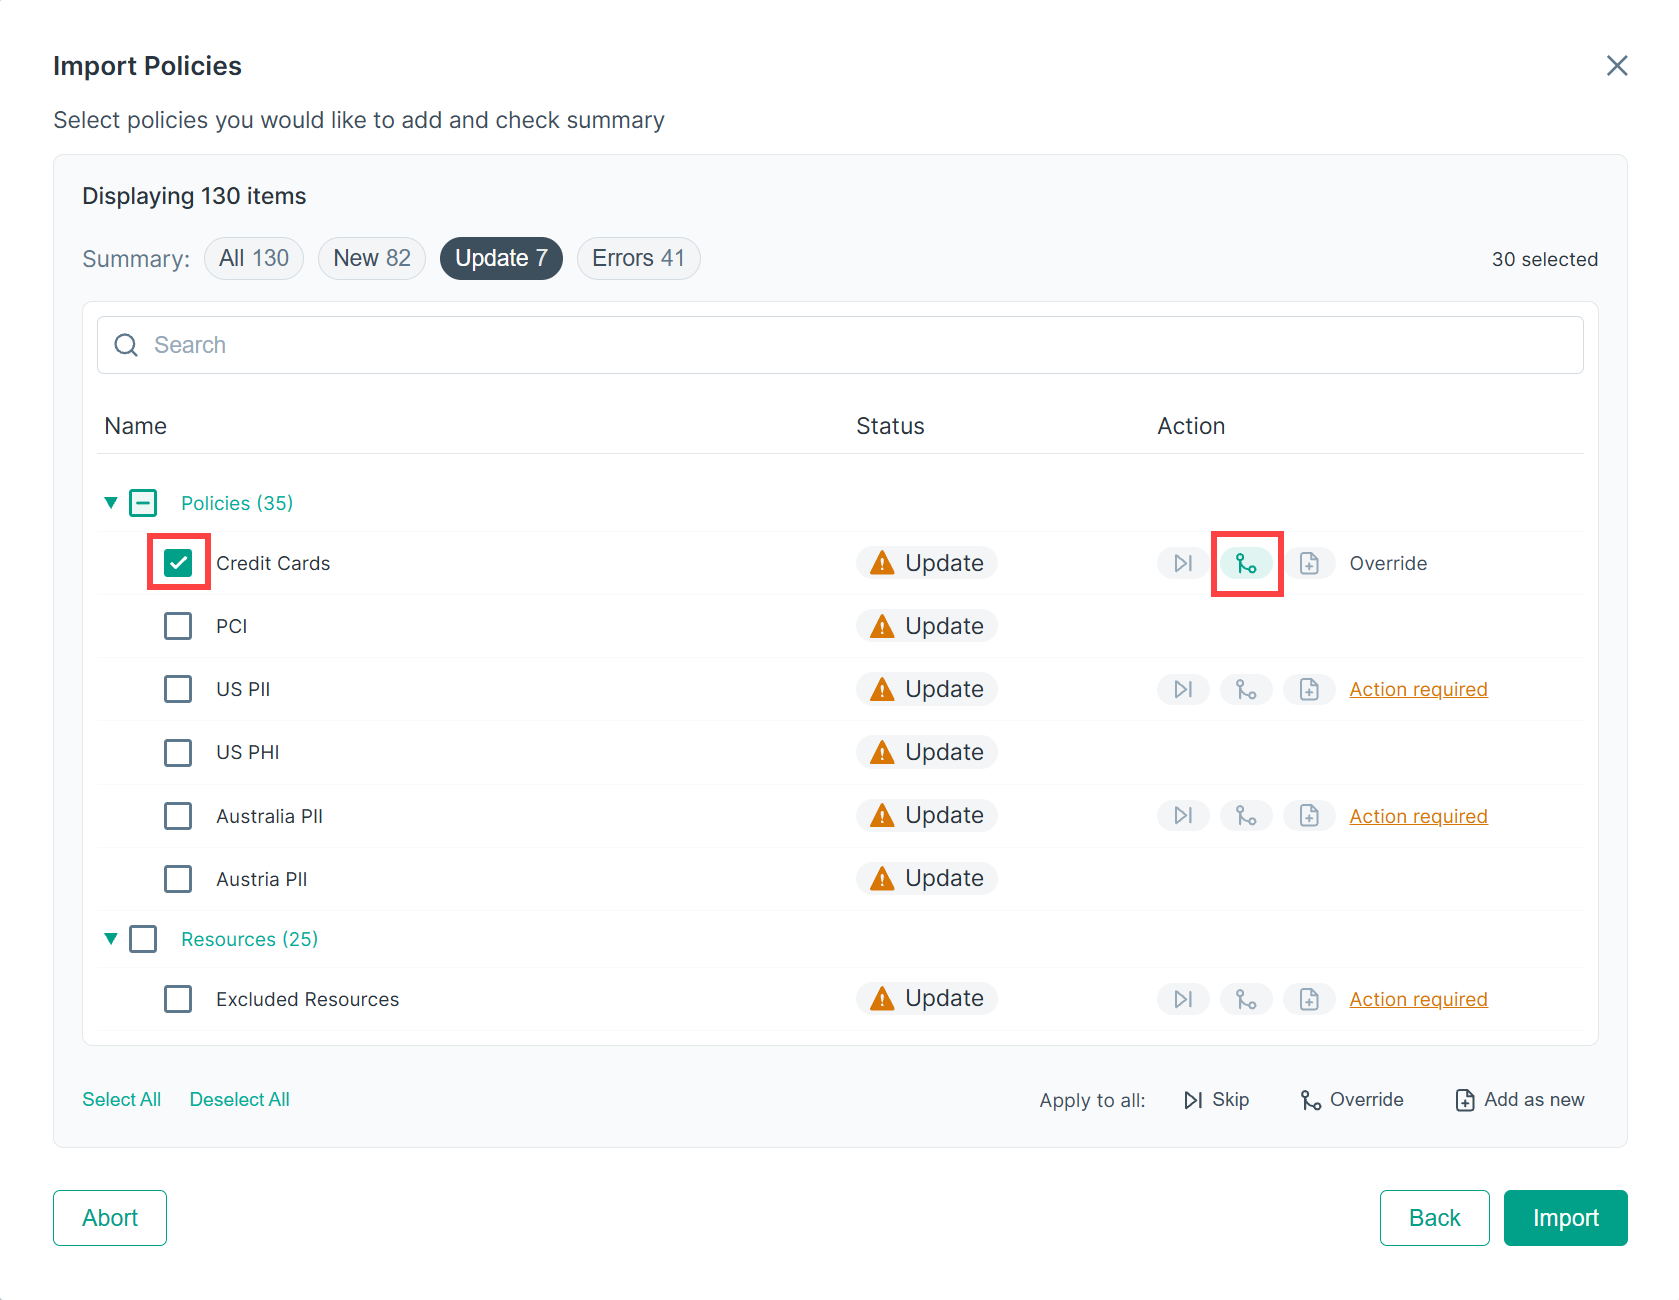
- Override – replaces the existing item in the tenant with the version from the archive. Select the item and click the
Override icon in the Action column.
- Skip – leaves the existing item untouched and does not import the conflicting archive item. Select the item and click the
Skip icon in the Action column.
- Add as new – imports the item from the archive as a new, separate entry alongside the existing one. Select the item and click the
Add as new icon in the Action column.
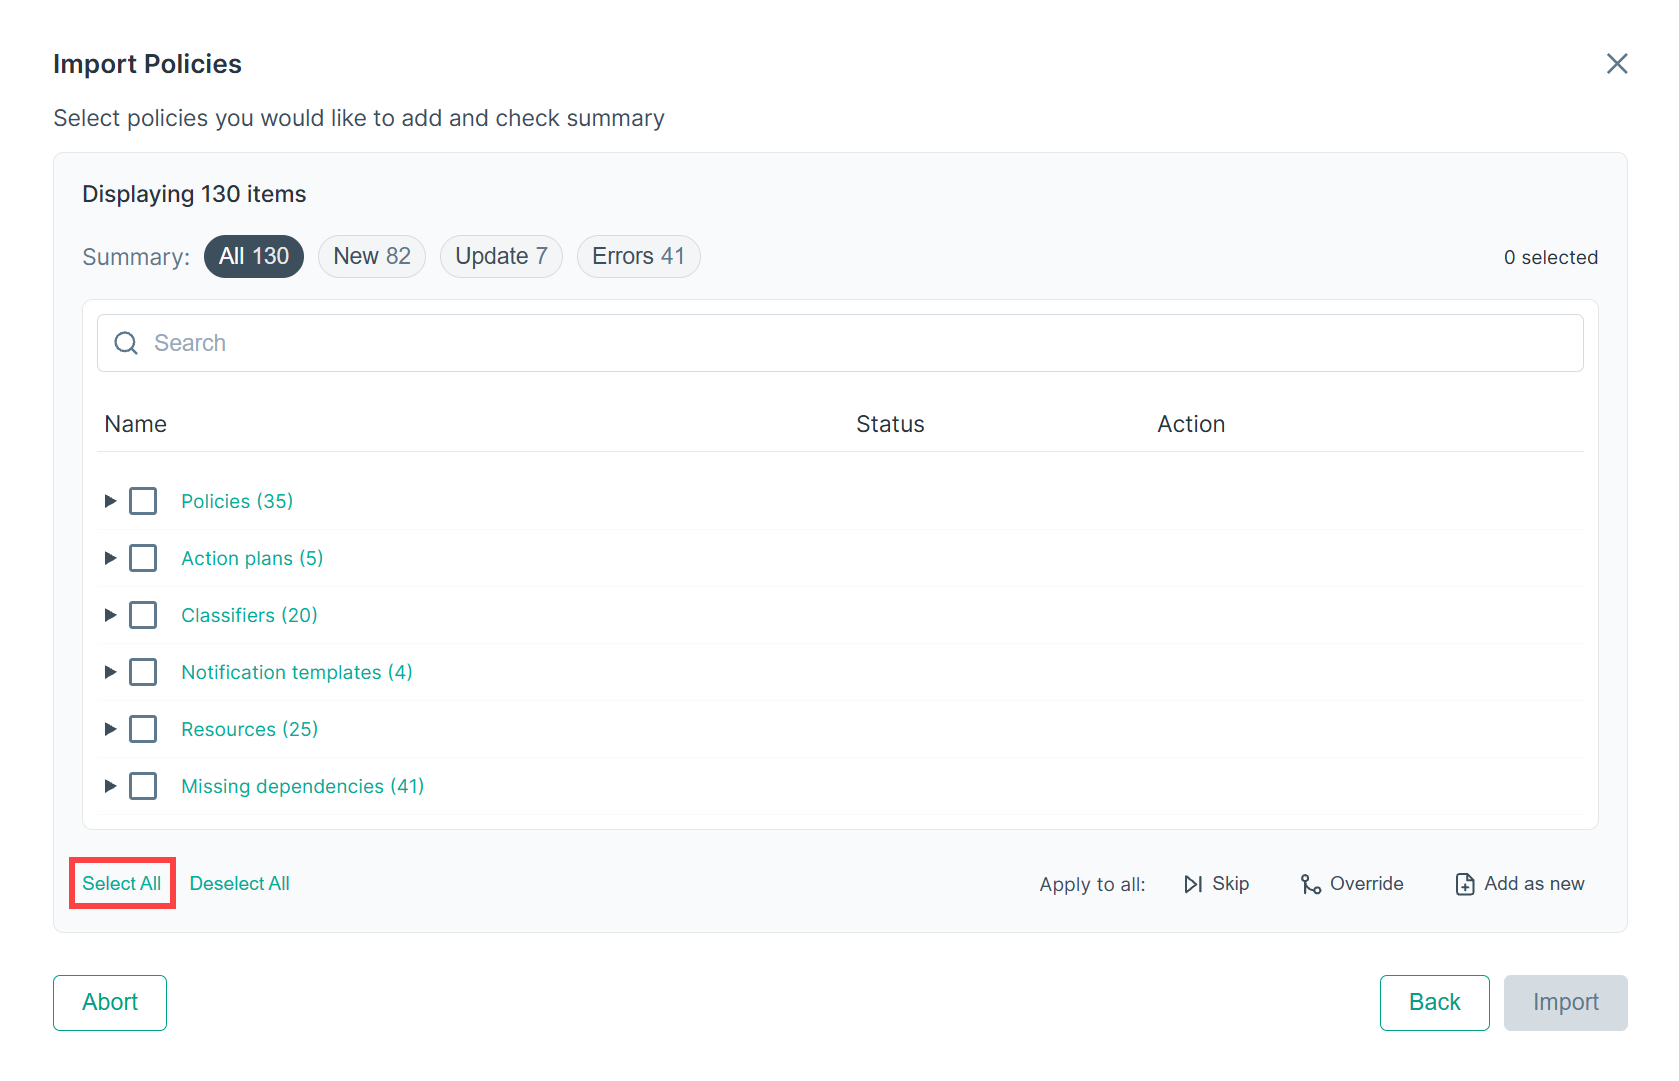
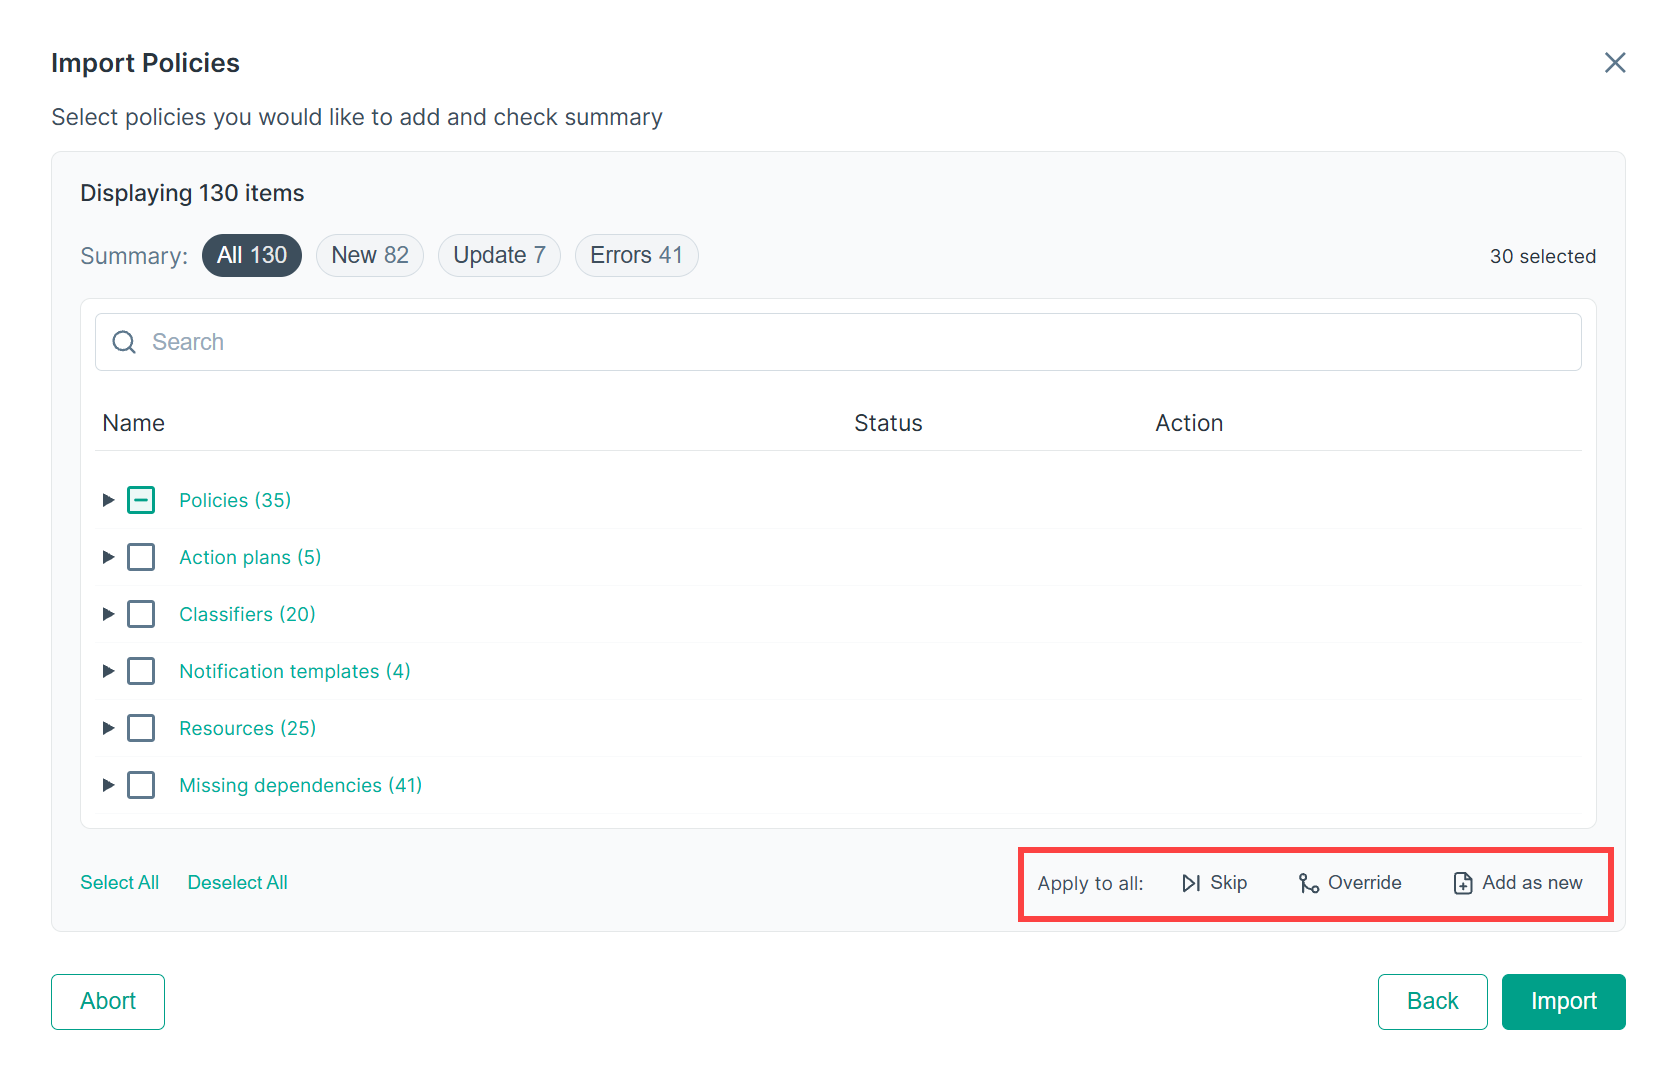
To apply an action to all selected items at once:
- Click Select All (bottom-left) to select all items, or manually select the items you want.
- In the Apply to all section (bottom-right), click Skip, Override, or Add as new.
The chosen action is applied to every selected item simultaneously.
- Select the checkbox next to the item you want to resolve.
- If your Cloud DLP tenant has no existing policies, click Select All (bottom-left) to select all items for import.
- In the Apply to all section (bottom-right), click Add as new.
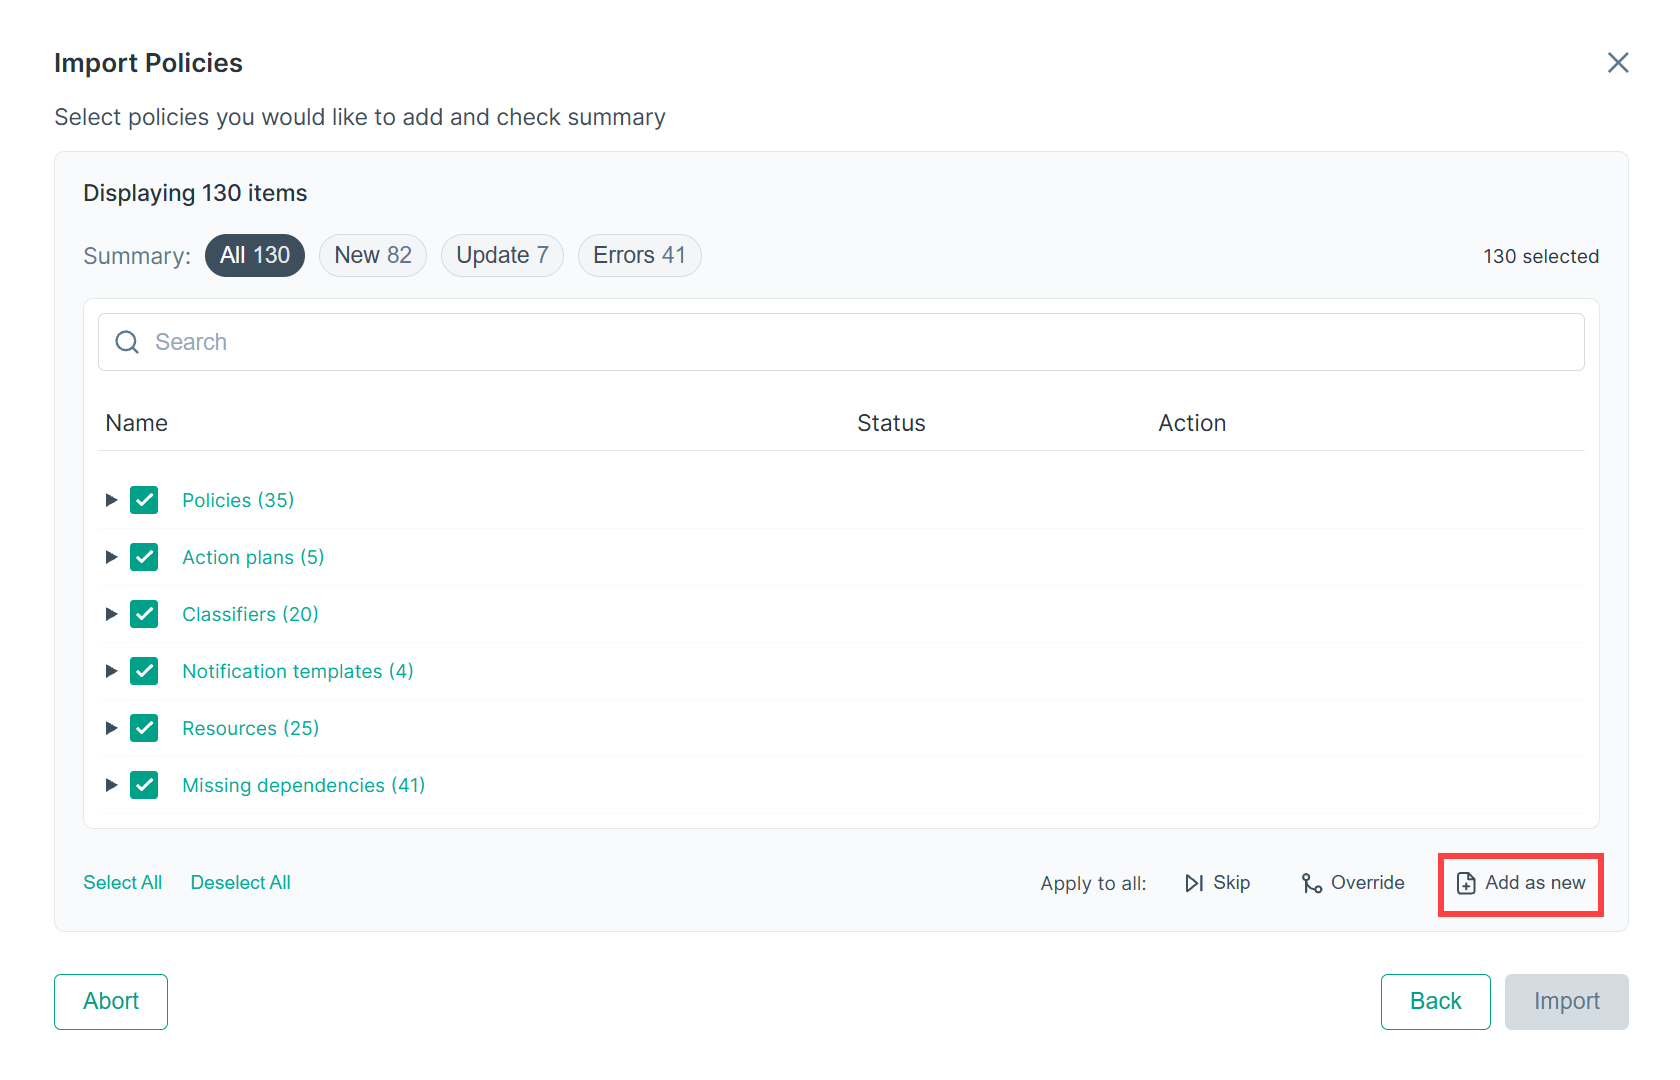 Note: For a clean tenant with no existing policies, Add as new is the recommended action. This creates a new entry for every item in the archive.
- Once you have made your selections, click Import to start the import process.
- Click OK to acknowledge and close the progress dialog. The import continues in the background.
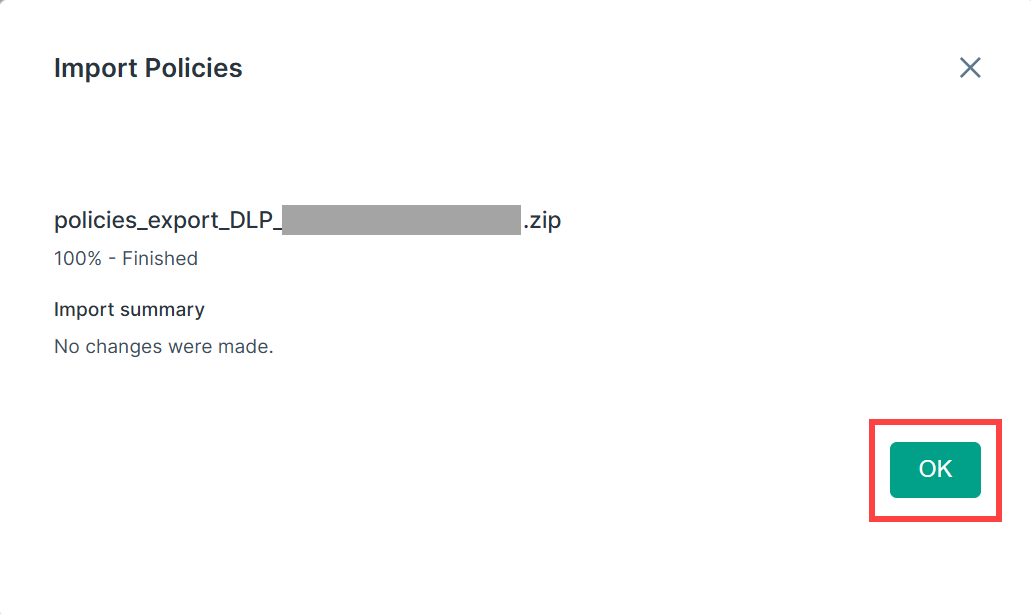
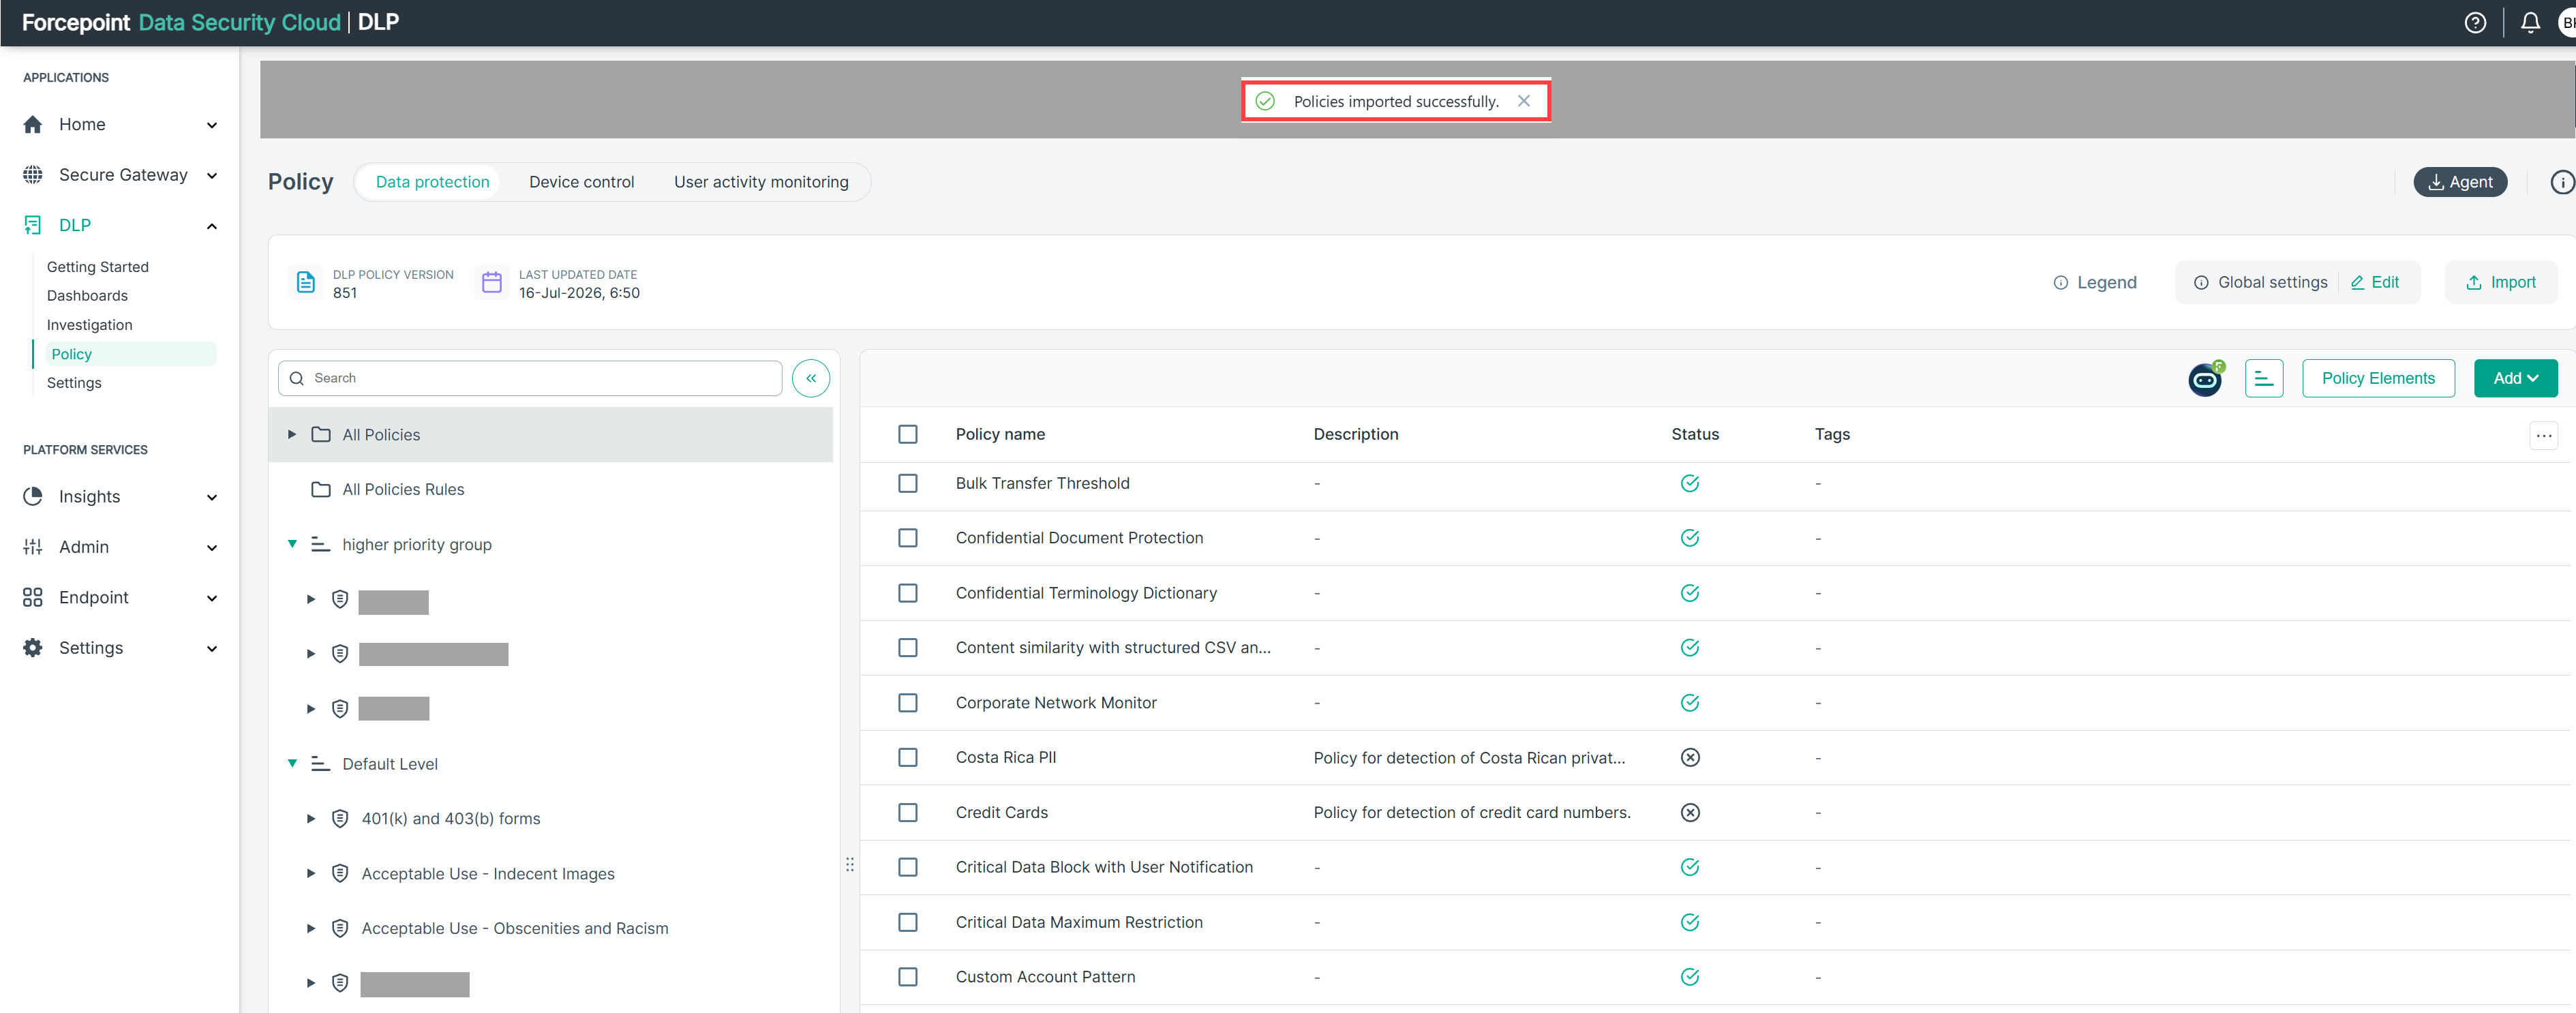
- When the import finishes, a green banner confirms: "Policies imported successfully." Your imported policies now appear in the policy list.