Policy Tags
Use this topic to create and manage policy tags, and to filter the All Policies view by tag.
Overview
A Policy Tag is a label that can be applied to one or more policies to group them for easier management.
Use tags to organize related policies — for example, by department, regulation, or project — and to quickly filter the All Policies view down to just the policies that matter for a given task.
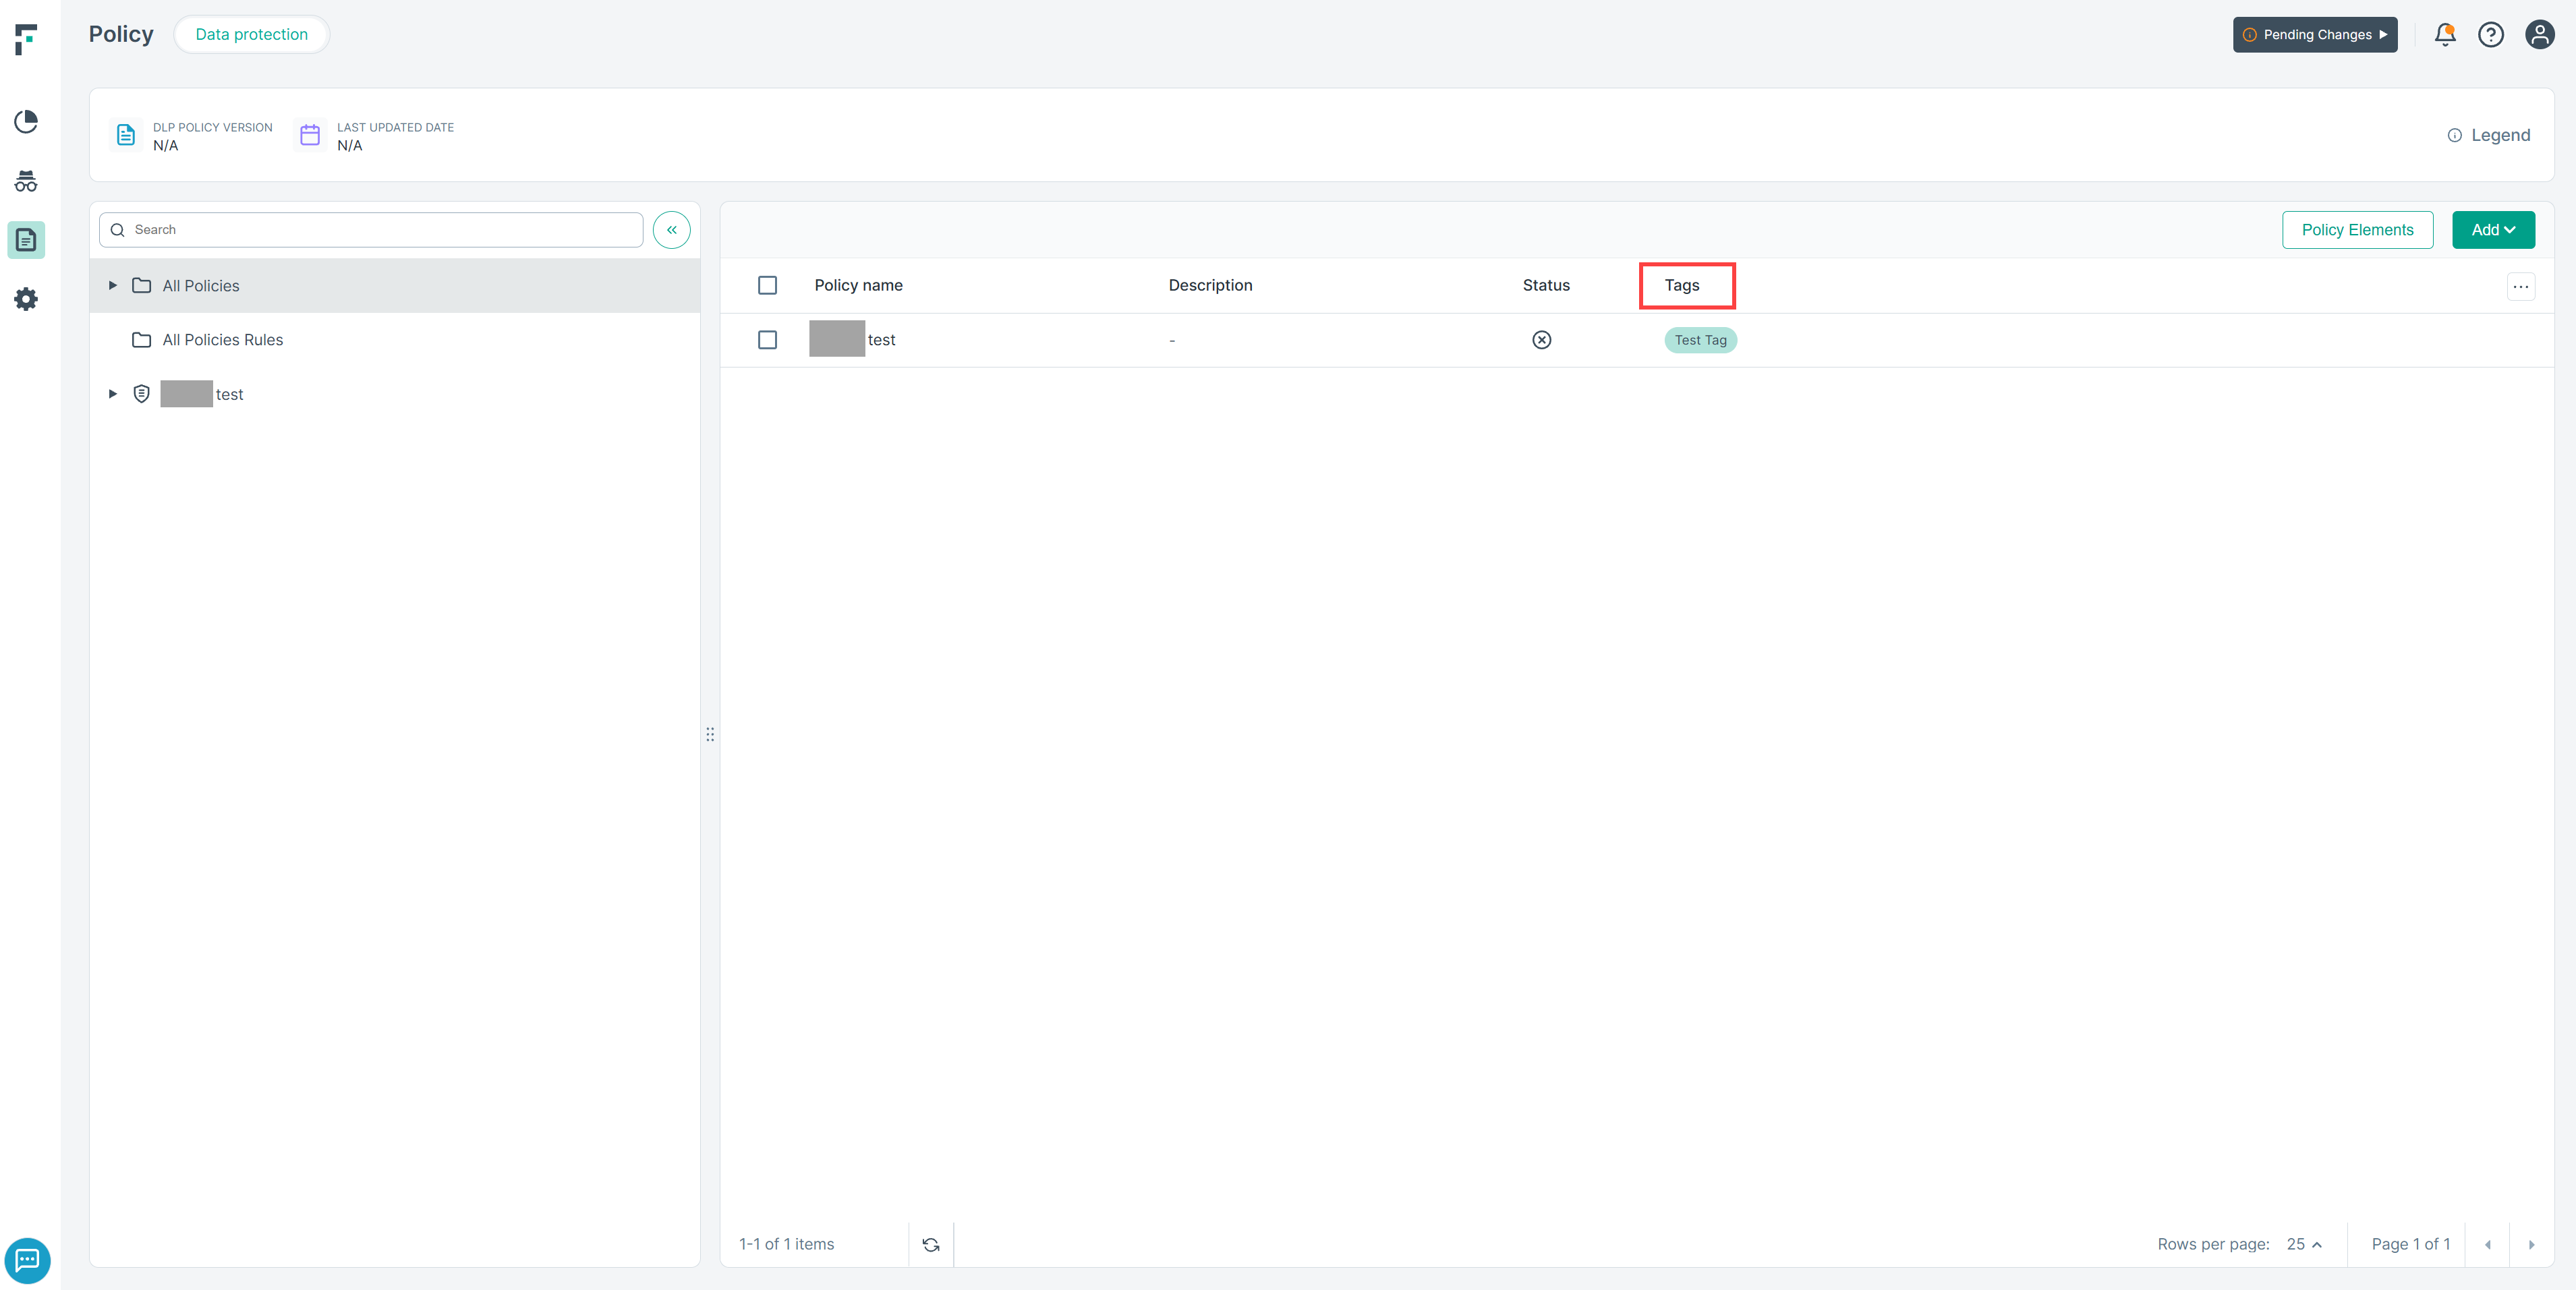
The All Policies view includes a Tags column showing the tag(s) assigned to each policy.
Assign a tag to a policy
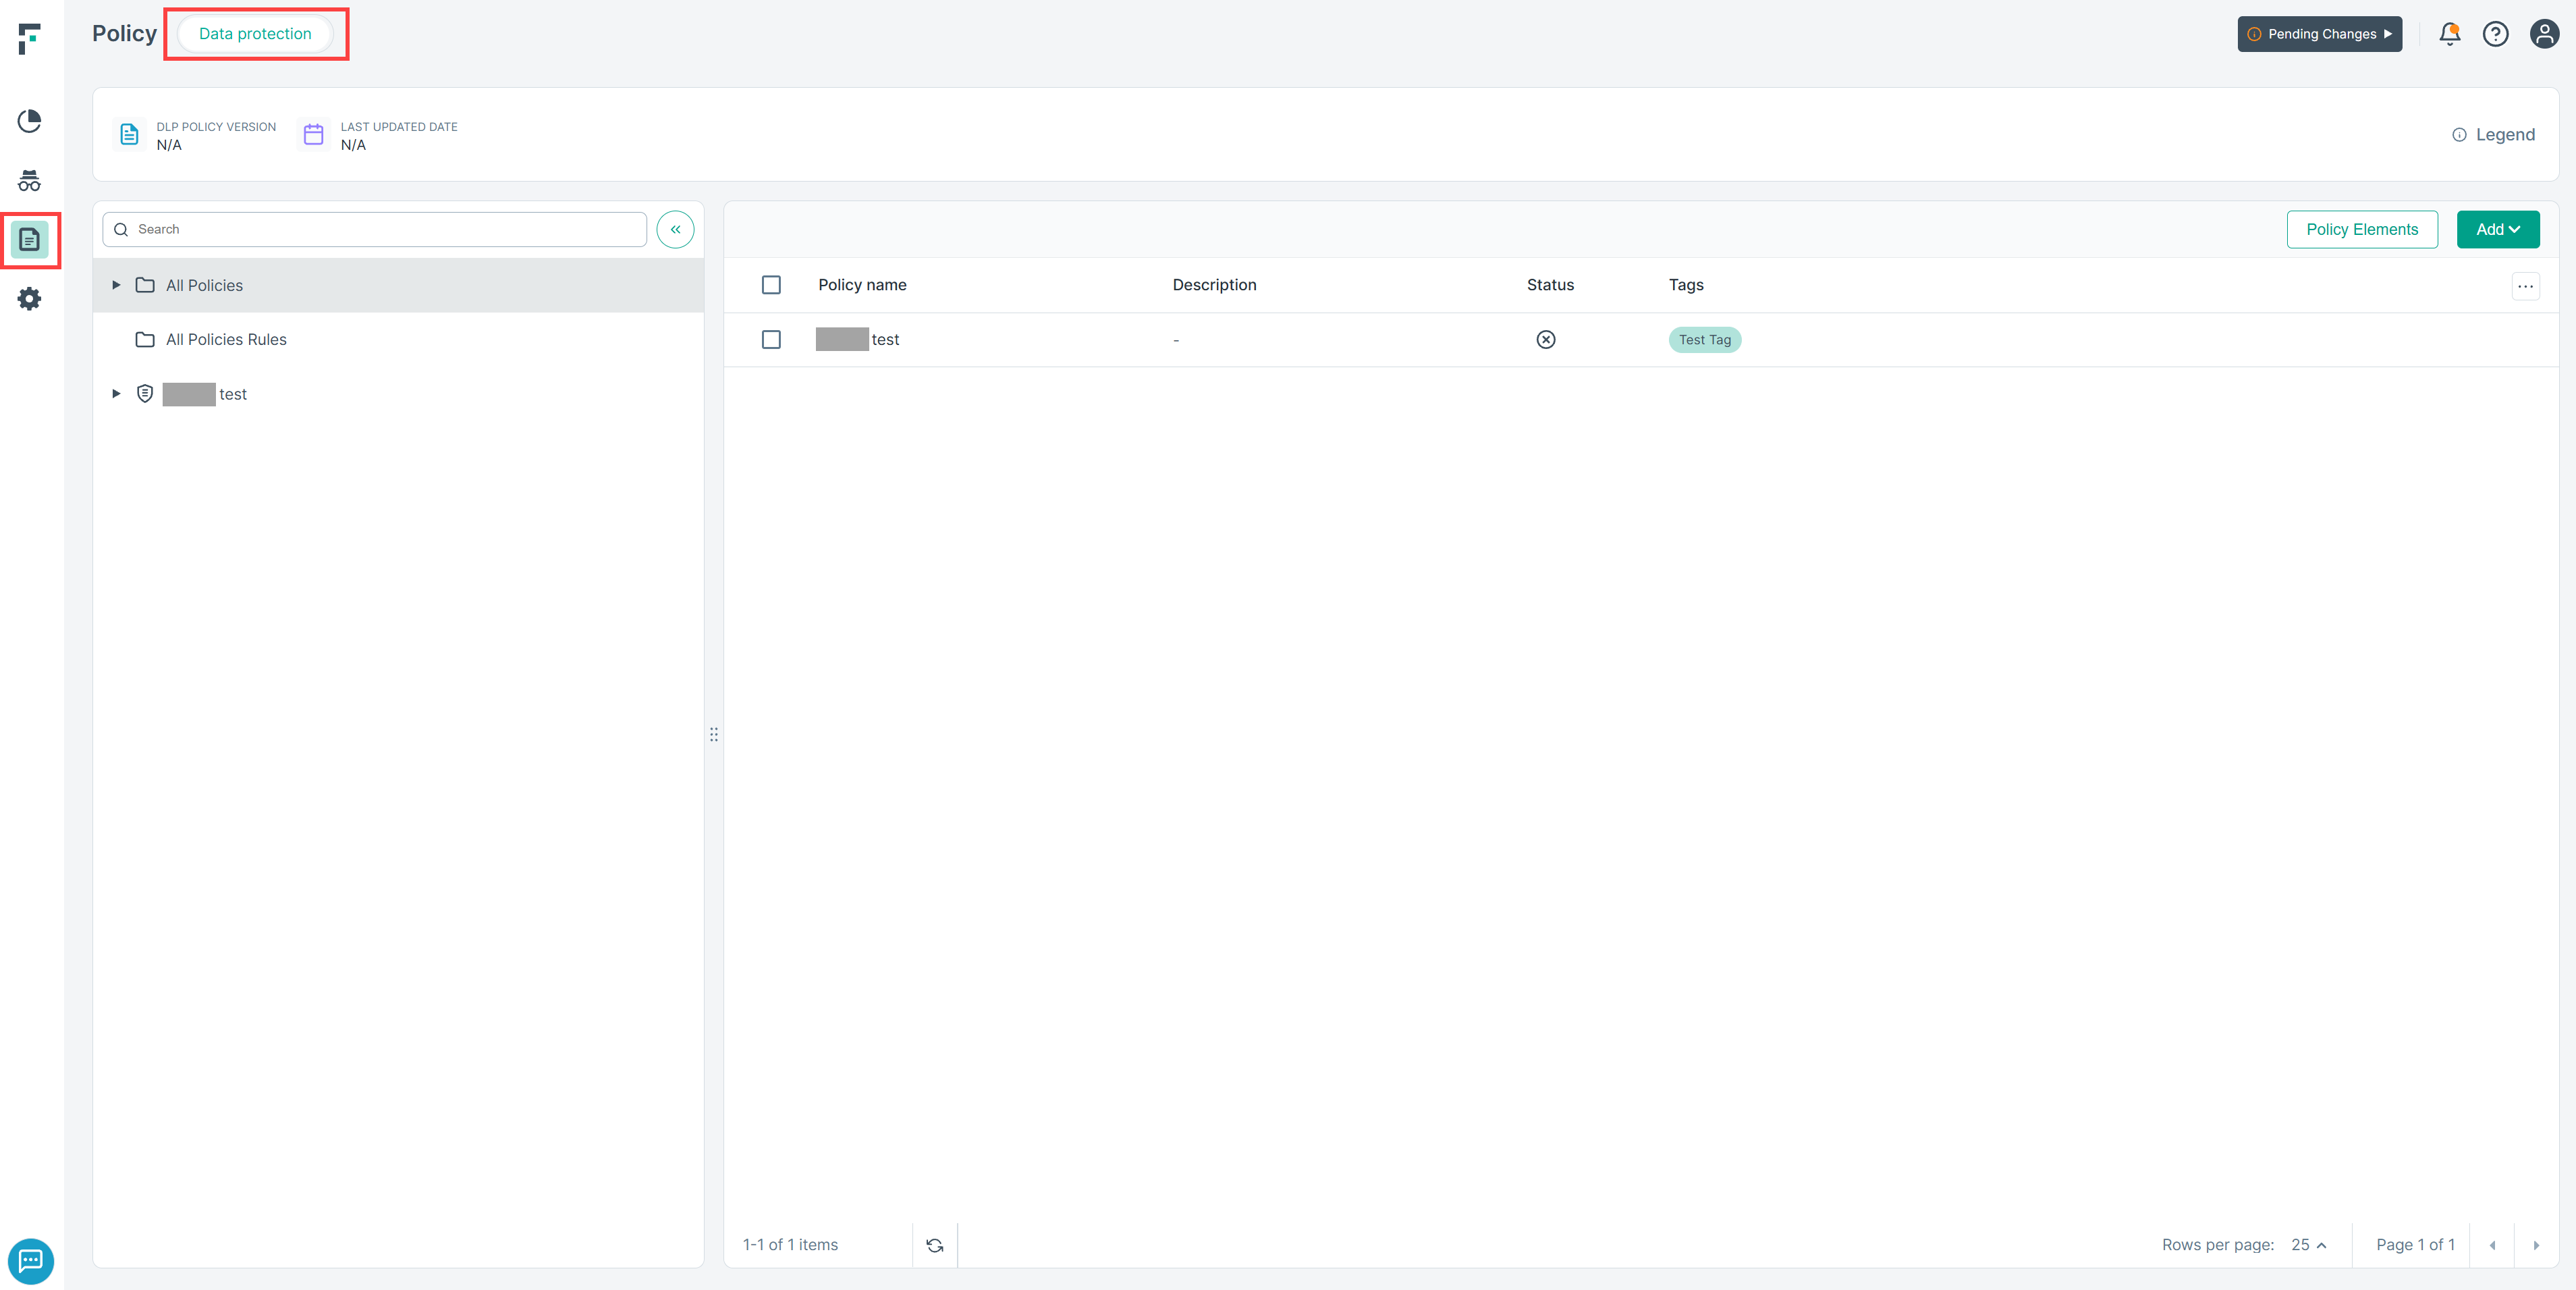
- Navigate to .
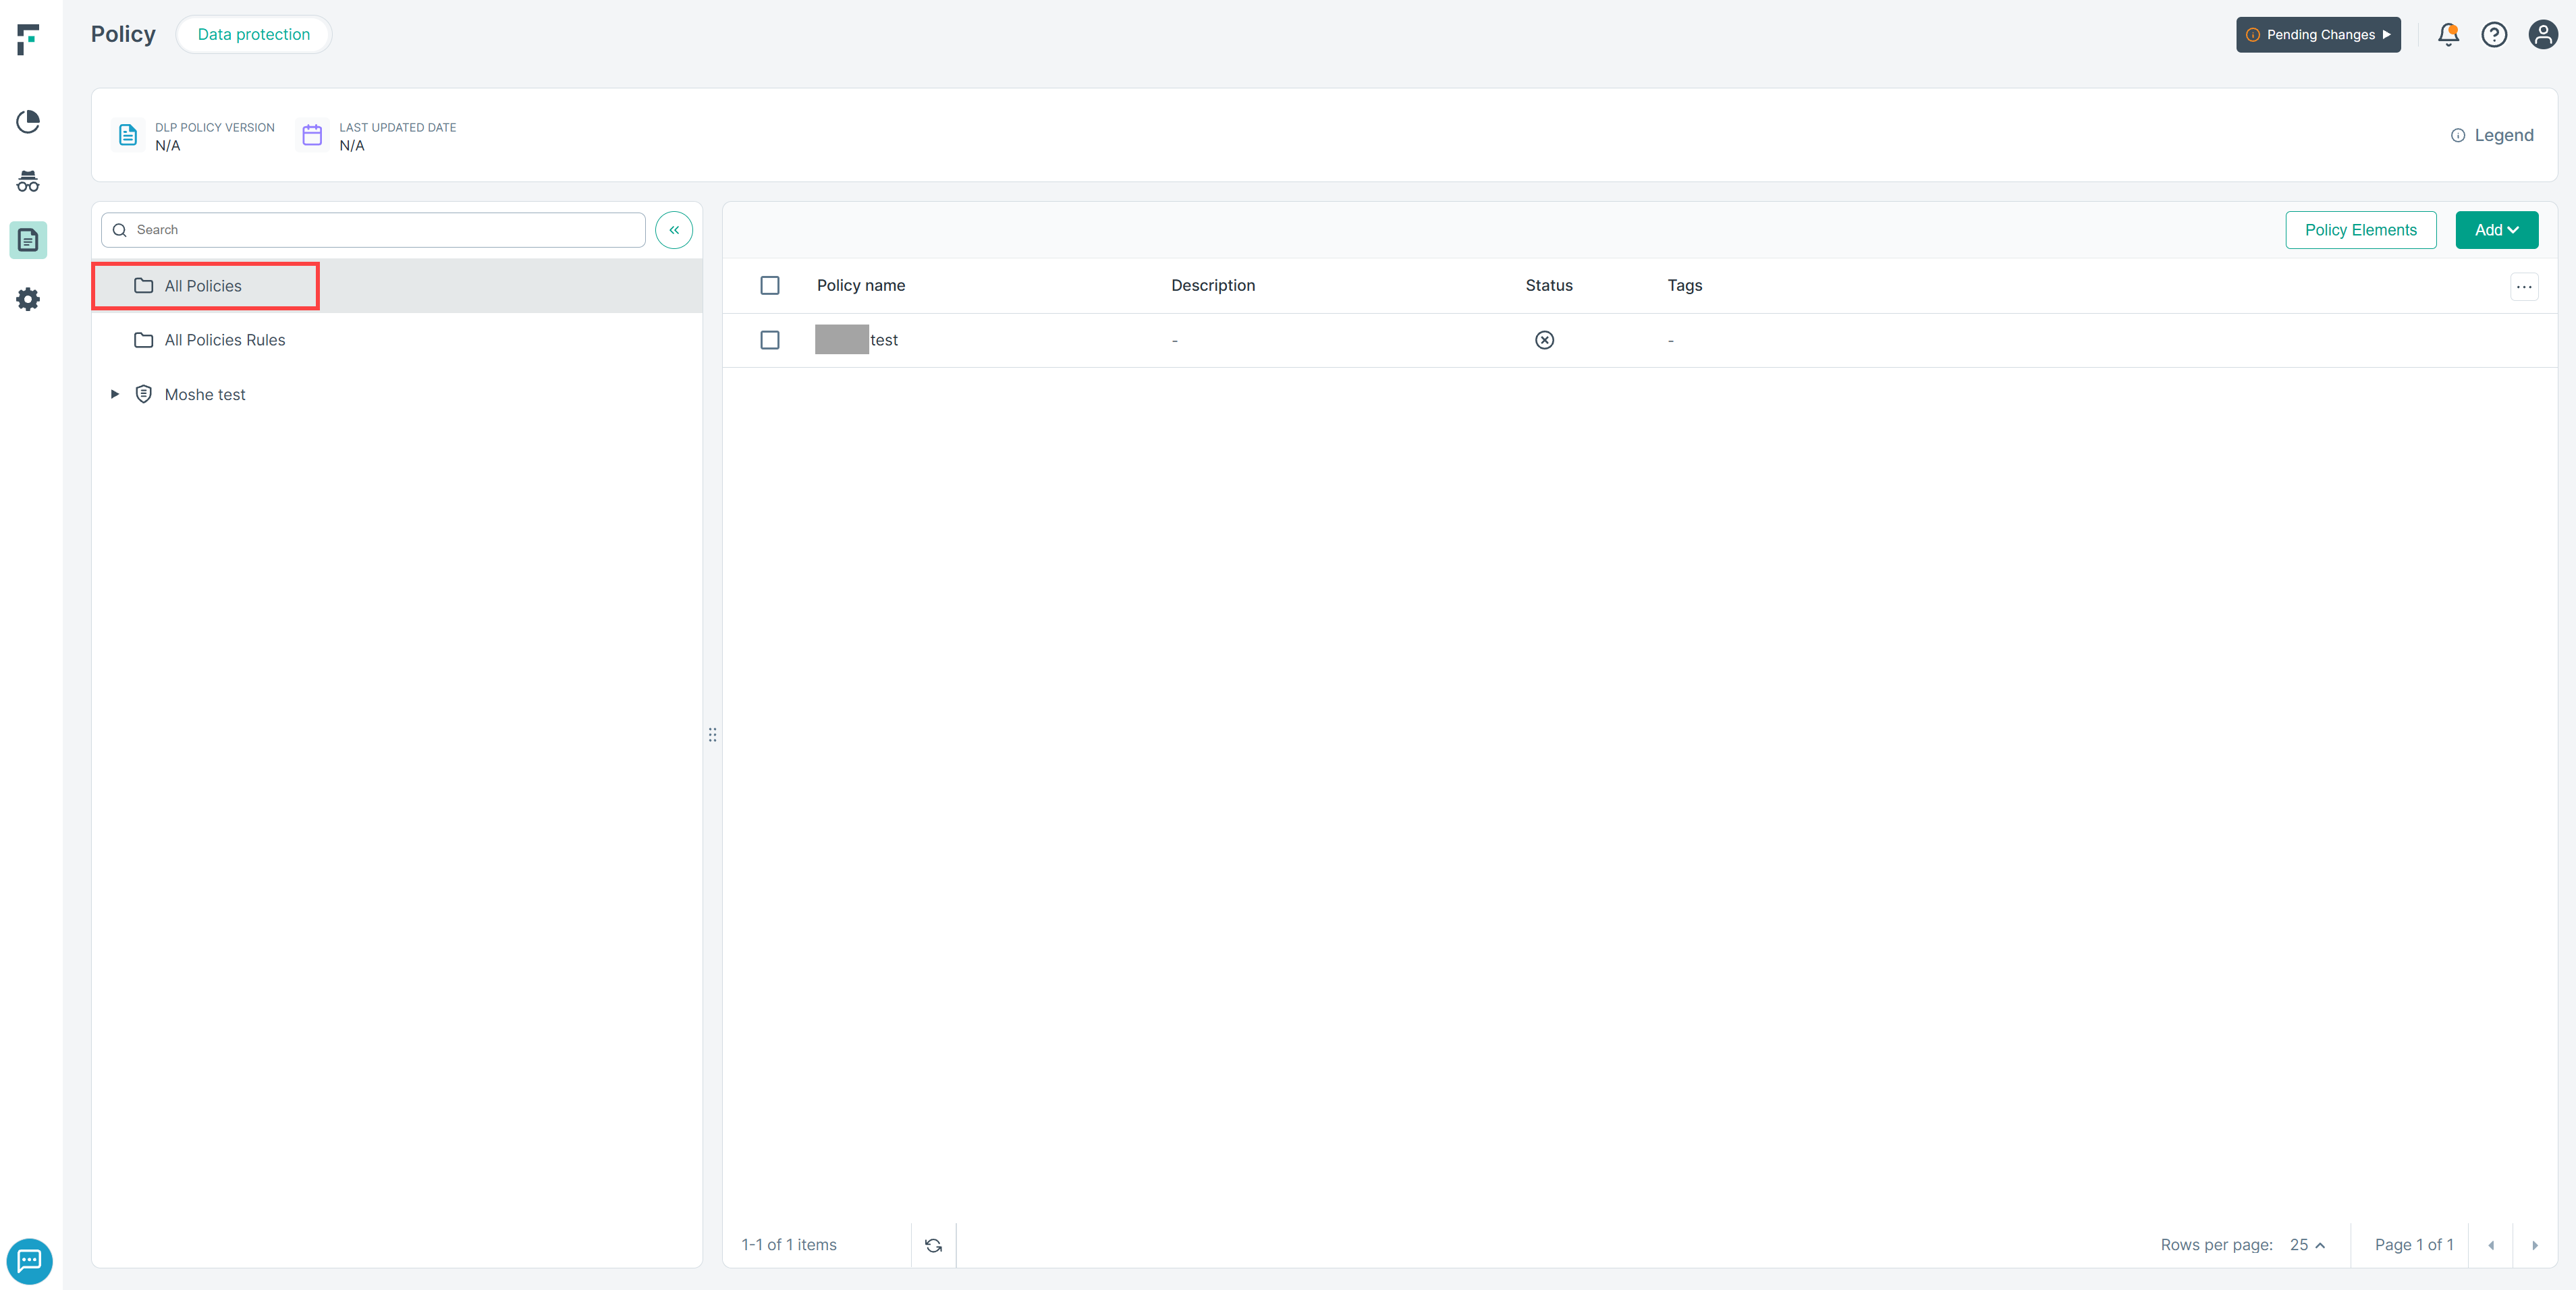
- Locate the policy in the All Policies list.
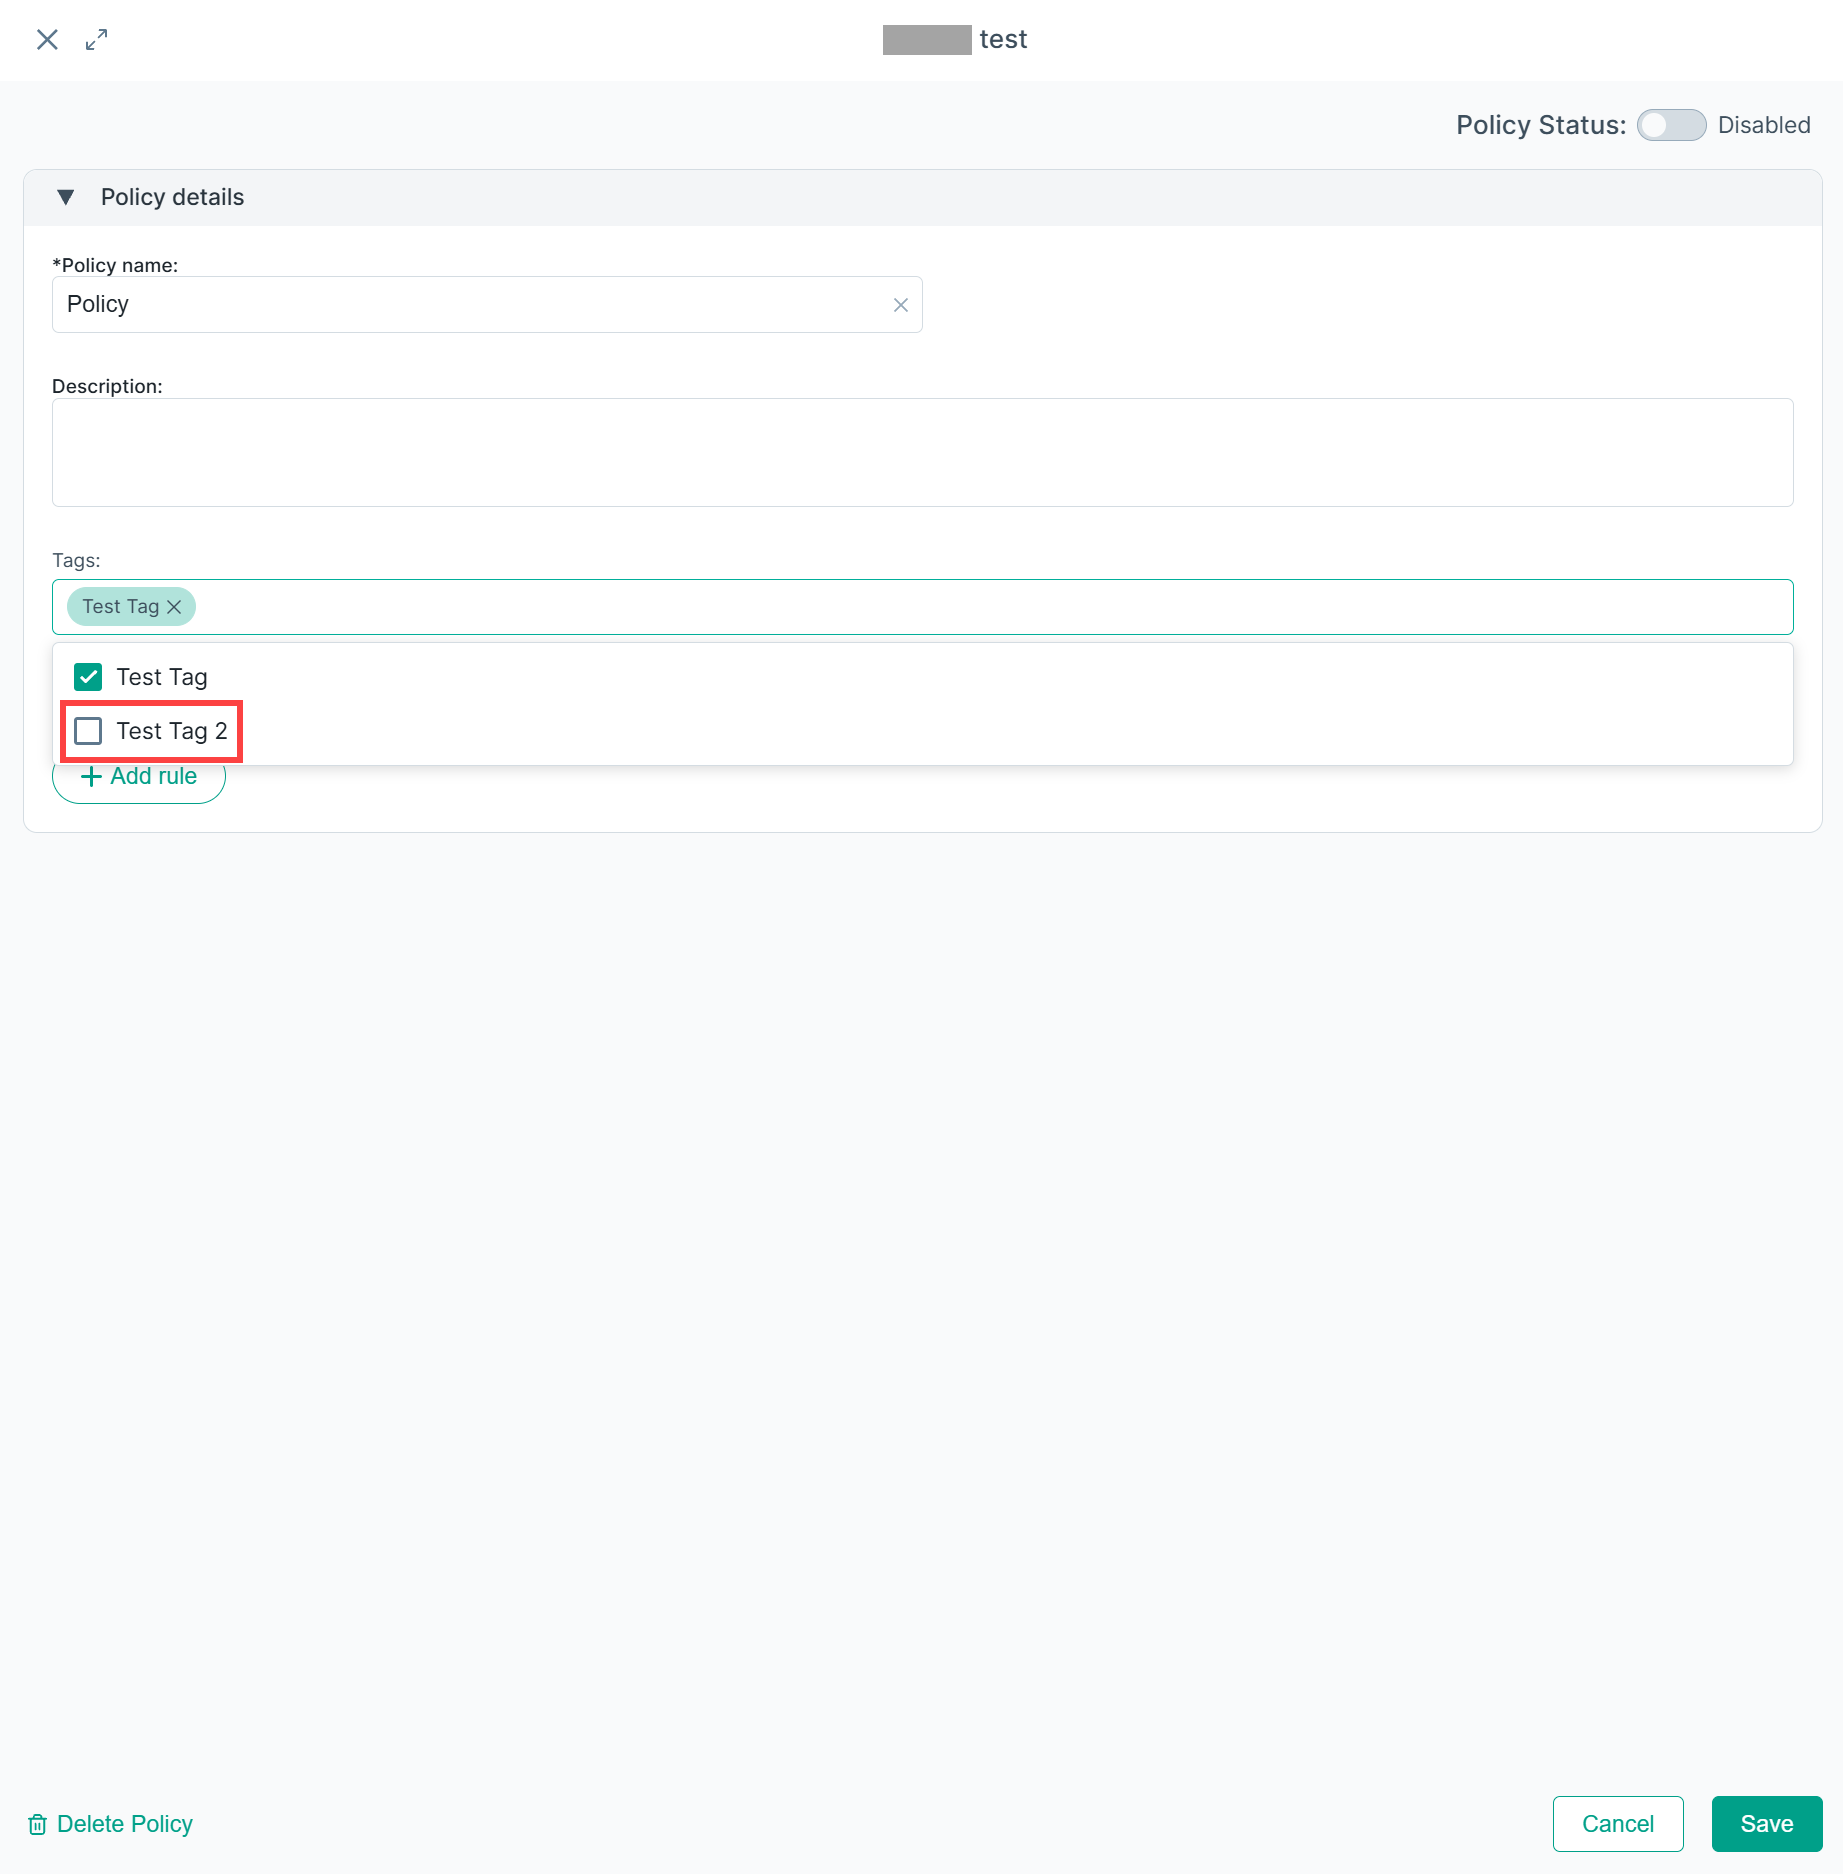
- Select the policy that you want to tag. This opens the Policy details panel, where you can locate the Tags field.
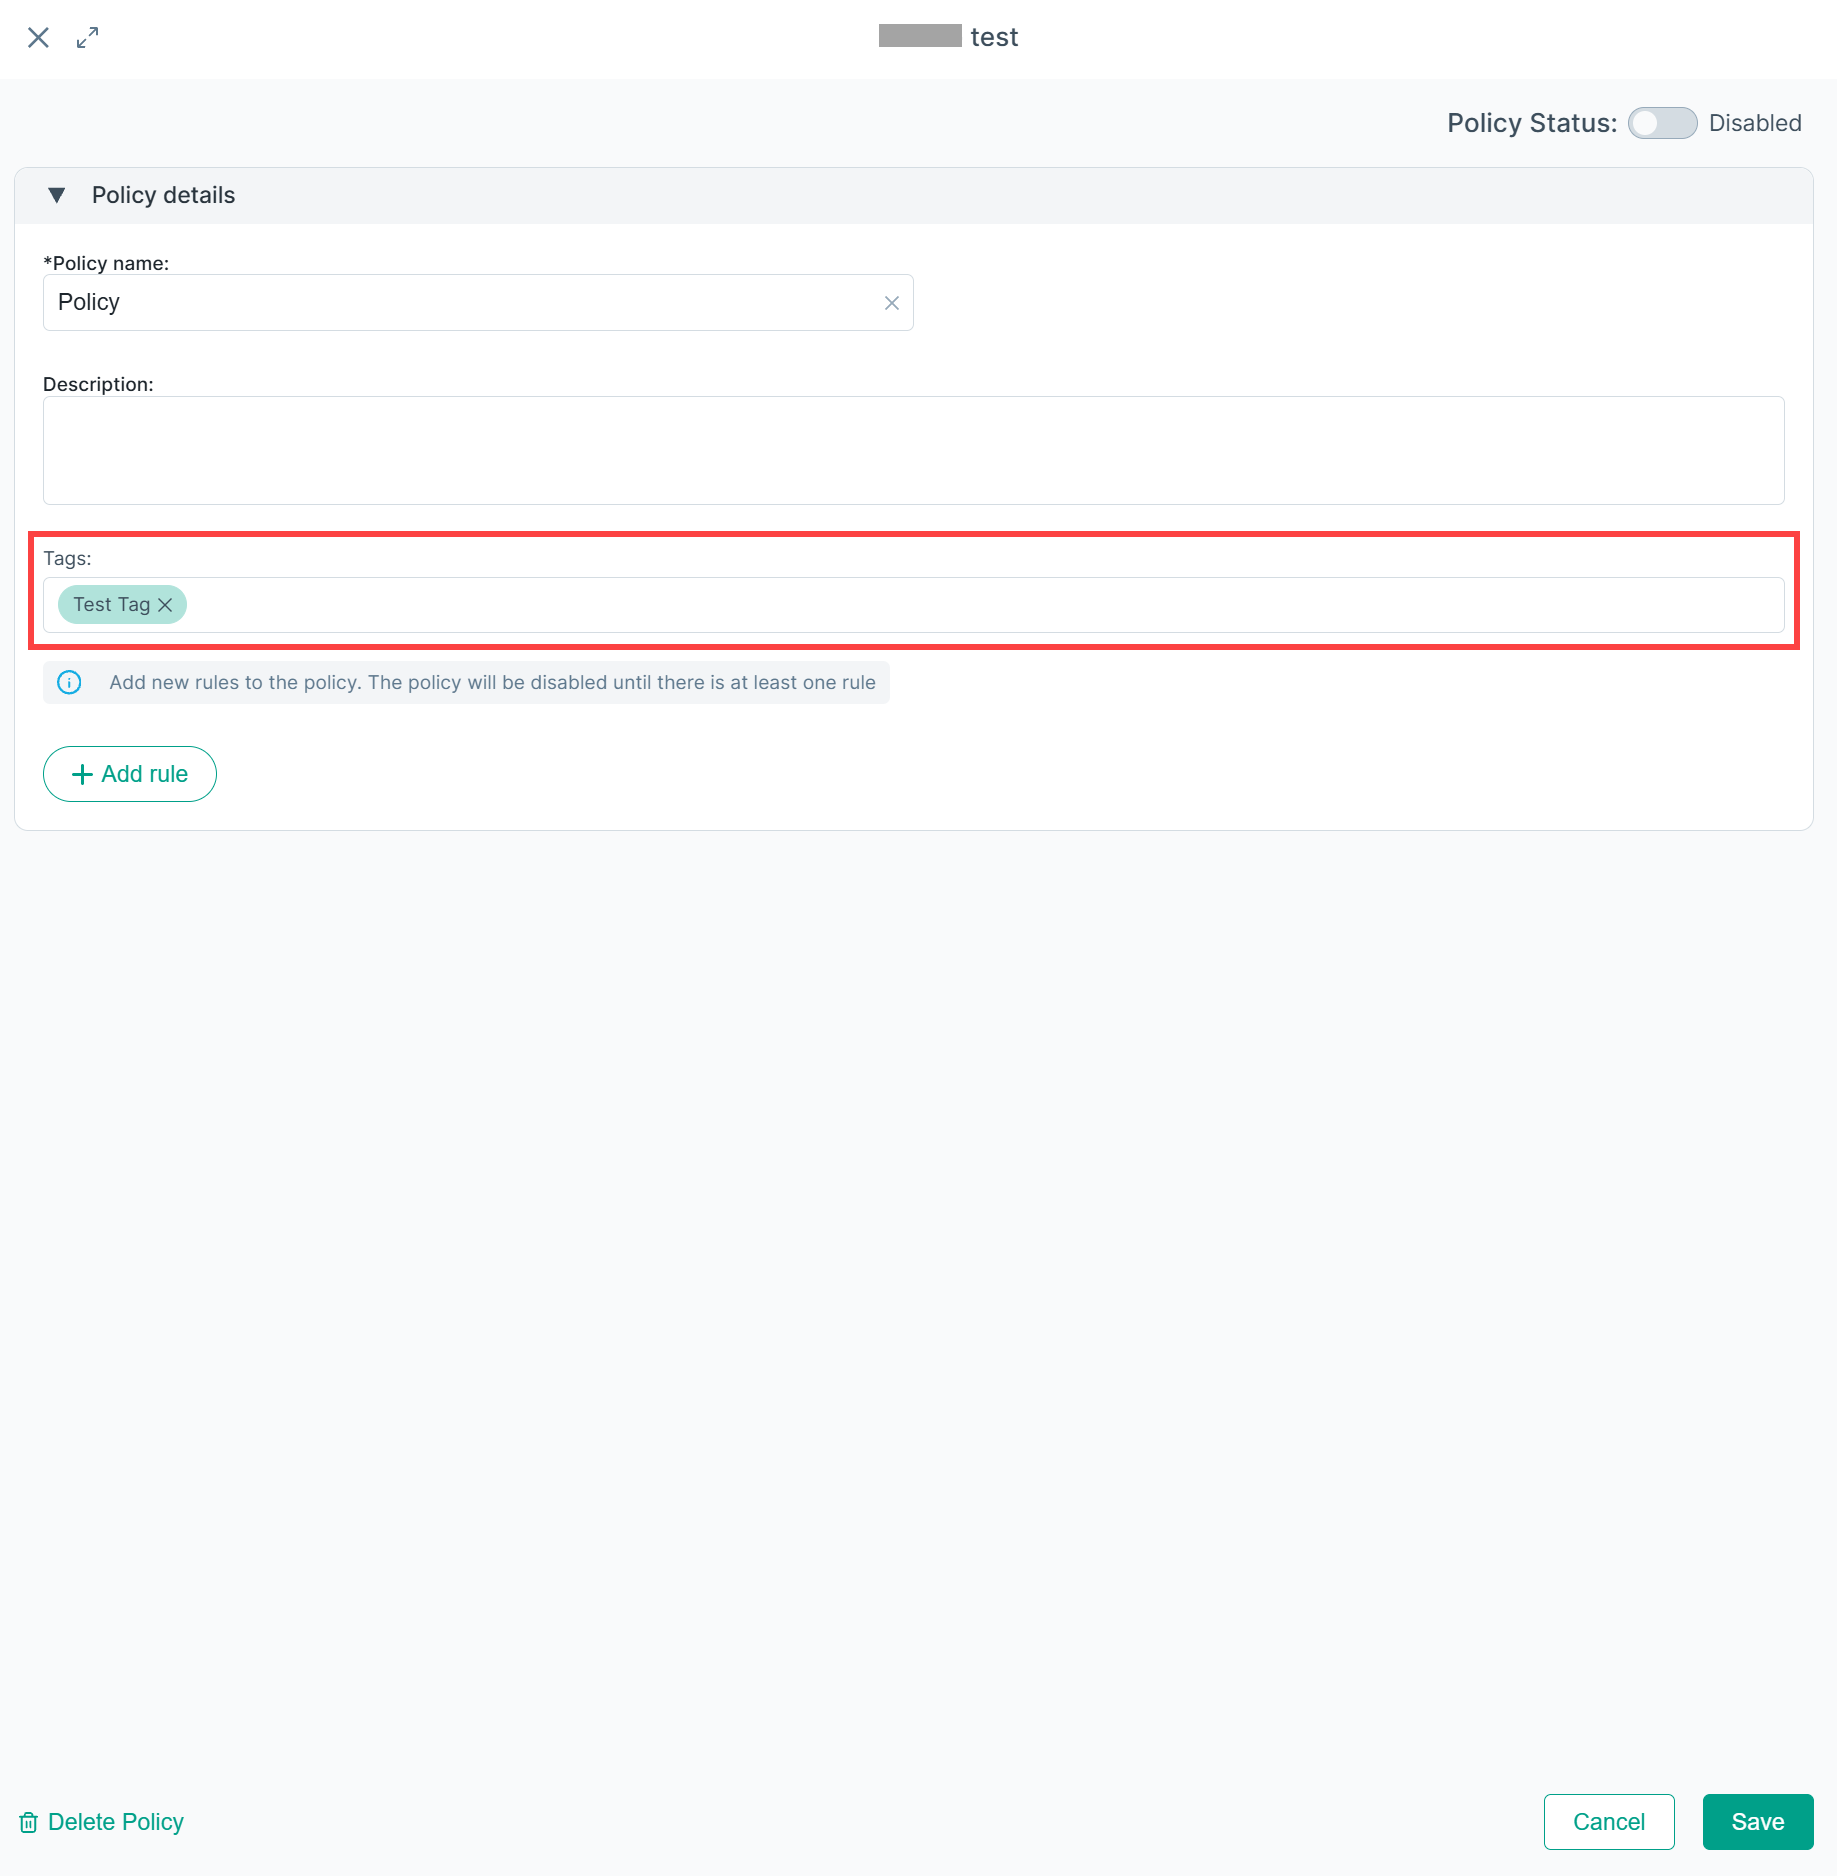
- Select an existing tag from the list, or start typing to search for one.
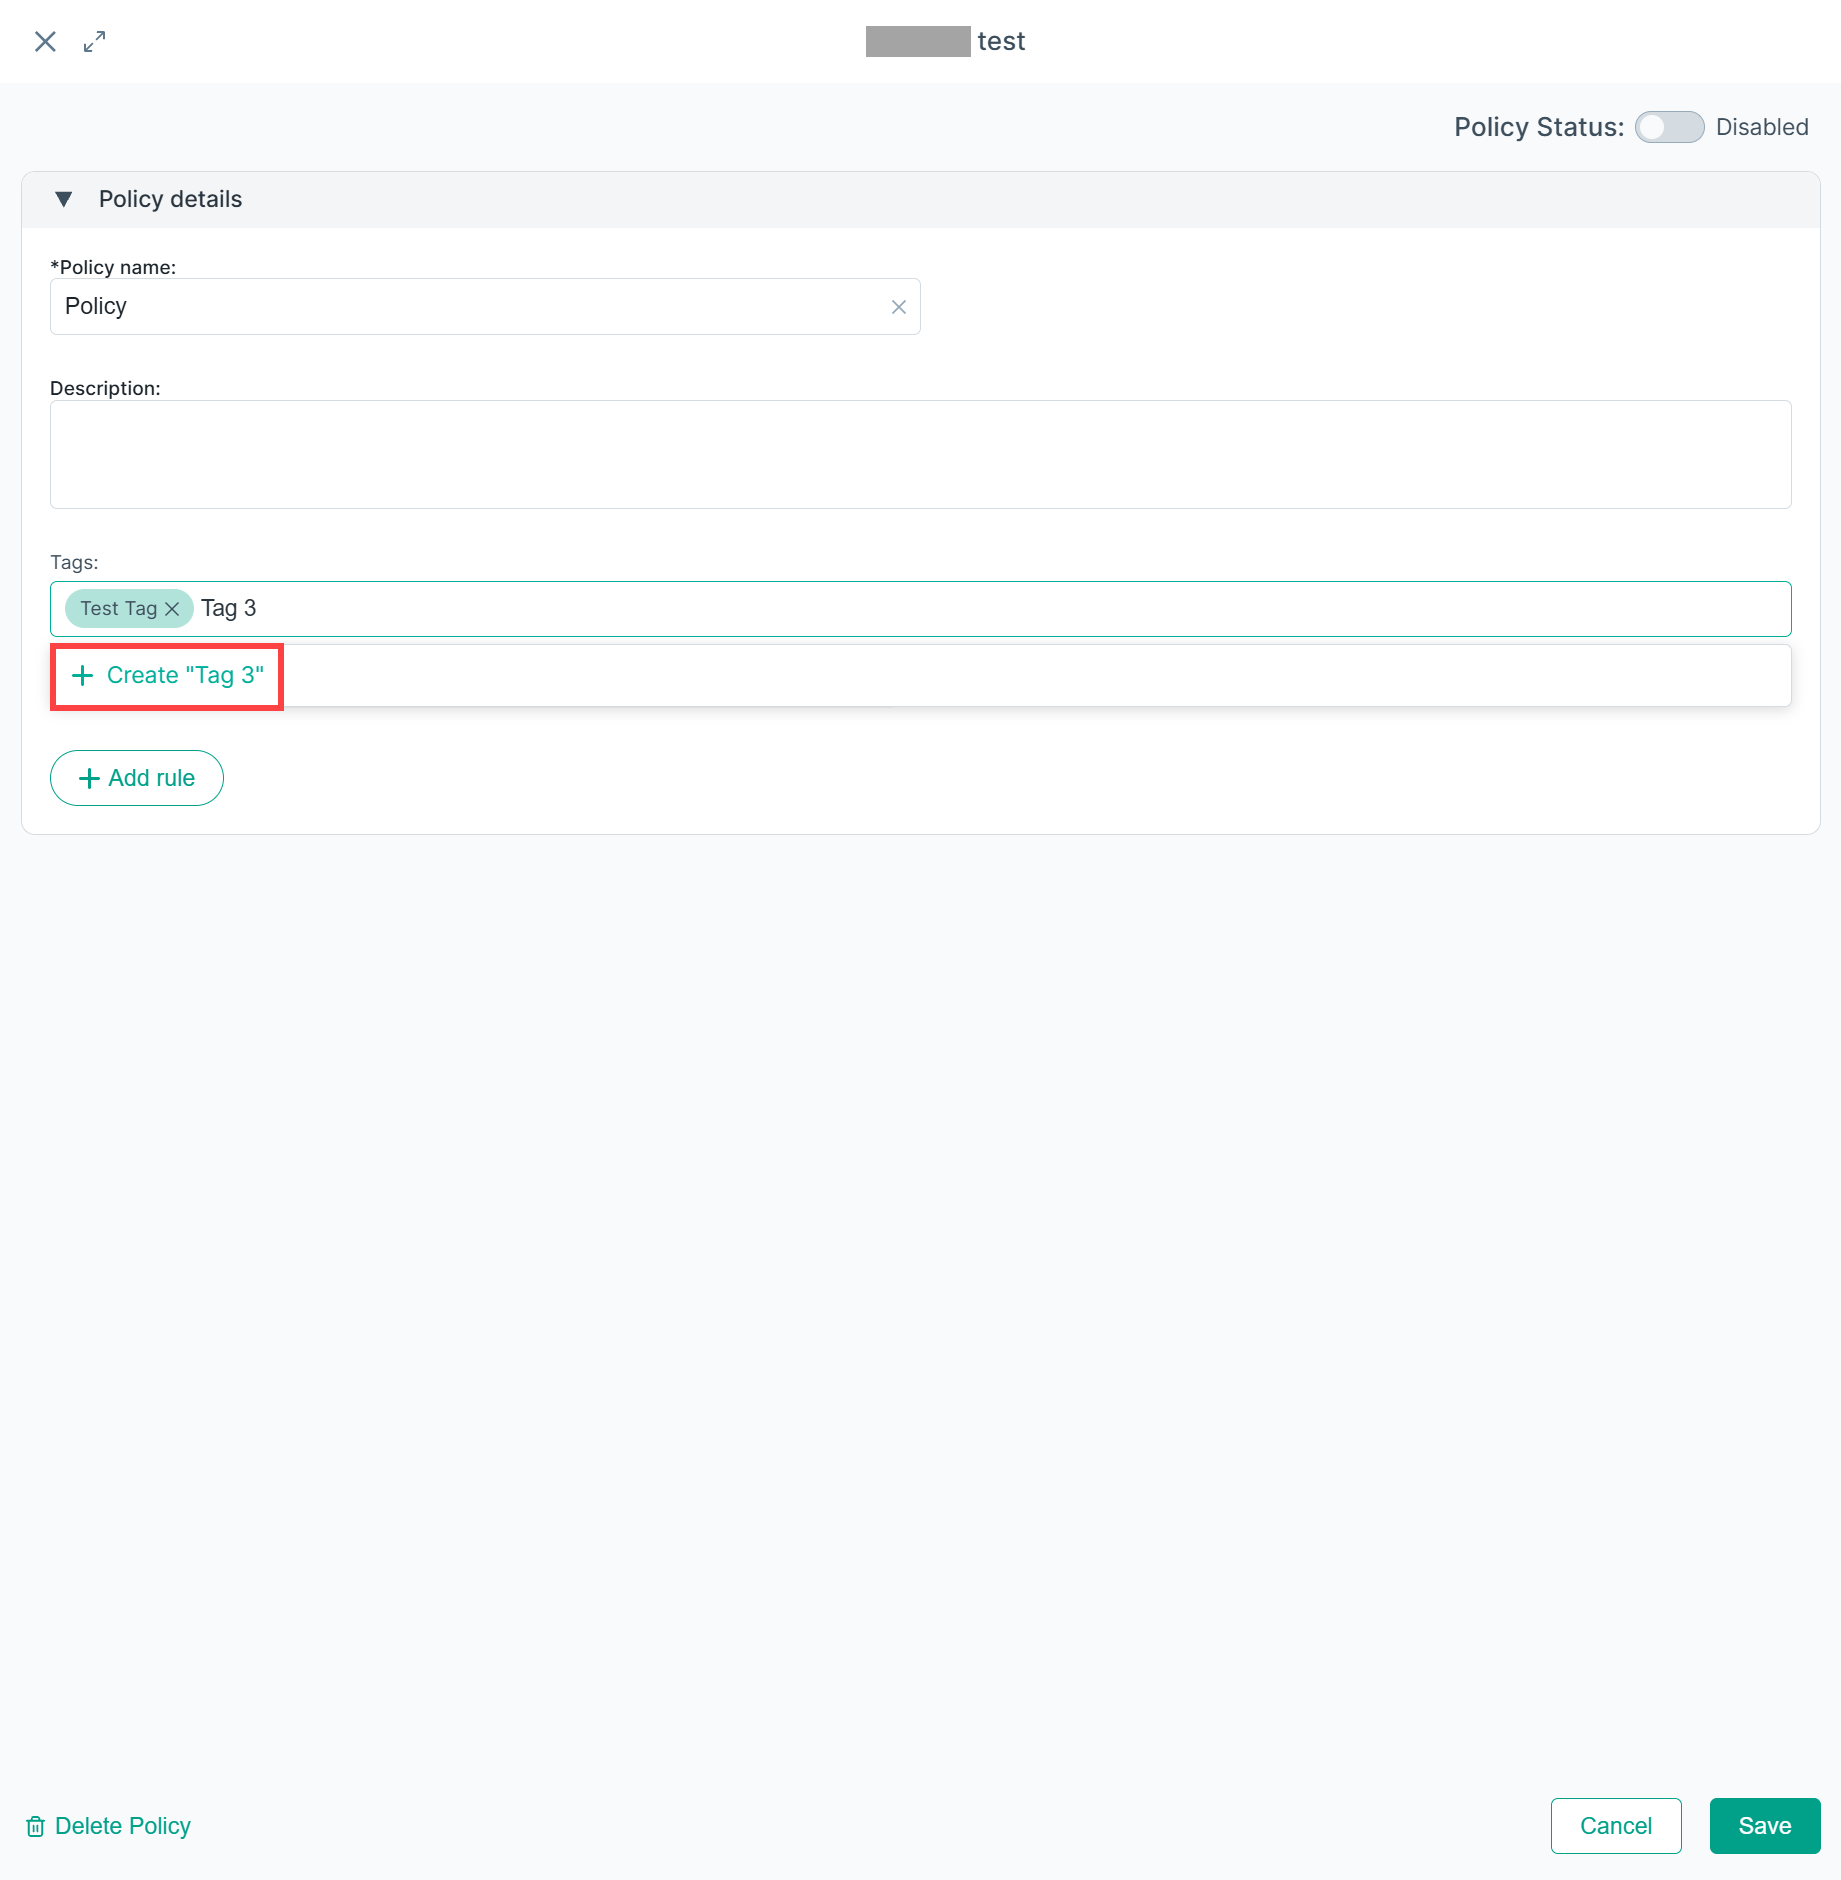
- If you are creating a new tag, type the tag name. The + Create option appears once you start typing; click it, or press Enter, to create the tag.
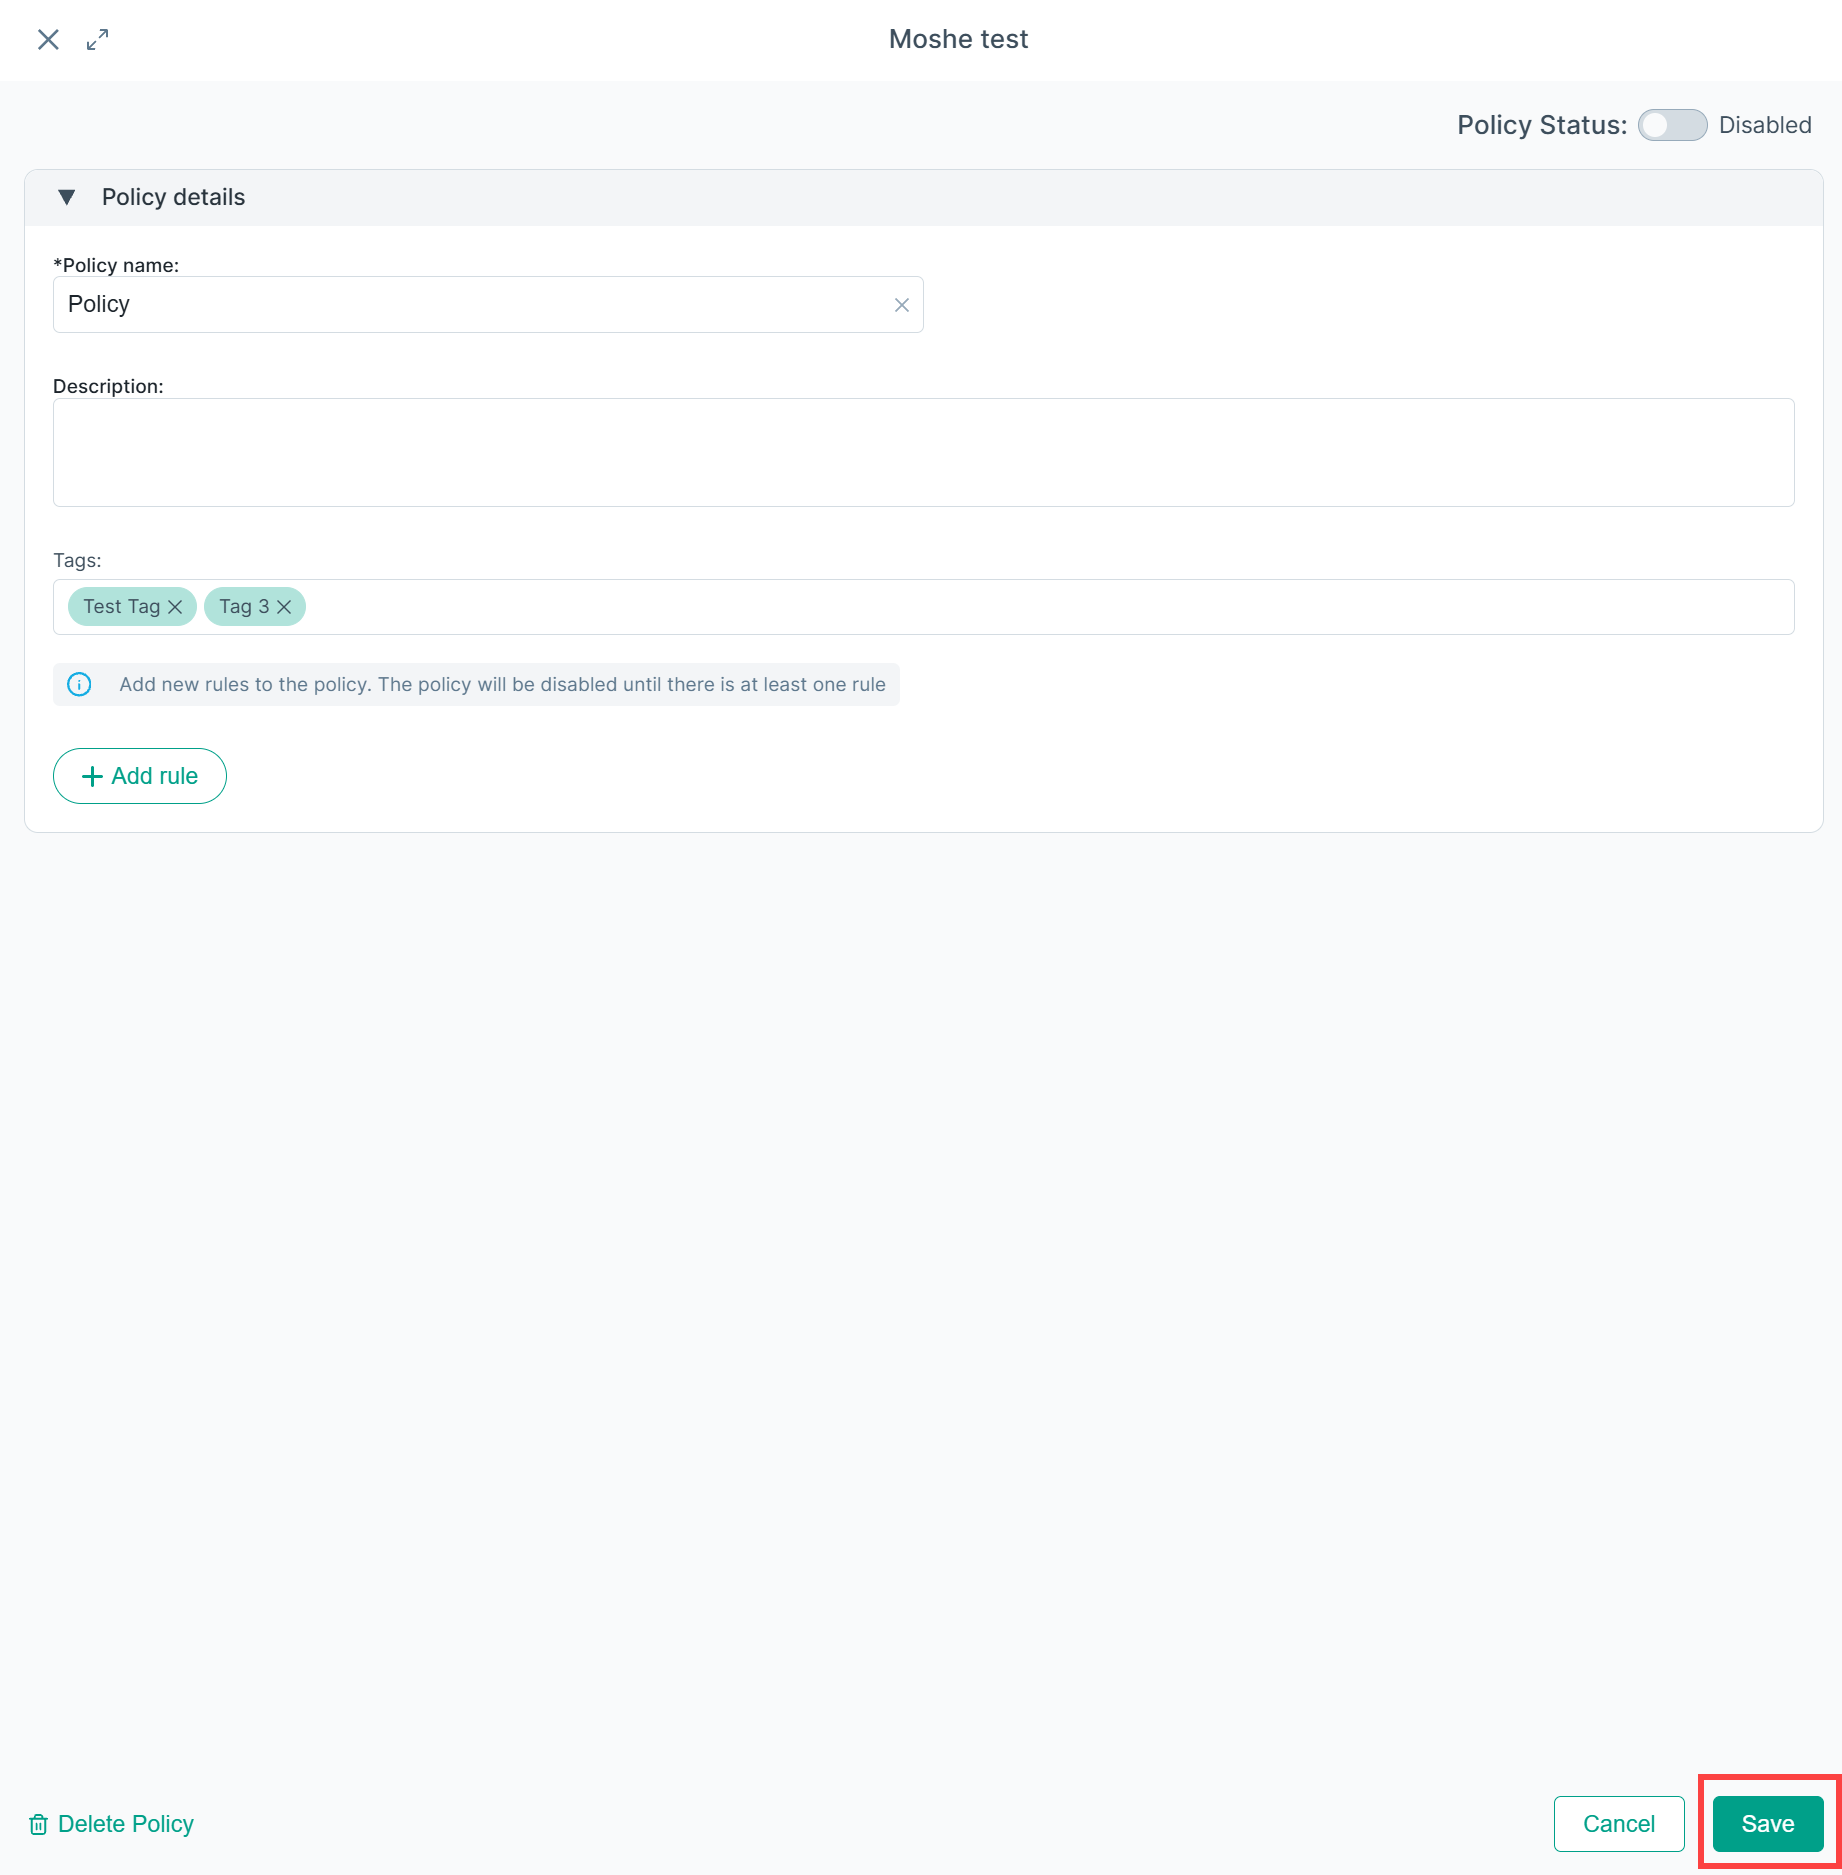
- Click Save.
Assign or remove tags for multiple policies at once
- Navigate to .
- In the left panel, locate All Policies and click on it.
- Select the checkboxes for the policies you want to tag (or untag).
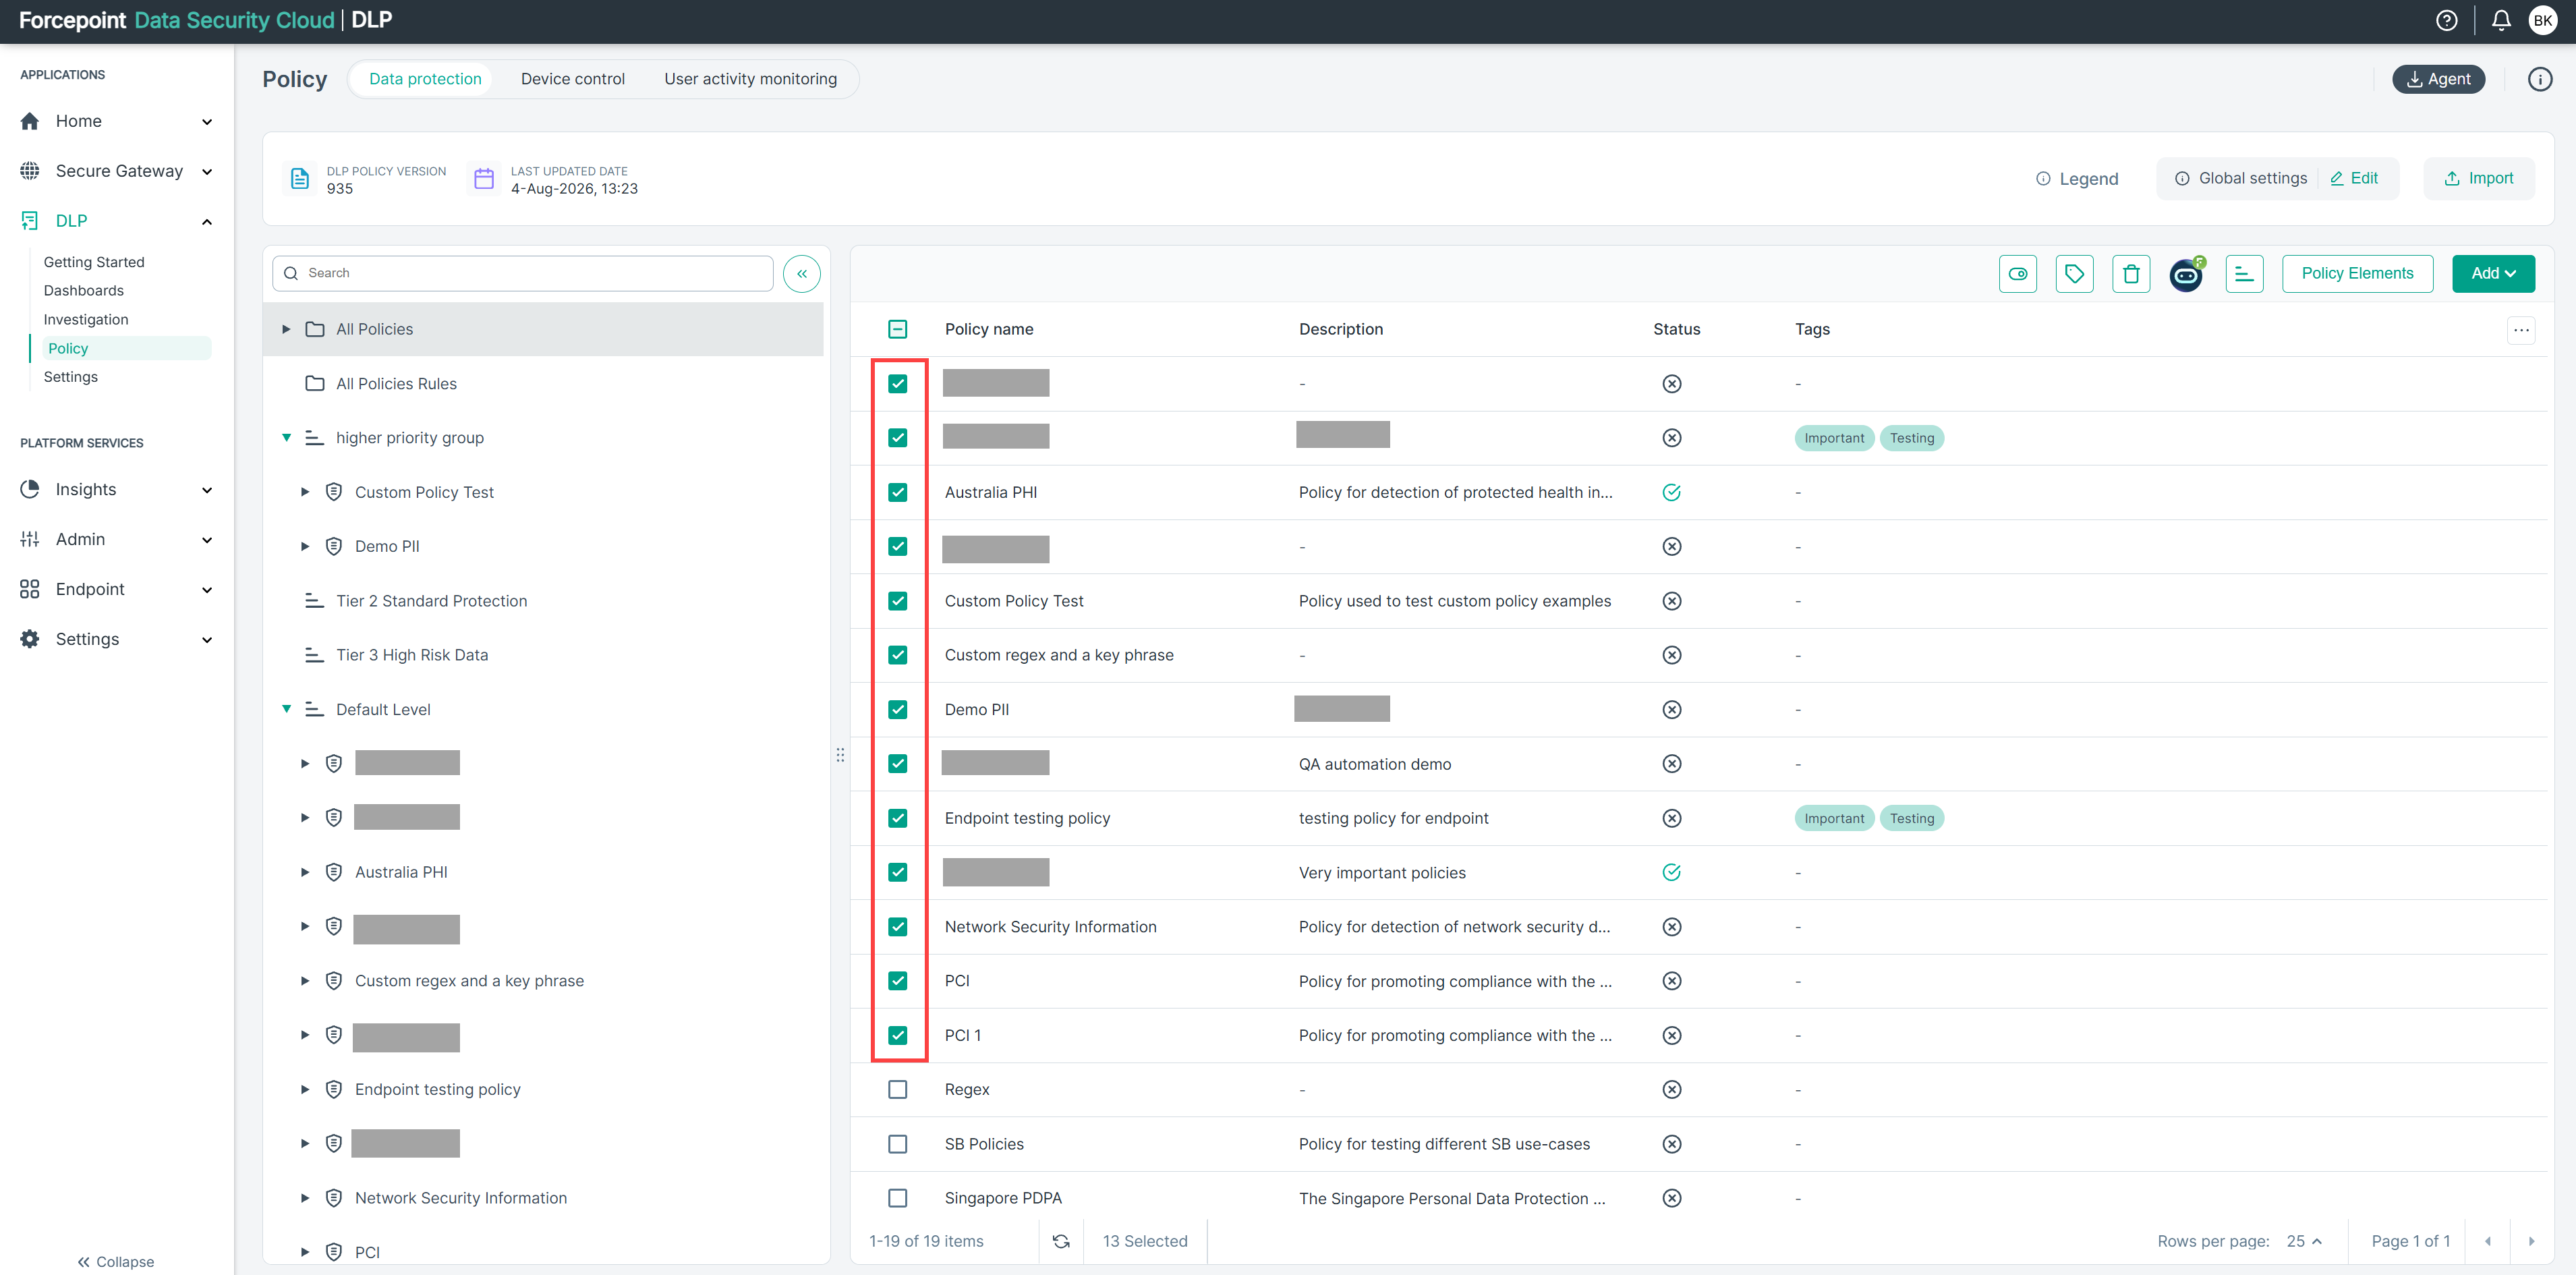
- In the toolbar above the list, click the tag icon to open Add or remove tags.
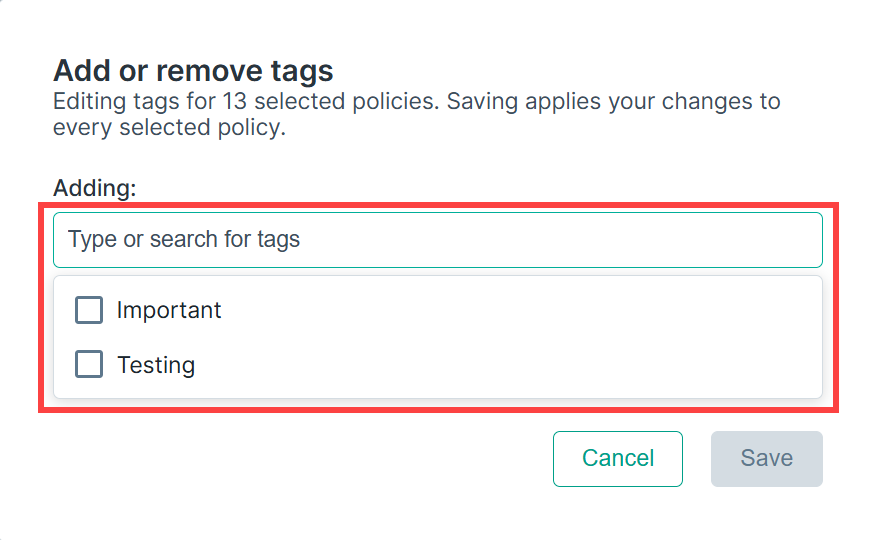
- In the Adding field, type or select the tag(s) you want to add to all selected policies.
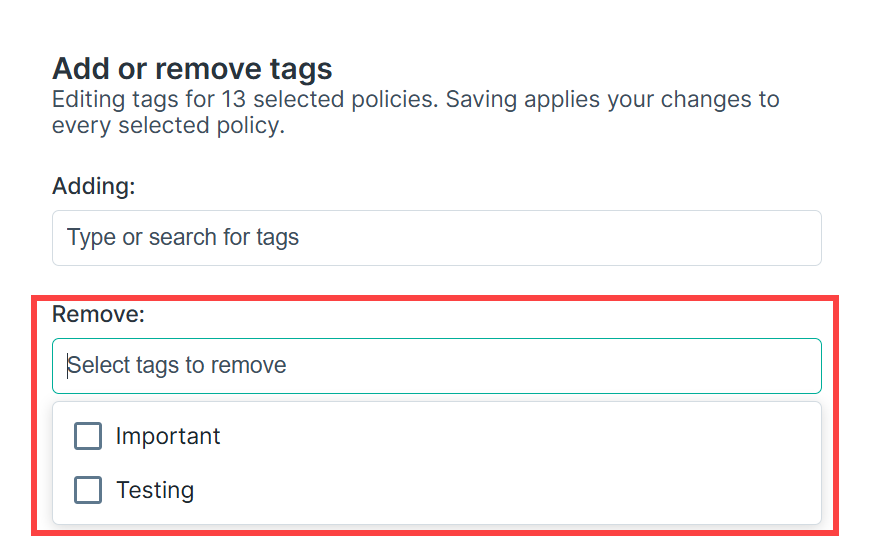
- In the Remove field, select the tag(s) you want to remove from all selected policies.
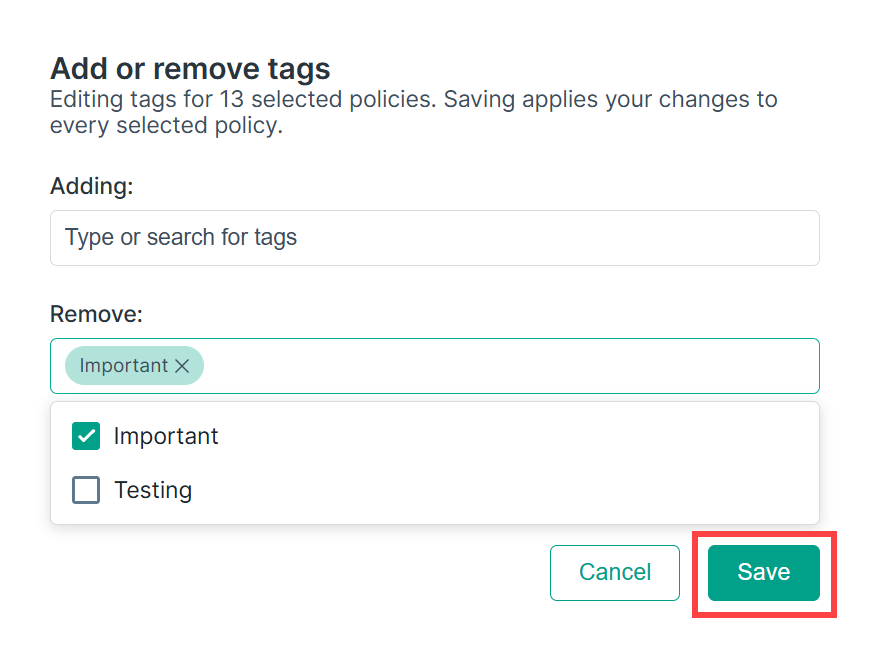
- Click Save to apply the changes to all selected policies.
Filter the All Policies view by tag
- Navigate to .
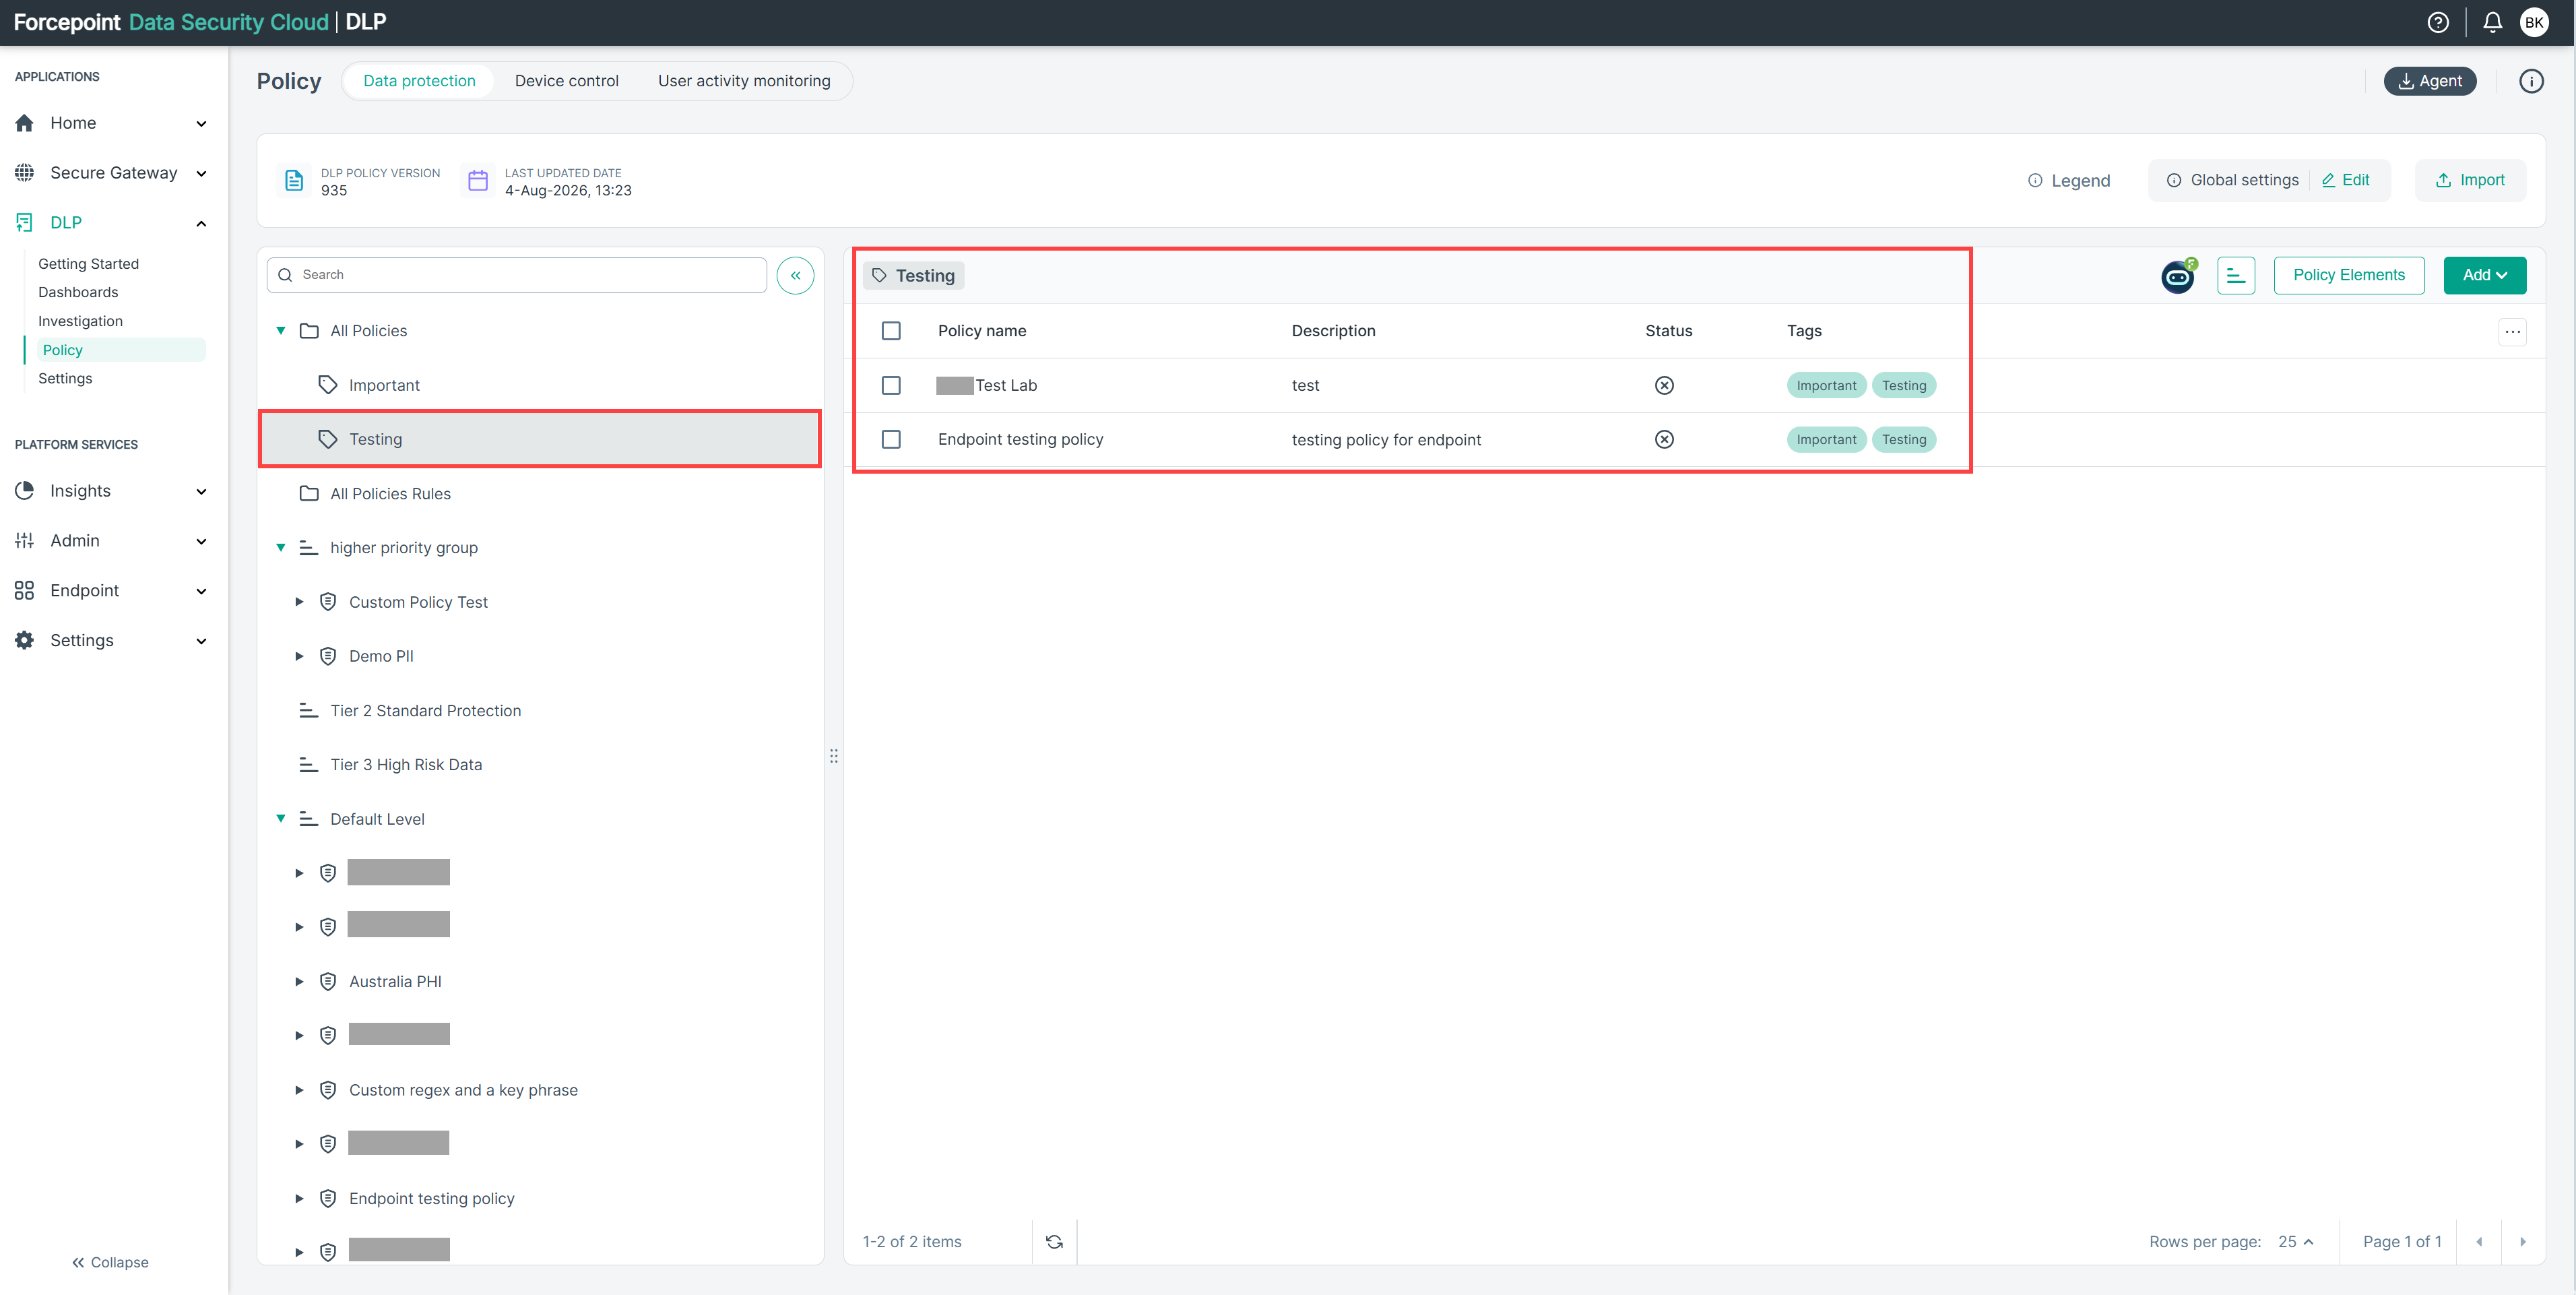
- In the left panel, expand All Policies. Each tag currently in use appears as a sub-node.
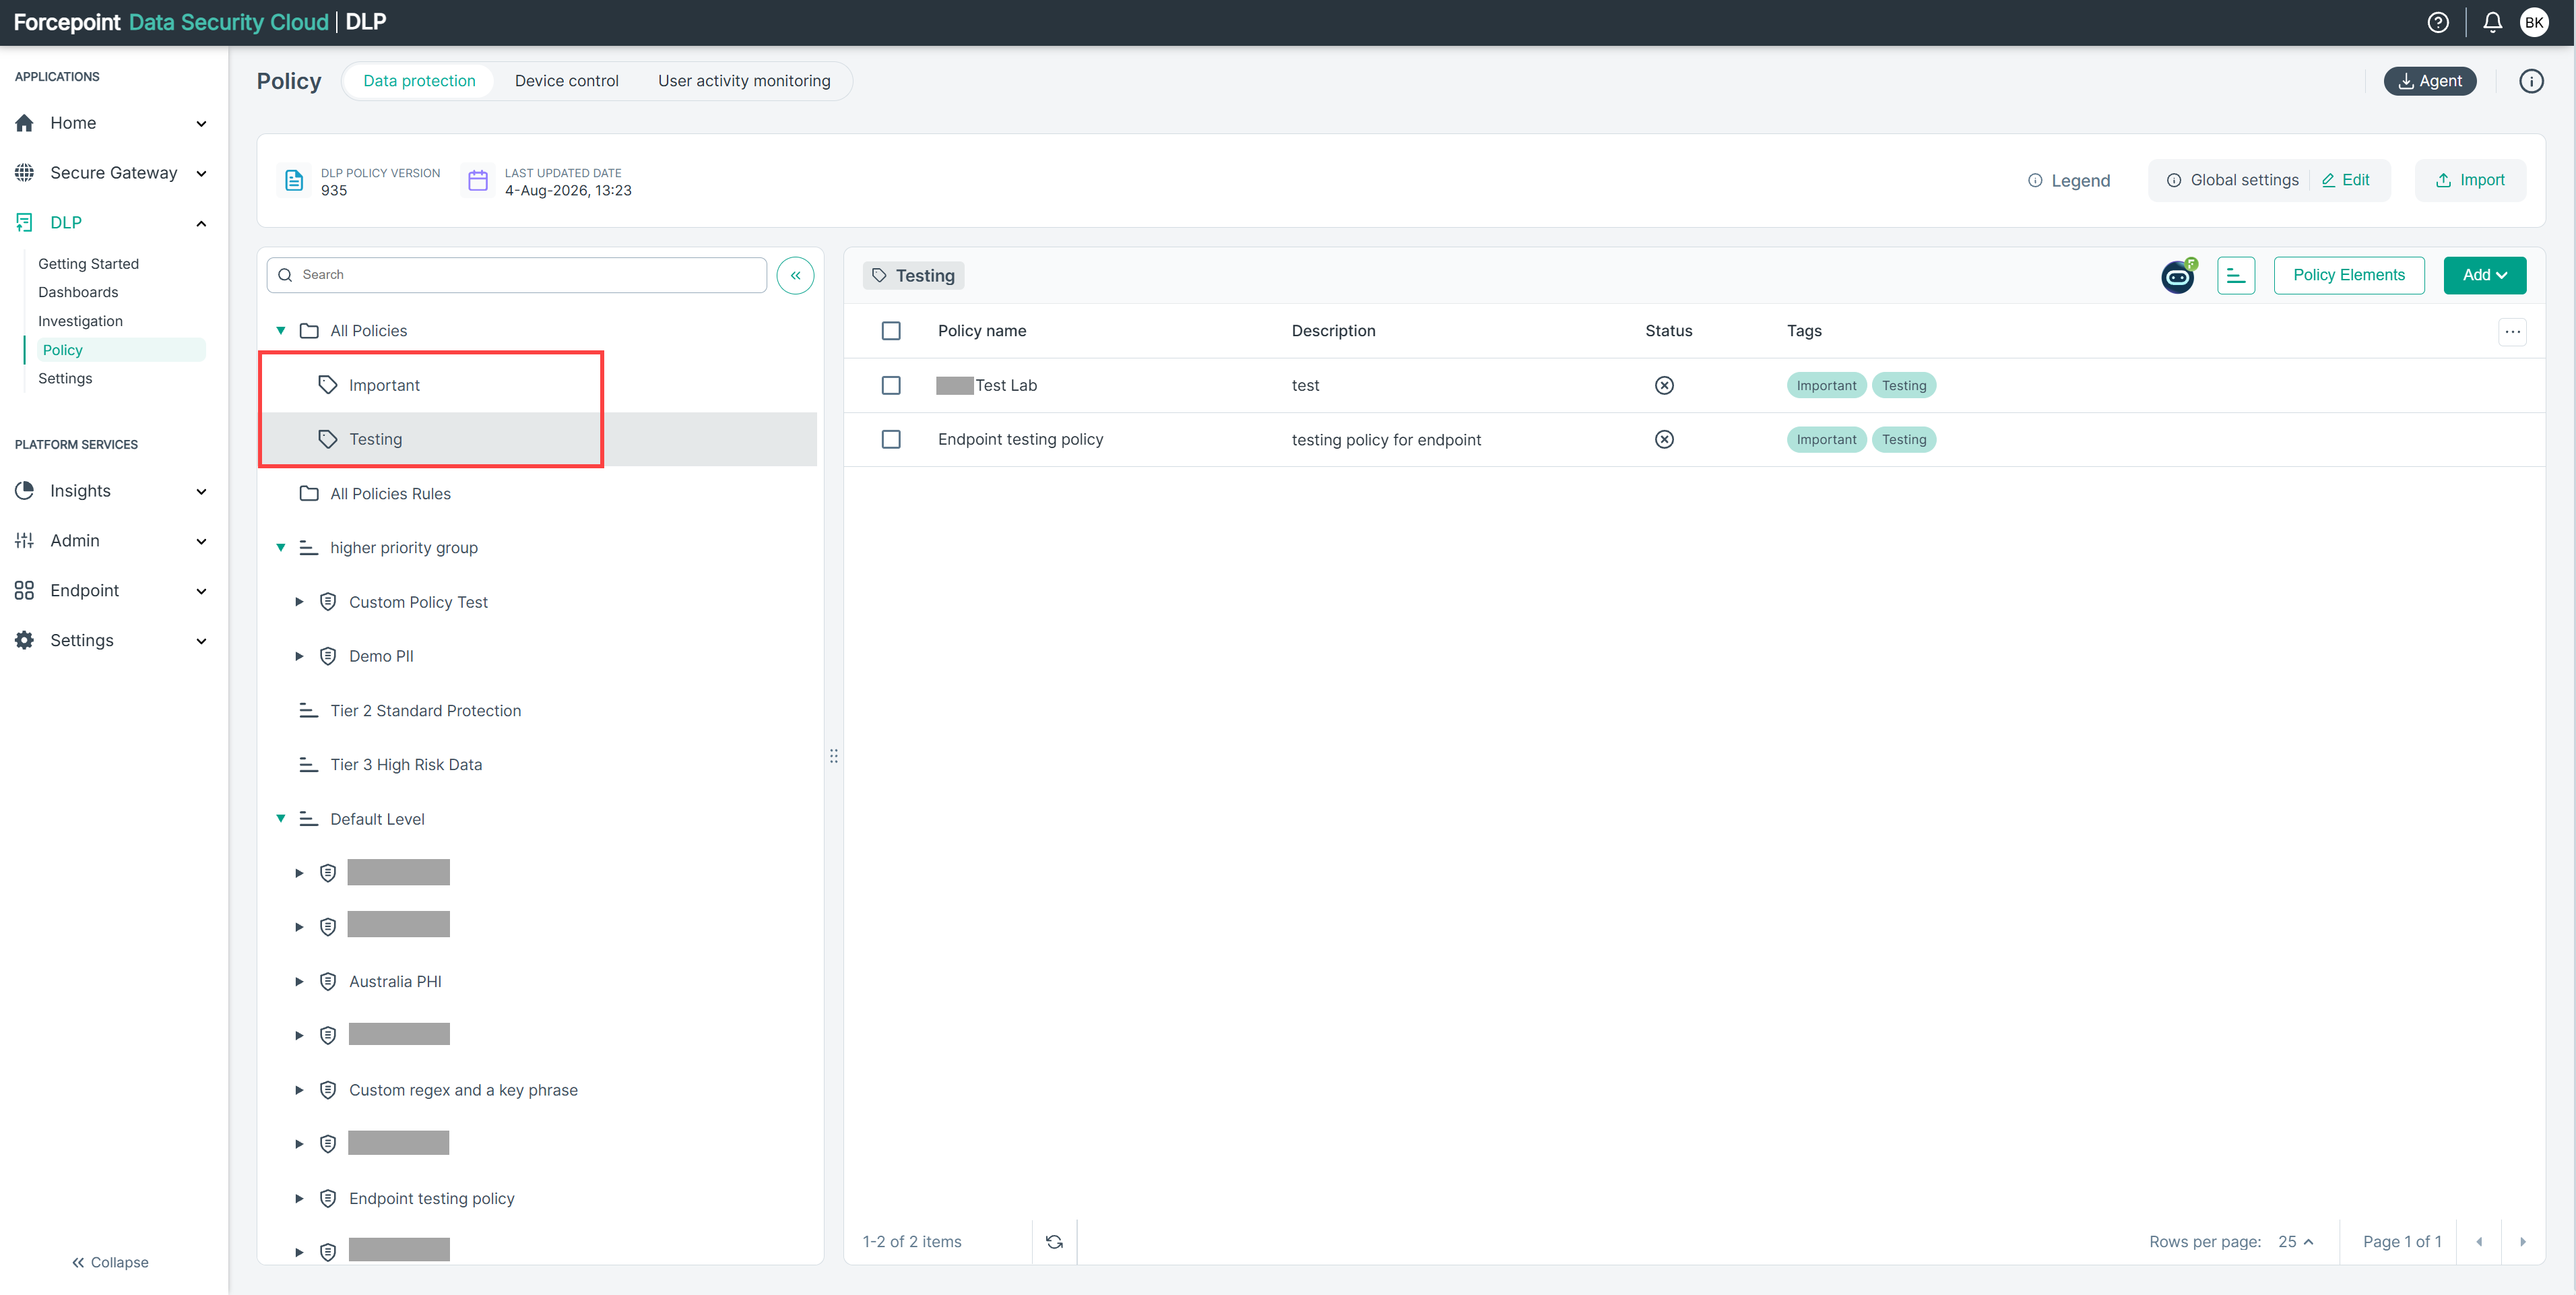
- Click a tag. The All Policies list updates to show only the policies that have that tag applied.
- The All Policies list updates to show only policies that have the selected tag.
- To return to the full list, select All Policies.