Deleting the custom dashboard
You can delete the custom dashboard while viewing it, if it is no longer needed.
Before you begin
Steps
-
On the left pane, click the
 icon.
The Catalog page opens displaying the Dashboards tab details.
icon.
The Catalog page opens displaying the Dashboards tab details.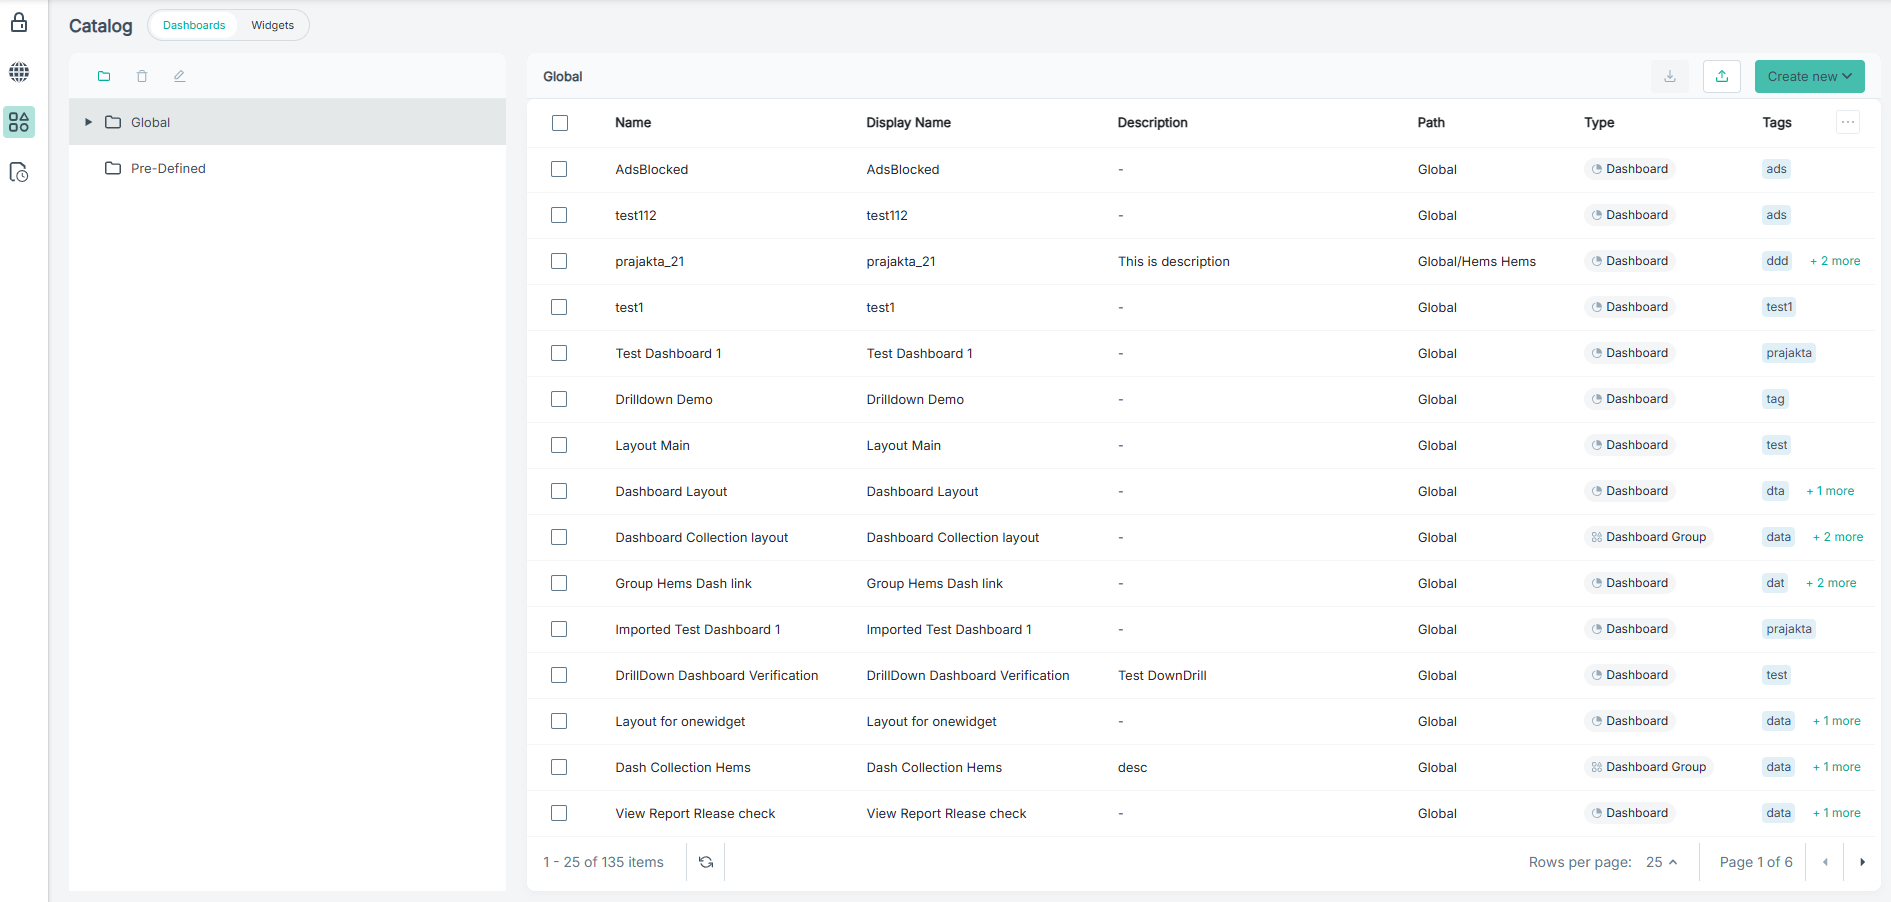
-
To expand the Global folder and view the sub-folders, click the expand
 icon.
icon.
-
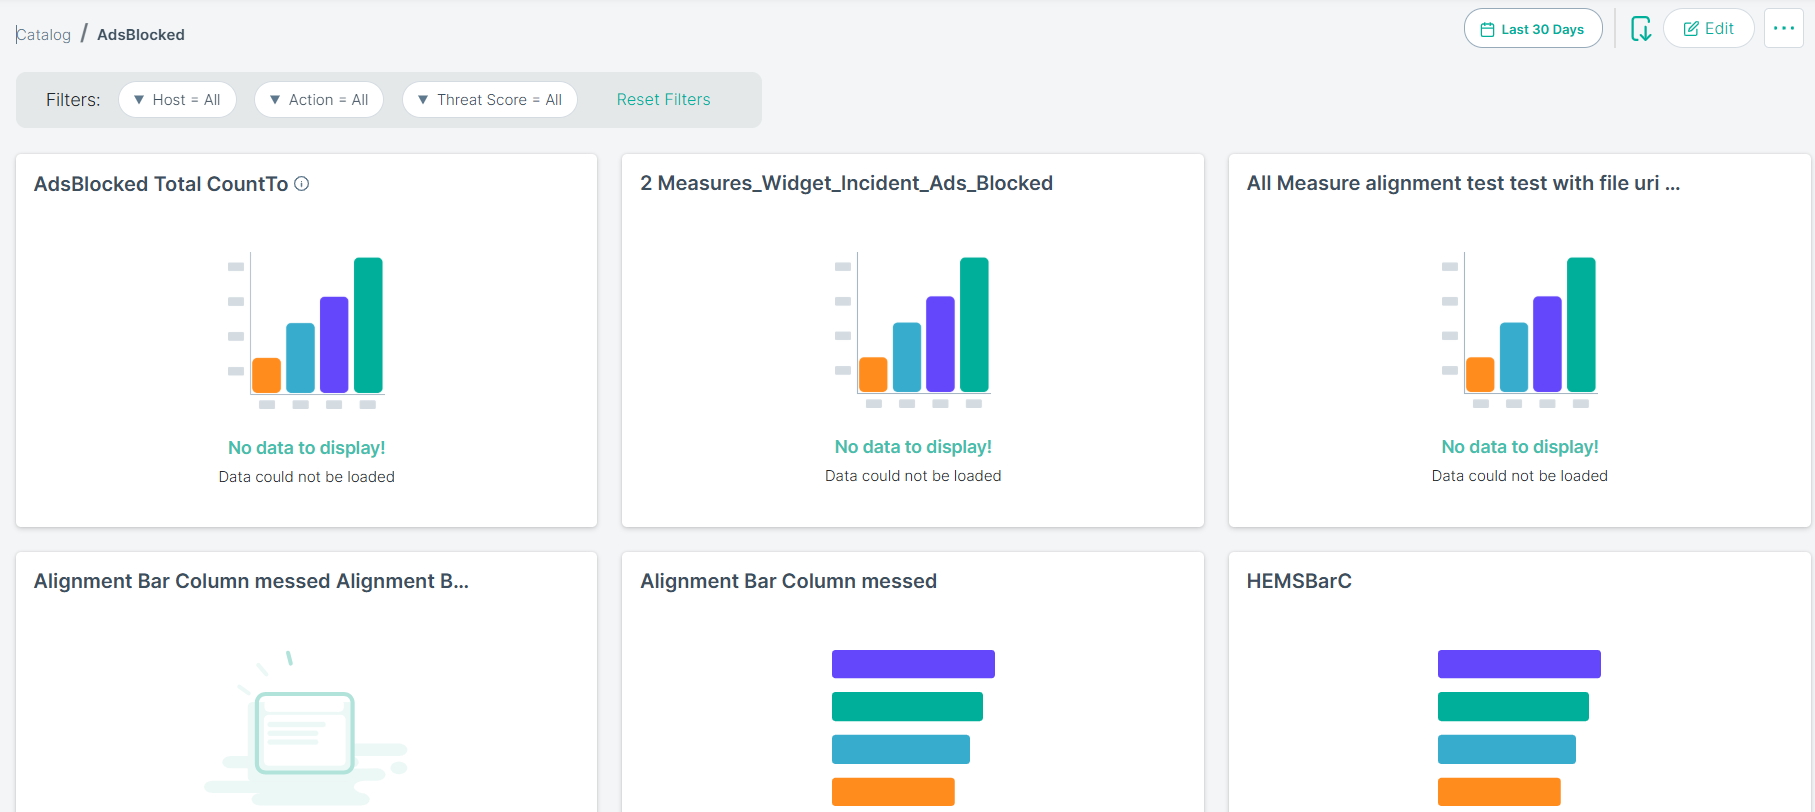
Identify the dashboard and click on it.
-
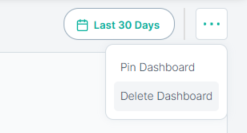
Click the
 icon adjacent to Edit and then select the Delete Dashboard
option.
icon adjacent to Edit and then select the Delete Dashboard
option.
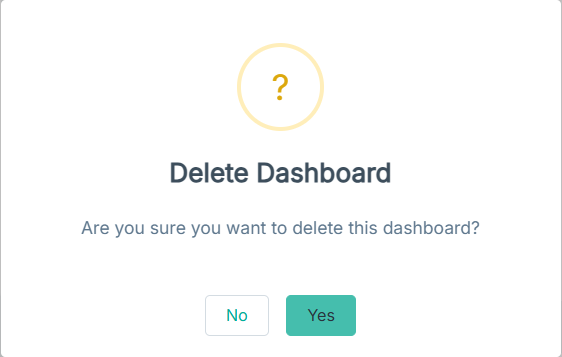
A confirmation dialog opens.