Configuring DNS Protocol Security
Forcepoint ONE Firewall provides DNS threat prevention, protocol enforcement, and SafeSearch enforcement to prevent malicious attacks via DNS queries.
To enable this protection, the DNS traffic must be forwarded through the Forcepoint ONE Firewall for inspection.
Note: To secure DNS traffic, you must create a custom
DNS protocol agent and then assign it to the Network Service cell of a network rule for the traffic. For more details, refer to the Network
and the Adding or editing a network rule topics in the Forcepoint ONE | Firewall online help
documentation.
You can create a custom DNS protocol agent by one of the following ways:
- From the Network Services page:
- From the Policy page:
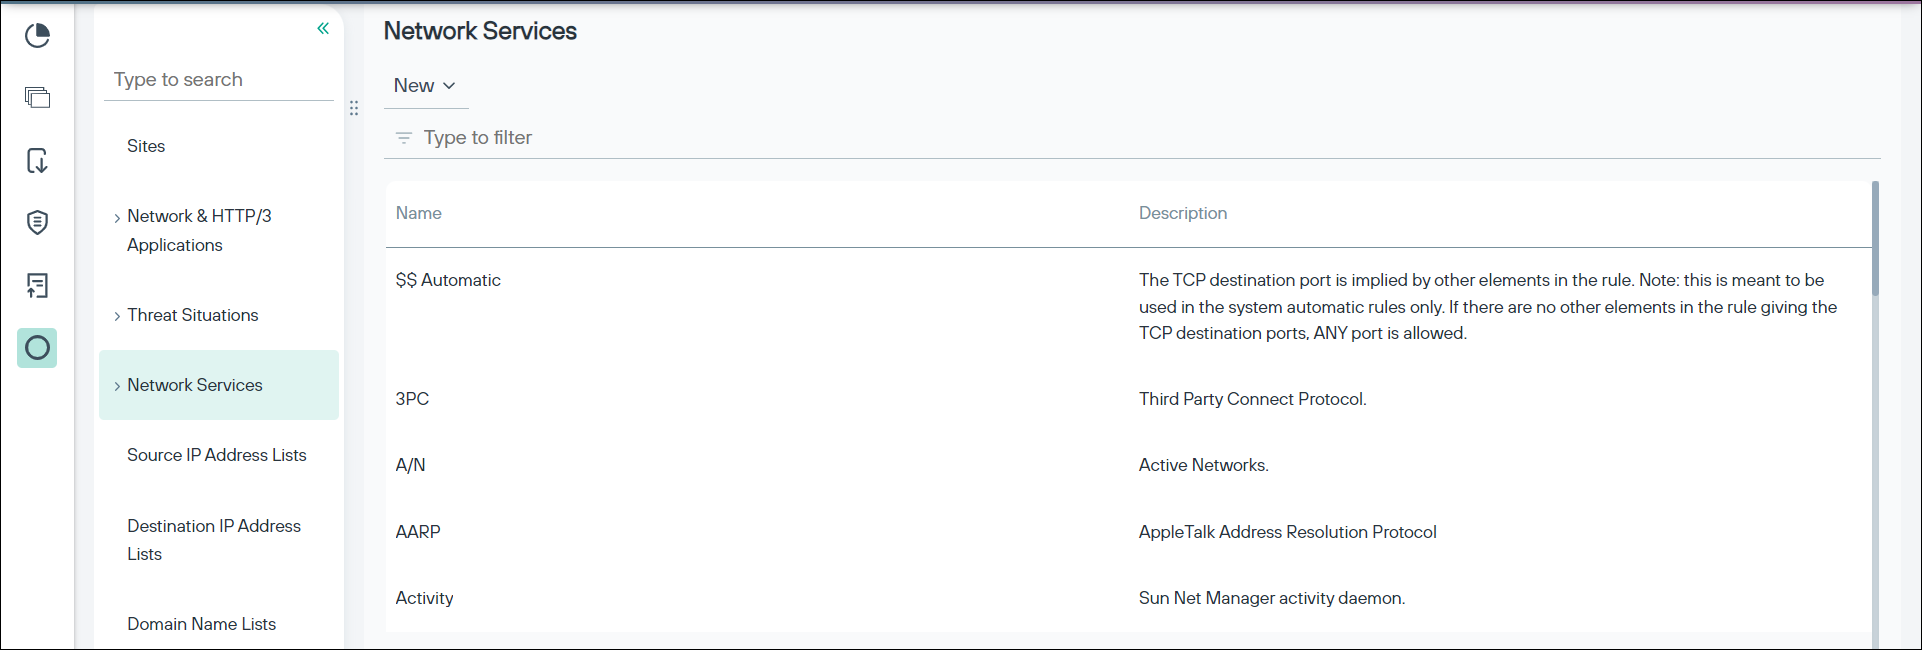
From the Network Services page
Steps:
- From the Navigation pane, click to navigate to the Network Services page.
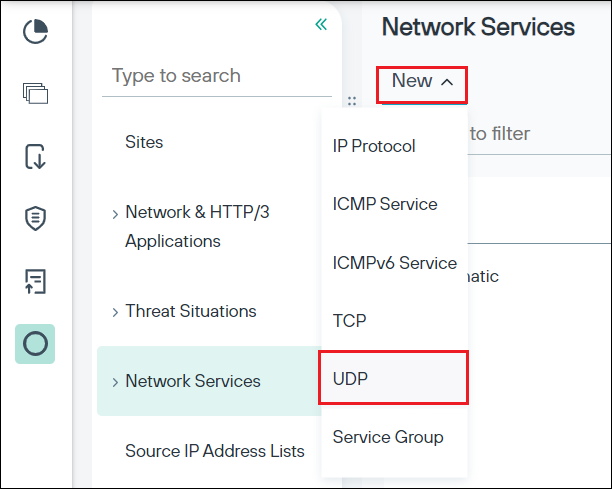
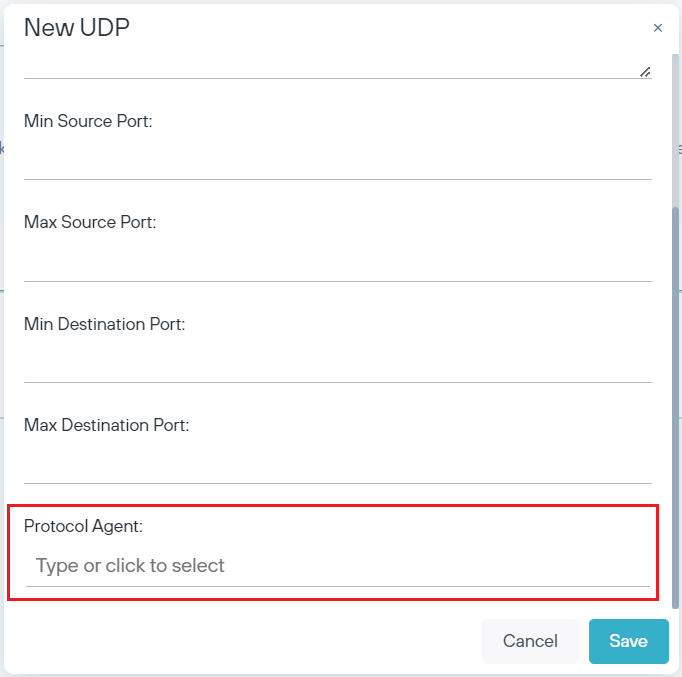
- Click the New button, and then select the UDP option. The New UDP panel is displayed.
- Click in the Protocol Agent field. The Protocol Agent dialog-box is displayed.
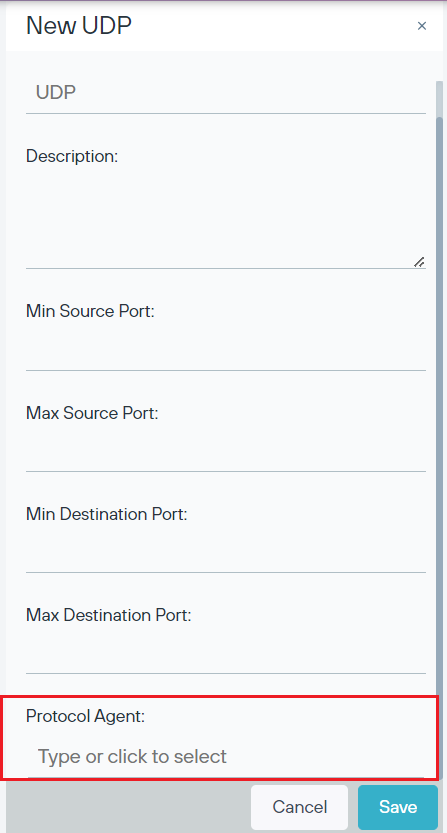
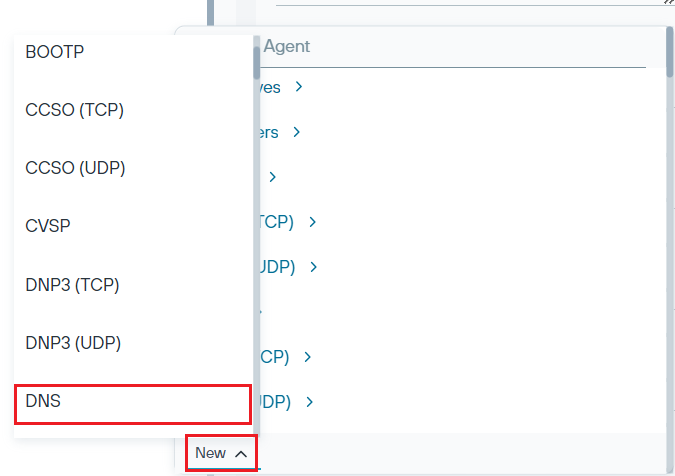
- Click the New button, and then select the DNS option. The New DNS dialog-box is displayed.
- Configure the fields in the dialog-box. For more information on the fields, refer to the Protocol agent field details topic in the
Forcepoint ONE | Firewall online help documentation.
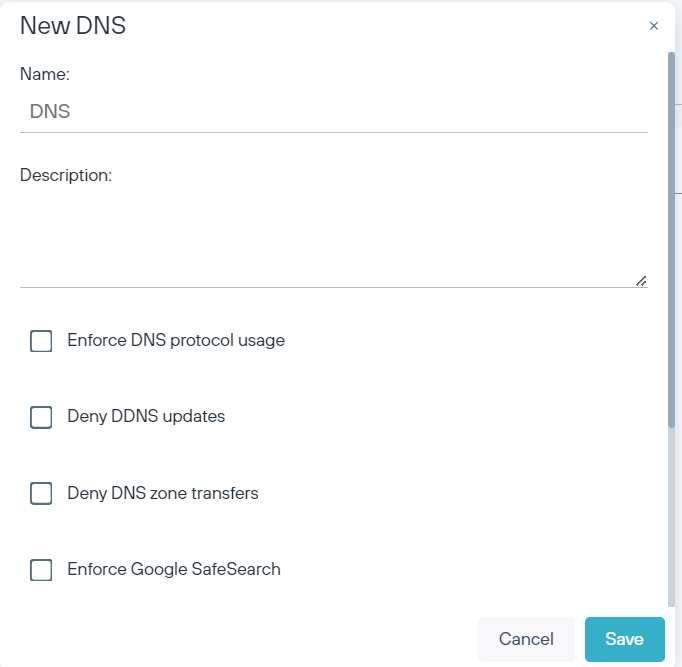
- Click Save to save the changes or click Cancel to discard the changes.
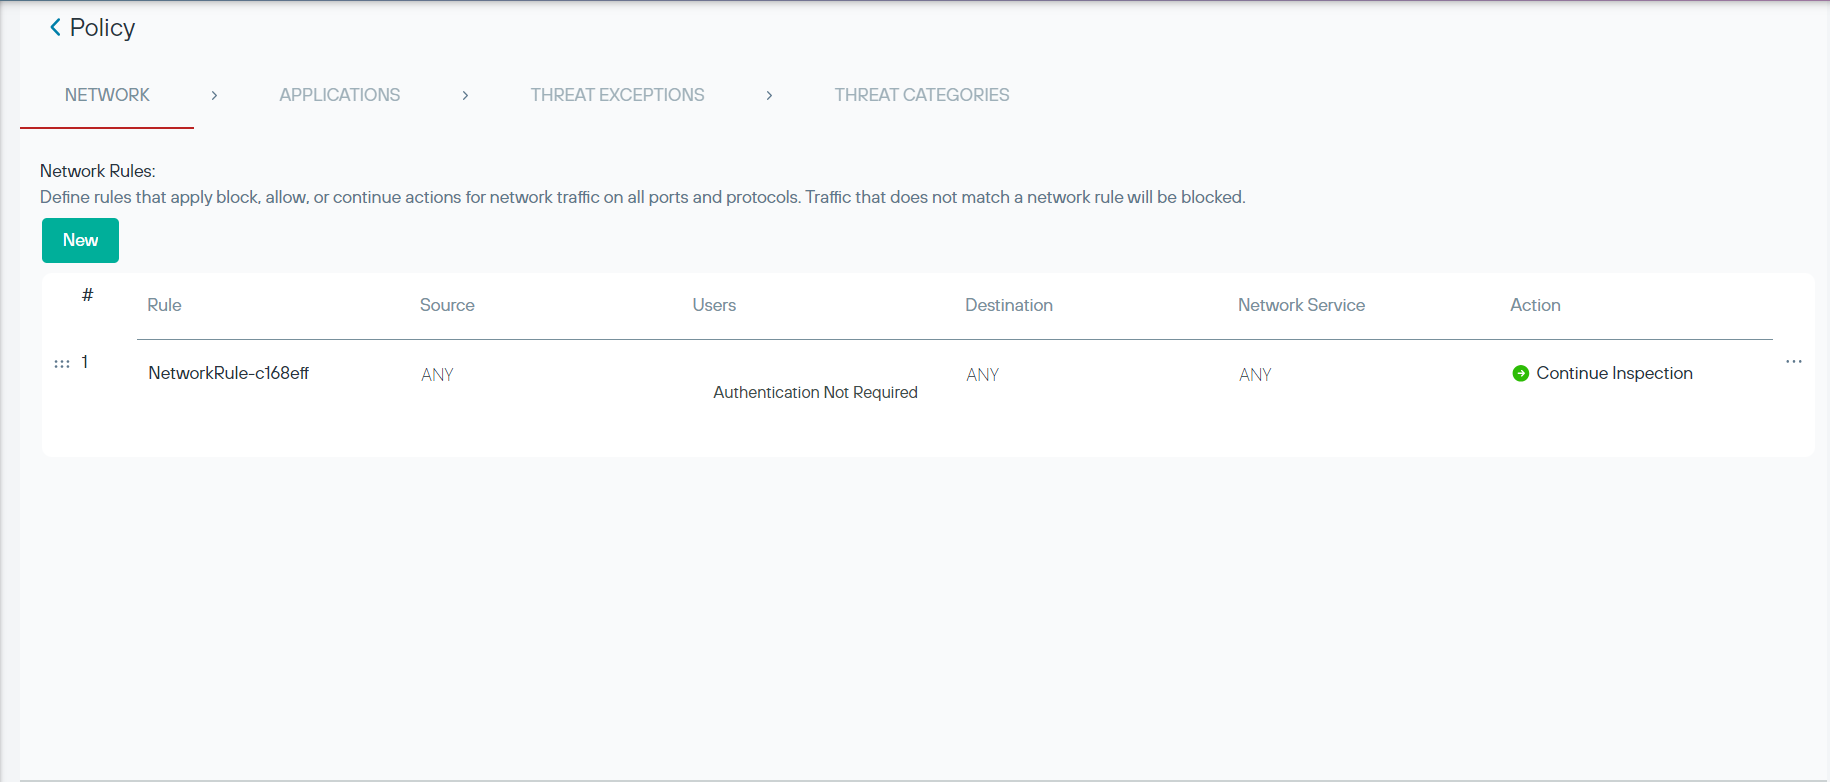
From the Policy page
Steps:
- From the Navigation pane, click Policy to navigate to the Policy Page.
- Click a policy row in the table. The Policy panel is displayed.
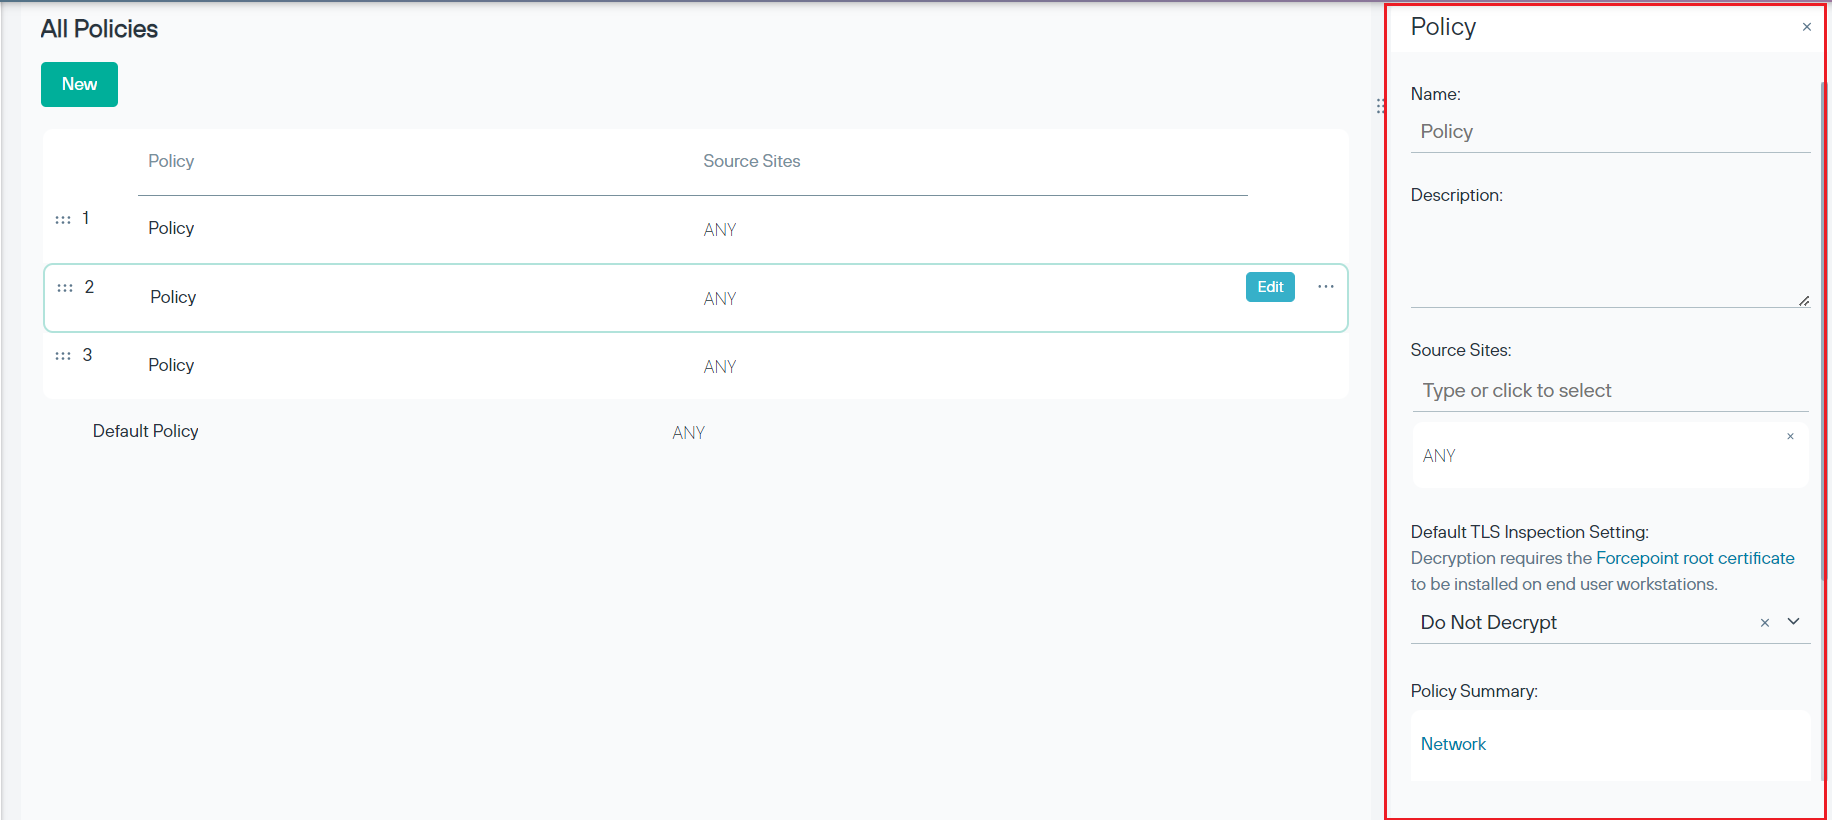
- In the Policy panel, under the Policy Summary section, click the Network stage link. The Network
Stage page is displayed.

- Click the Network Service cell of a network rule in the table. The Network Service dialog-box is displayed.
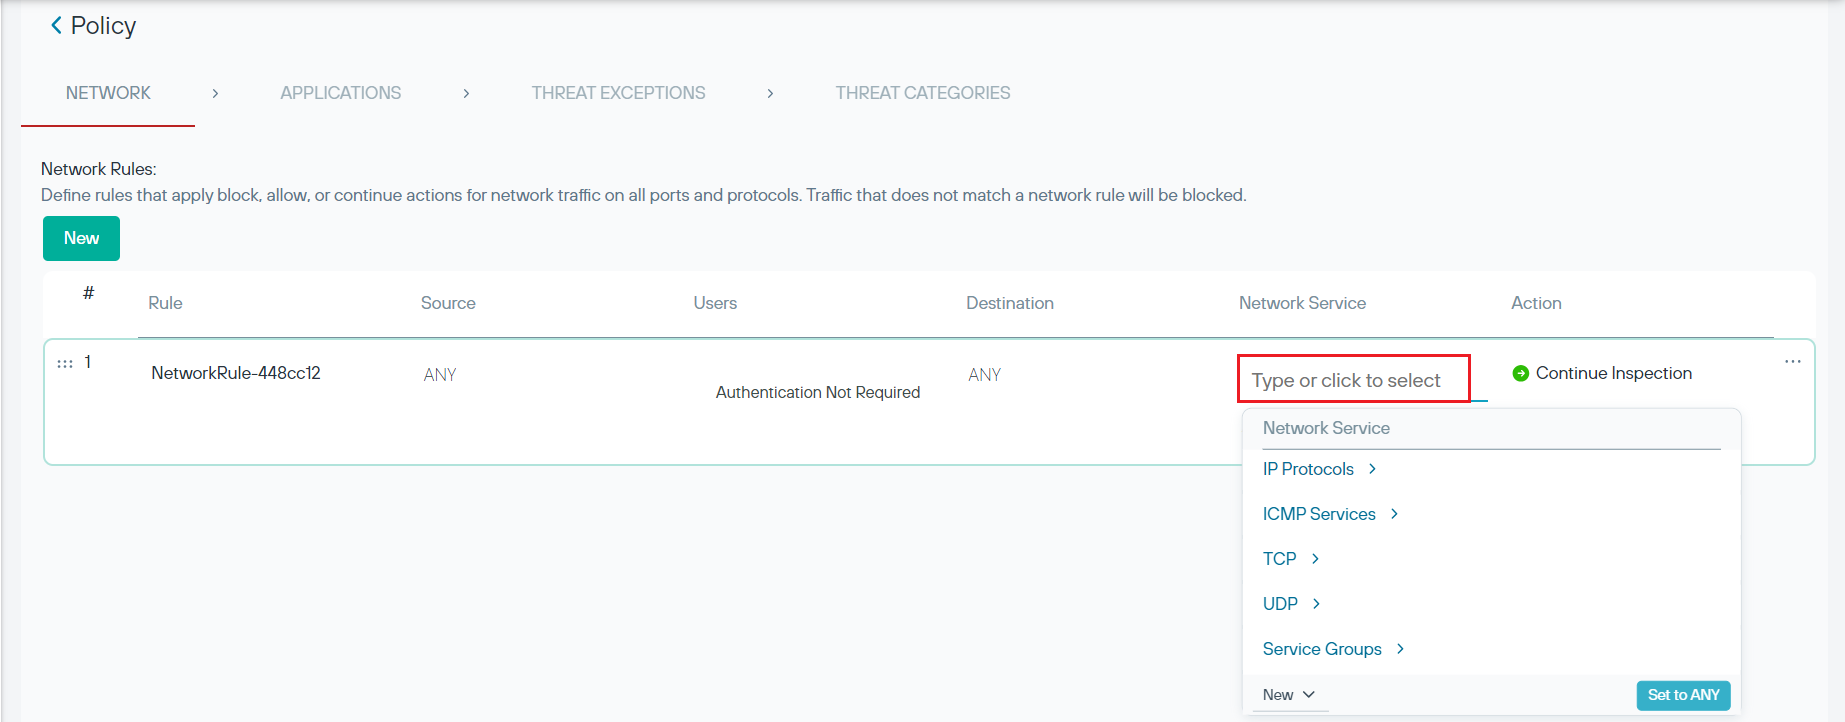
- Click the New button, then select the UDP option. The New UDP dialog-box is displayed.
- Click in the Protocol Agent field. The Protocol Agent dialog-box is displayed.
- Click the New button, and then select the DNS option. The New DNS dialog-box is displayed.
- Configure the fields in the dialog-box. For more information on the fields, refer to the Protocol agent field details topic in the
Forcepoint ONE | Firewall online help documentation.
- Click Save to save the changes or click Cancel to discard the changes.