Example custom network service configuration

This topic provides an example on how to configure a custom network service for http or https over non-standard ports.

A typical use case of http or https over non-standard port is if you want the traffic to go through a cloud service over a non-standard port. For example, use of port 3024 to make requests to a cloud service or a request from browser as https://www.xyxz.com:3024/.

You can use any port number between 1 and 65535, except for the standard port numbers. For more information on standard ports, refer to the IANA website.

Some commonly used non-standard ports are 8080, 8081, 8082, 8083, 8085, and 8443.

The administrator must allow access to the known server port ranges and deny others. The below example shows how to do this.

Steps

  1. From the Navigation pane, click Objects > Network Services to navigate to the Network Services page.
  2. Click the New menu. The menu options are displayed.
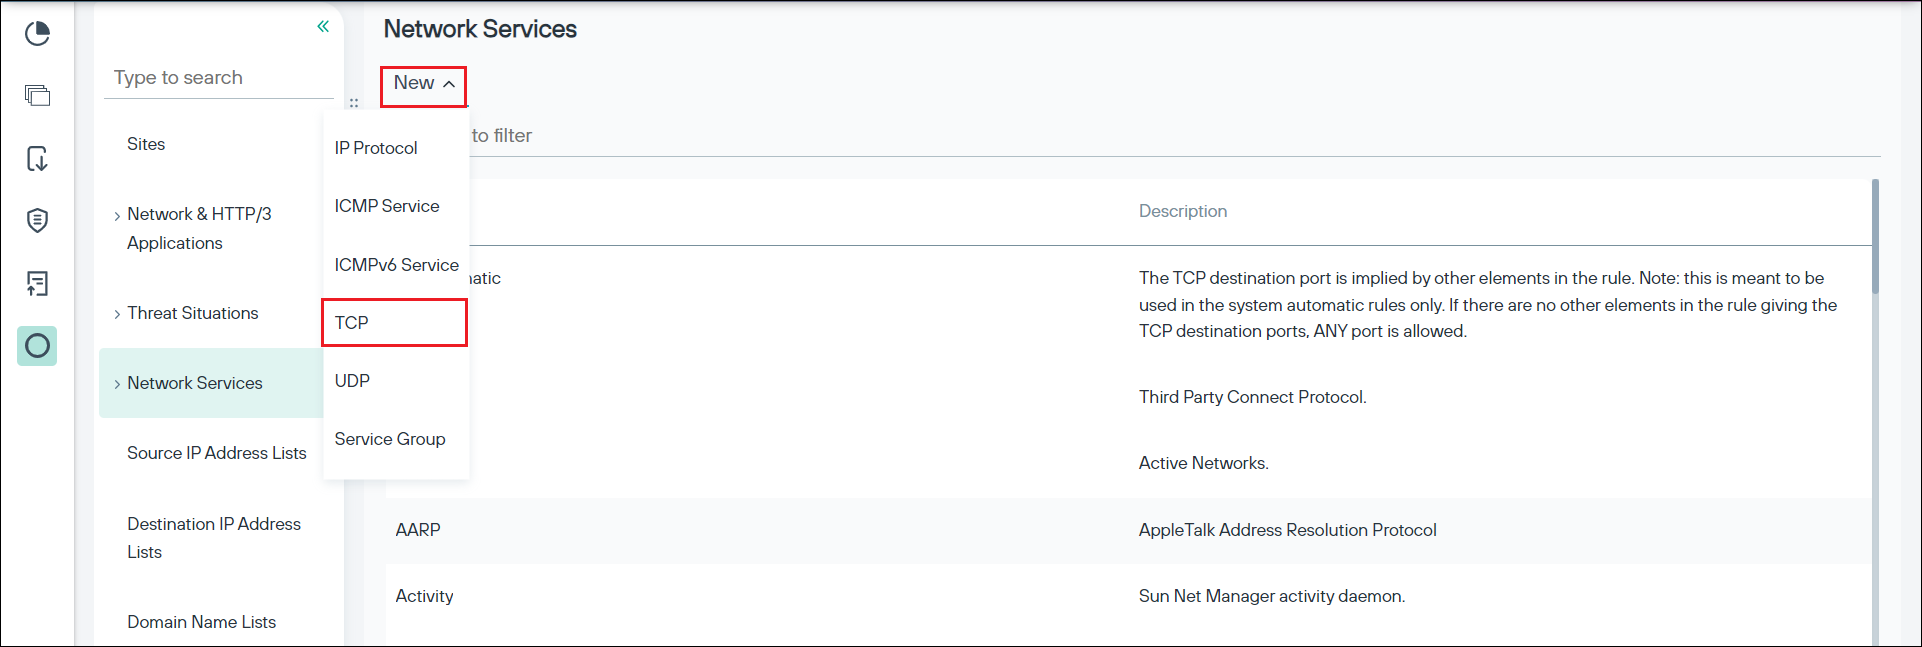
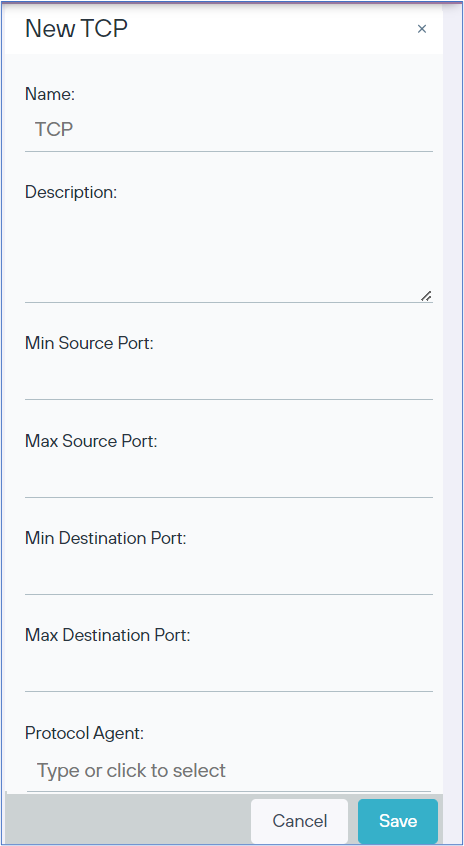
  3. From the menu options, select the TCP option. The New TCP panel is displayed.
  4. Enter the name for the service in the Name field. For example, http or https over non-standard ports.
  5. Enter a description for easy identification of the service in the Description field.
  6. Usually, the source port does not have to be defined and any port is allowed. If it is needed, specify the source port or port range:
    1. To match a single port, enter the source port value in the Min Source Port field only and leave the Max Source Port field empty.
    2. To enter a source port range, enter source port values in both the fields, that is Min Source port and Max Source Port fields.
  7. Specify the destination port or port range:
    1. To match a single port, enter the destination port value in the Min Destination Port field only and leave the Max Destination Port field empty.
    2. To enter a source port range, enter source port values in both the fields, that is Min Destination port and Max Destination Port fields.
  8. Assign a protocol agent:
    1. In the Protocol Agent field, type http or https, or click to display the available protocol agent type options.
    2. From protocol agent type options, select either HTTP or HTTPS type. The available protocol agent options are displayed.
    3. Select the applicable protocol agent option.
  9. Click Save to save the changes or Cancel to discard the changes.