Setting up the Snowflake Datasource Connector for Structured Data
Prerequisites
- The datasource must be reachable from the network where the product is deployed (for example, via a private DNS name or a routable IP address).
- If a firewall is in place, ensure the required port is open.
- Create a user account with read access to the datasource metadata for the product to run the scanning process.
Creating Database Credentials
- Navigate to and select Snowflake DB under Data Type.
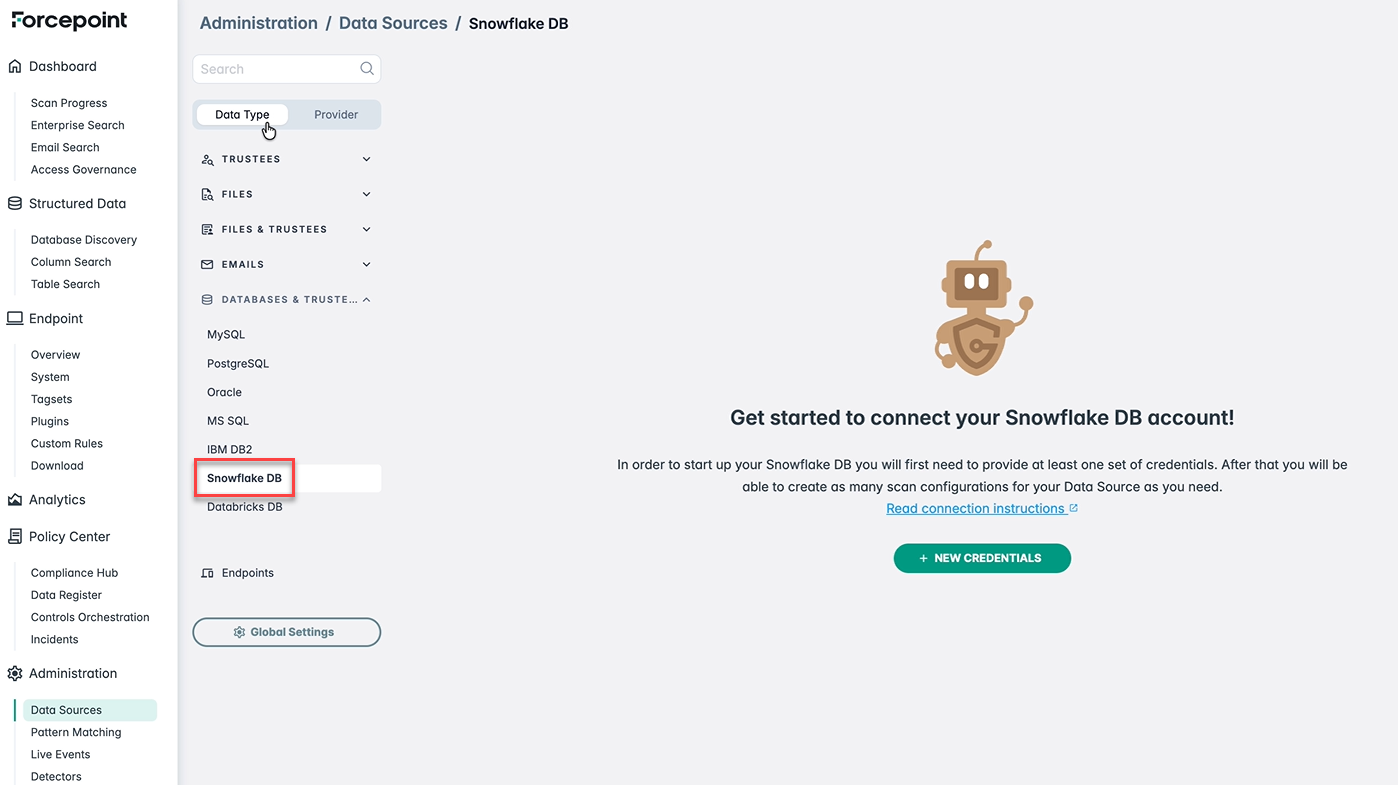
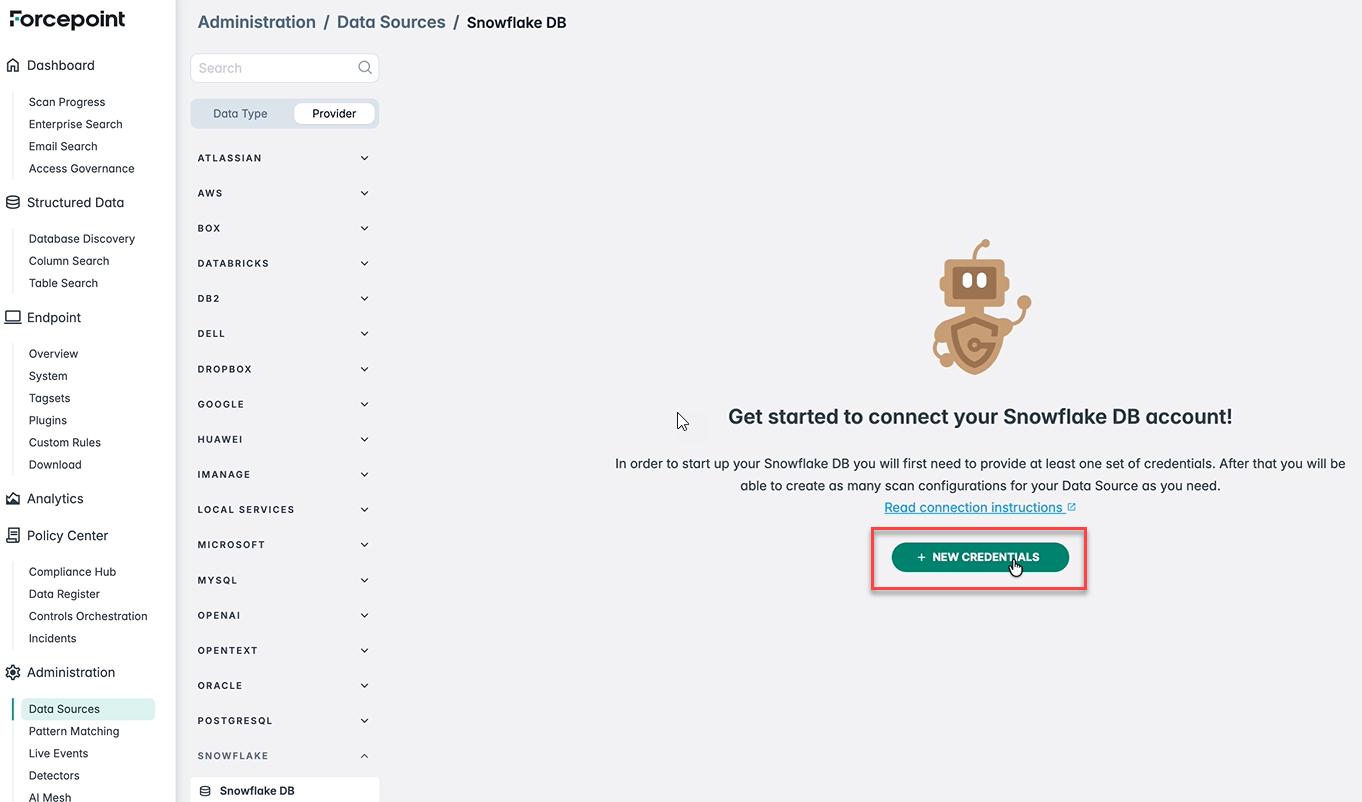
- Click NEW CREDENTIALS to create a new Snowflake DB credentials.
- Gather the required connection details and provide them in the relevant fields:
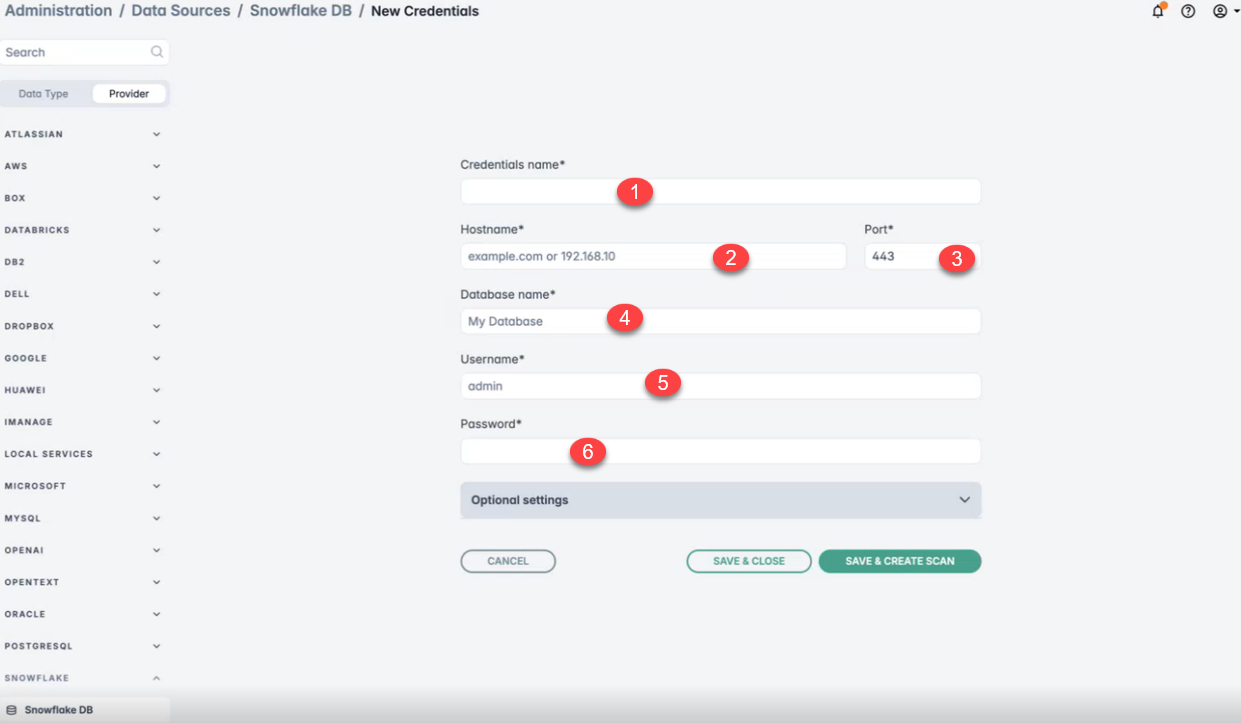
1 - Credentials name*: Any unique name, e.g., `cred1`
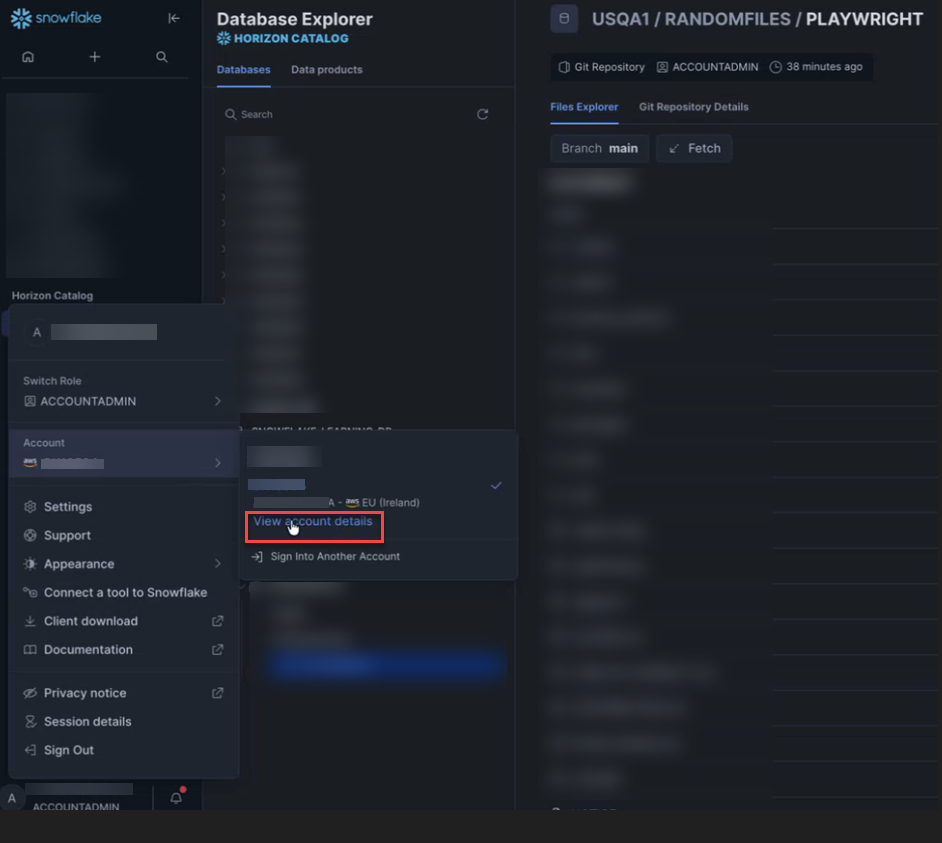
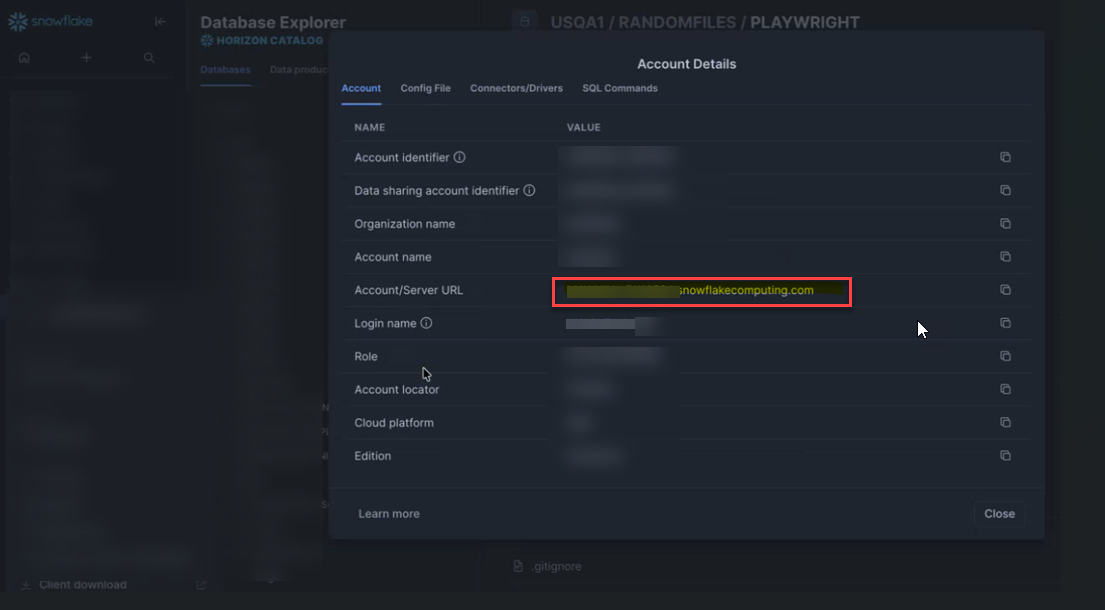
2 - Hostname*: The Account/Server URL (e.g., example.snowflakecomputing.com) - found in your Snowflake Account Details section.
To get the Account/Server URL, navigate to Snowflake .
3 - Port*: HTTPS port for secure connection (443).
4 - Database name*: Provide the name of the database. For example,
5 - Username*: Authentication username.
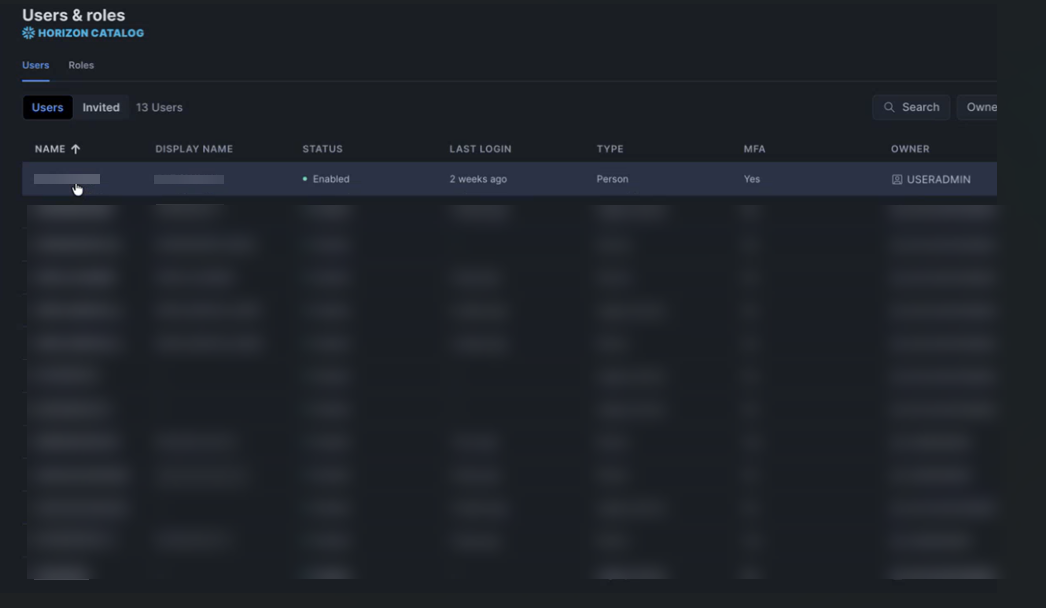
6 - Password*: Provide the programmatic access token.Note: Password field supports both password and programmatic access tokens. If Multi-factor authentication (MFA) is enforced on the user accounts, it is advised to use programmatic access tokens.To generate a programmatic access token, on Snowflake portal, navigate to , click any particular User and click Generate token.
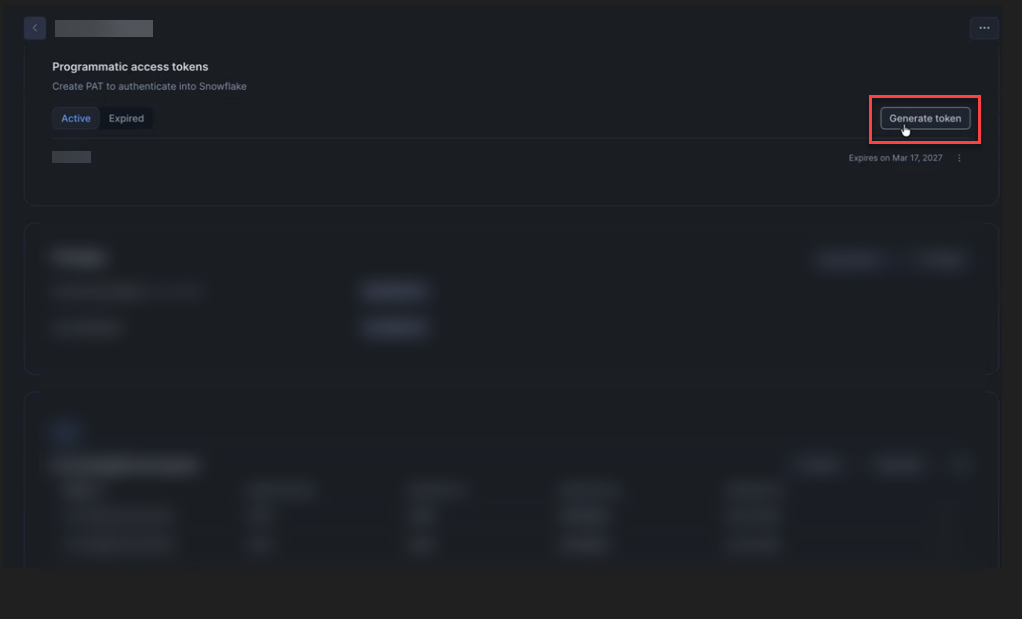
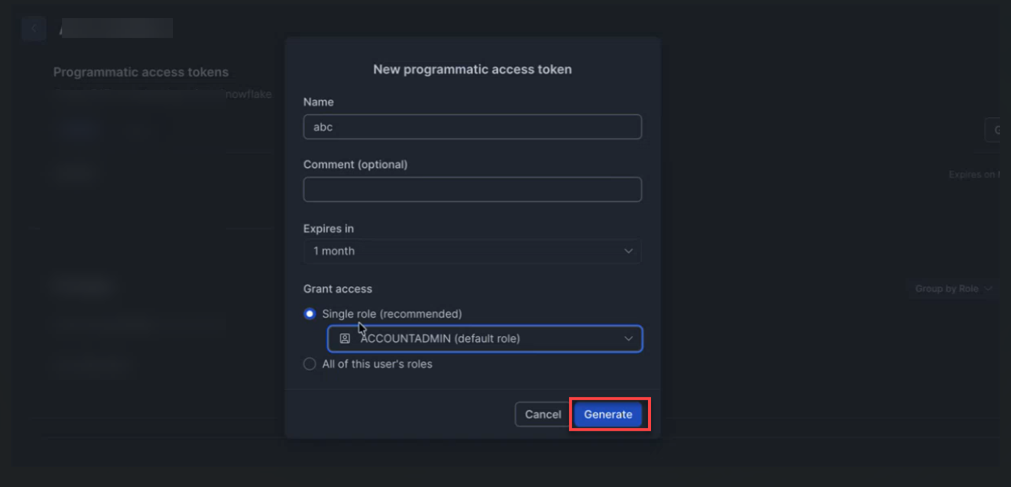
Provide Name, token expiry duration, select the role under Grant access and click Generate.
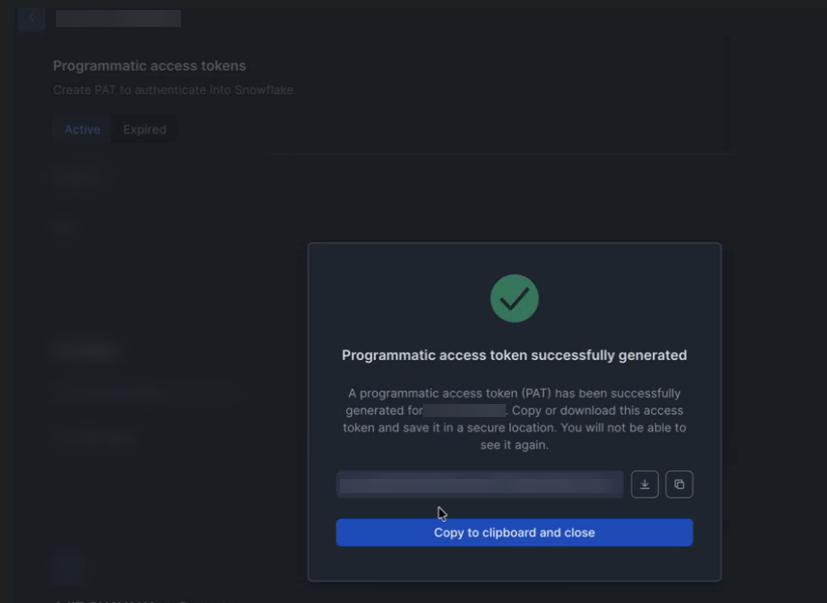
Programmatic access token is successfully generated now. Copy or download this access token and save it in a secure location.
- Click SAVE & CREATE SCAN to save the credentials and proceed to the scan configuration. The system will attempt to connect and will display an error if the connection
fails:
