Setting up the Scan Configuration
This task describes how to configure and run a scan after database credentials have been created and the connection succeeds.
Steps
-
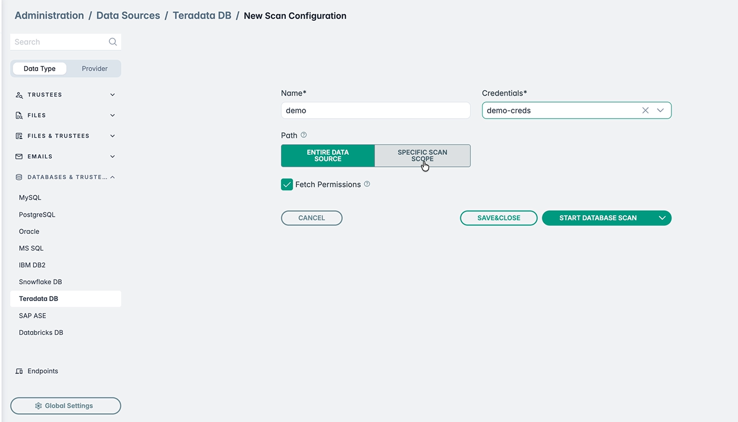
If the connection succeeds, the New Scan Configuration page appears. Enter a Name and select the specific credential from the
drop-down.
-
Choose the scope of the scan.
- Click Entire Data Source to scan the entire data source.
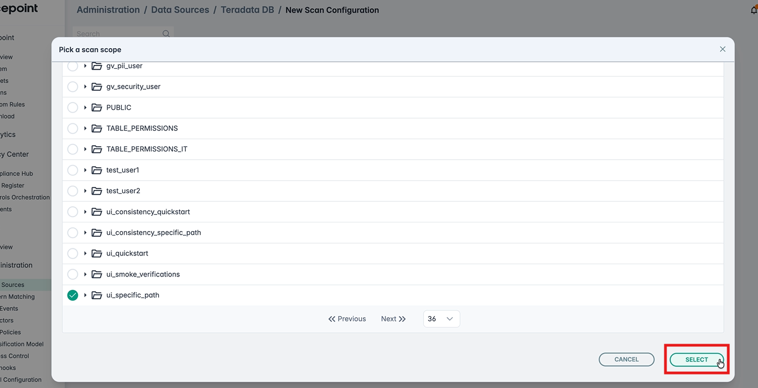
- Select Specific Path to scan a specific schema in the window that opens.
If you selected Specific Path, you can select the folder path in the window that opens. You can also use the Search box to find a schema or specific tables within a schema. Based on the table name searched for, the matching tables are listed. Select the specific tables you want to include in the scan from the displayed list and click Select.
-
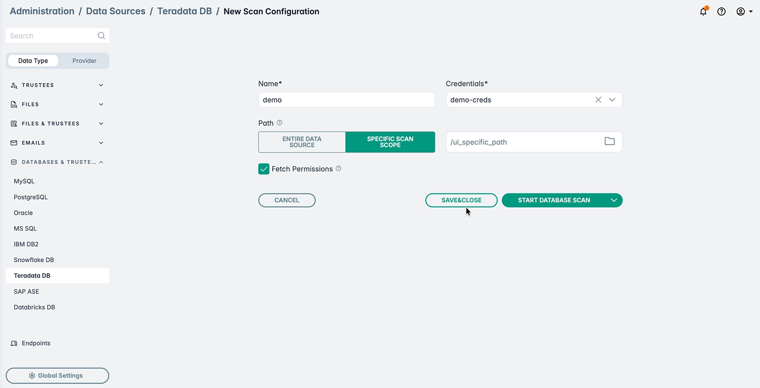
On the next screen, save or start the scan.
- Select SAVE & CLOSE to save the configuration for future scans.
- Click START DATABASE SCAN to start a scan.
-
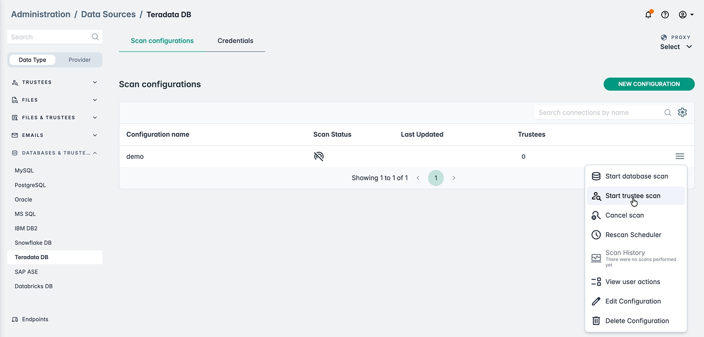
If you selected SAVE & CLOSE in the previous step, navigate to Scan configurations to start the trustee scan.
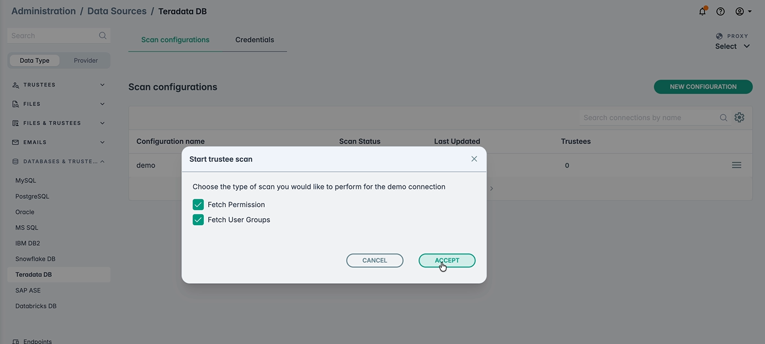
-
Once the trustee scan is complete, click Trustees to view the details.
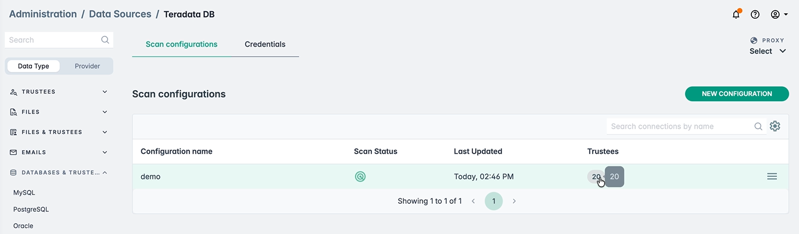
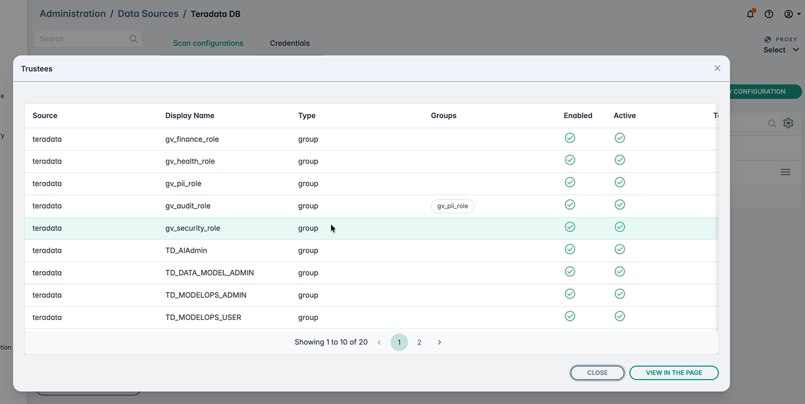
-
Before starting the database scan, ensure that you perform the trustee scan.
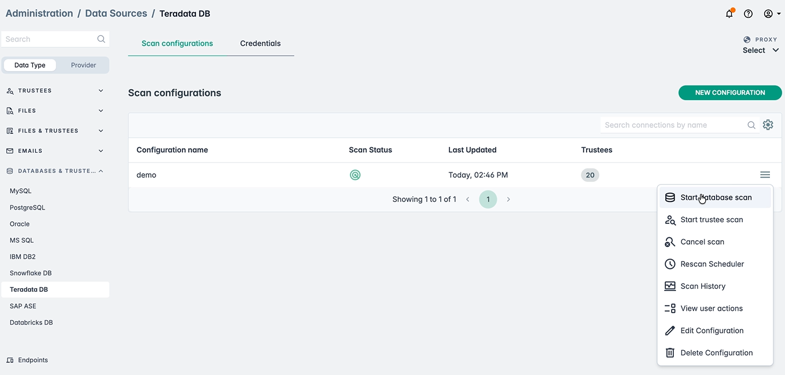
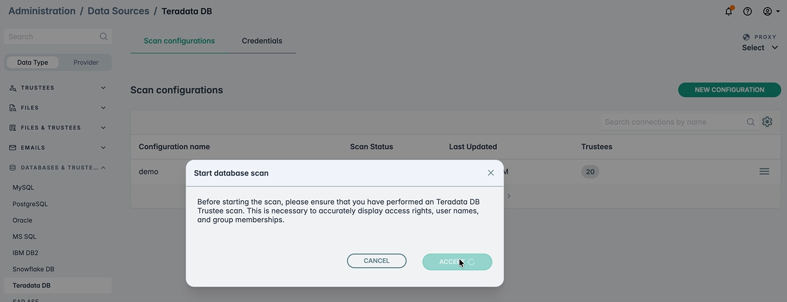
-
Navigate to the corresponding database through as shown below.
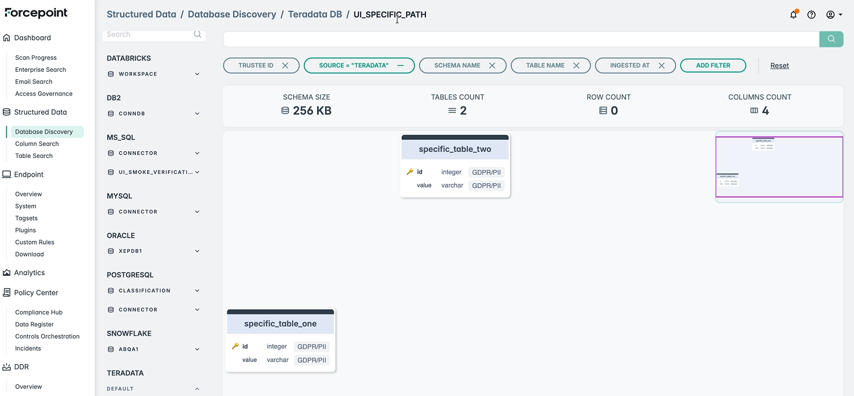
This view provides information on Discovered Tables, Discovered Columns, Classified Tables, Classified Columns, approximate Row Count, Data Size, and more.
-
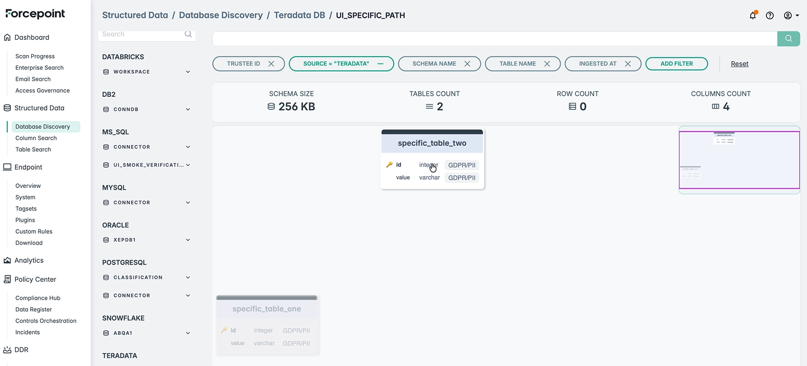
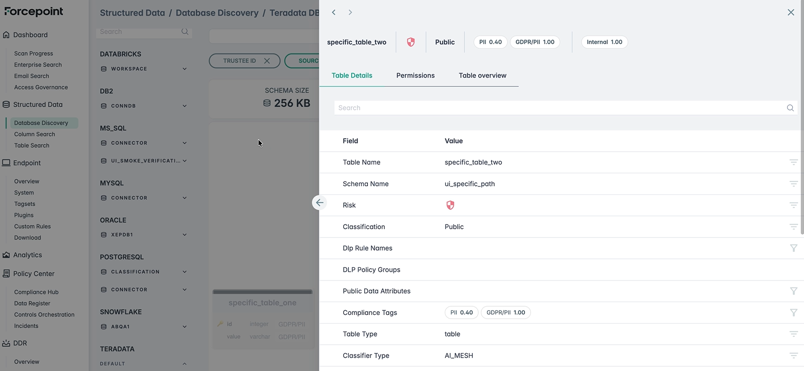
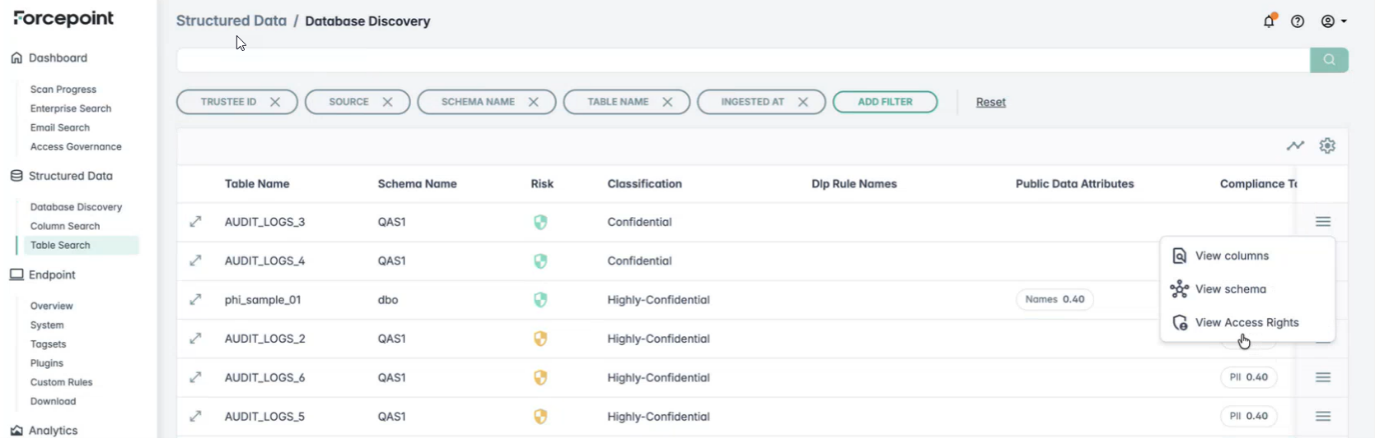
Click specific tables to view more information such as Table Details, Permissions, and Table overview.
-
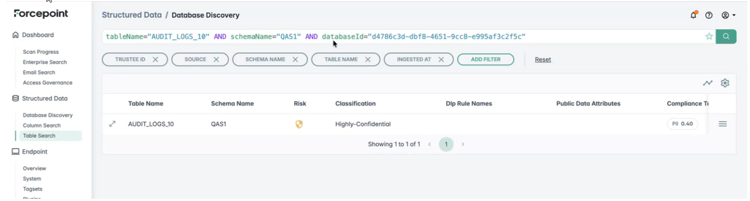
Navigate to Table Search to view detailed table information for every configured data source and its associated scans.
 Note: Pre-scan validation of scan size is not enabled by default for this connector. Very large scans may fail after they start. To enable validation, contact Forcepoint Support or your account team. See Structured data scan limitations.