Applying Forcepoint DSPM Classification Tags to Files Stored on SharePoint
This feature allows you to add Forcepoint DSPM file classification tags to files containing sensitive data stored in a SharePoint system.
However, the Forcepoint DSPM file classification tag can be applied only if the same is defined in MS Purview.
Prerequisites
Your SharePoint site should be set up with the right permissions as explained in section: Registering an Azure App.
MS Purview Label Check
Check if MS Purview labels are already present or create (if necessary) as explained in the steps below:
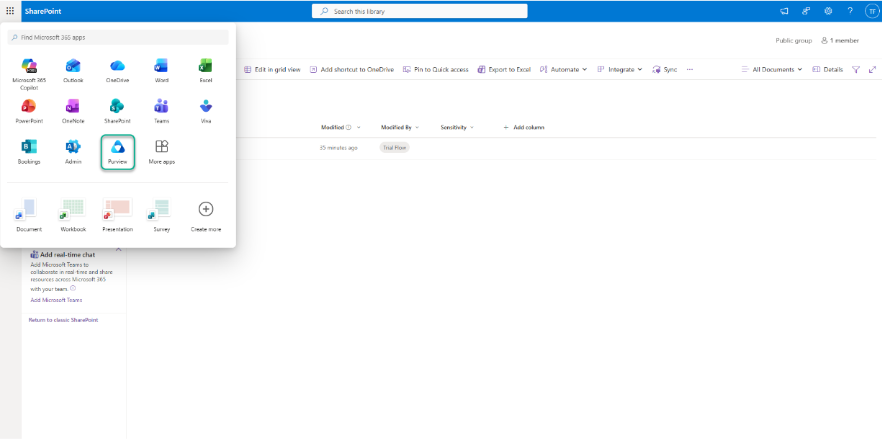
- Search for the Purview application as follows on SharePoint:
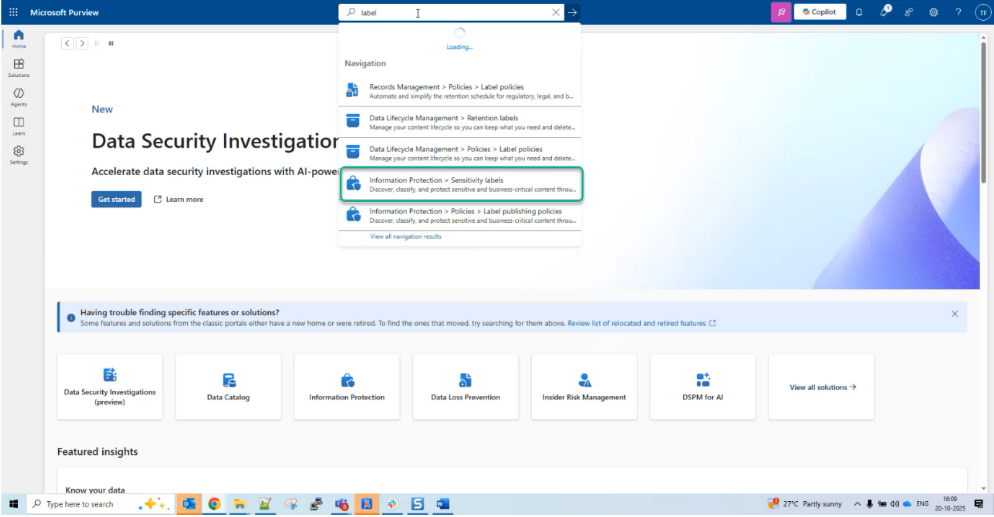
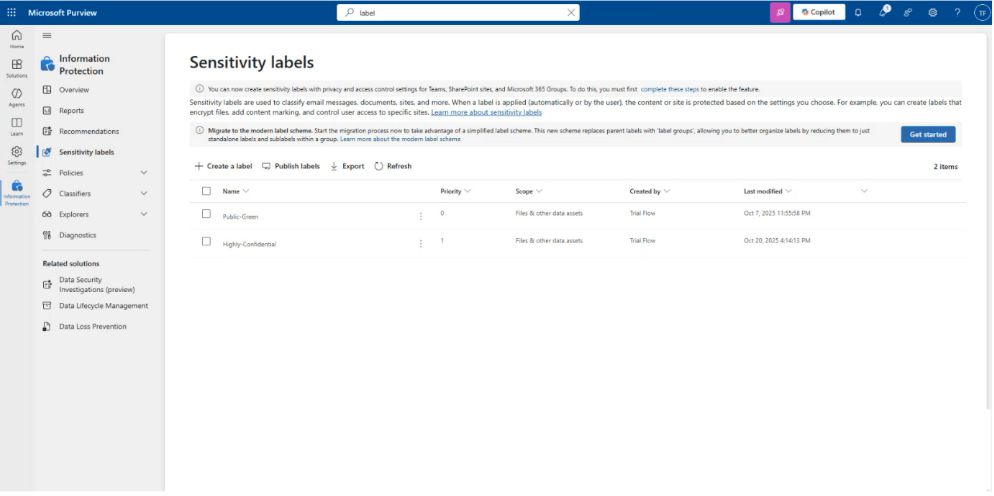
- Login to Purview and search for sensitivity labels as shown below:
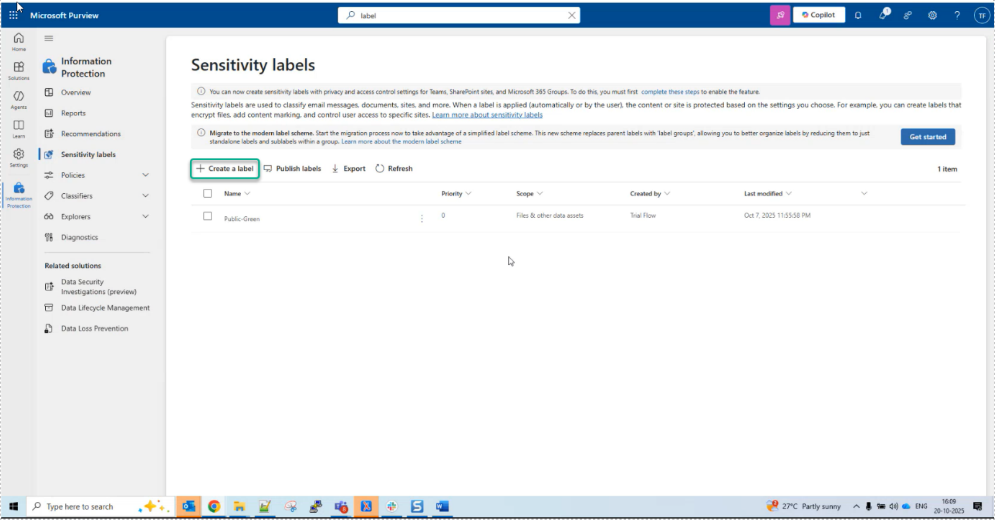
- Create the label with the exact text as that used in the DSPM tag:
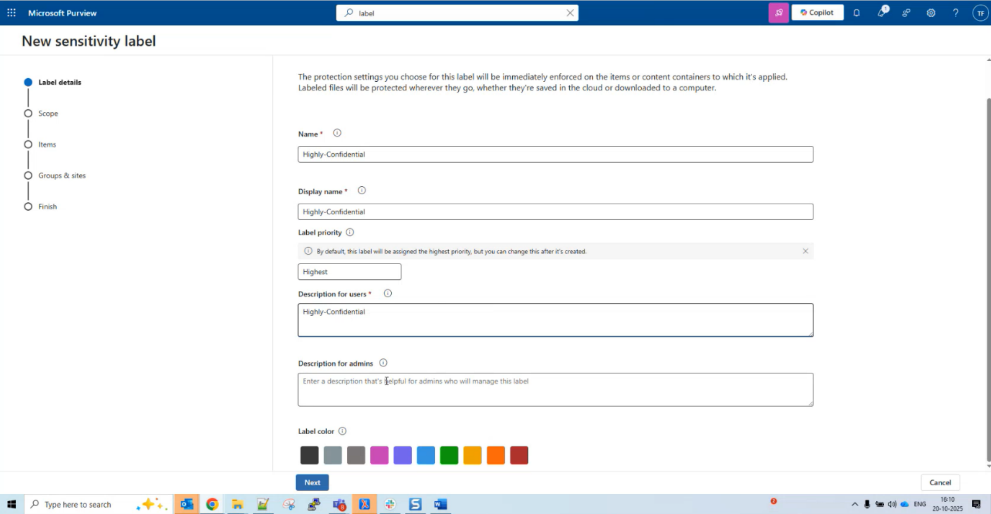
- Enter the Name, Display Name, and Description for users and click Next. An example is shown below:
- On the next screen, select only Files & other data assets:

- In the following screen, select the option Control Access as shown in the example below:
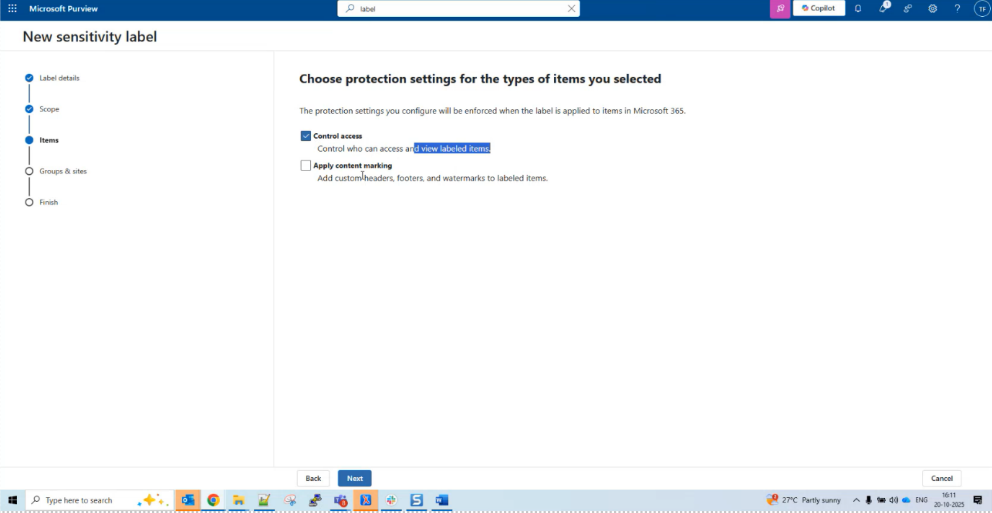
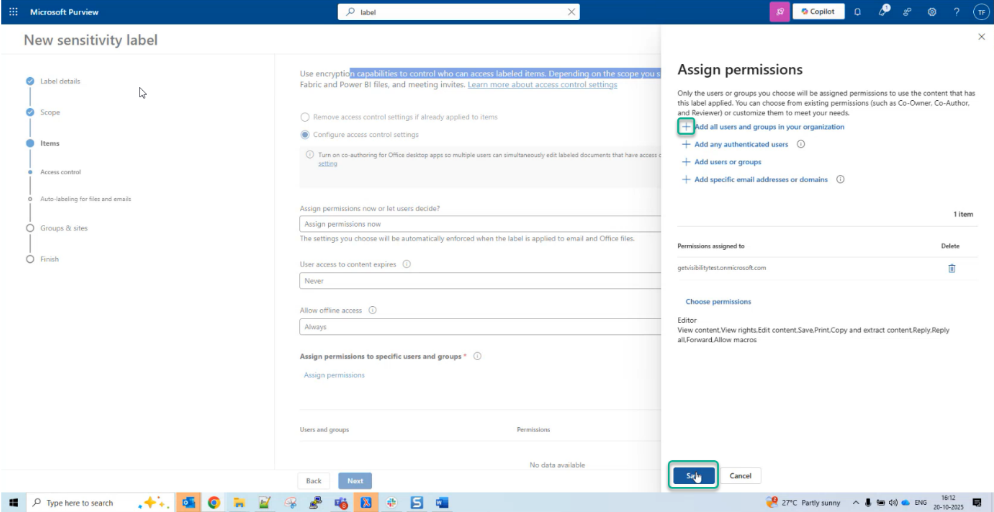
- On the next screen, click Assign permissions, which opens the following page, where you need to select the options +Add all users and groups in
your organization and click Save.
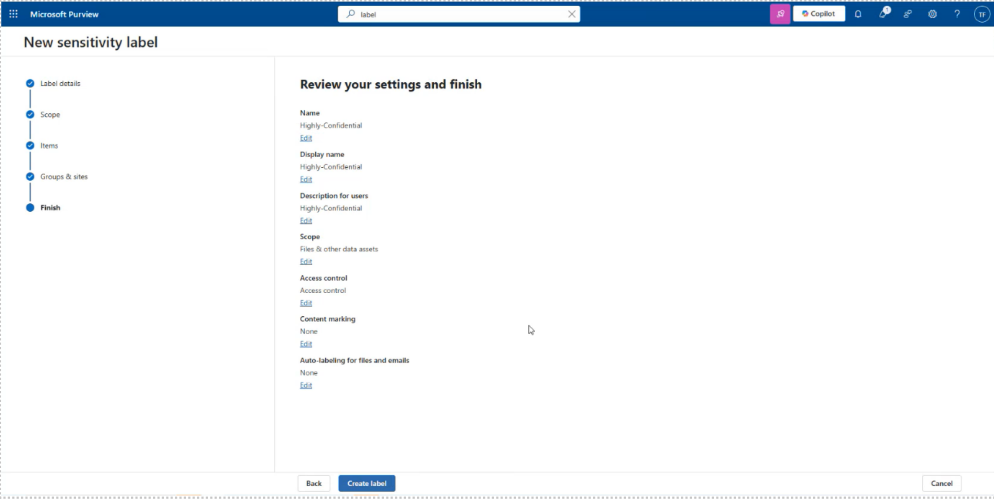
- On the screens that follow accept the default and click Next. Finally, on the Review your settings and finish page, click Create
label after confirming all details are correct.
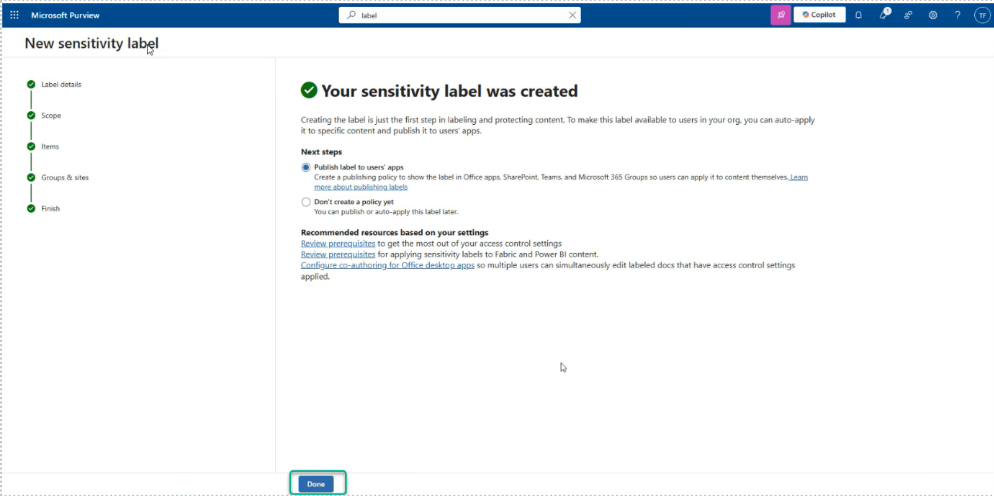
- Finally once label is created, click Done.
- On the next screen, under public label, select the label policy as shown in the example below and click Add:

- Review the details and click Add:

- You can now see the following Sensitivity labels defined:
- Check for labels on SharePoint
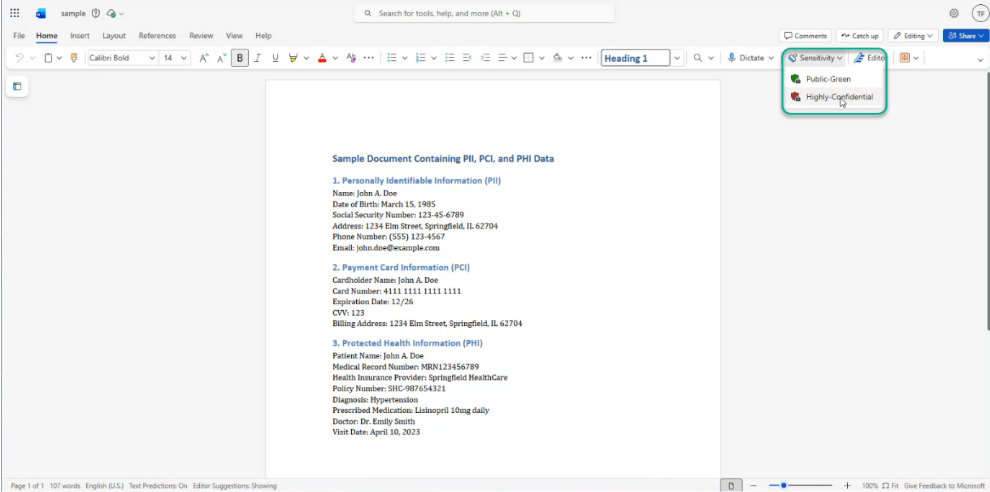
Once you have checked for the labels in Purview, you can now navigate to SharePoint and open any file to check if they are now listed. An example, is shown below:
Setup and run file tagging
This procedure ensures that the DSPM file classification information is applied to the SharePoint file resource. Just scanning the file inside DSPM does not apply the right tagging to the file in SharePoint, hence you must complete the steps below.
- Login to DSPM portal and navigate to Administration à Data Sources à SharePoint Online.
- Ensure that you have a scan configuration setup as explained in section: Configuring SharePoint Online connector in Dashboard.
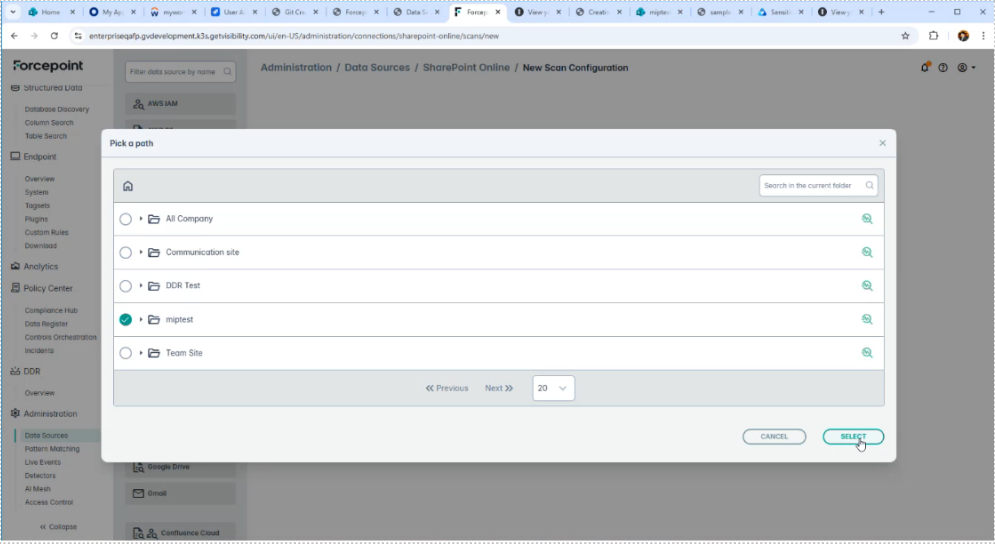
- Ensure to select the SharePoint site you created from the path field. An example is shown below. Also, select the option Fetch Cloud Labels, before starting the
scan.
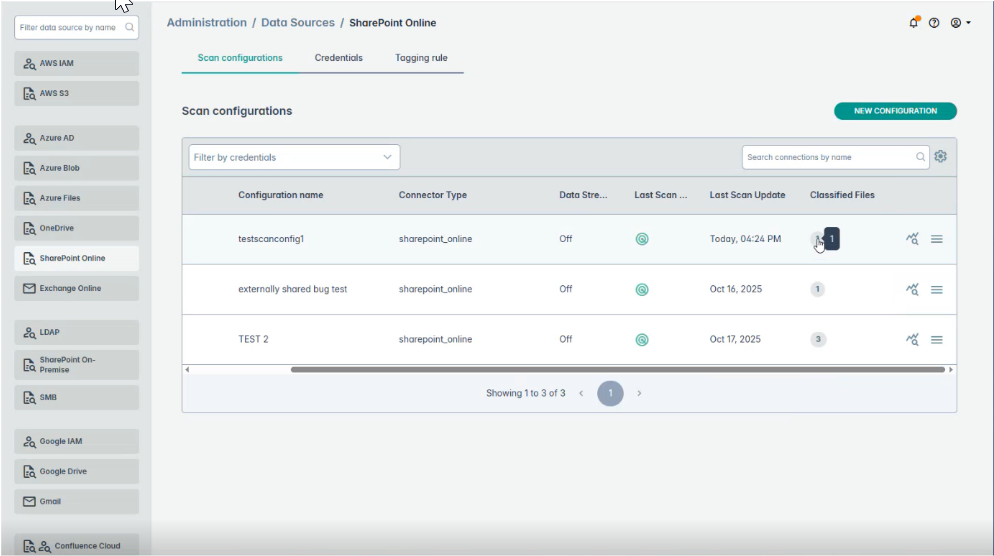
- Once the scan runs to completion, navigate to the column Classified Files, and click to view the details.
- You will see that currently no labels are associated with the file. However, you can still tag files that already have some cloud labels applied.

- Next, navigate back to the scan configurations page and click on Tagging rule tab.
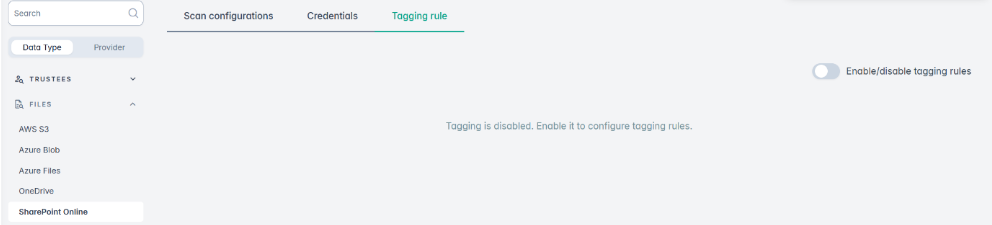
- Make sure to enable tagging rules, and add a tagging rule like: flow=CLASSIFICATION.
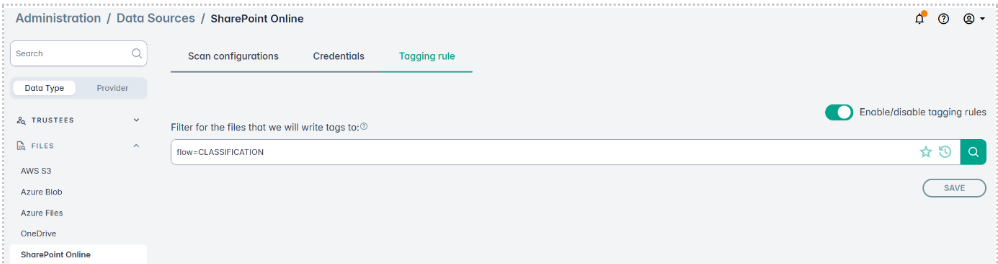
- Save the tagging rules.
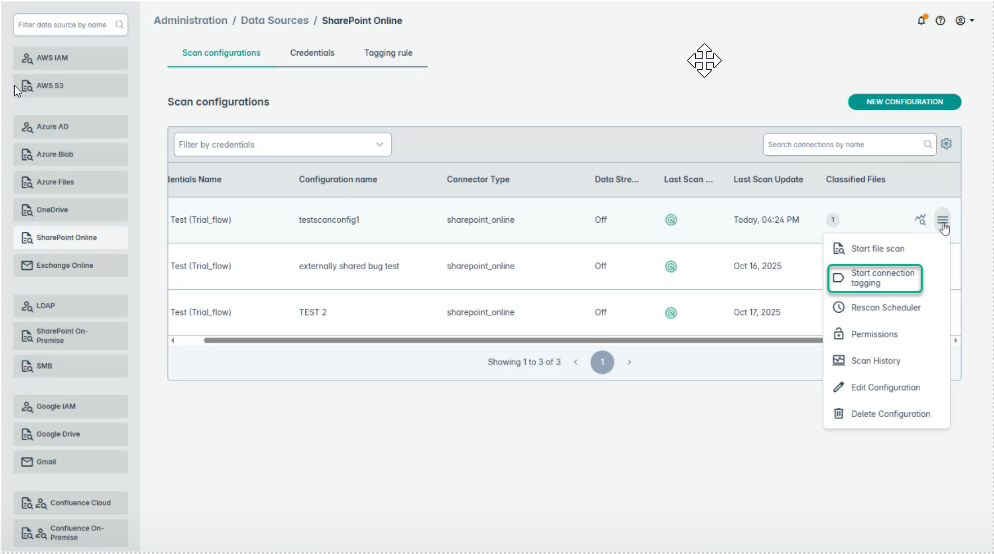
- Once the tagging rules are saved, navigate back to the scan configurations page and click on the hamburger menu next to the scan configuration:
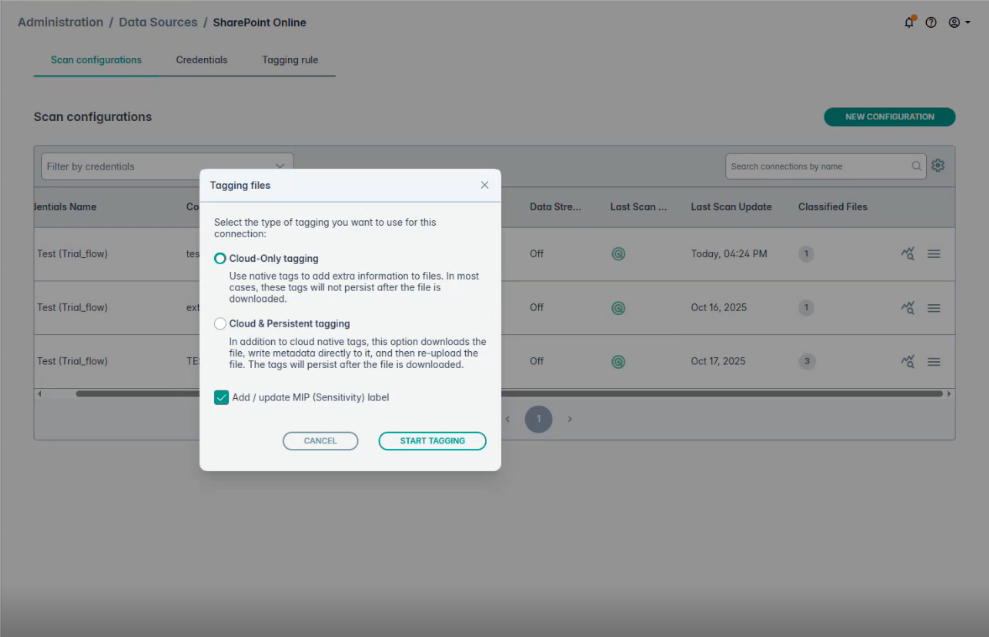
- Next on the following screen check the Add/update MIP (Sensitivity) label and click Start Tagging:
- Once the tagging completes, go to scan results and copy the Configuration ID as shown in the example below:
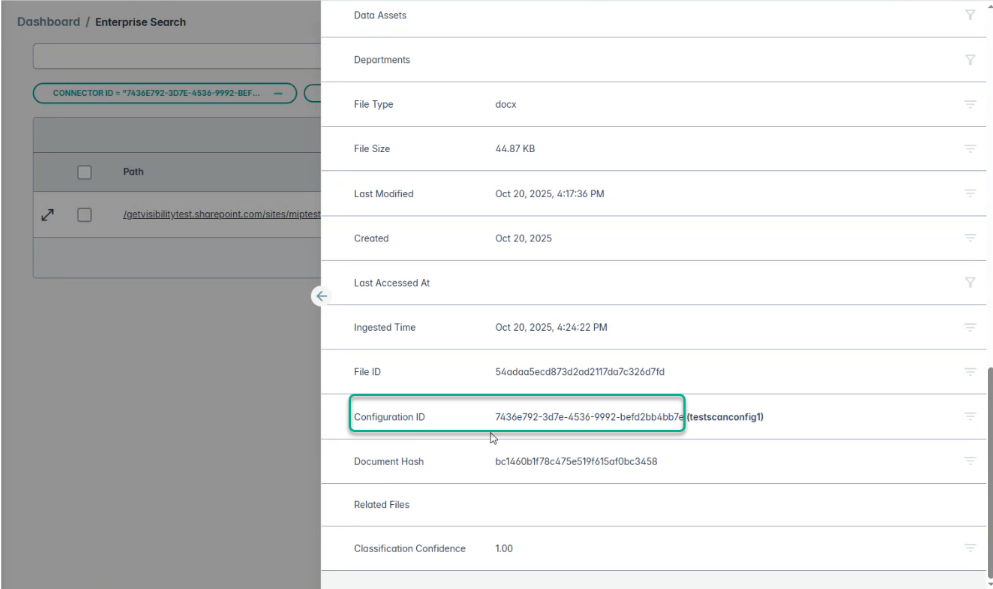
- If you want to check if the tagging action completed go to Administration à Live Events and in the GQL field copy the configuration ID to search if the tagging is complete.
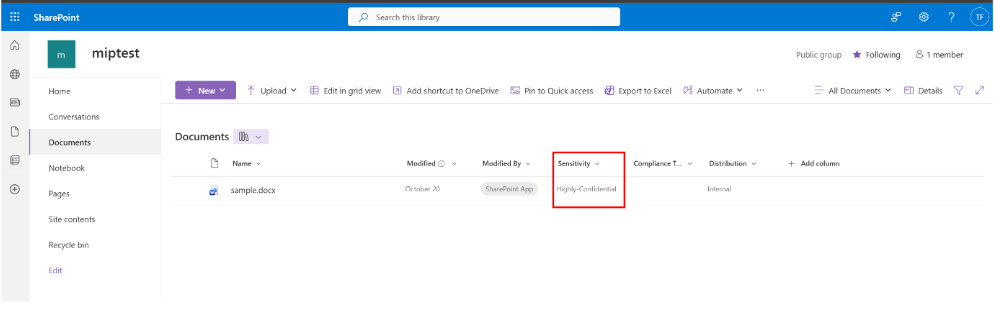
- When tagging is applied successfully, you will see the Sensitivity applied on the SharePoint site.
If no MIP tagging is used, then you will see the following tags applied (classification, compliance, and distribution):
<screenshot on SP>
- You can also verify the Sensitivity label applied to the file:
