Adding widgets to the custom dashboard
While creating or modifying a custom dashboard, you can add or change widgets.
Steps
-
While creating or modifying the custom dashboard, click Add new widget.
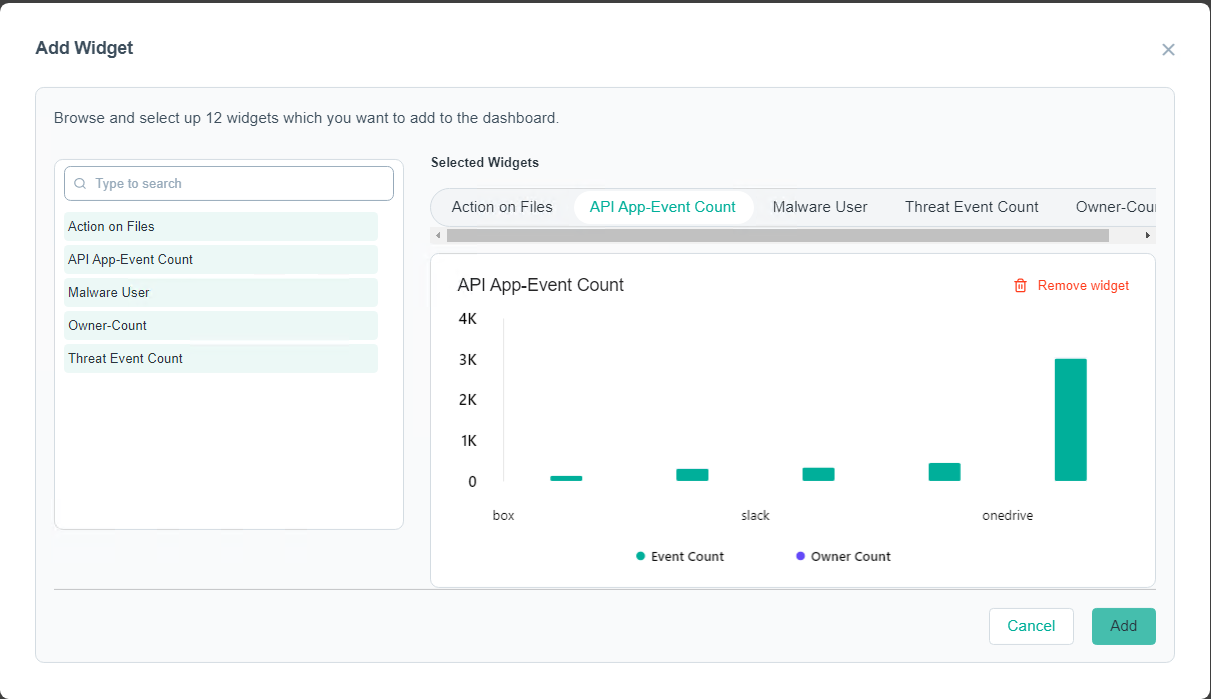
The Add widget dialog opens displaying list of existing widgets.
 CAUTION:You need to add at least one widget to the dashboard to save the dashboard.
 -
On Add widget, do the following:
- Enter text in the Search field to filter widgets based on the text.
-
To preview the widget, click the widget name.
The right section displays a preview of the widget selected.
-
To add a widget, do one of the following:
- Click the required widget check box.
- Click Add from the preview section.
Note: You can add a maximum of 12 widgets to your dashboard.The selected widgets appear on top of the dialog. -
To remove widgets, do one of the following:
- Click Remove from the preview section.
- Unselect the checkbox of the widget.
- Click X next to widgets on top of the dialog.
- If required, to remove all the selected widgets, click Clear All.
-
To add selected widgets to dashboard, click Add.
All the added widgets appear in the dashboard.
-
To rearrange the widgets on your dashboard, place your mouse pointer on the widget, and then drag and drop it to desired location.
-
To remove the unwanted widget from the dashboard:
-
Click
 from the upper top corner of the widget.
-
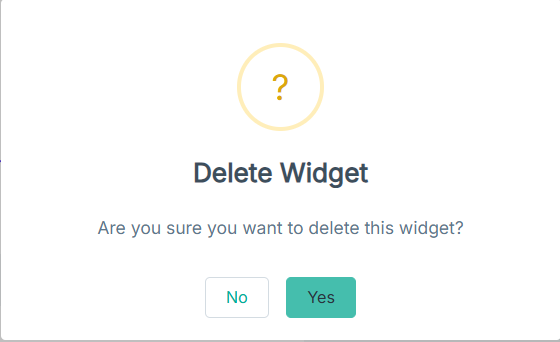
To confirm the removal of widget, click Yes.

-
Click
- Filter all the widgets in the dashboard. Refer to Adding filters in the dashboard.
-
Adjust the time period for your dashboard.
-
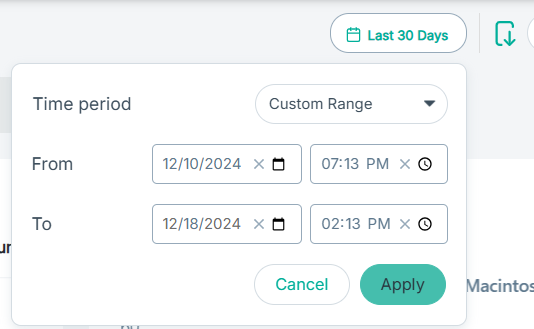
Click the time filter.
The dialog opens.
-
To filter logs based on selected Time period, select one of the following:
- Last Hour
- Last 24 Hours
- 7 Days
- 14 Days
- 30 Days
- 45 Days
- 60 Days
- Custom Range
-
If you have selected the Custom Range option, then:
- To select a From date for your transaction view, enter a date or select the date from the calendar and then click the time icon to select the time range.
- To select a To date for your transaction view, enter a date or select the date from the calendar and then click the time icon to select the time range.

Note: The date and time formats are the same as those configured on your system. - To save the changes, click Apply.
-
Click the time filter.
-
To update the dashboard with the details entered:
- Click Update and Close to save the dashboard with the details entered and redirect you to the Dashboards tab.
- Click Update to save the dashboard with the details entered and redirect you to view mode of dashboard.